
Knife Skills - The Humble Tarp Peg
Jamie Dakota
One of the most regularly recreated of the camp-crafts is the tent peg; whether to replace a lost one or to better suit the soft ground of the forest the wood peg is a simple tool which relies of a deft use of the knife.
In this short article I’ll demonstrate how I make a peg on the fly, made to use there an then from materials immediately to hand, and how I craft a more robust version to carry with me time after time.
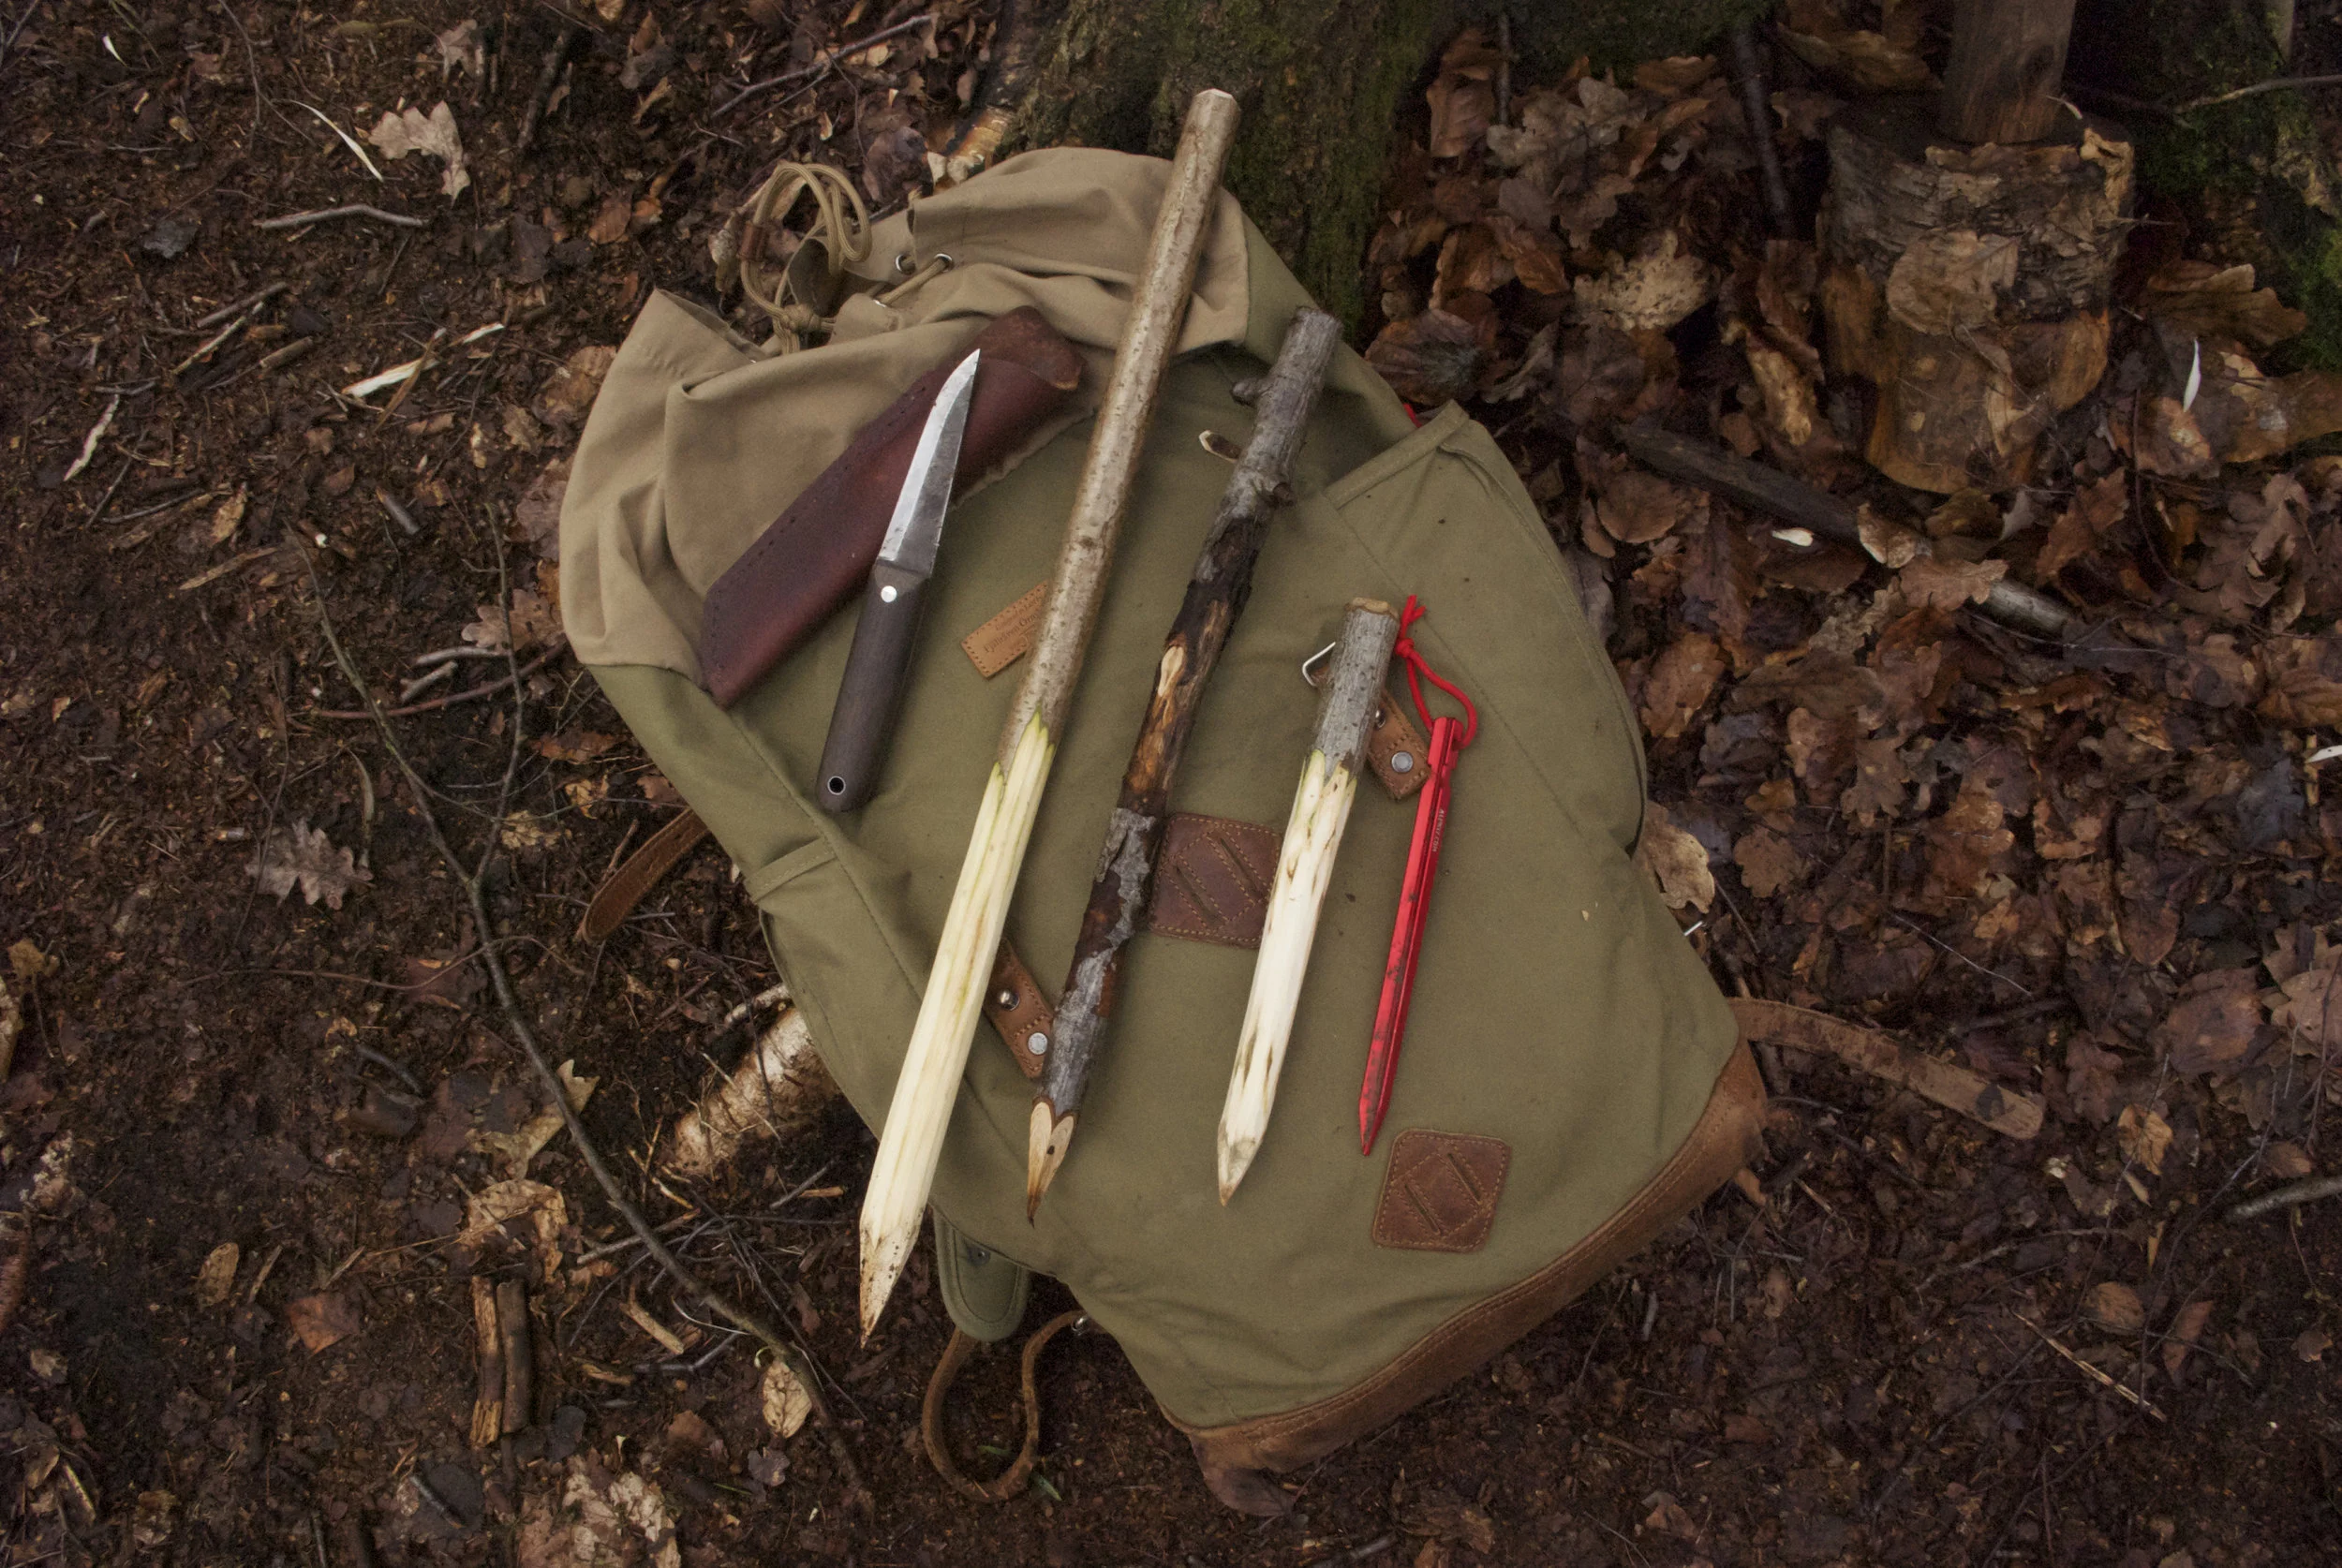
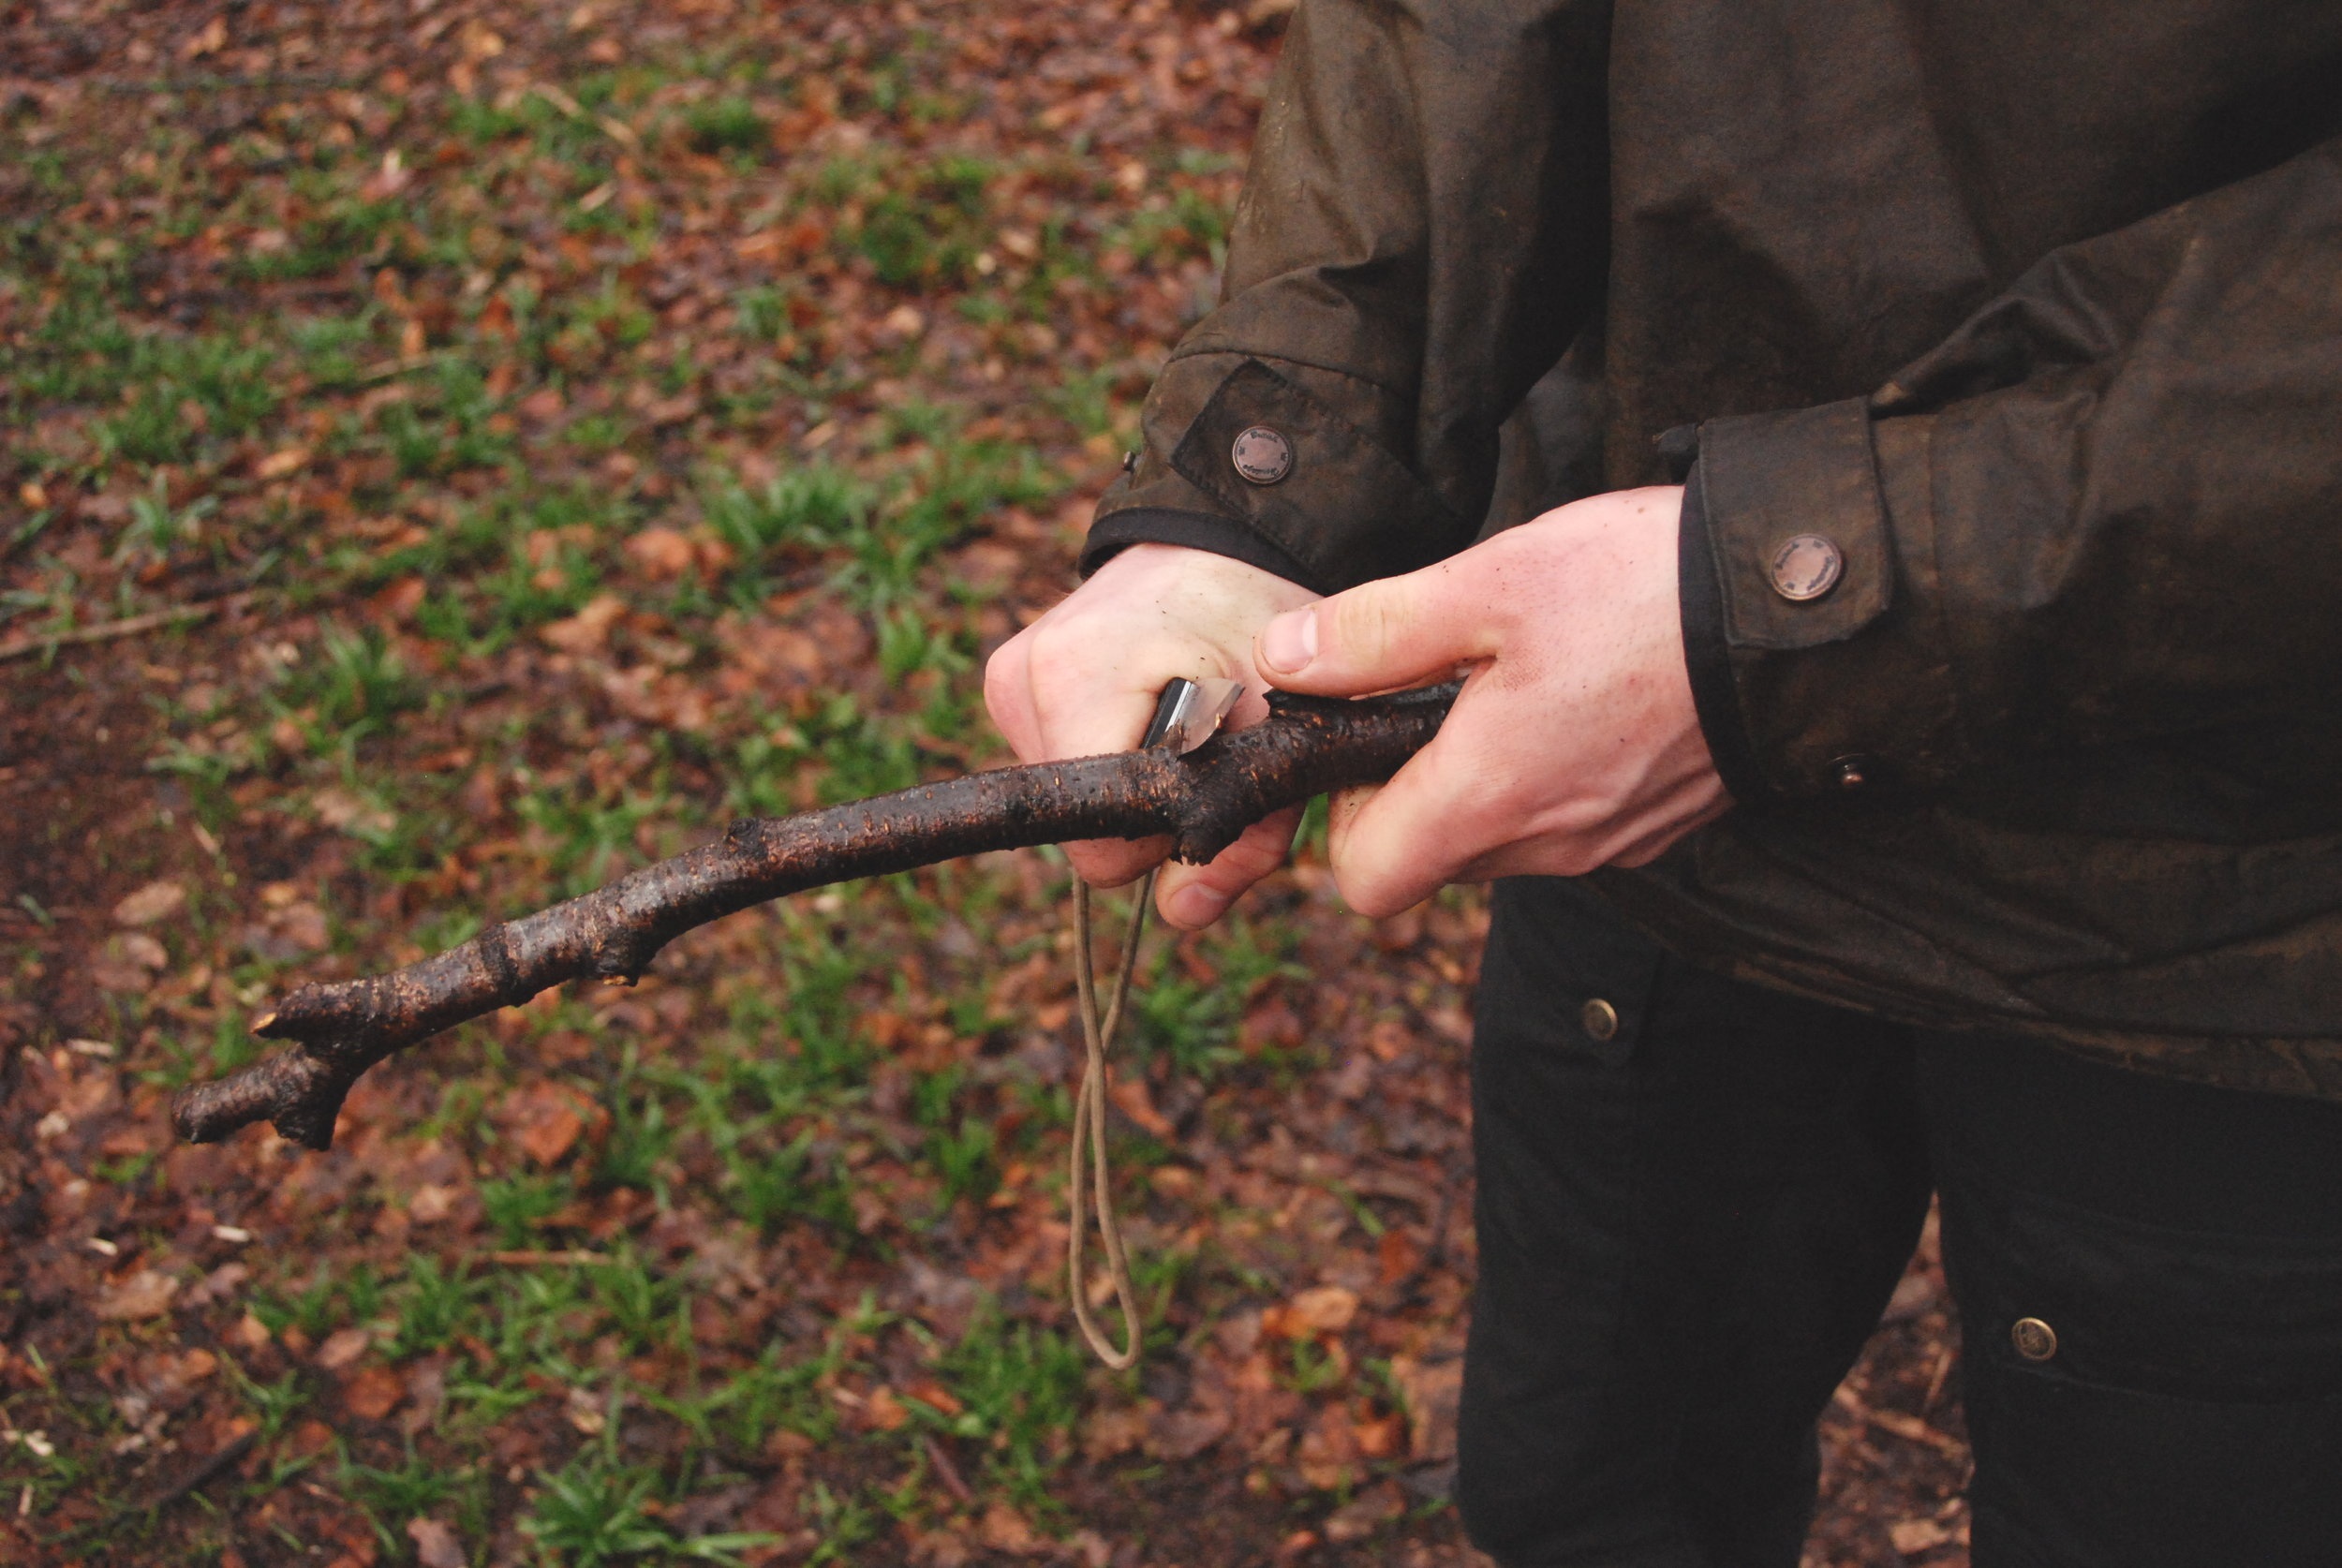
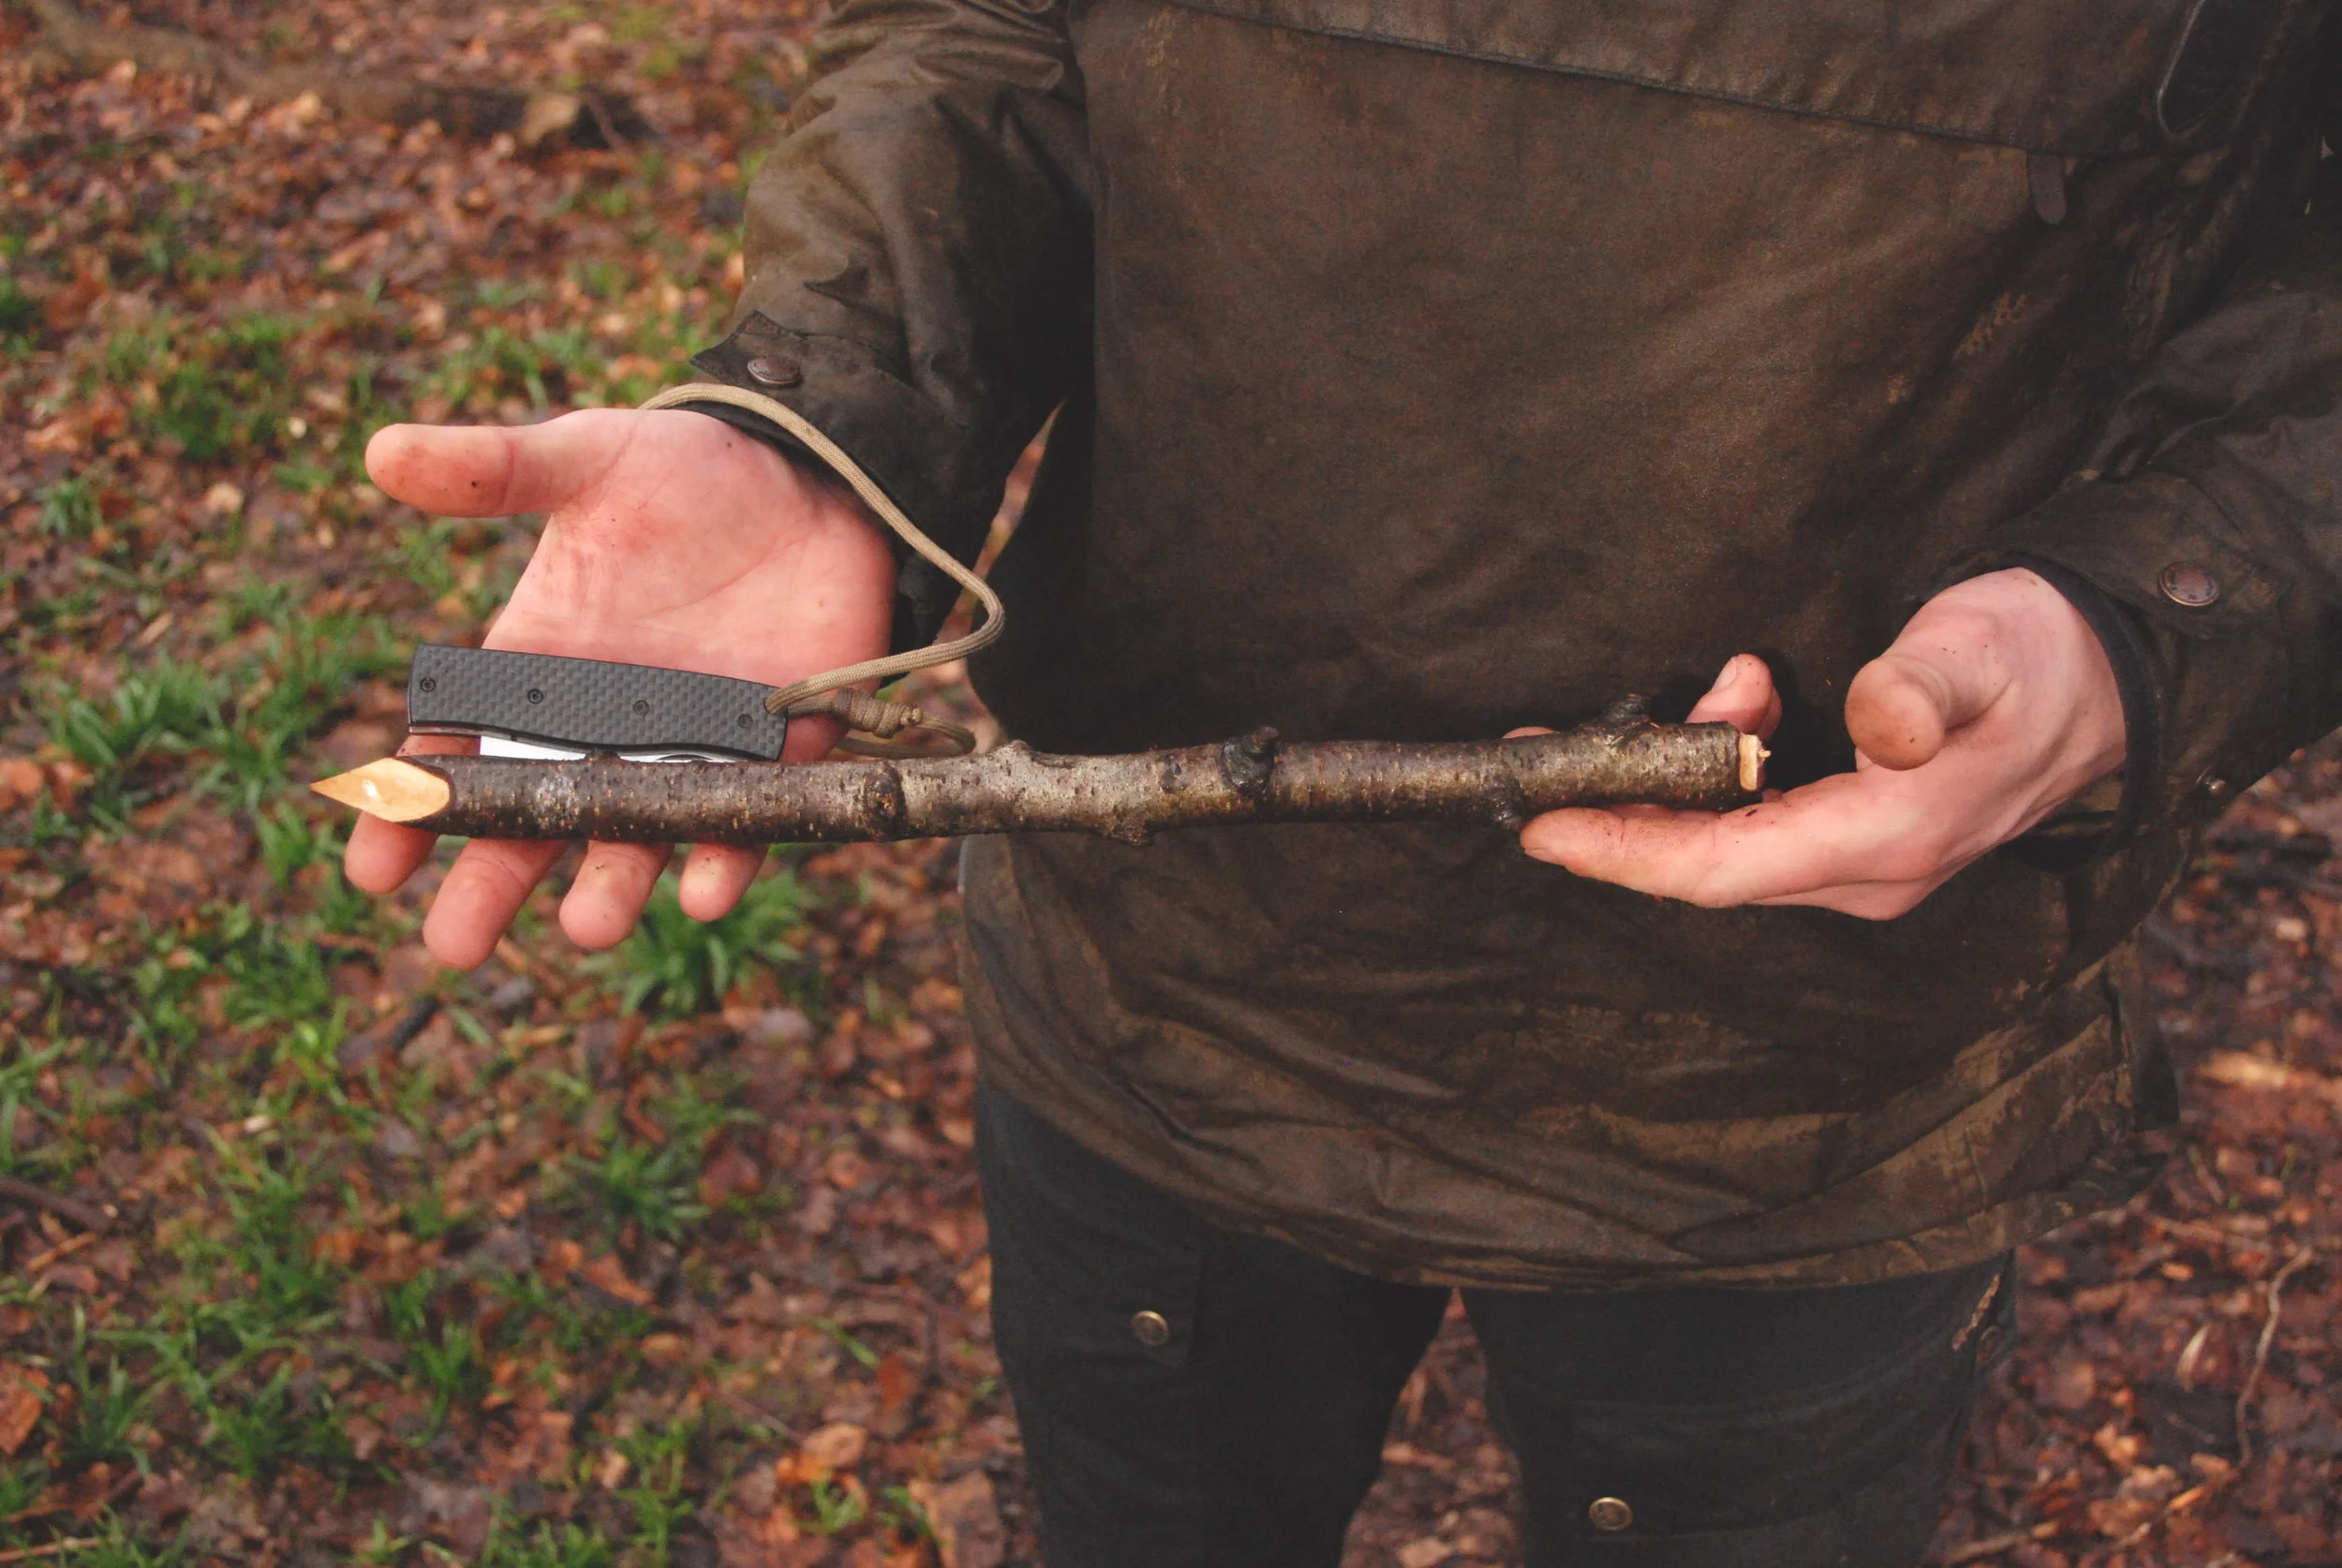
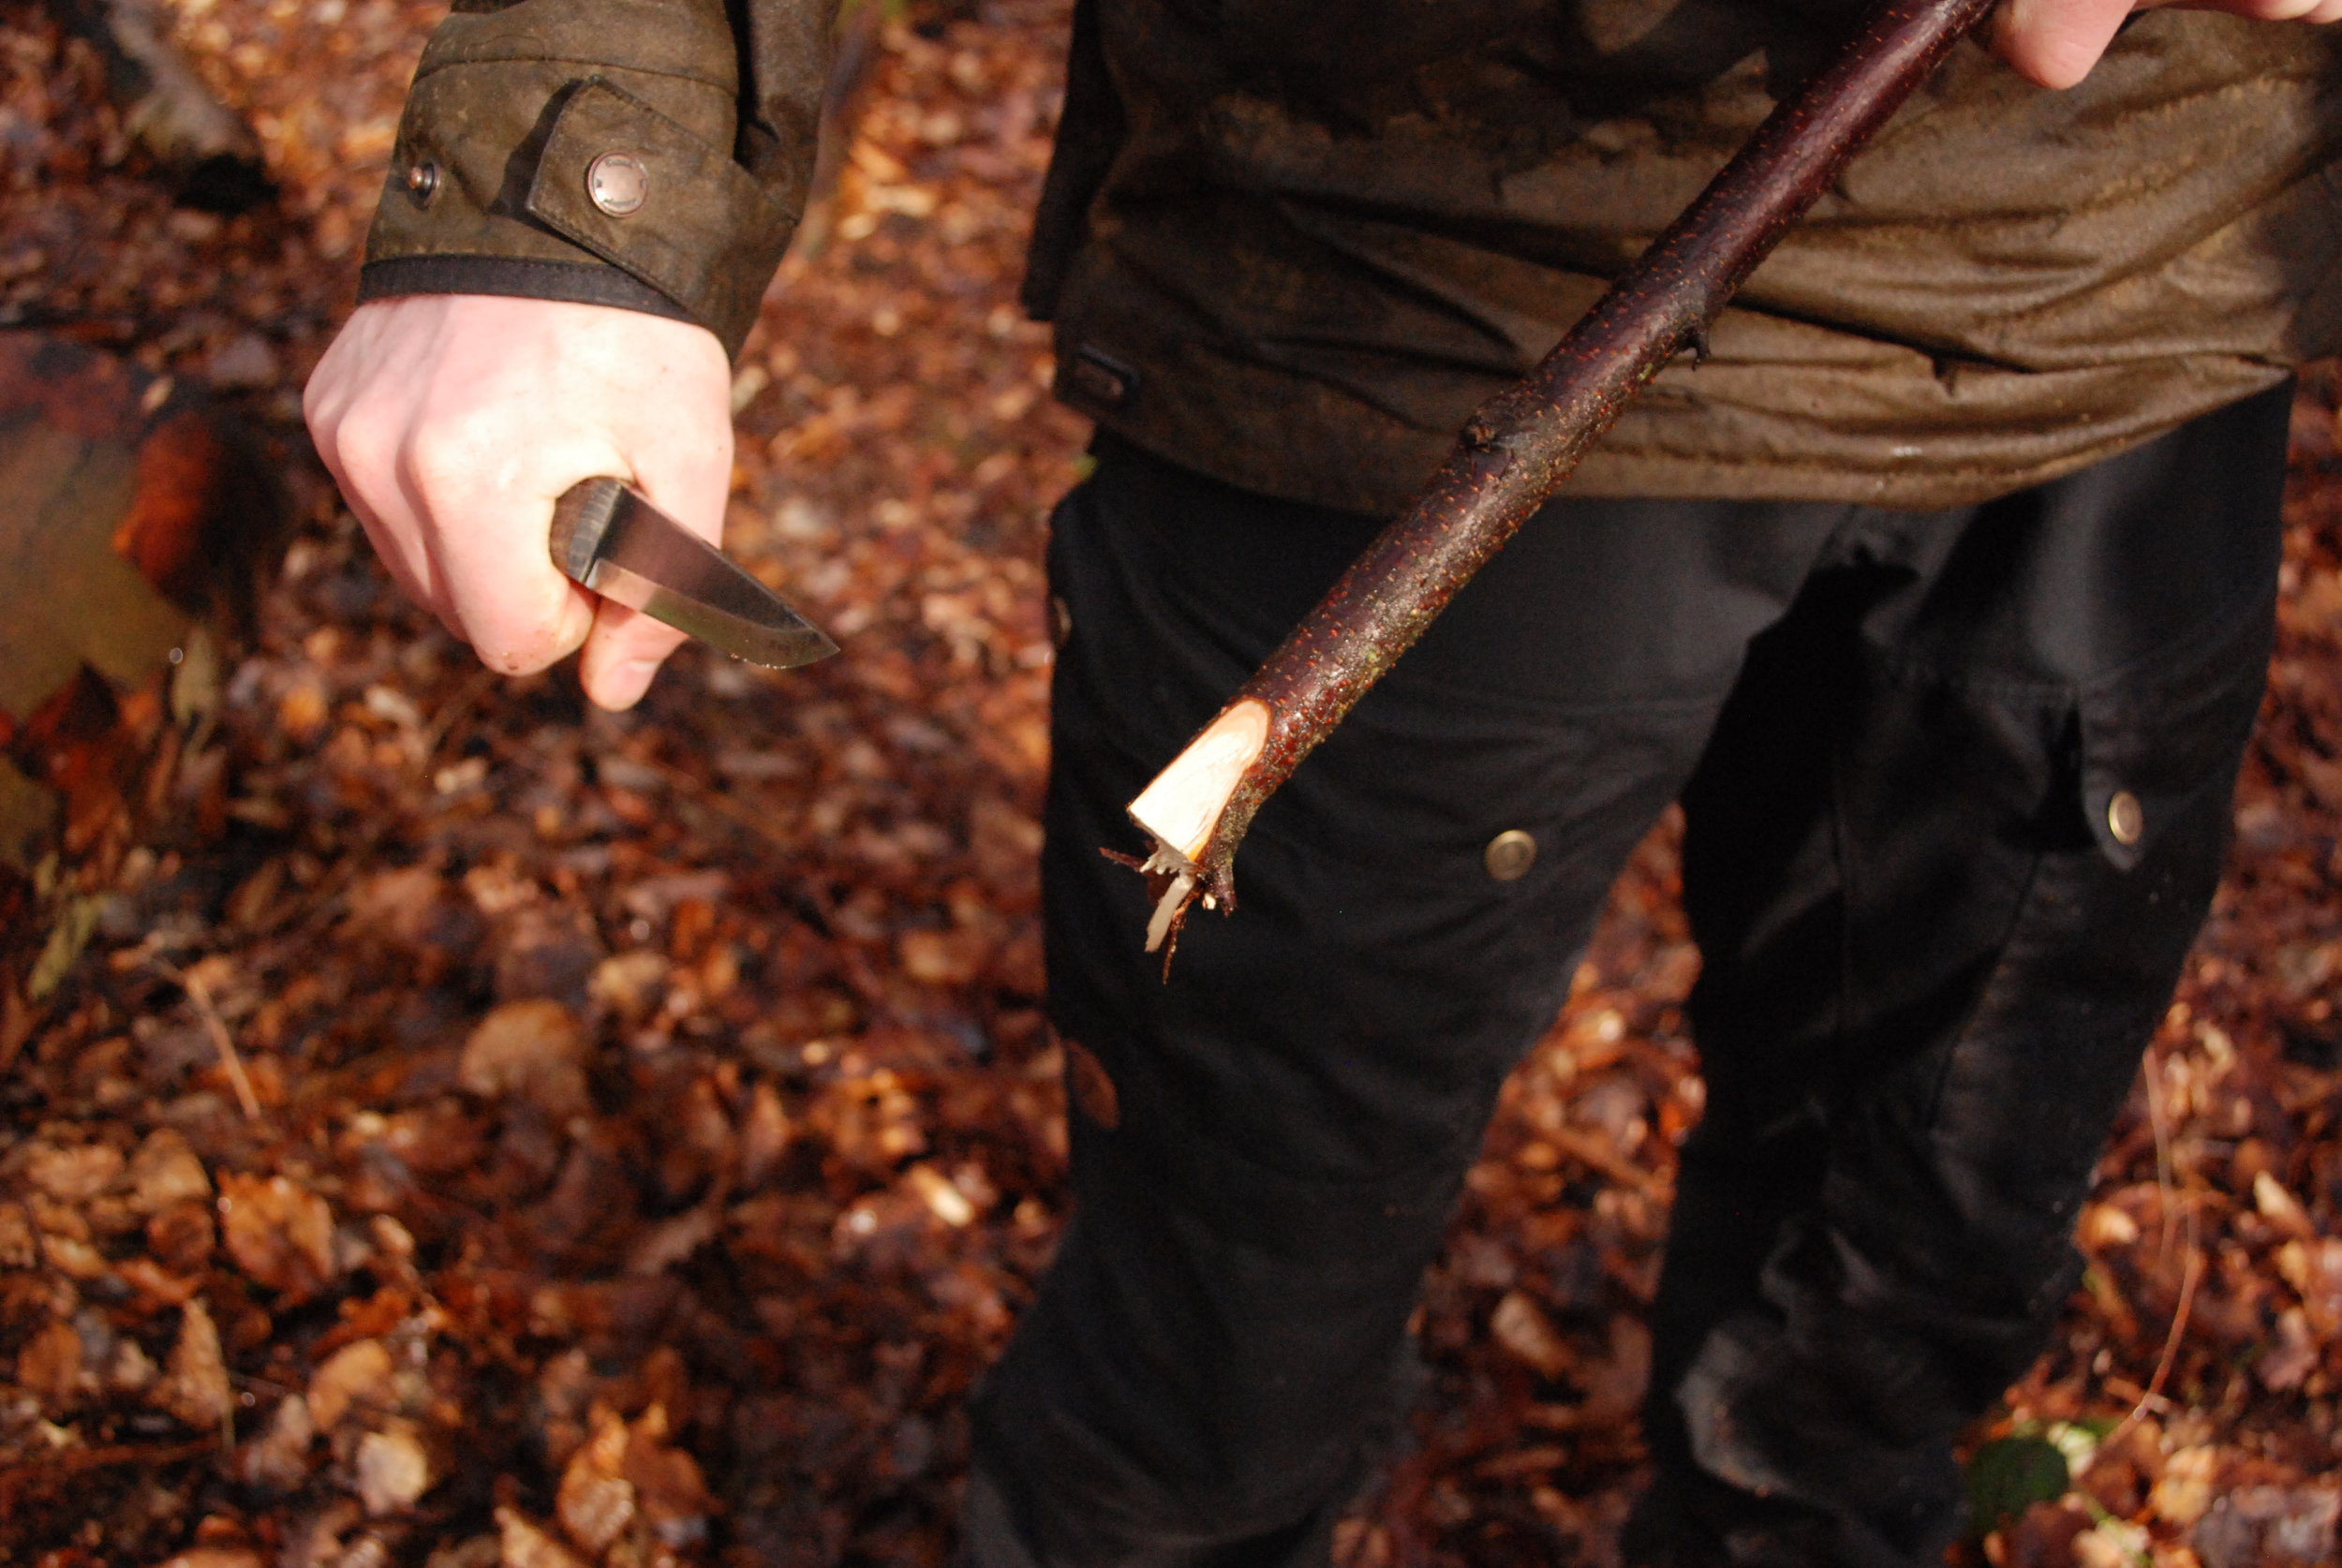
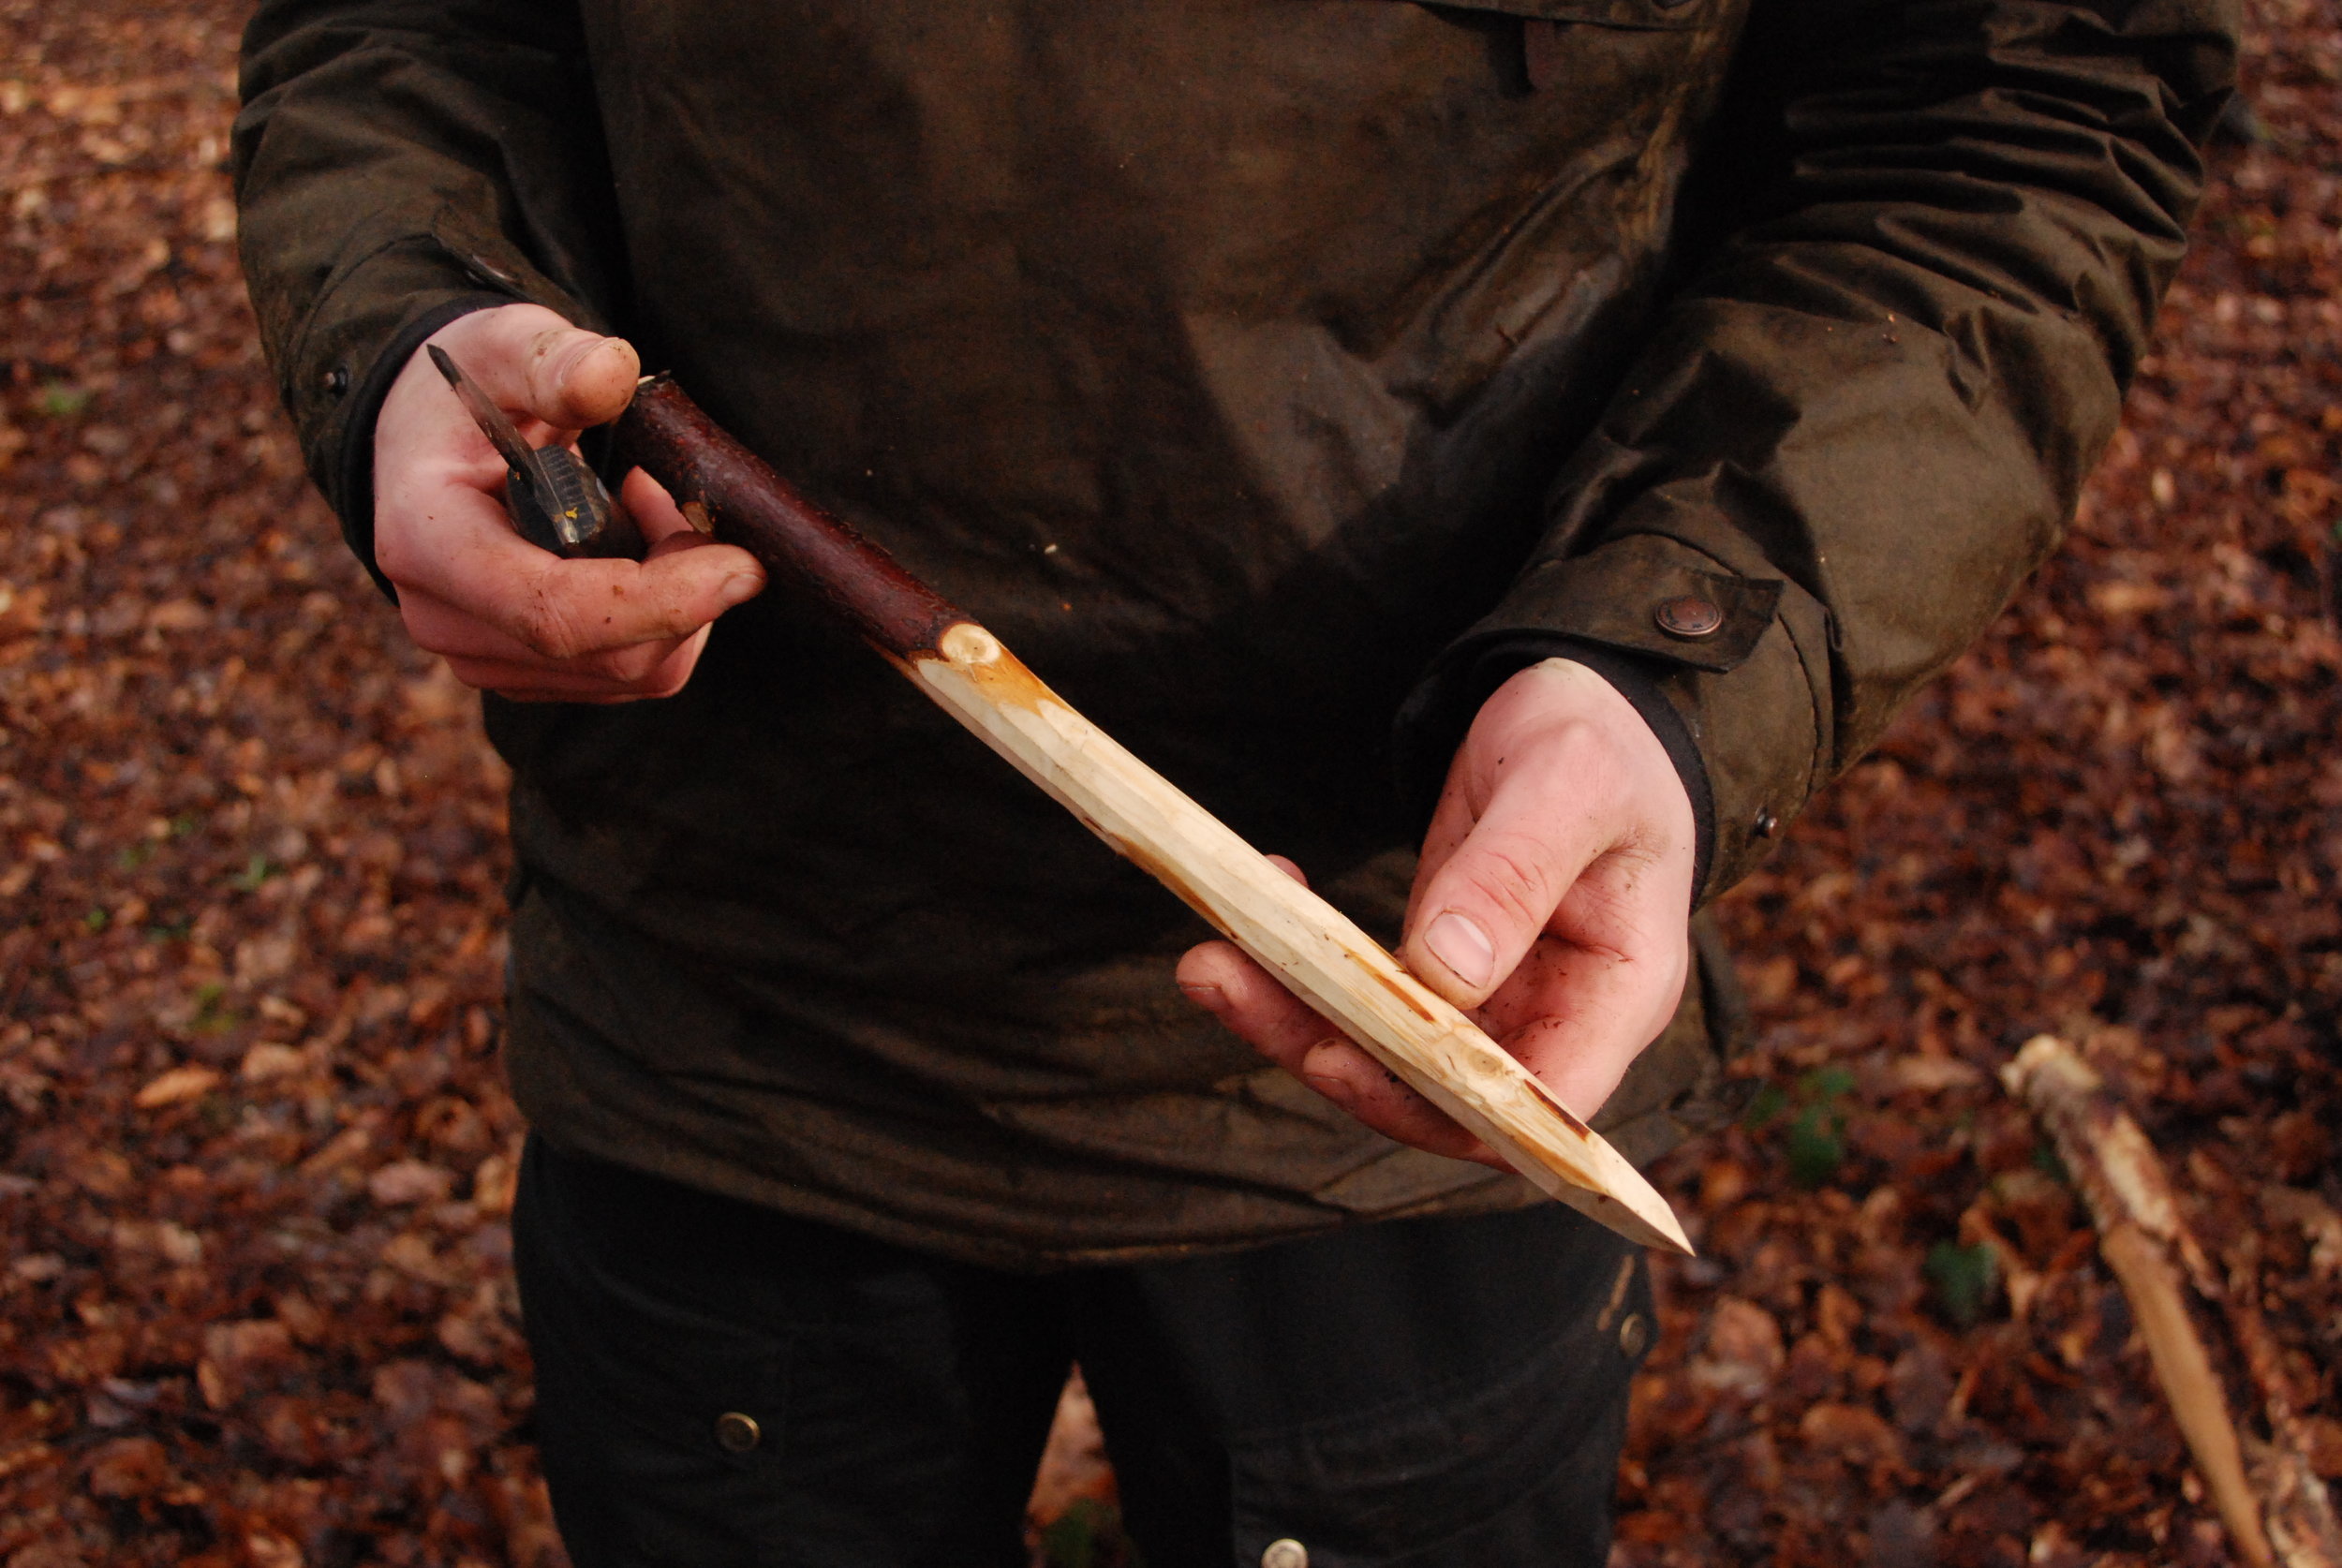
If I’m out for a walk I’ll typically carry a lightweight tarp in my rucksack along with 4 aluminium pegs, mostly for a lunchtime canopy if needed. My preference is to carry the winged triangular pegs that are commonplace these days as they grip the soft forest floor much better than the traditional metal rod pegs you’d get with your average tent for example. The winged pegs work well for me most of the time, especially for just an hours stop at lunch, however it is also common for the lush forest floor to be too soft to grip these small pegs and a bigger, longer peg is required. In these situations I look to the woods for a stout stick which I cannot easily snap, I try not to take a living branch in these circumstances as the I only require the peg for a short time and it seems disrespectful to me to cut a branch of 5 or 6 years growth just for an hours use. Besides, a stick from the forest floor can almost always be found of the correct size and durability.

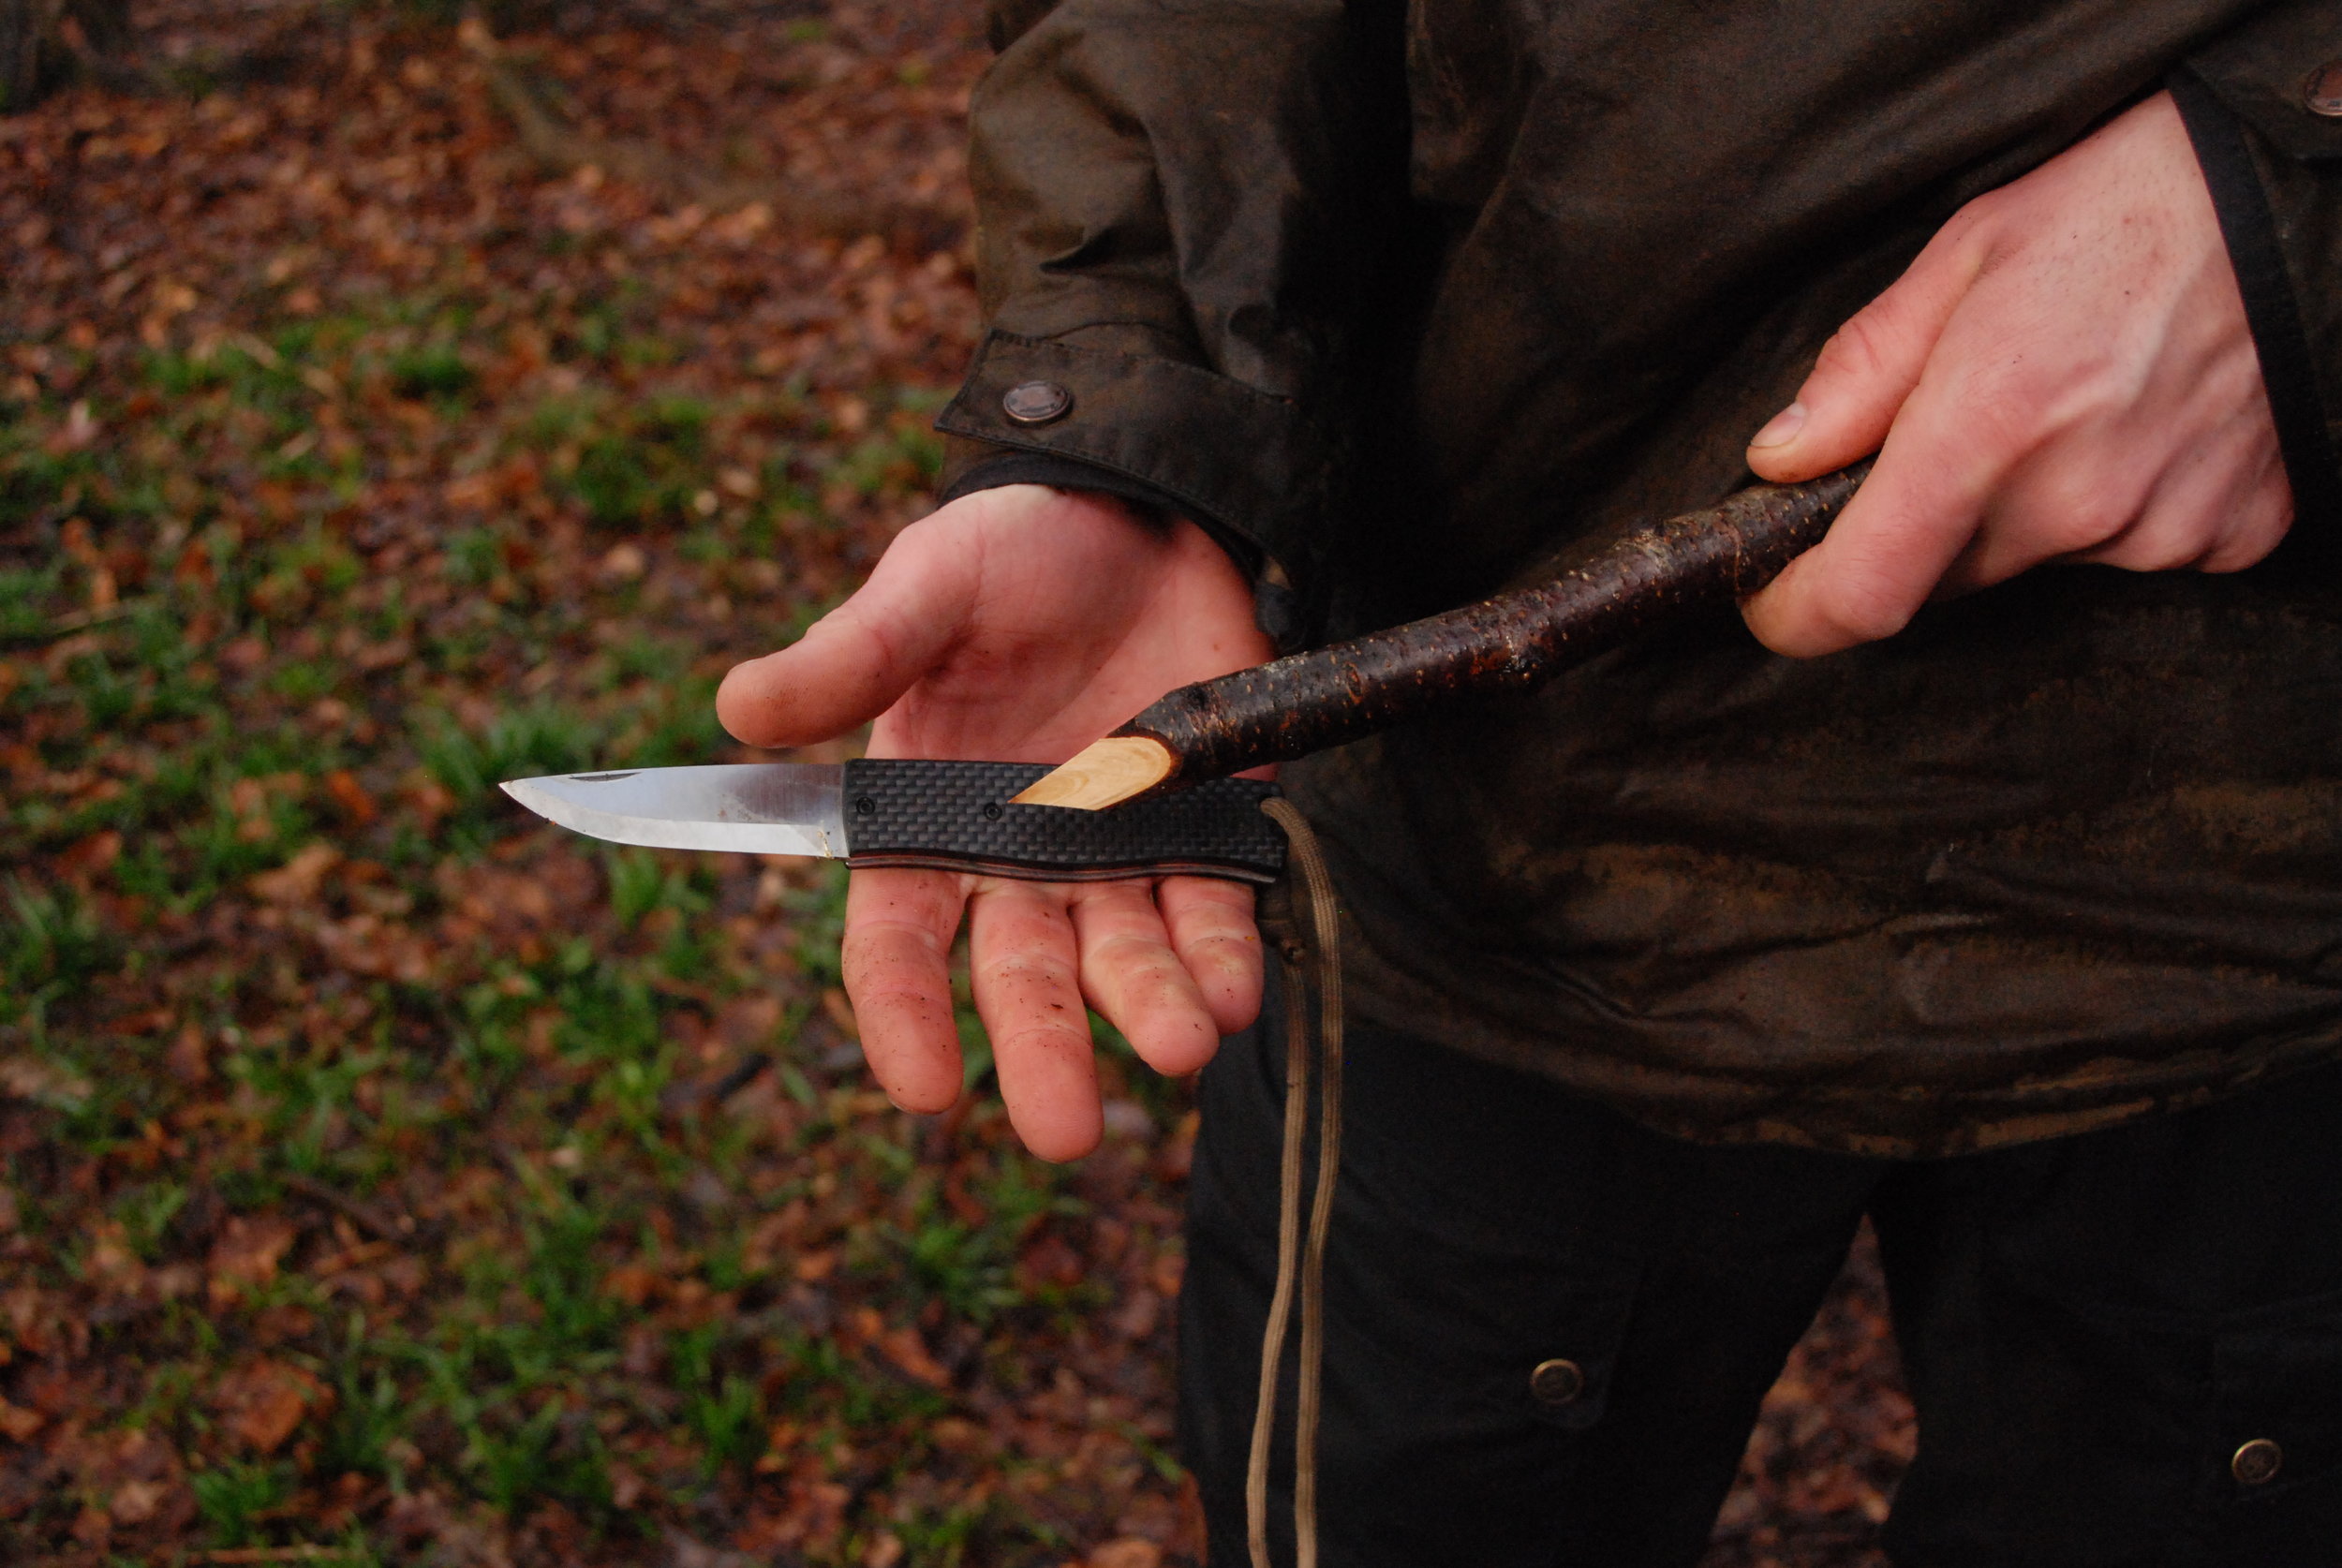
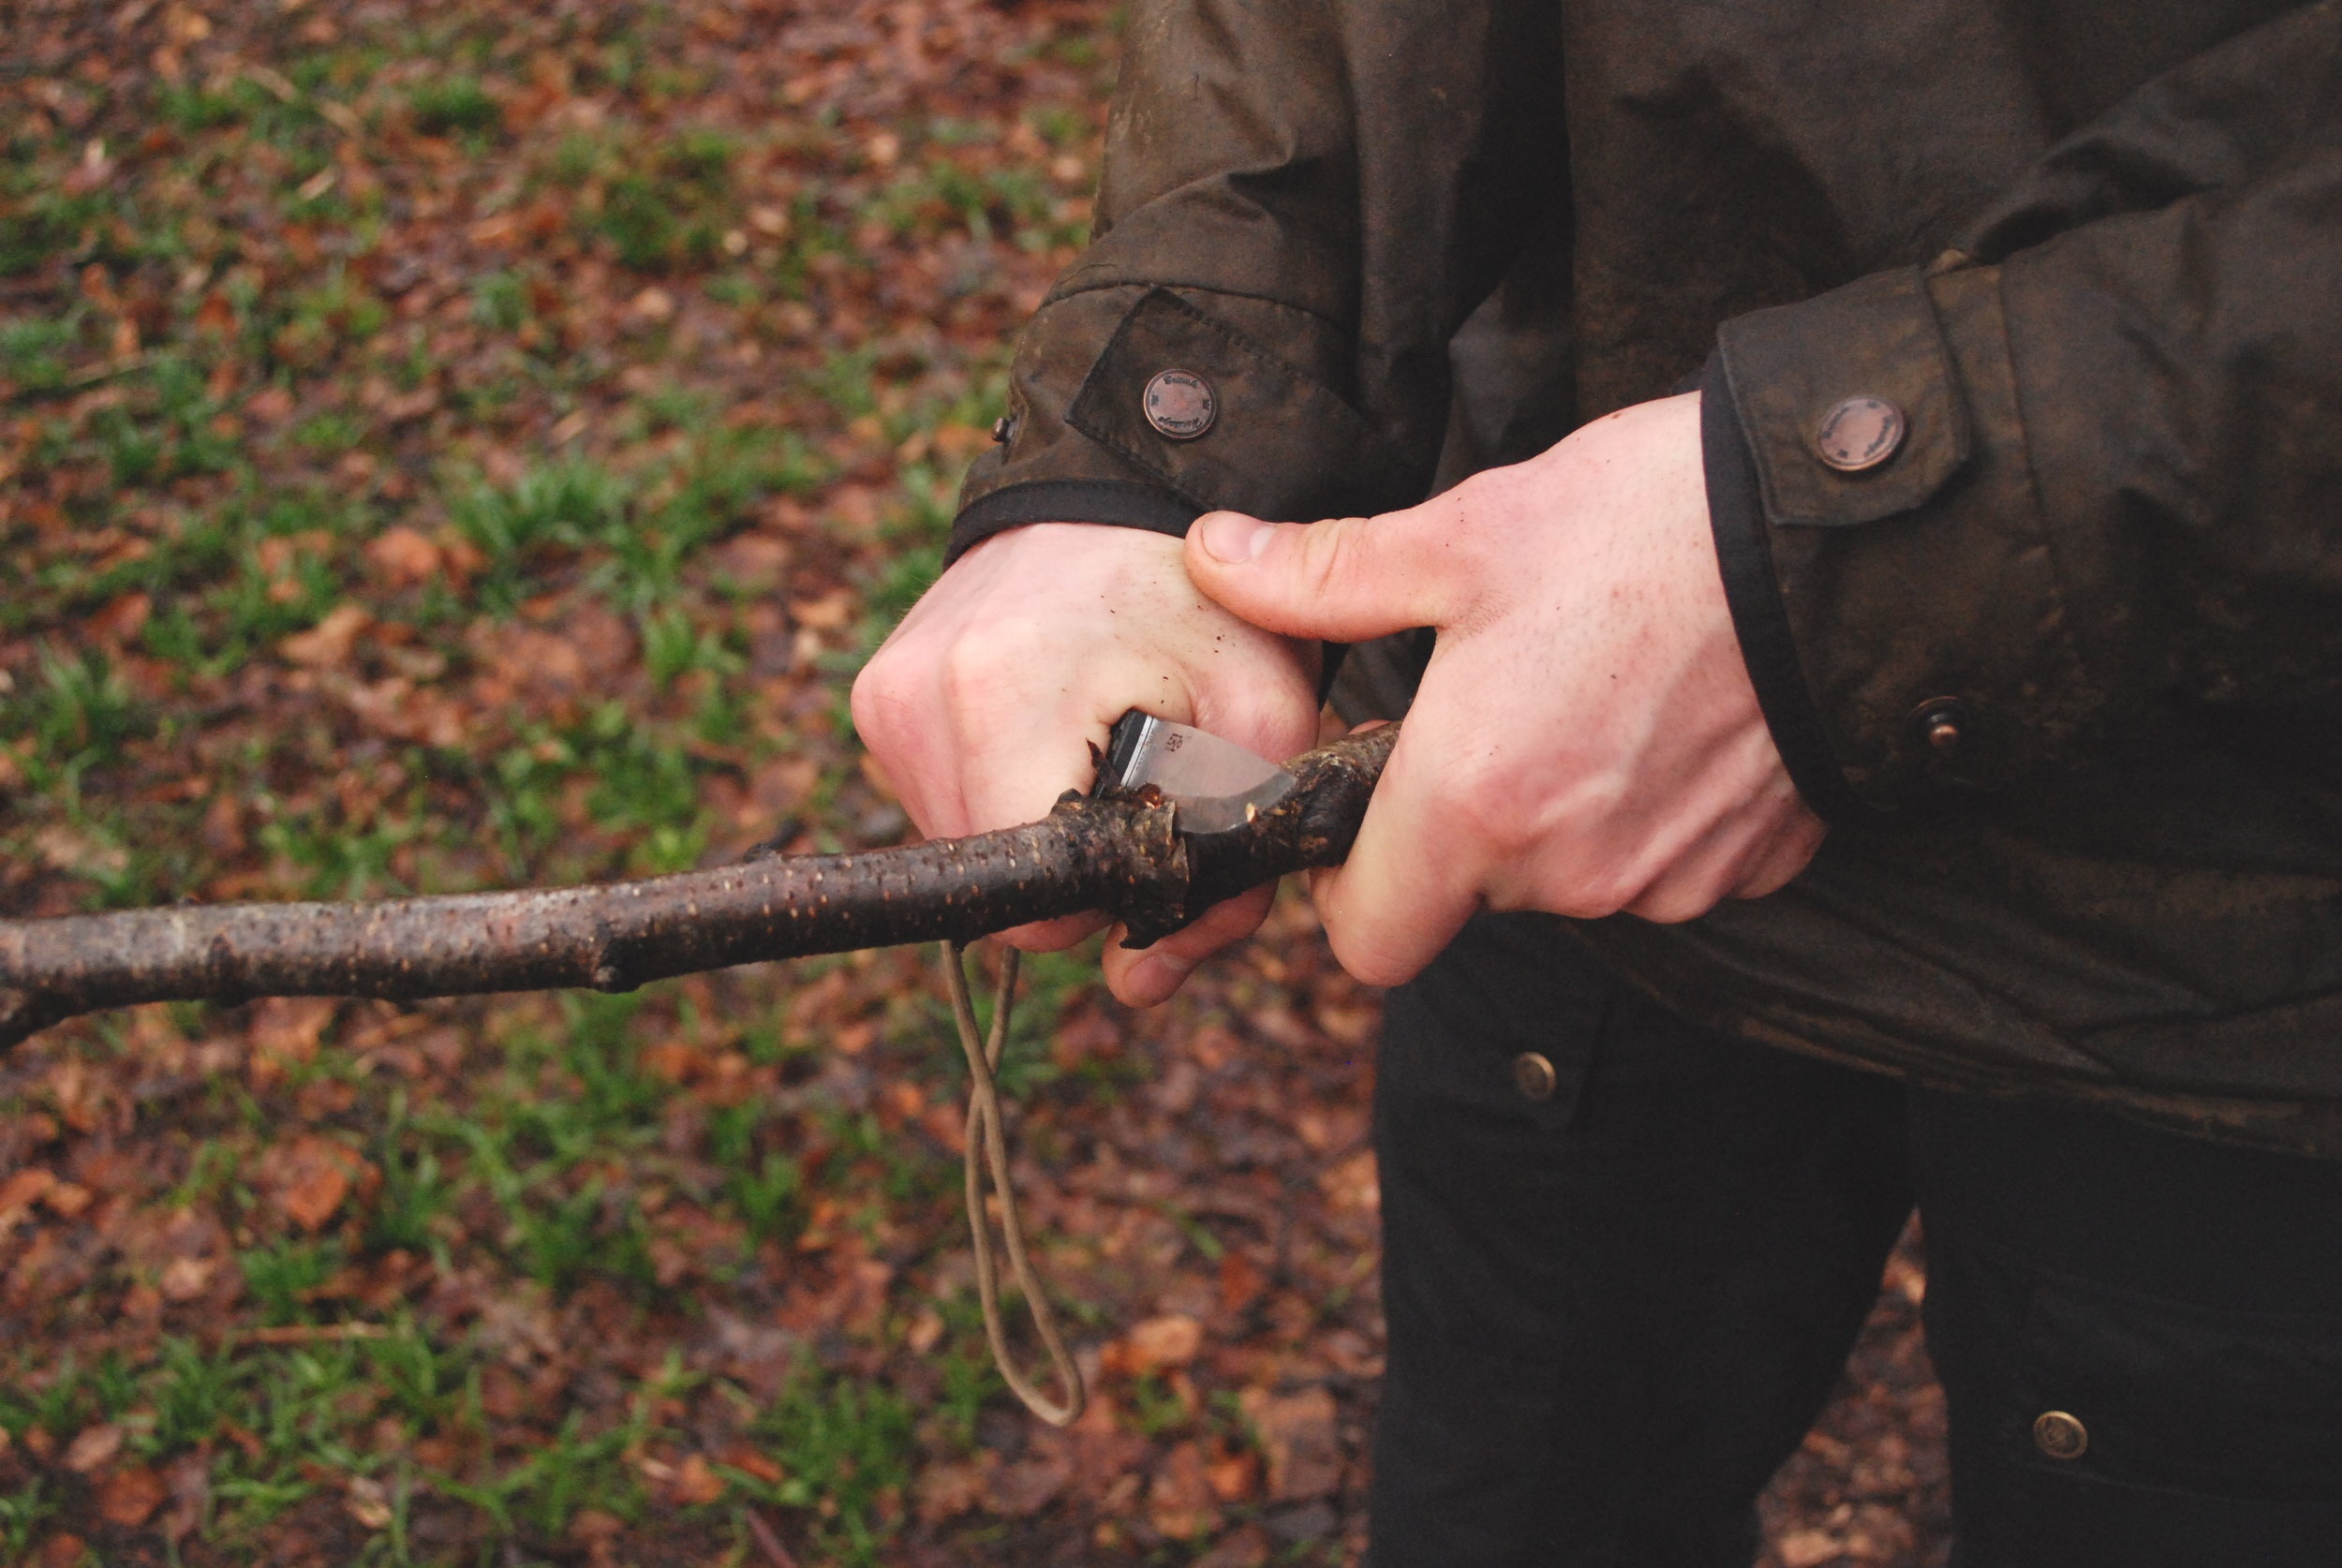
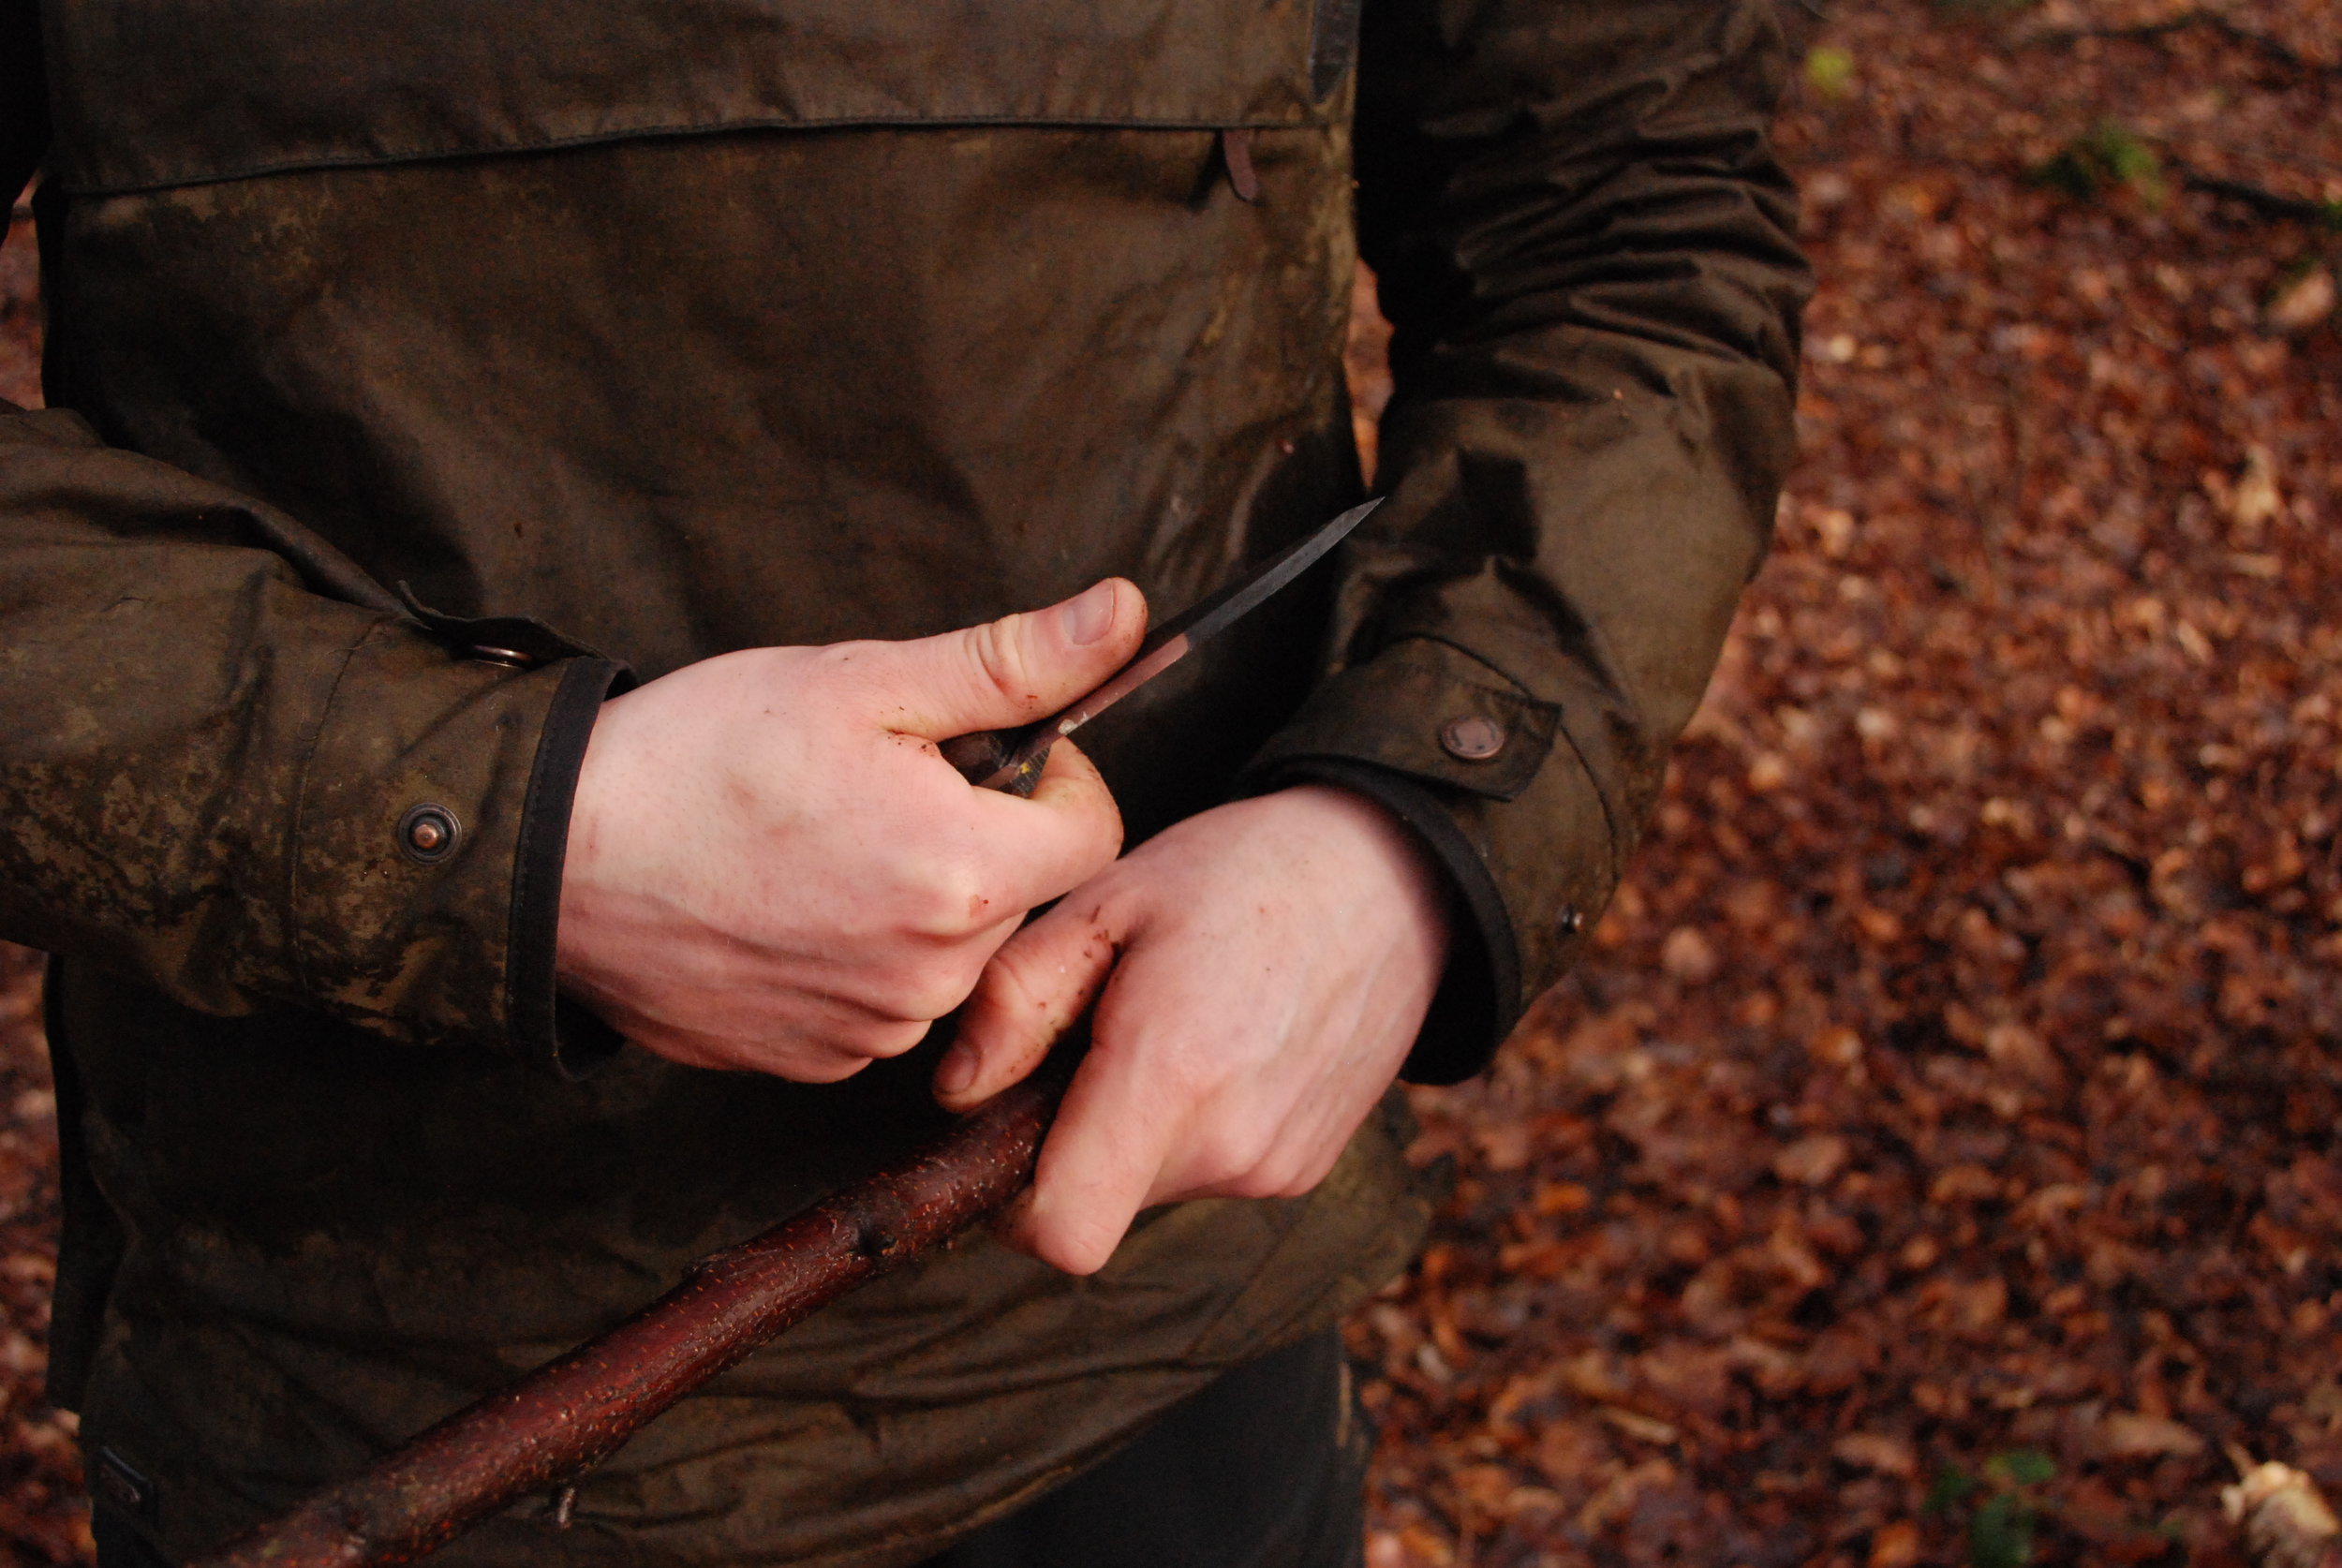
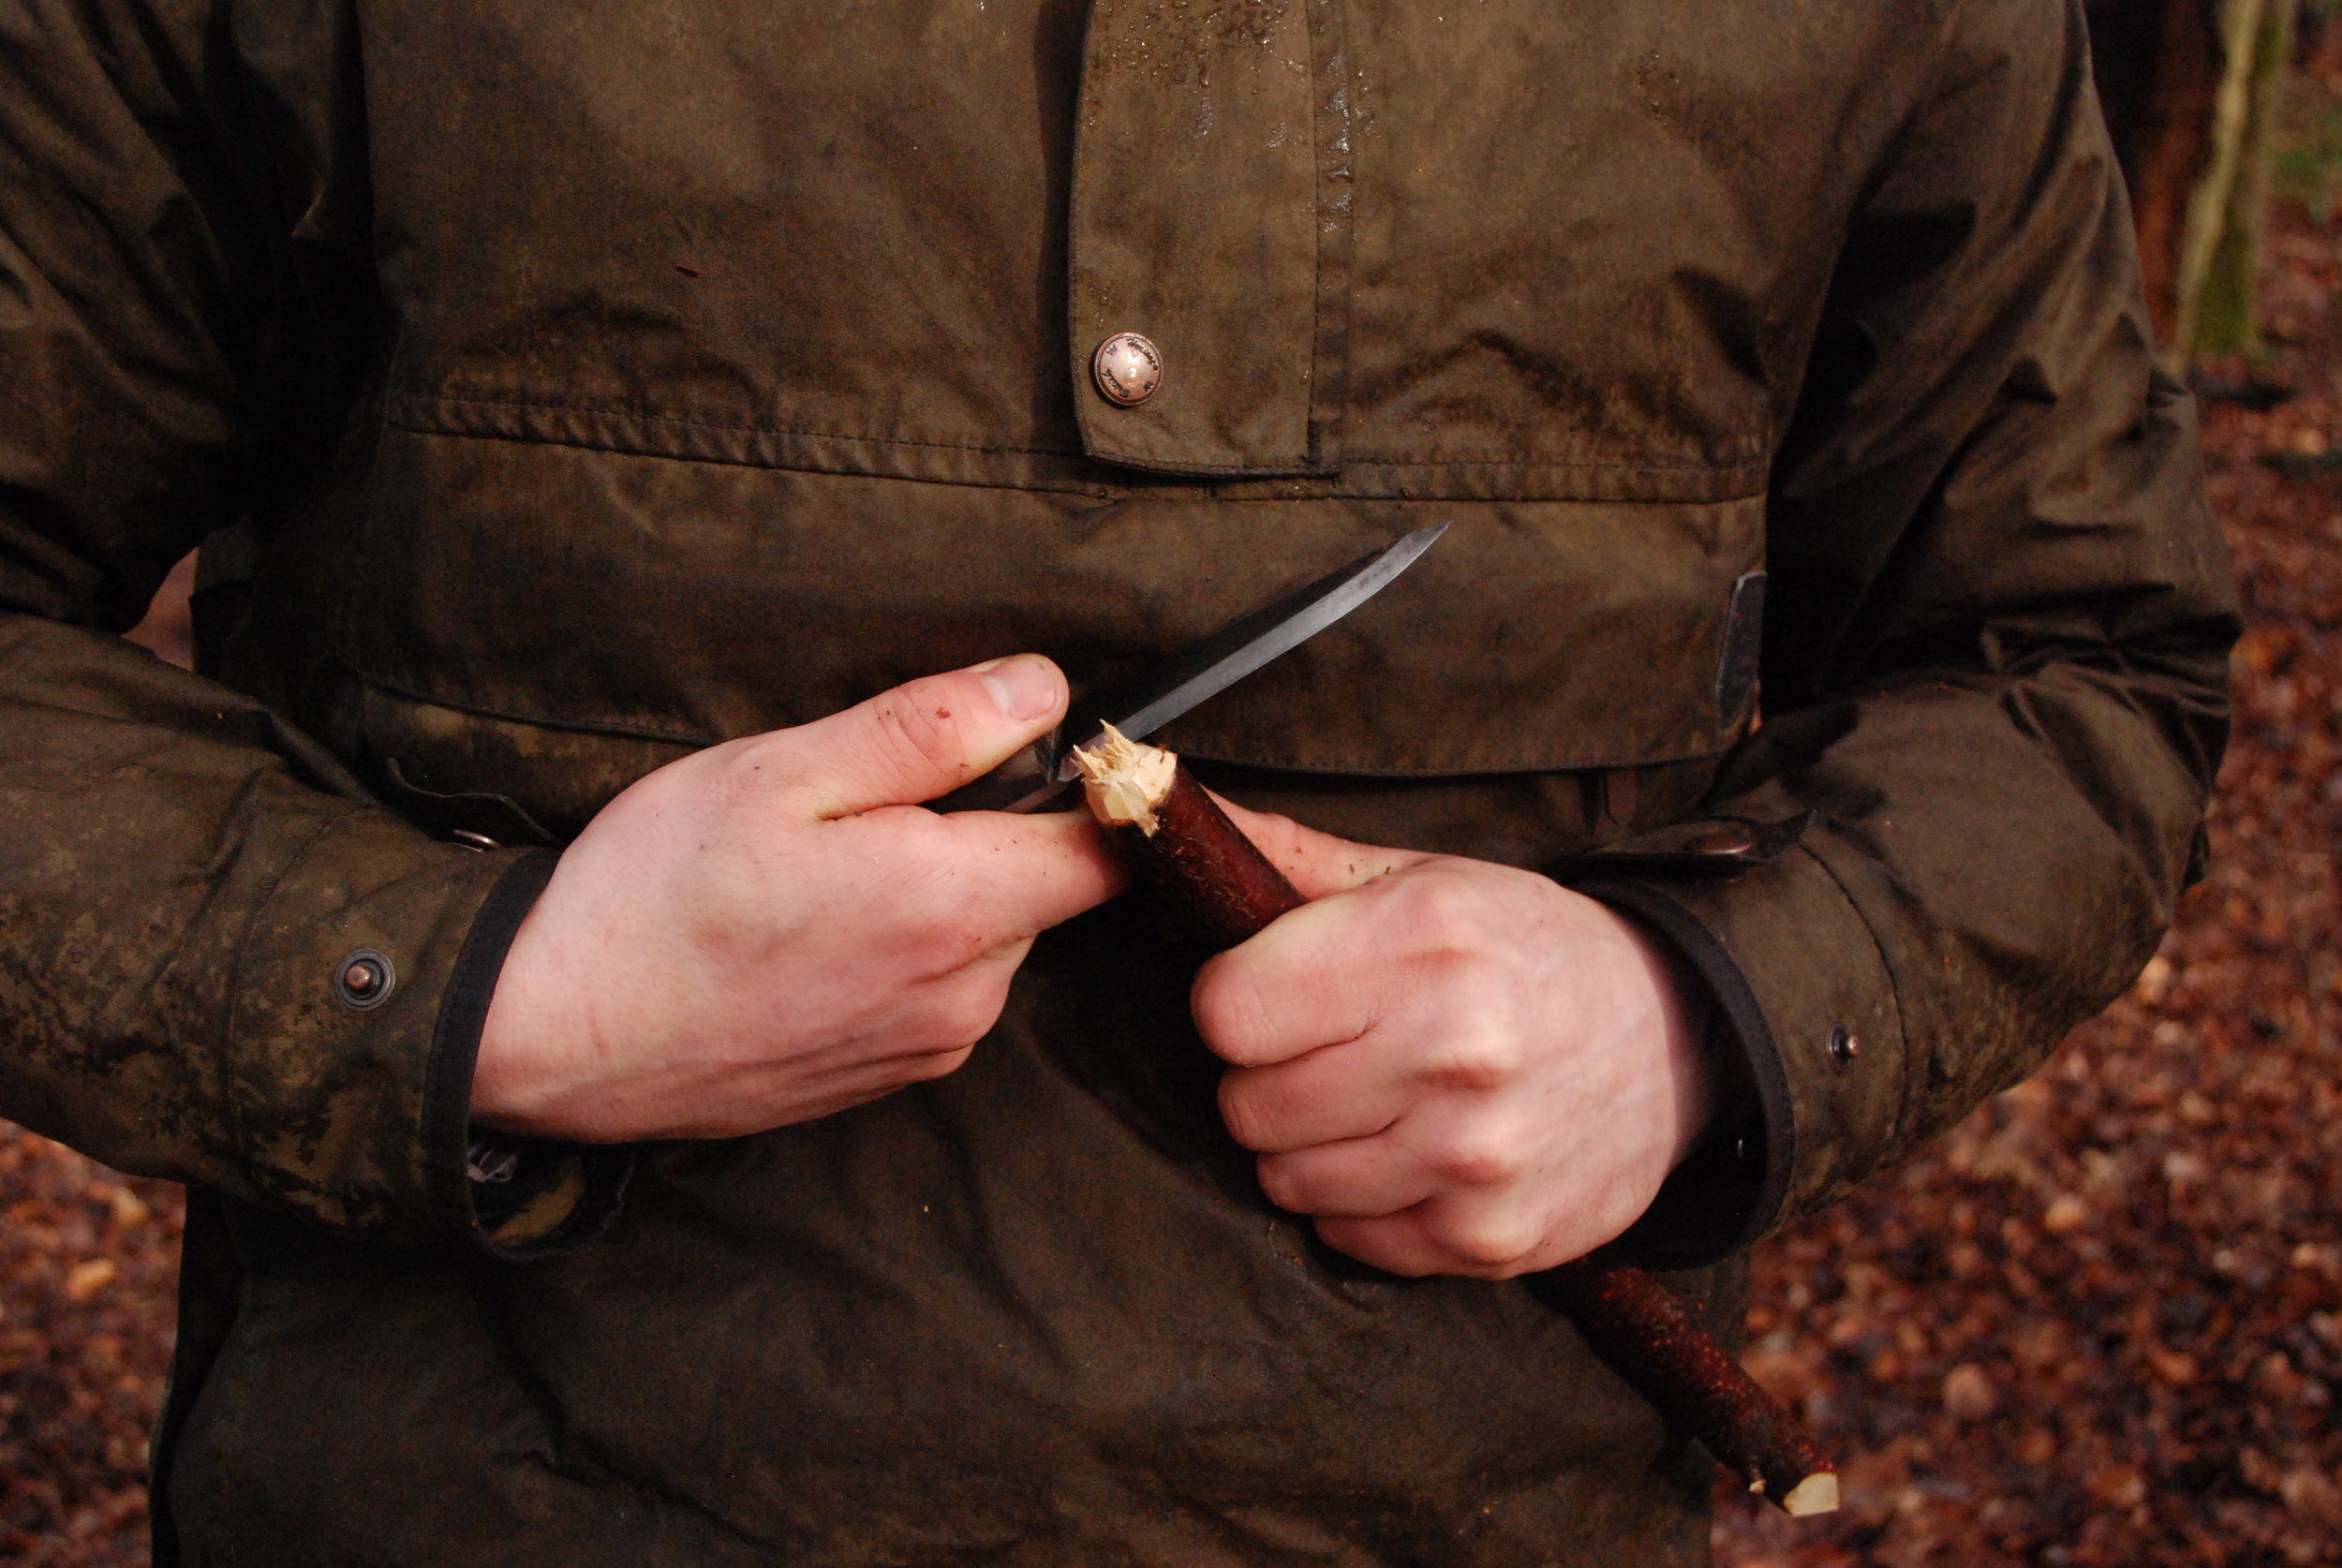
In order to make this impromptu stick usable, we must make just a few simple cuts. Here I’m using a pocket-knife, as for the most part in the UK I’ve no need of a full-size belt knife for just a day hike so I tend not to carry one. A ‘legal-carry’ folding knife can be pressed to most of the tasks I could ask for during a day hike, or an unexpected overnight stay in the woods.
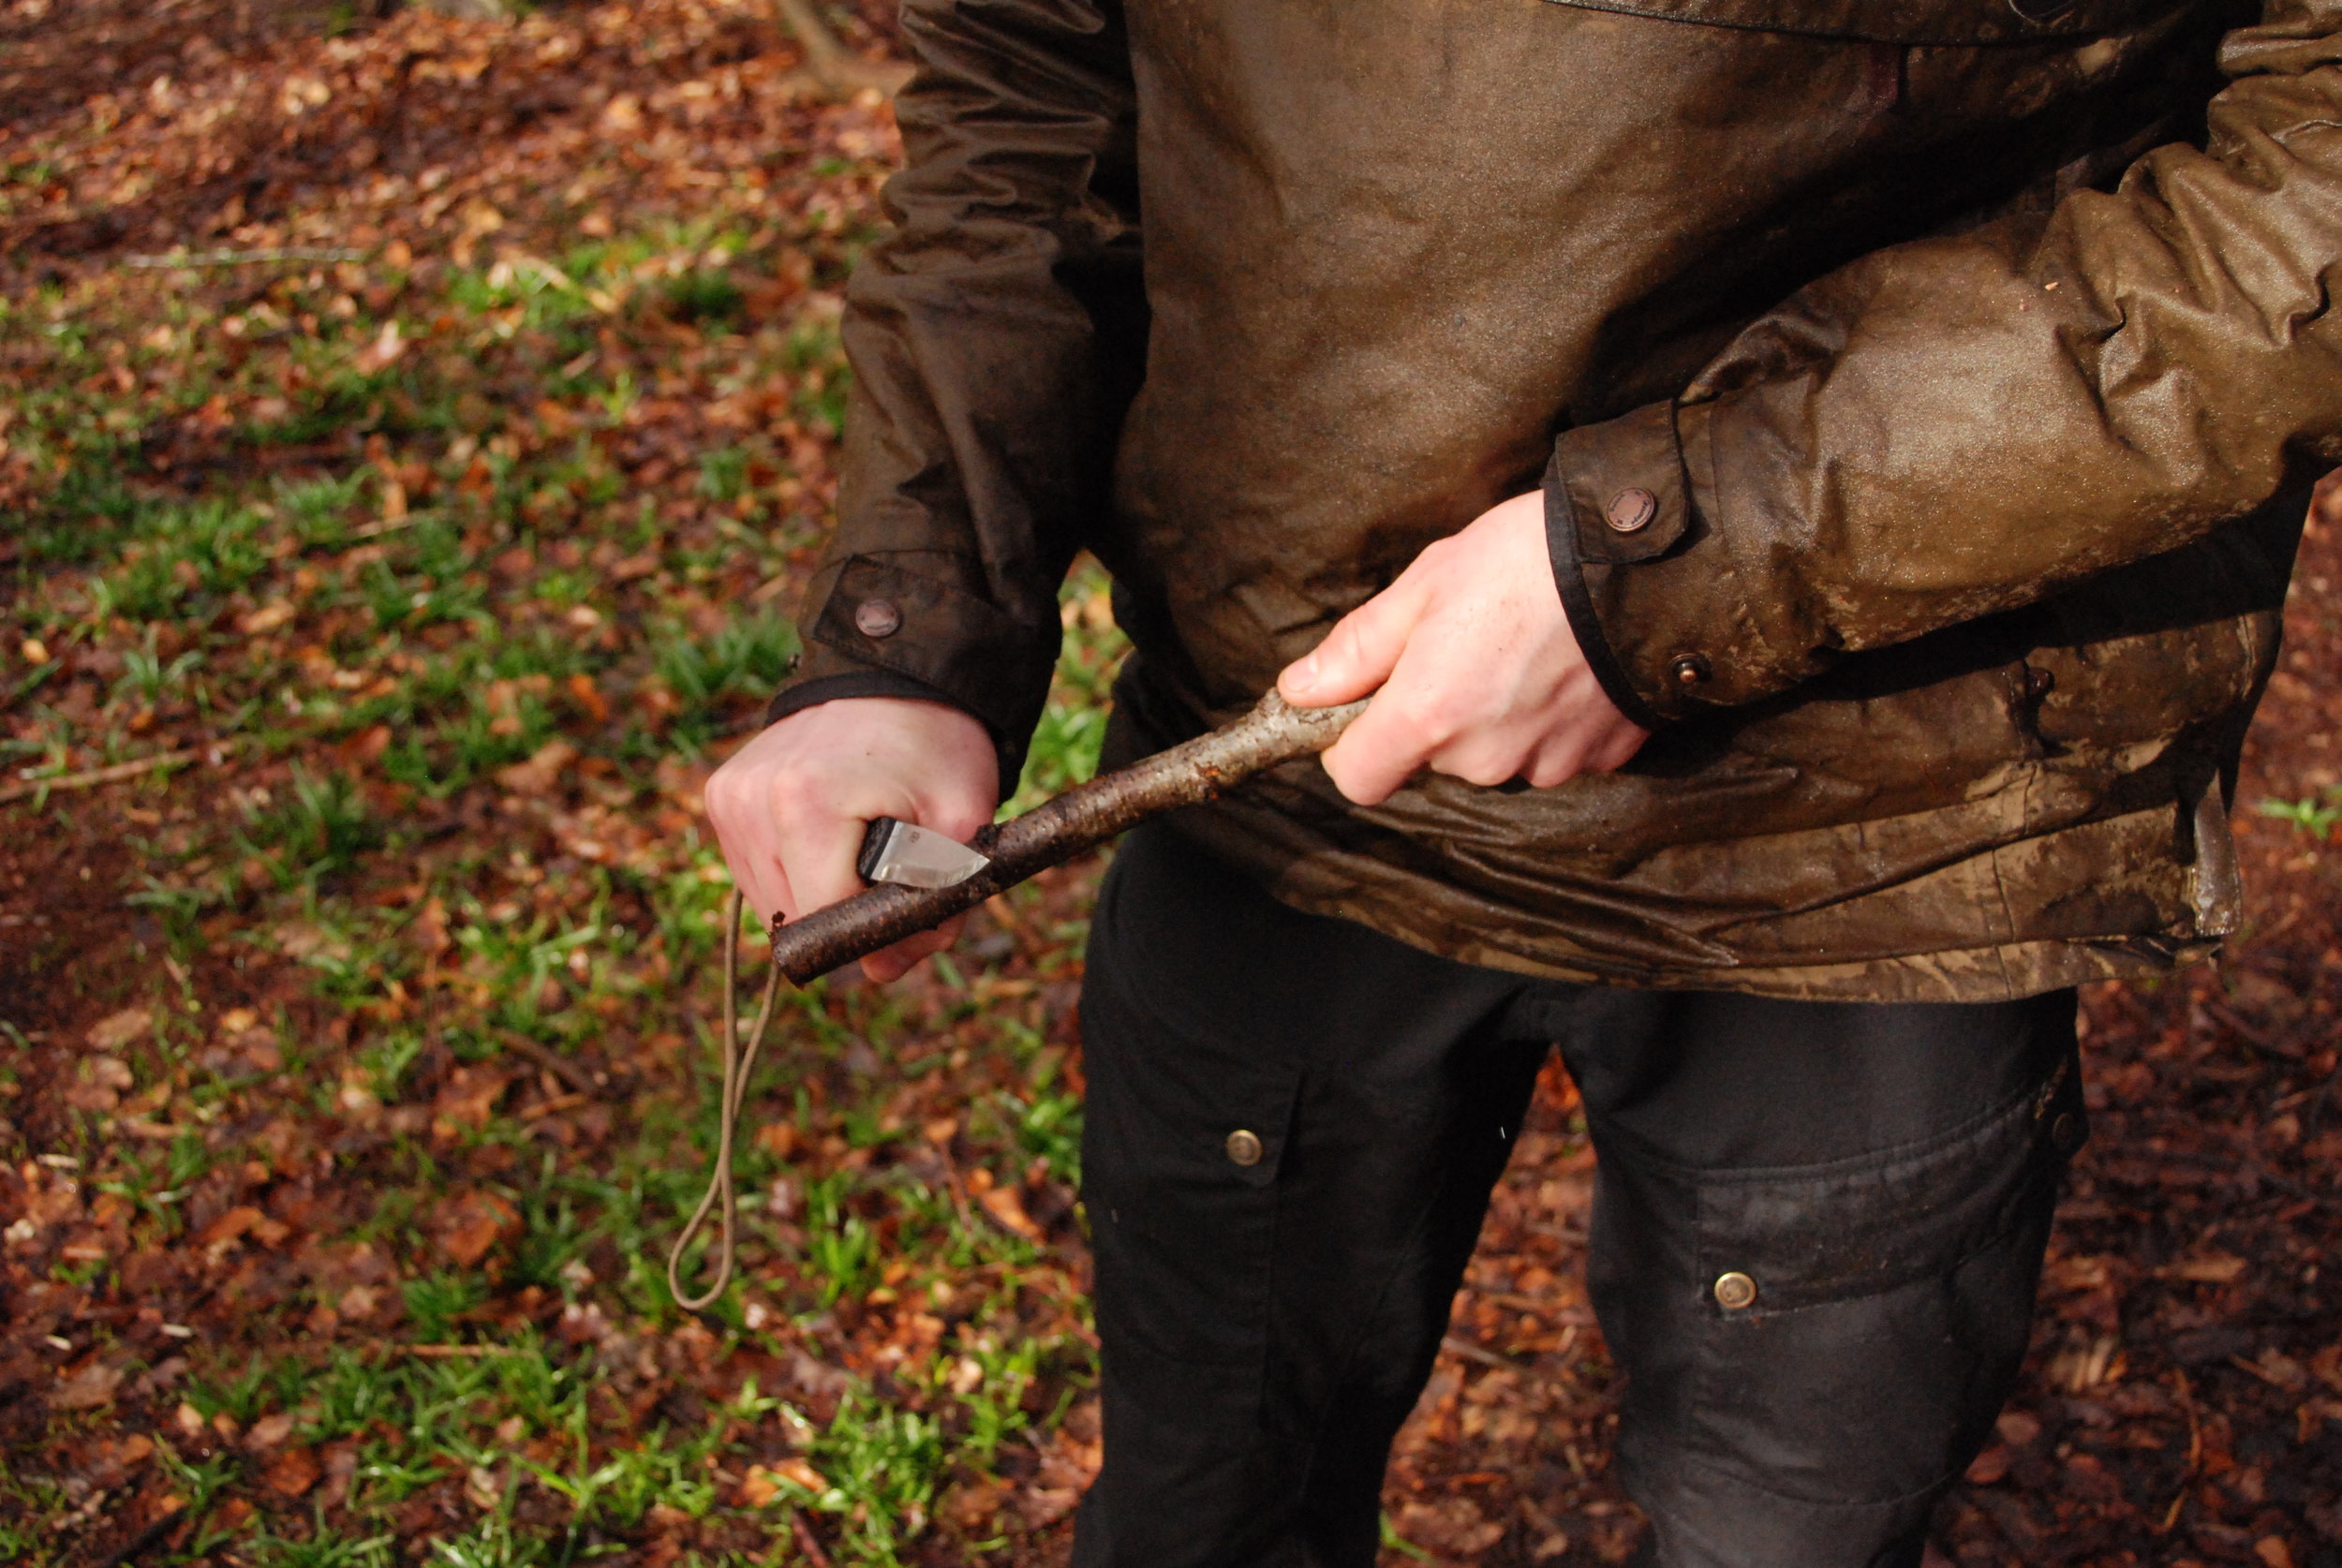

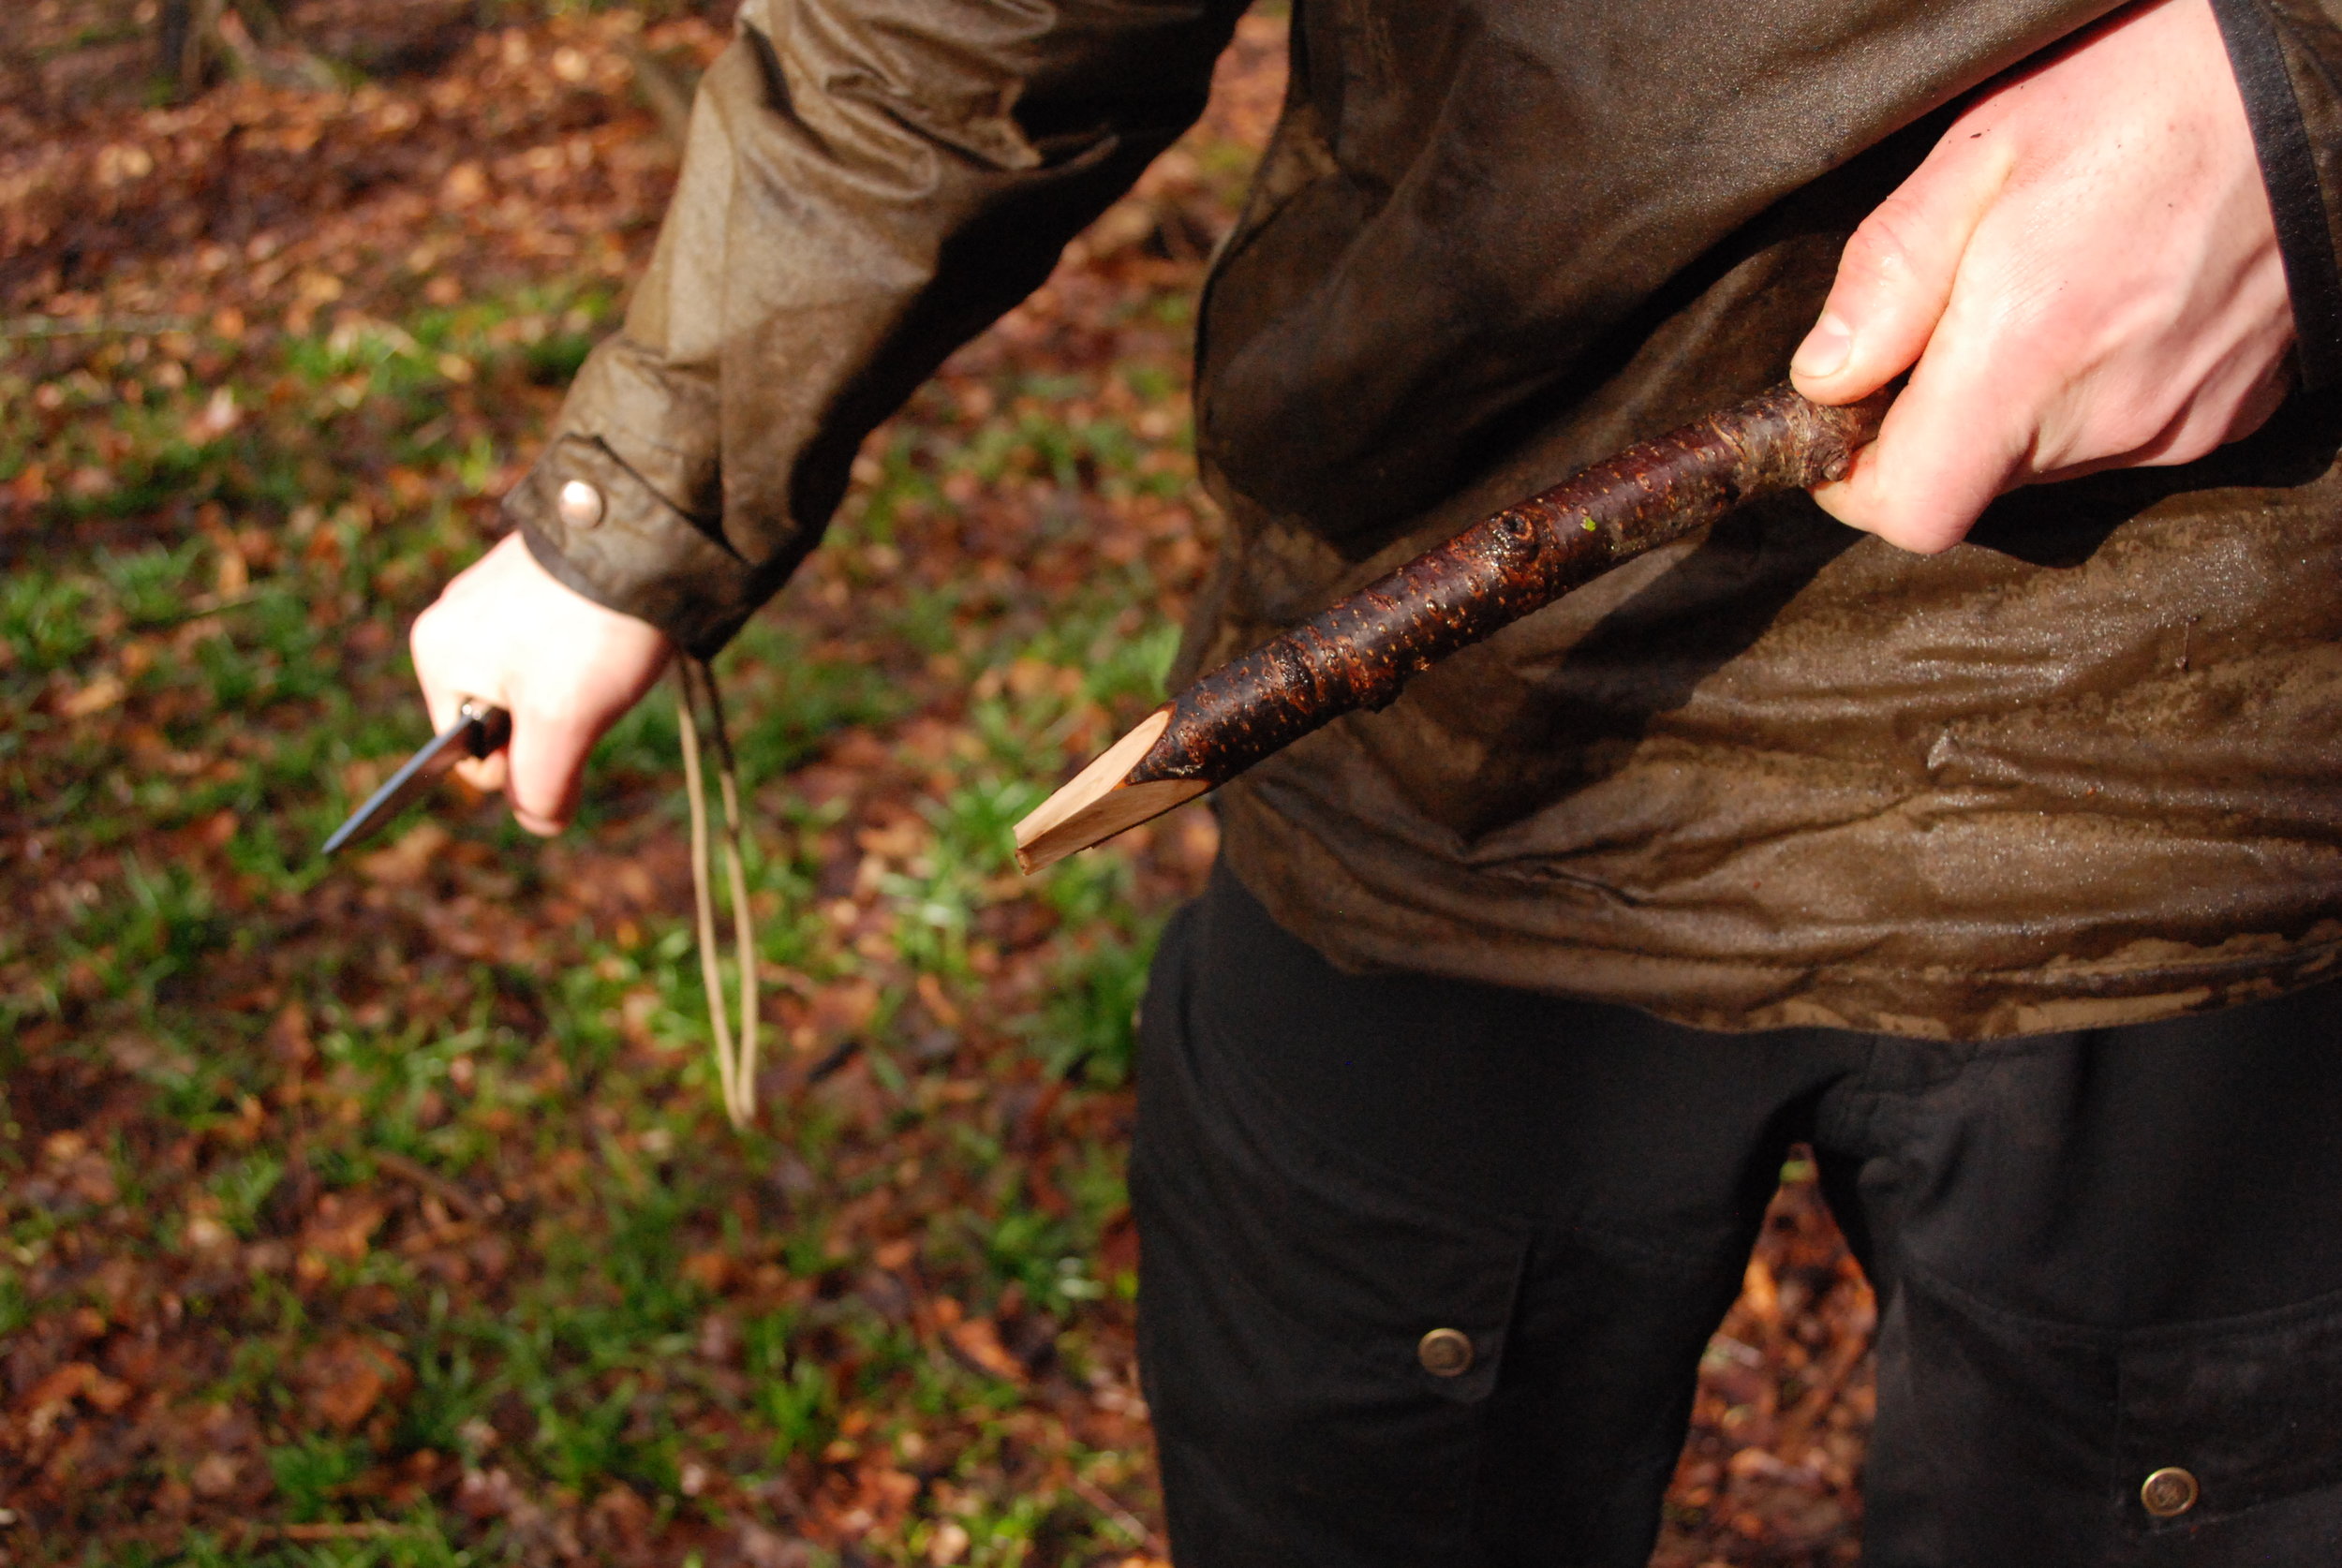
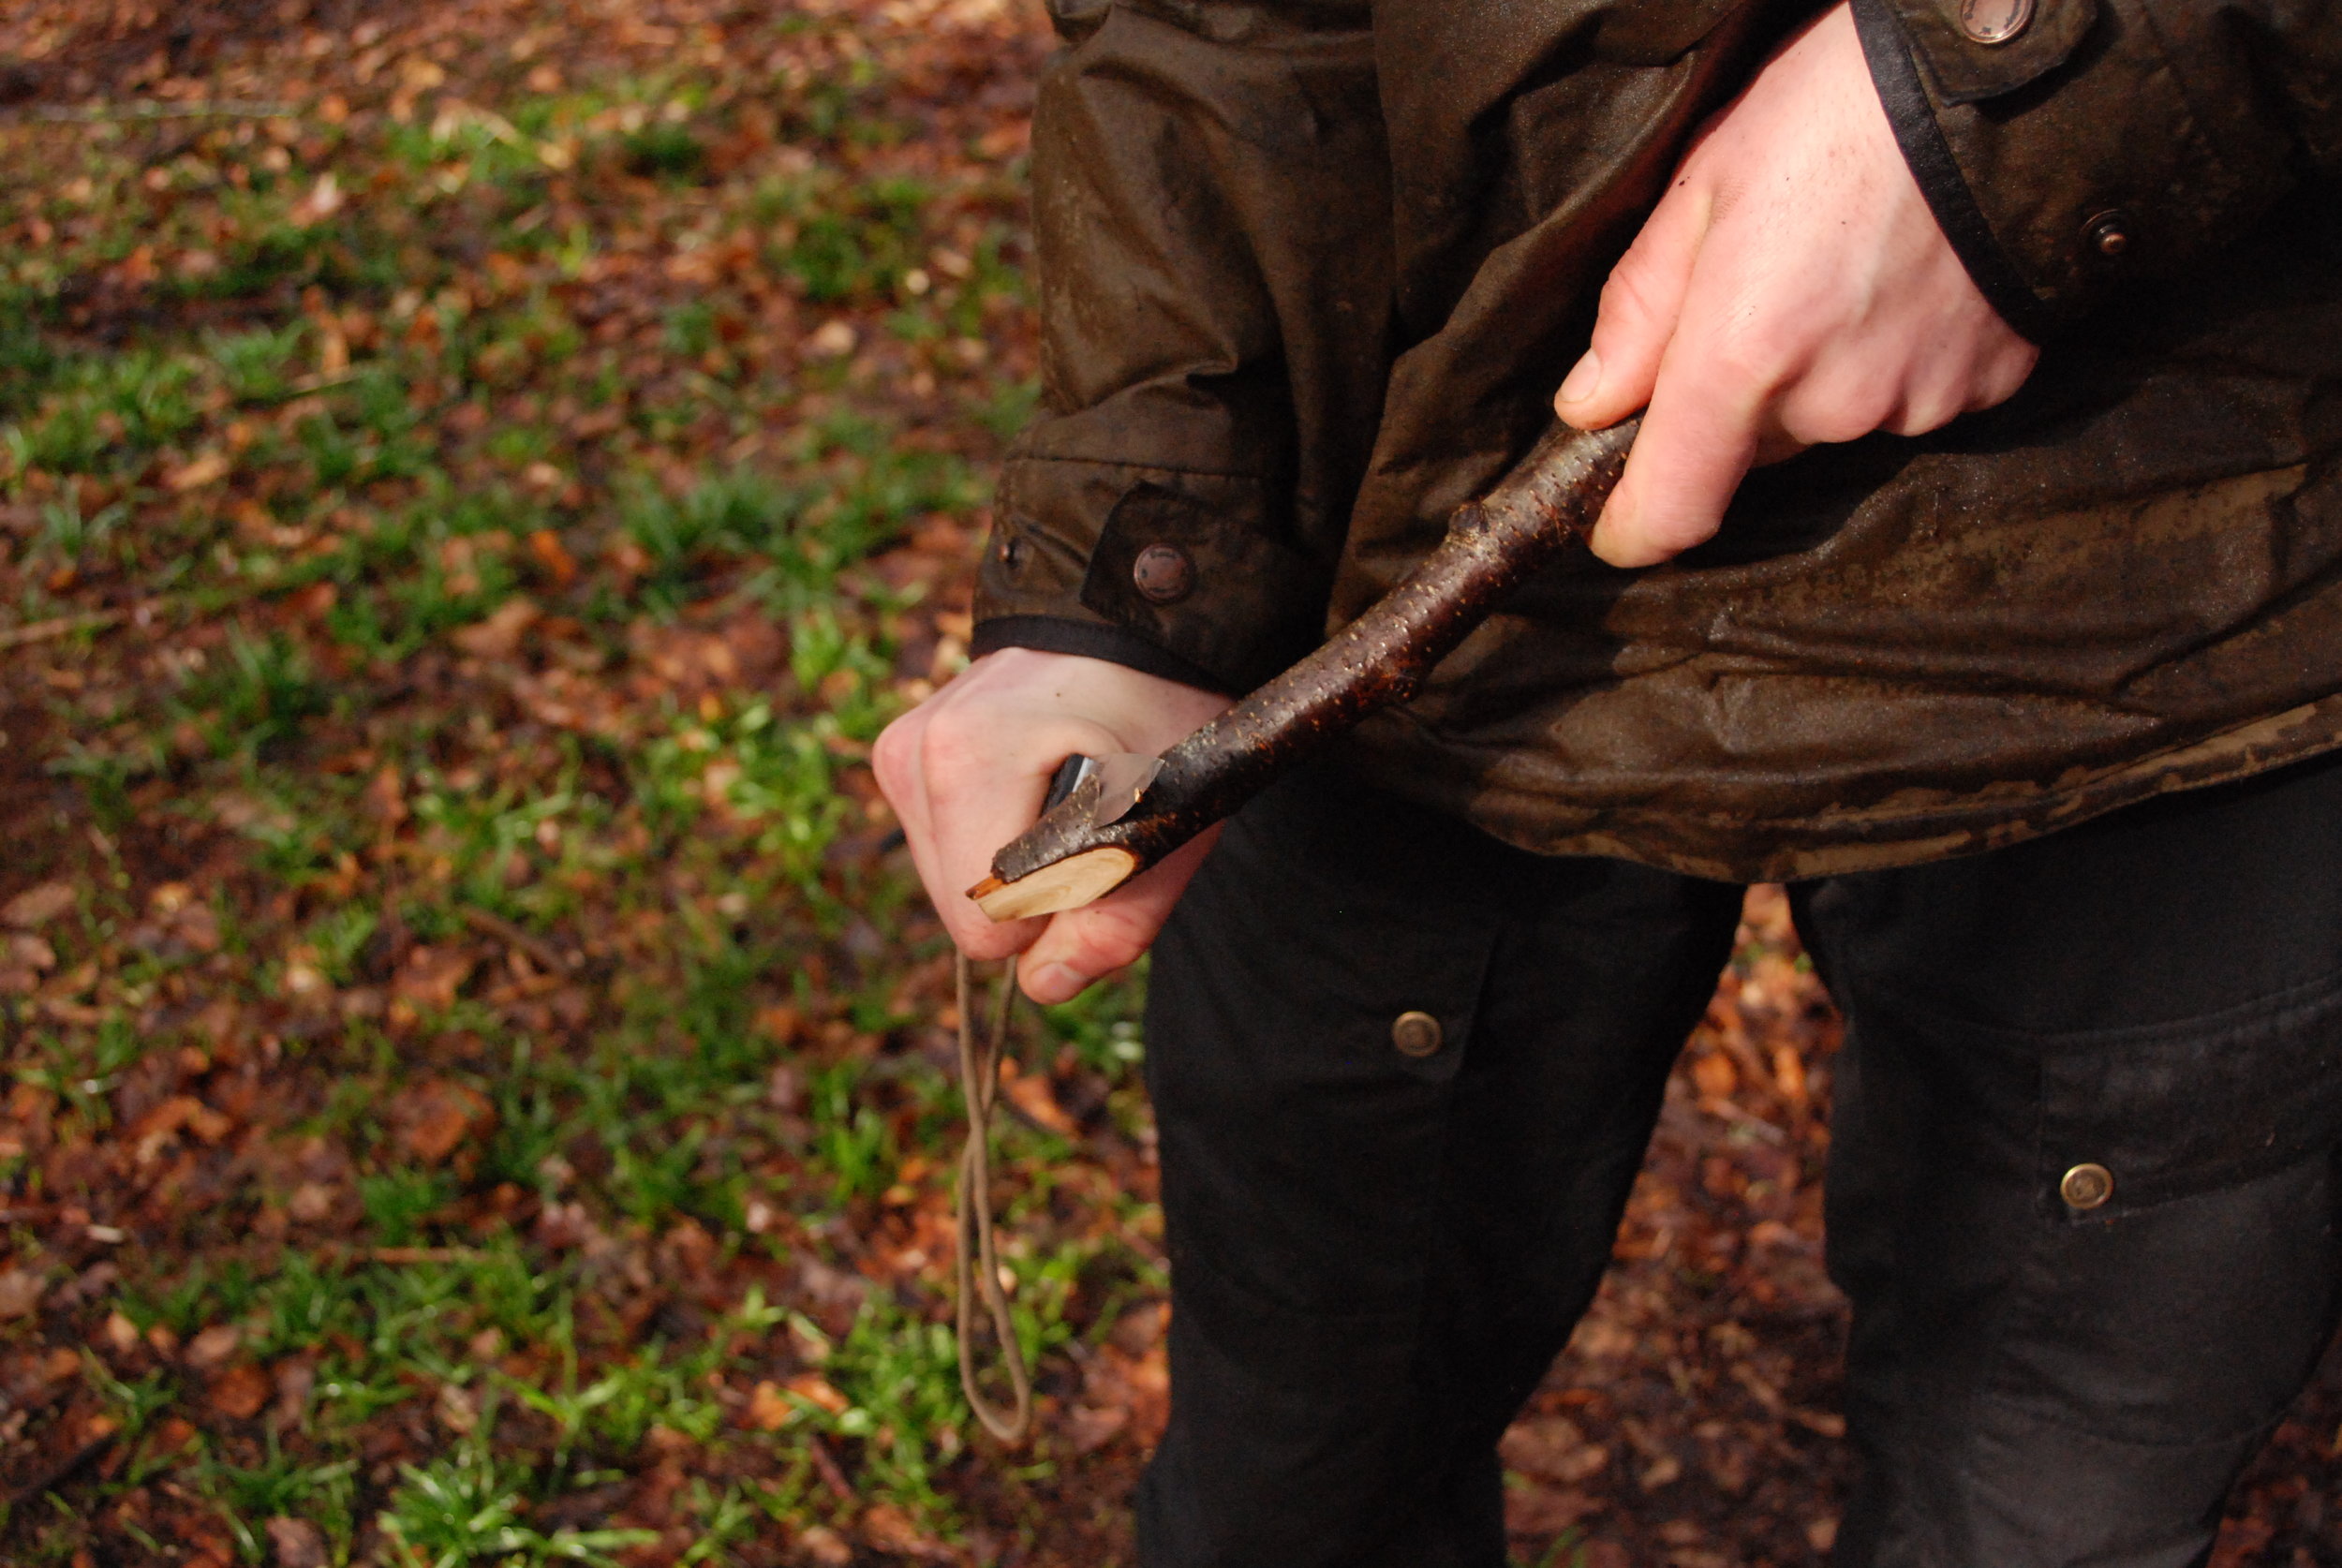
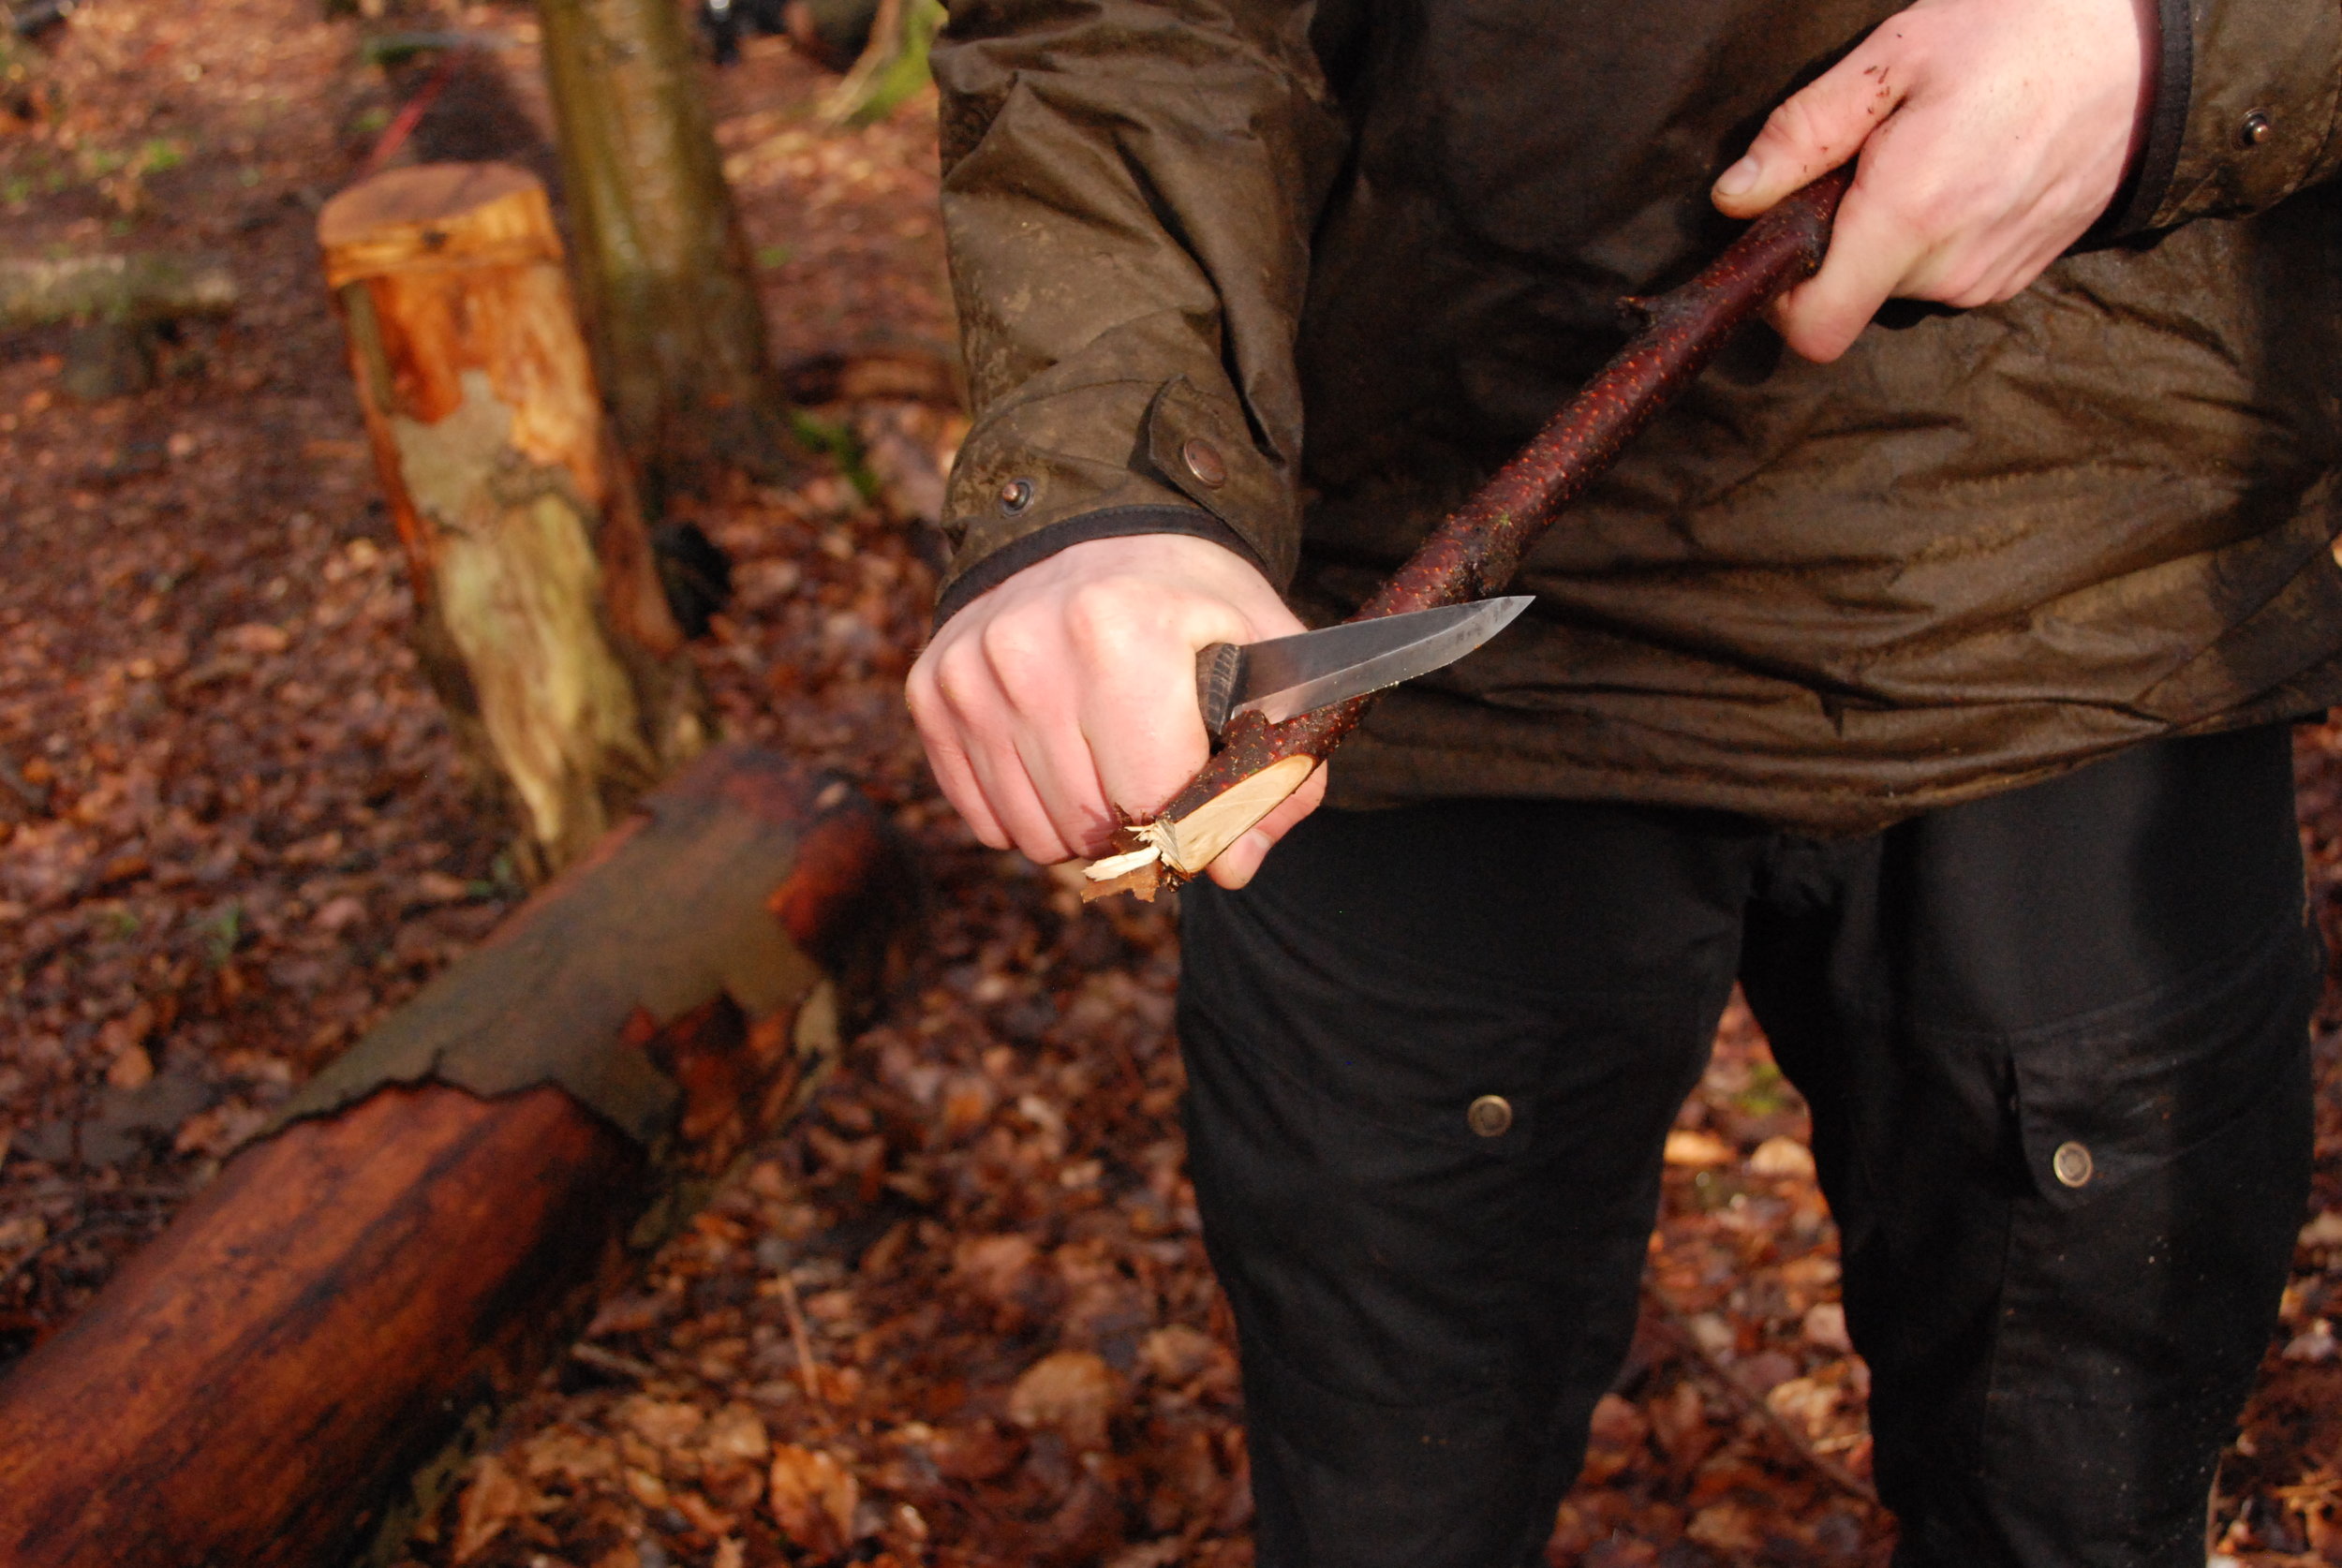
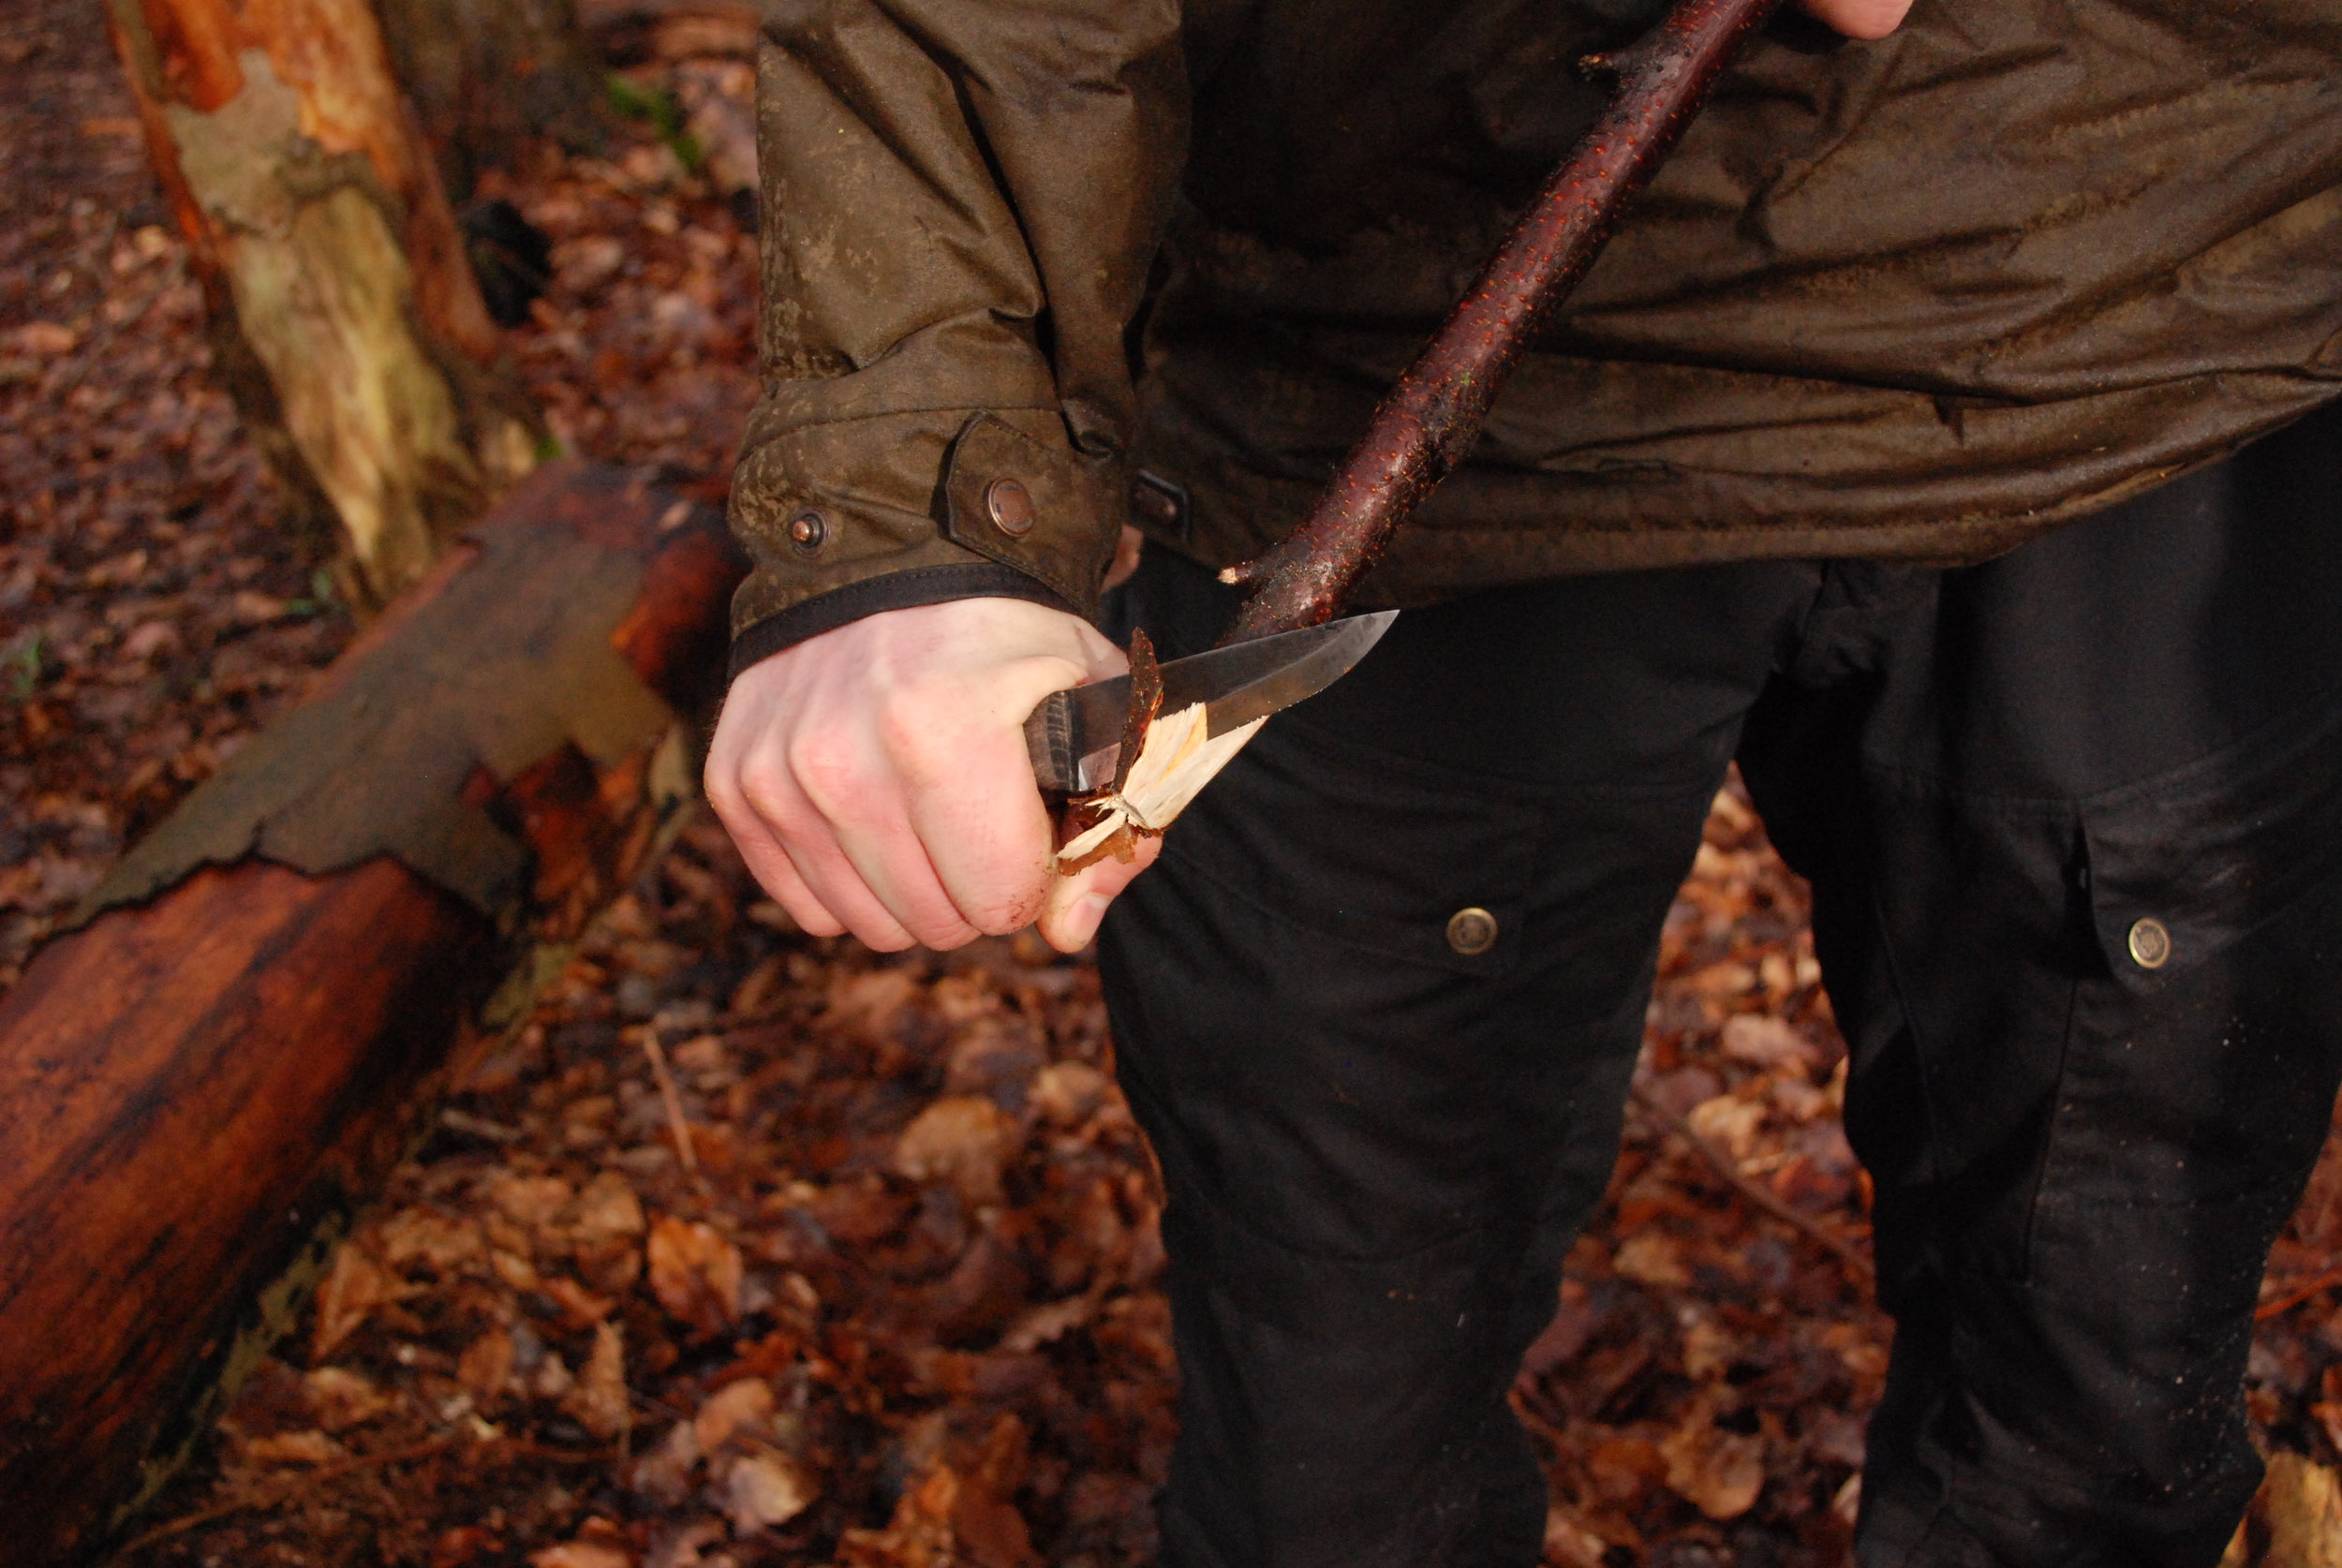
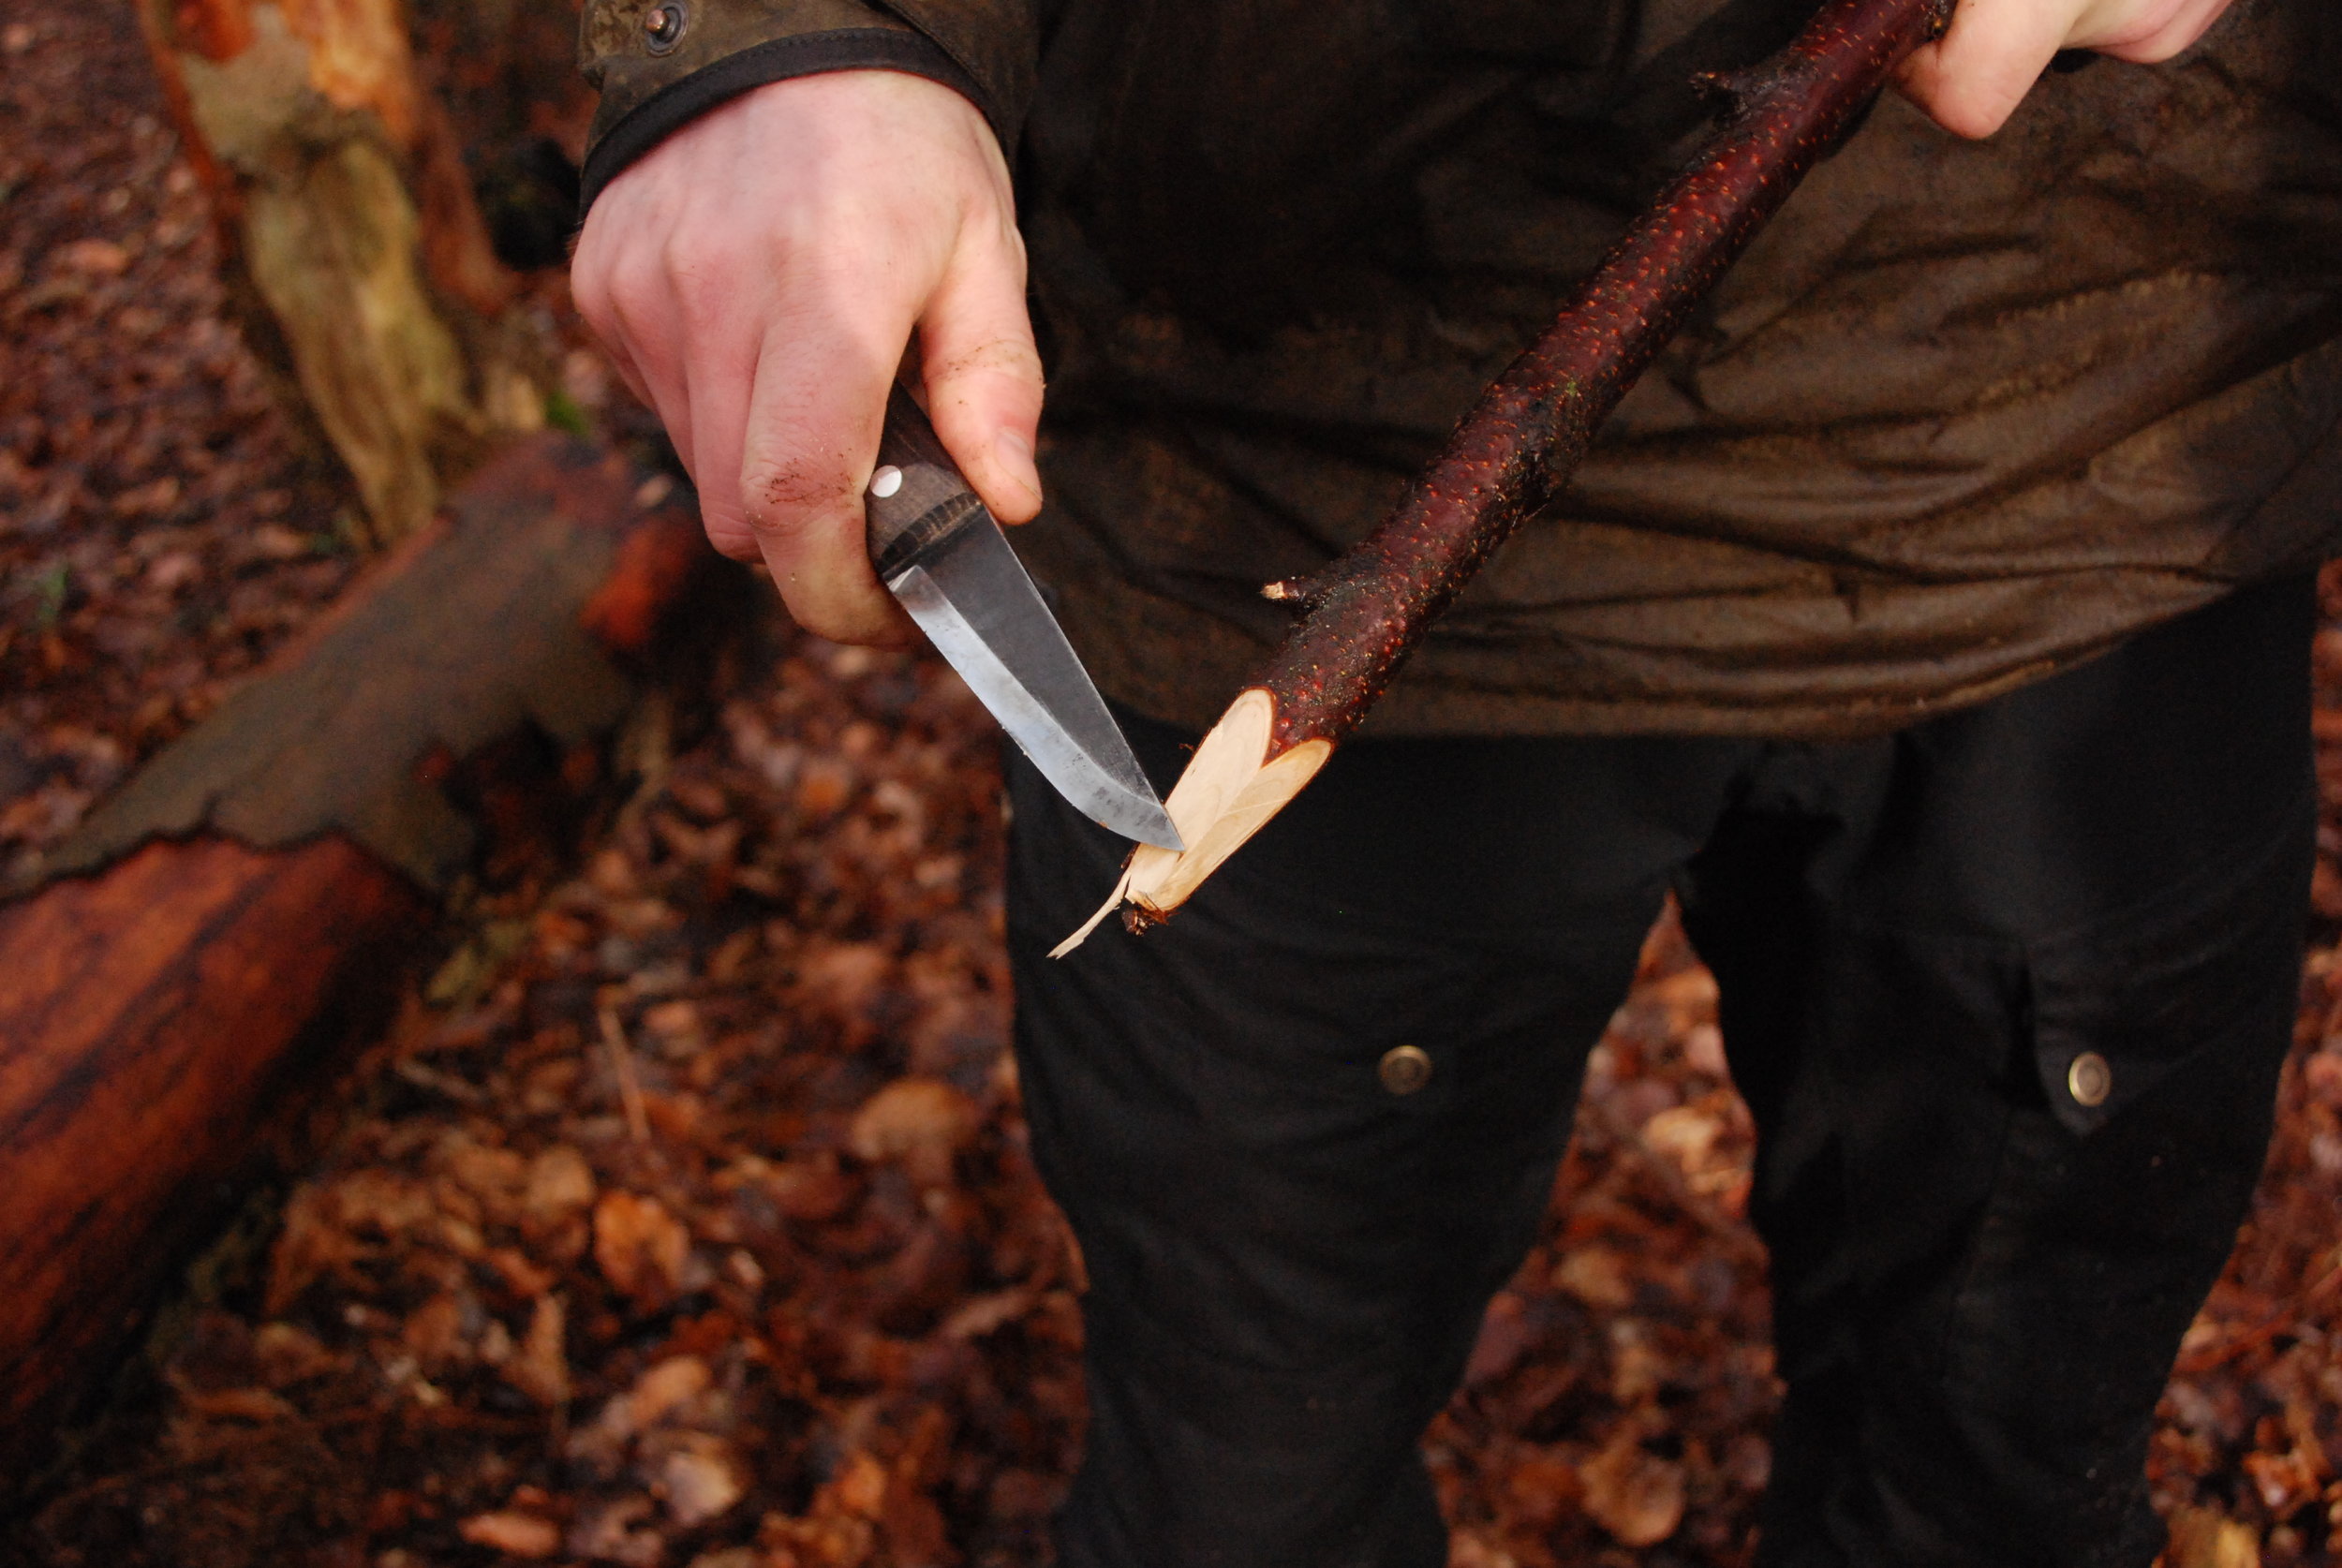
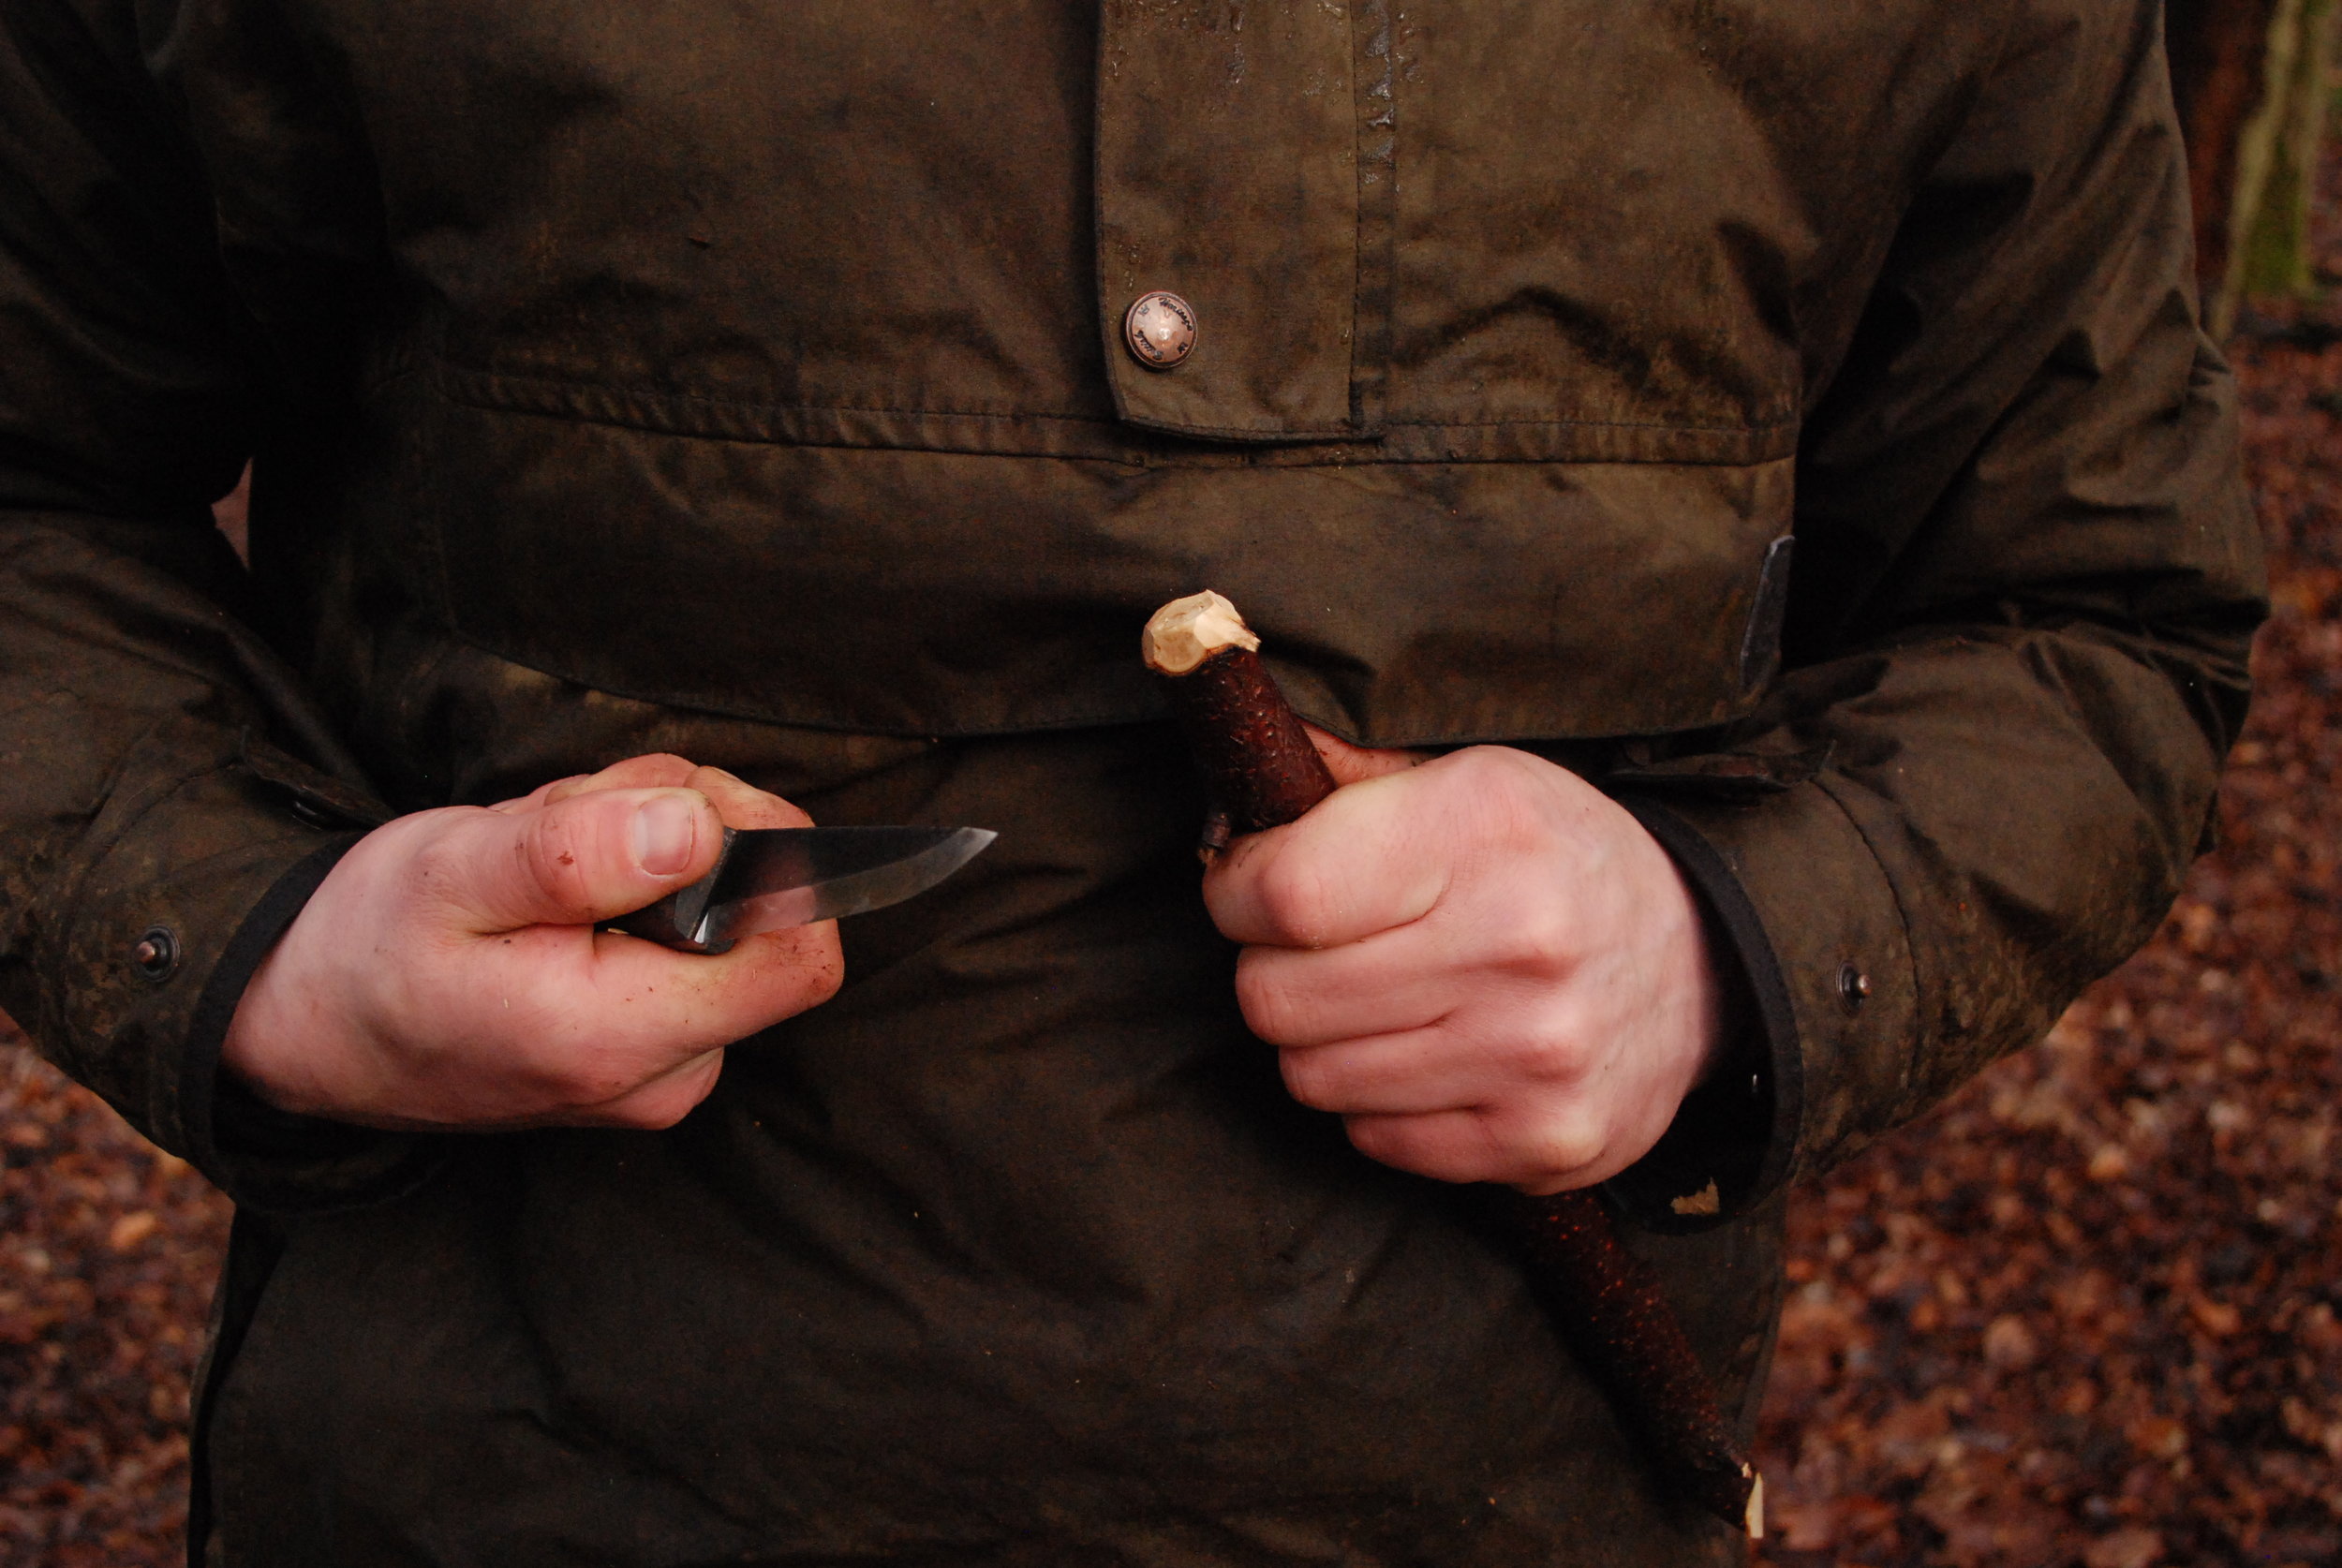
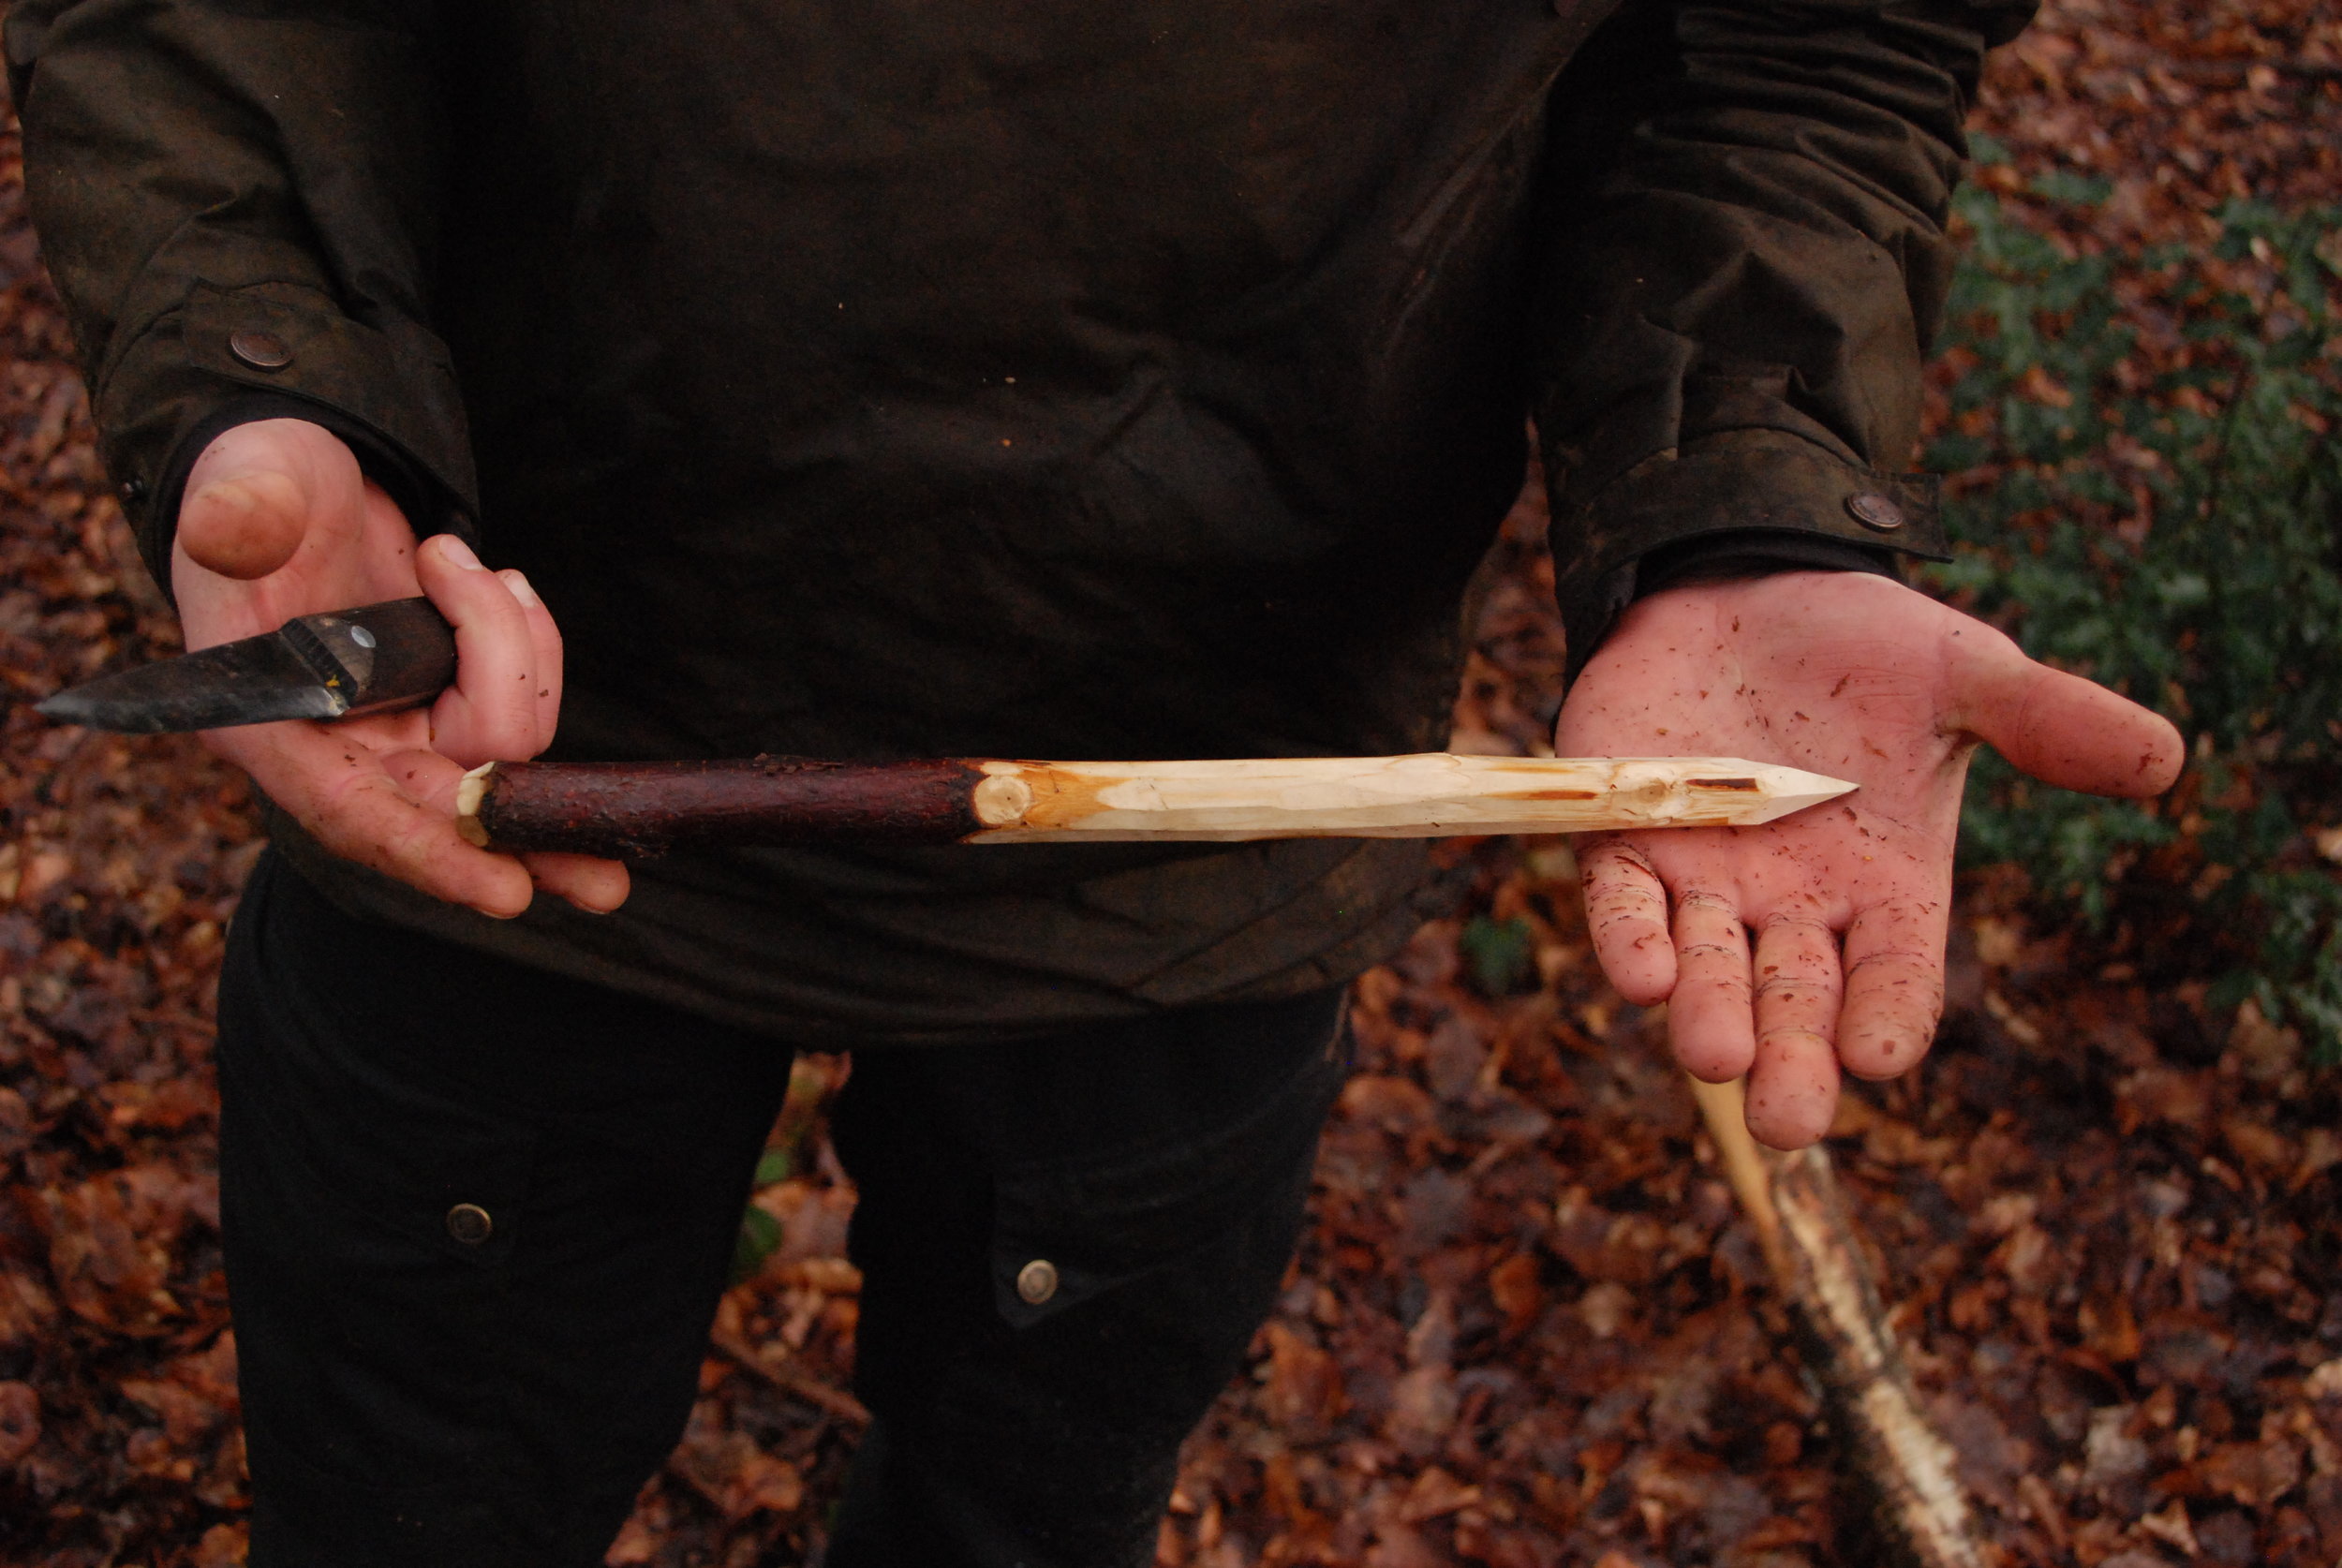
As you can see in the images above, using a strong forehand grip you can cleaning make a point in the stick with a folding knife. For efficiency I carve a 3 sided point, slicing across each face in turn to quickly form a strong point.
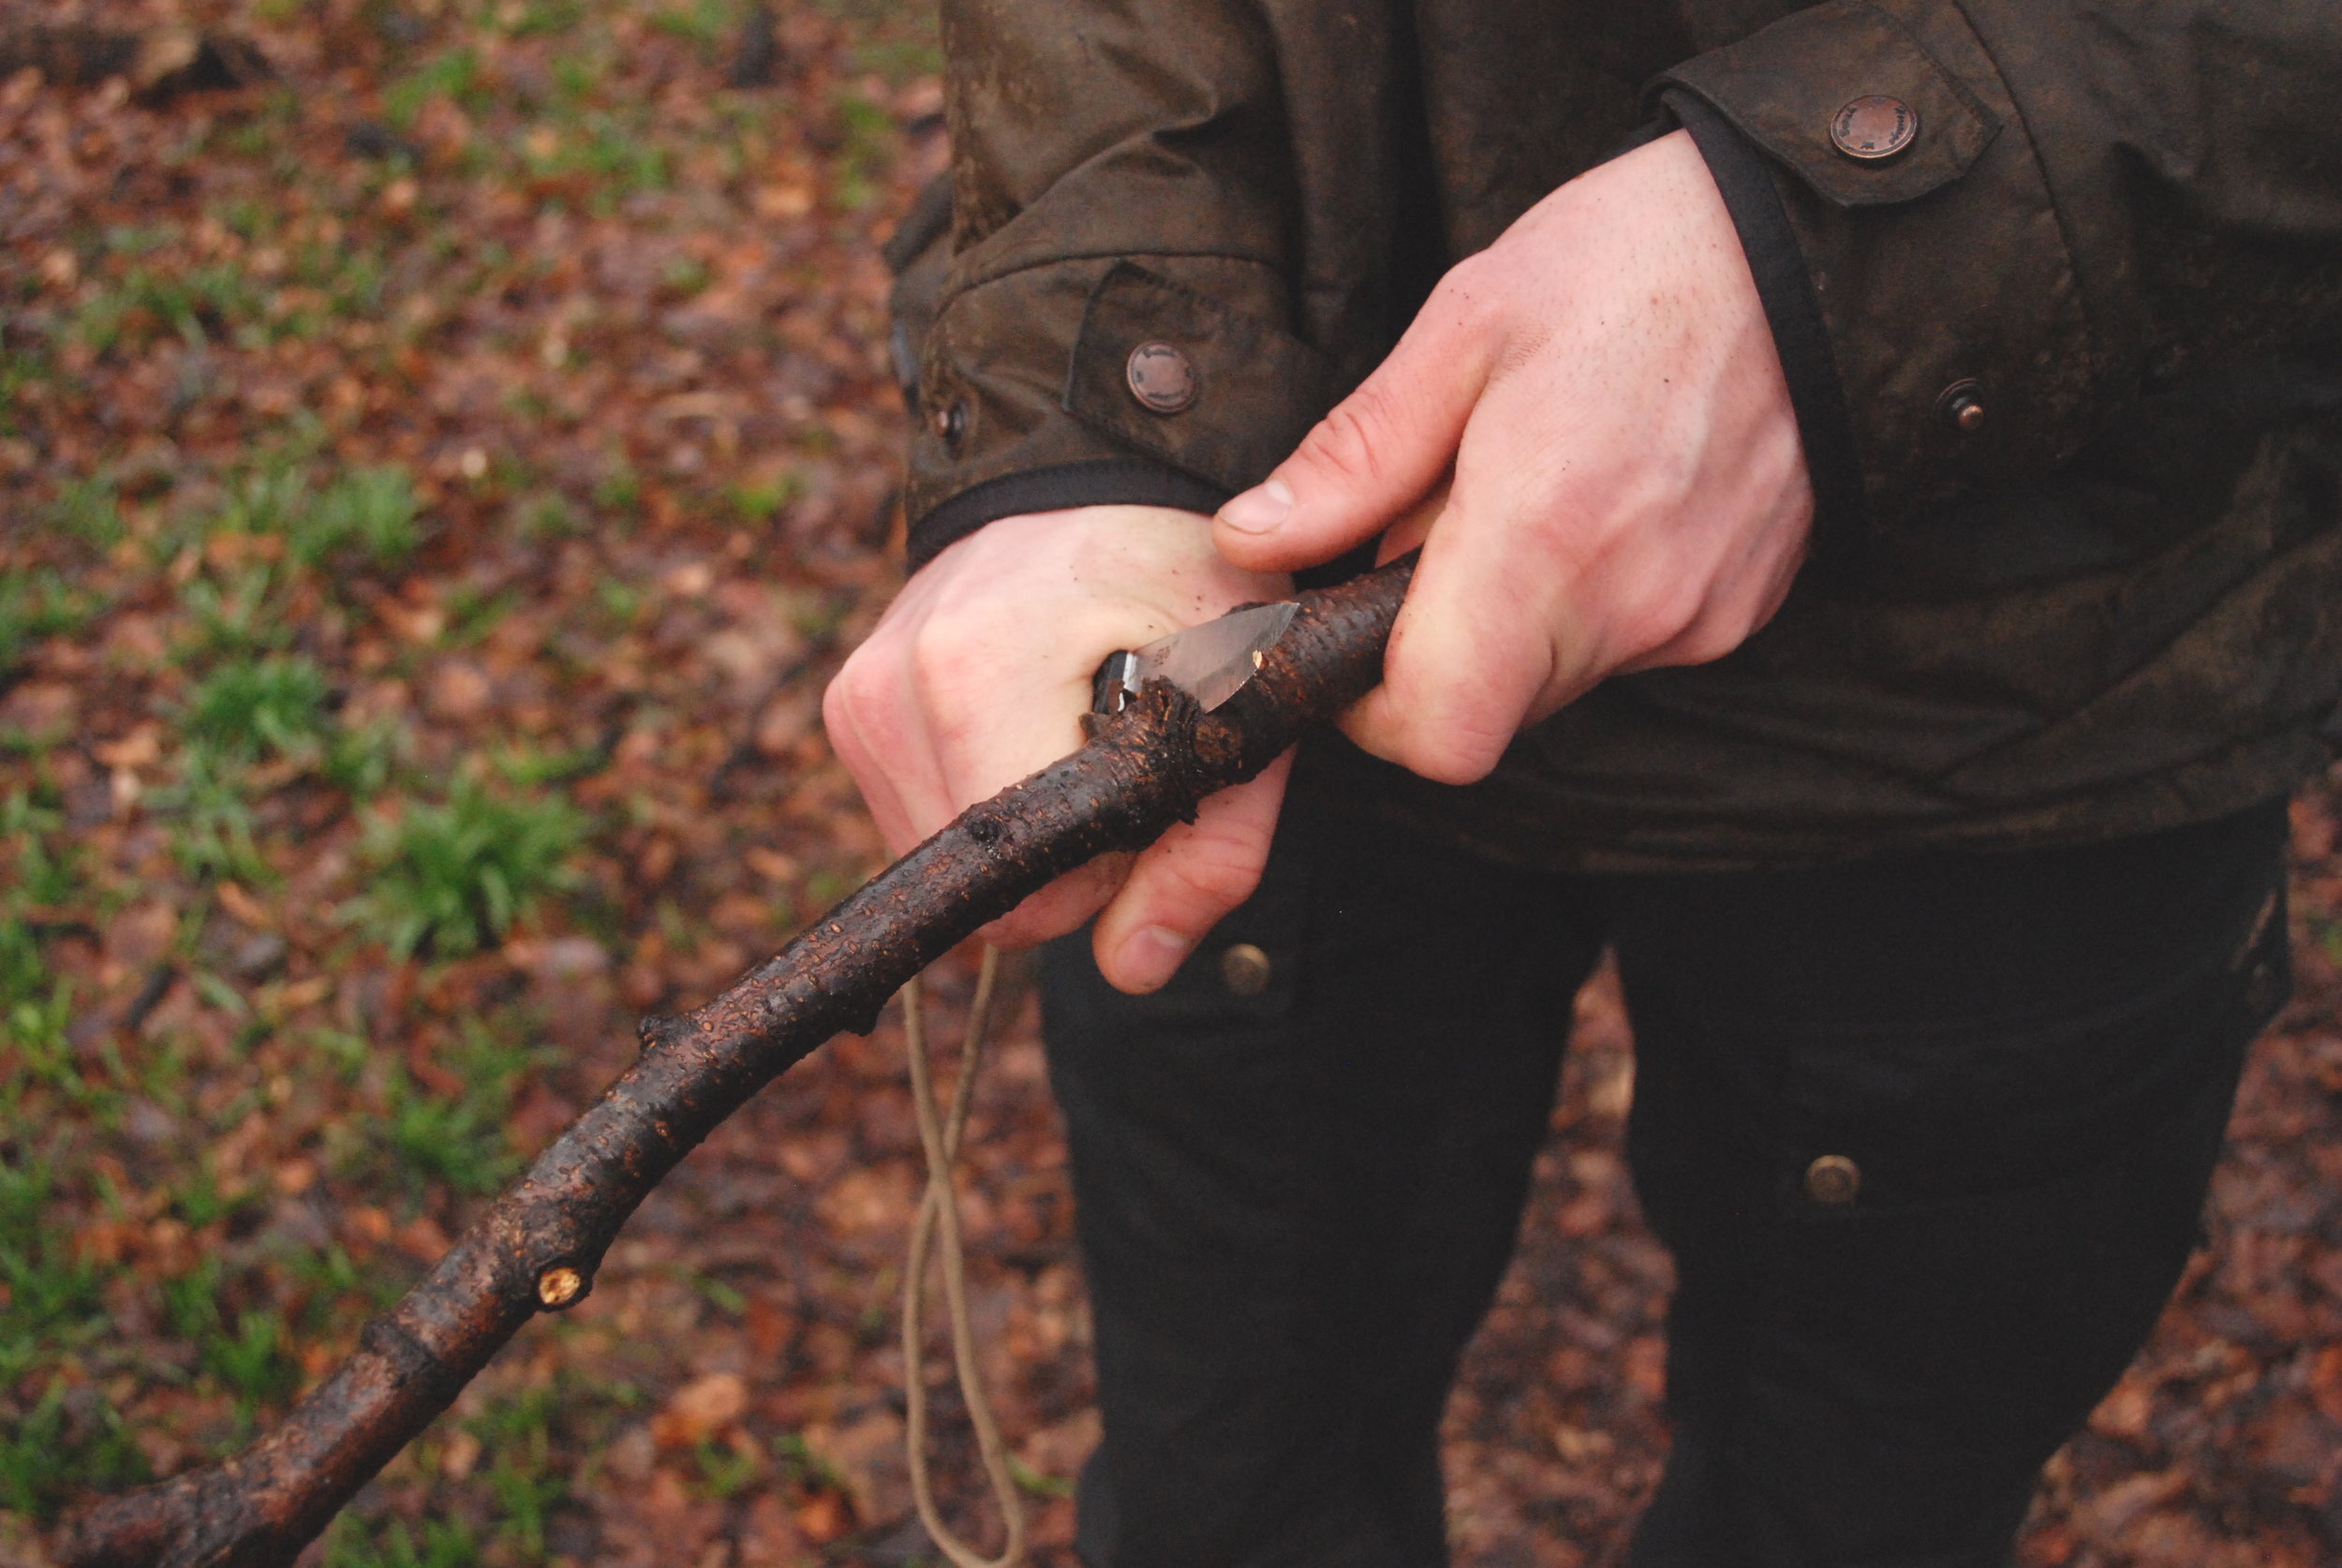
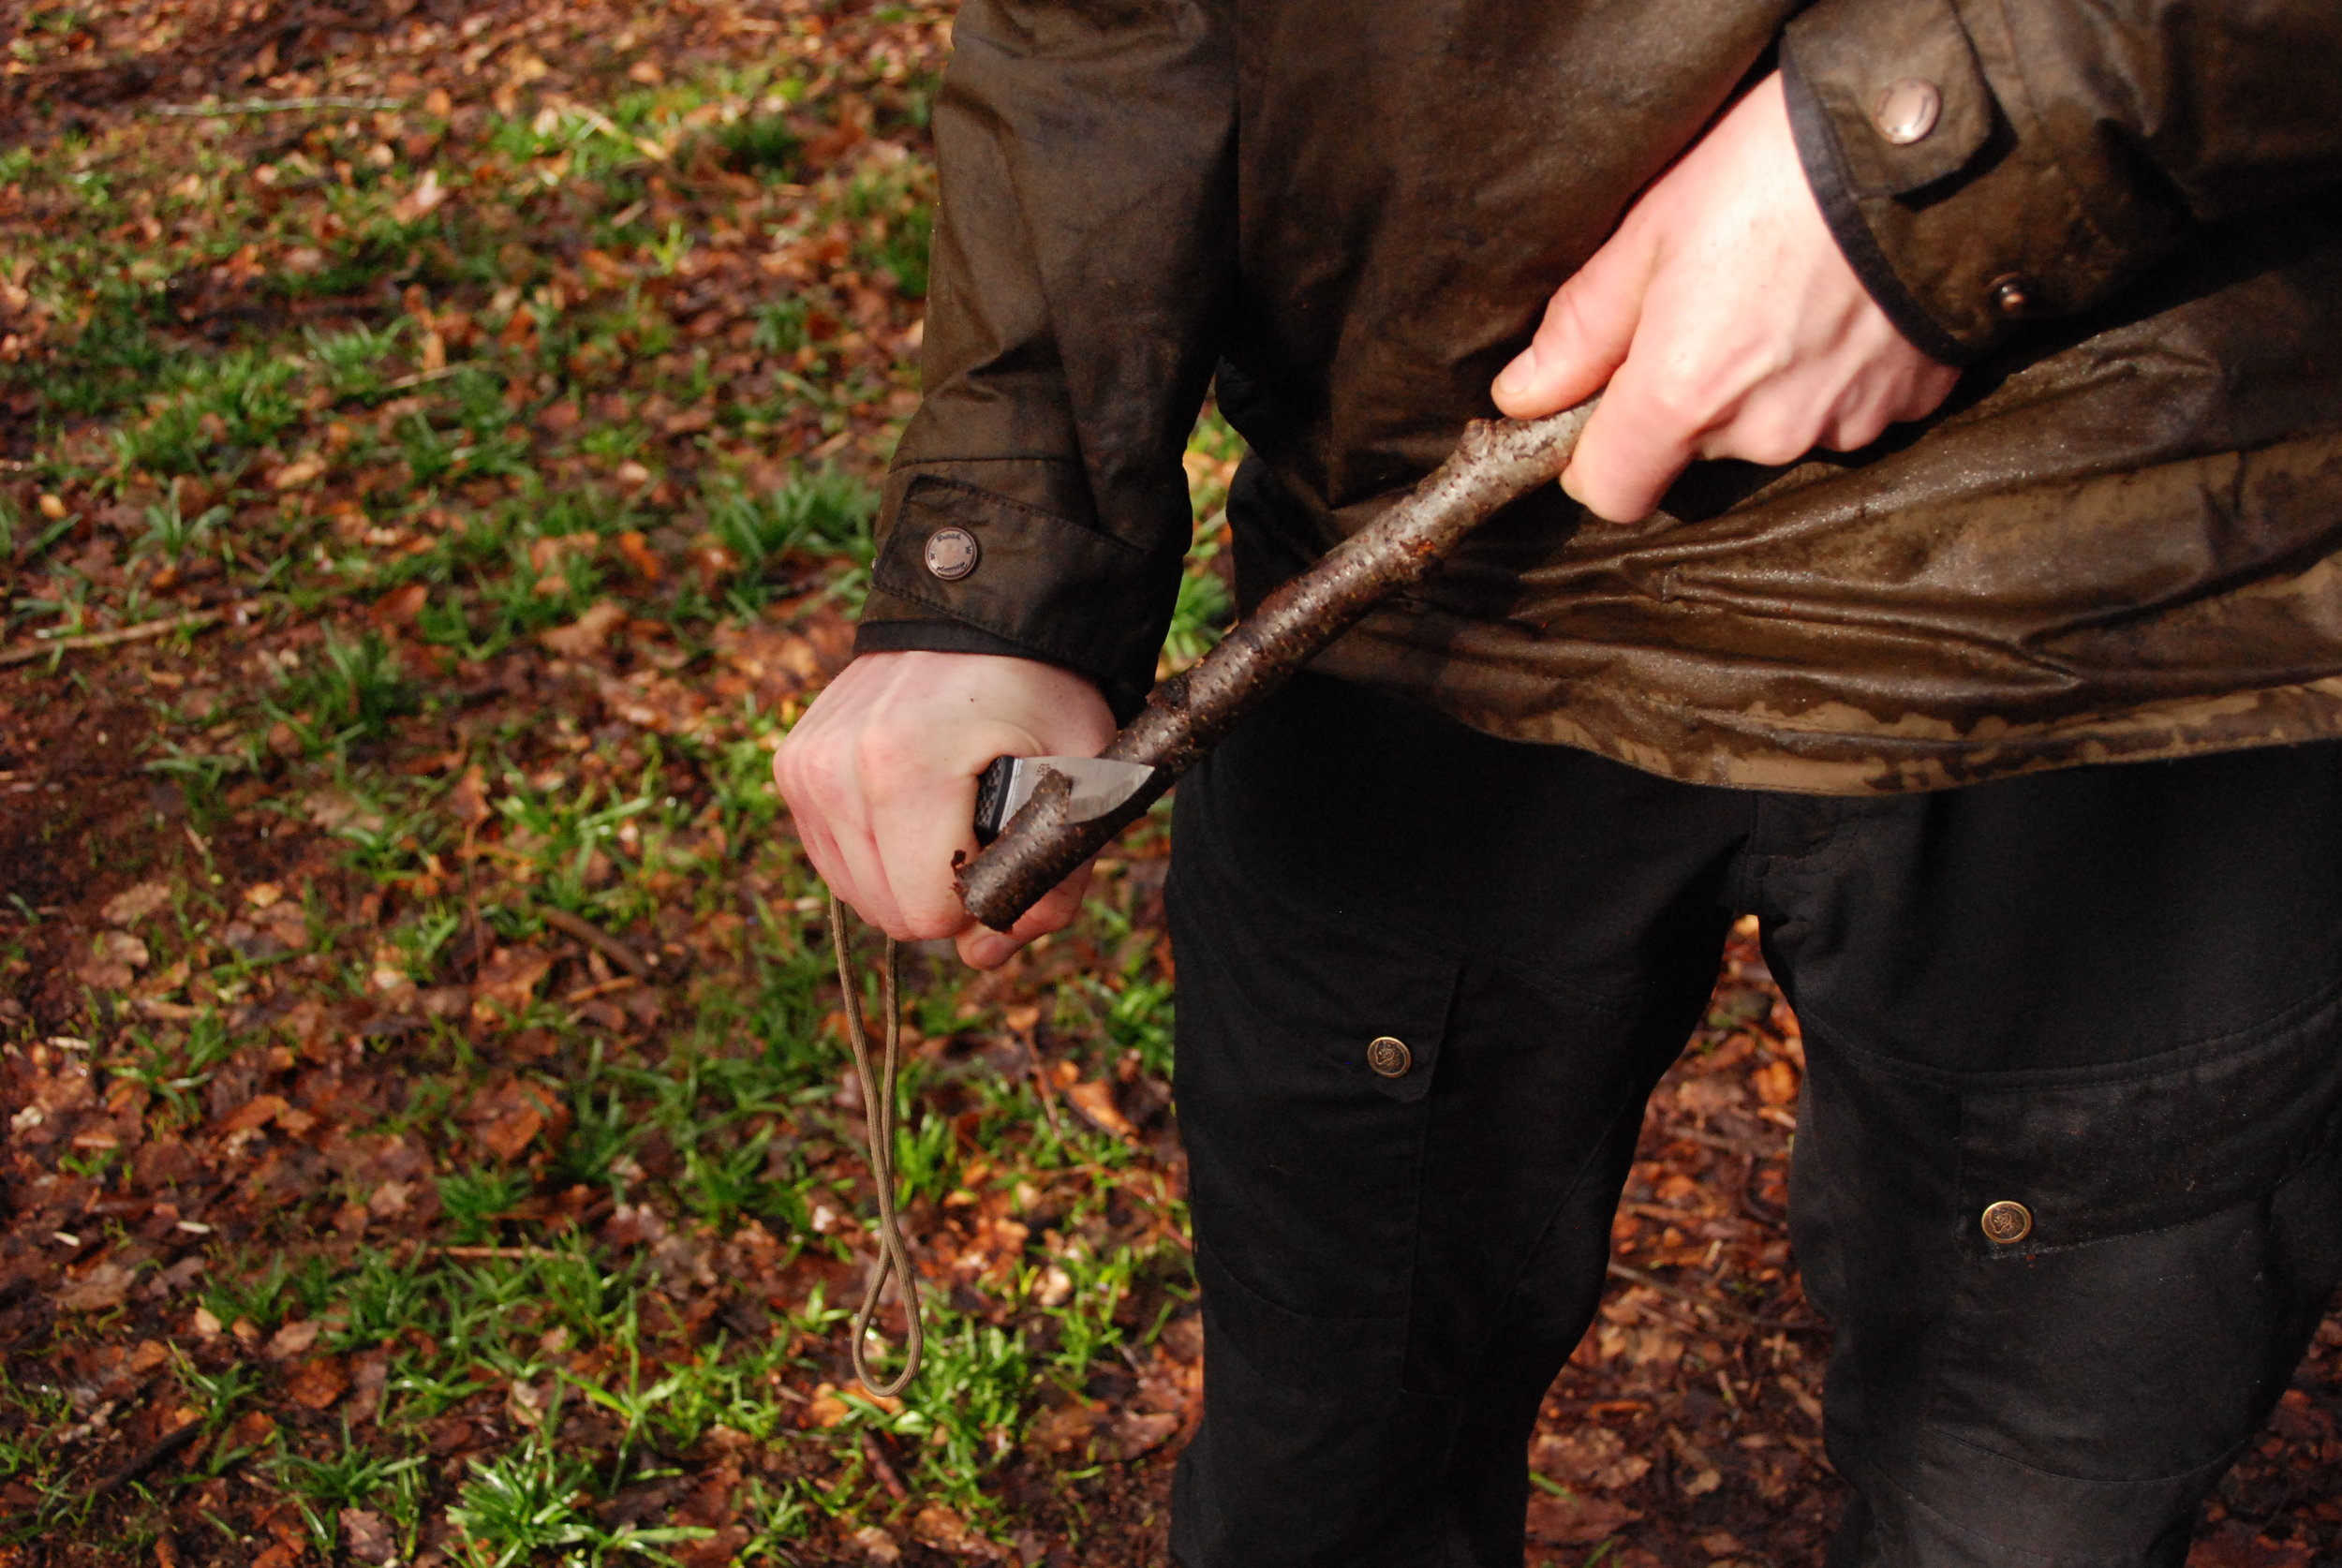
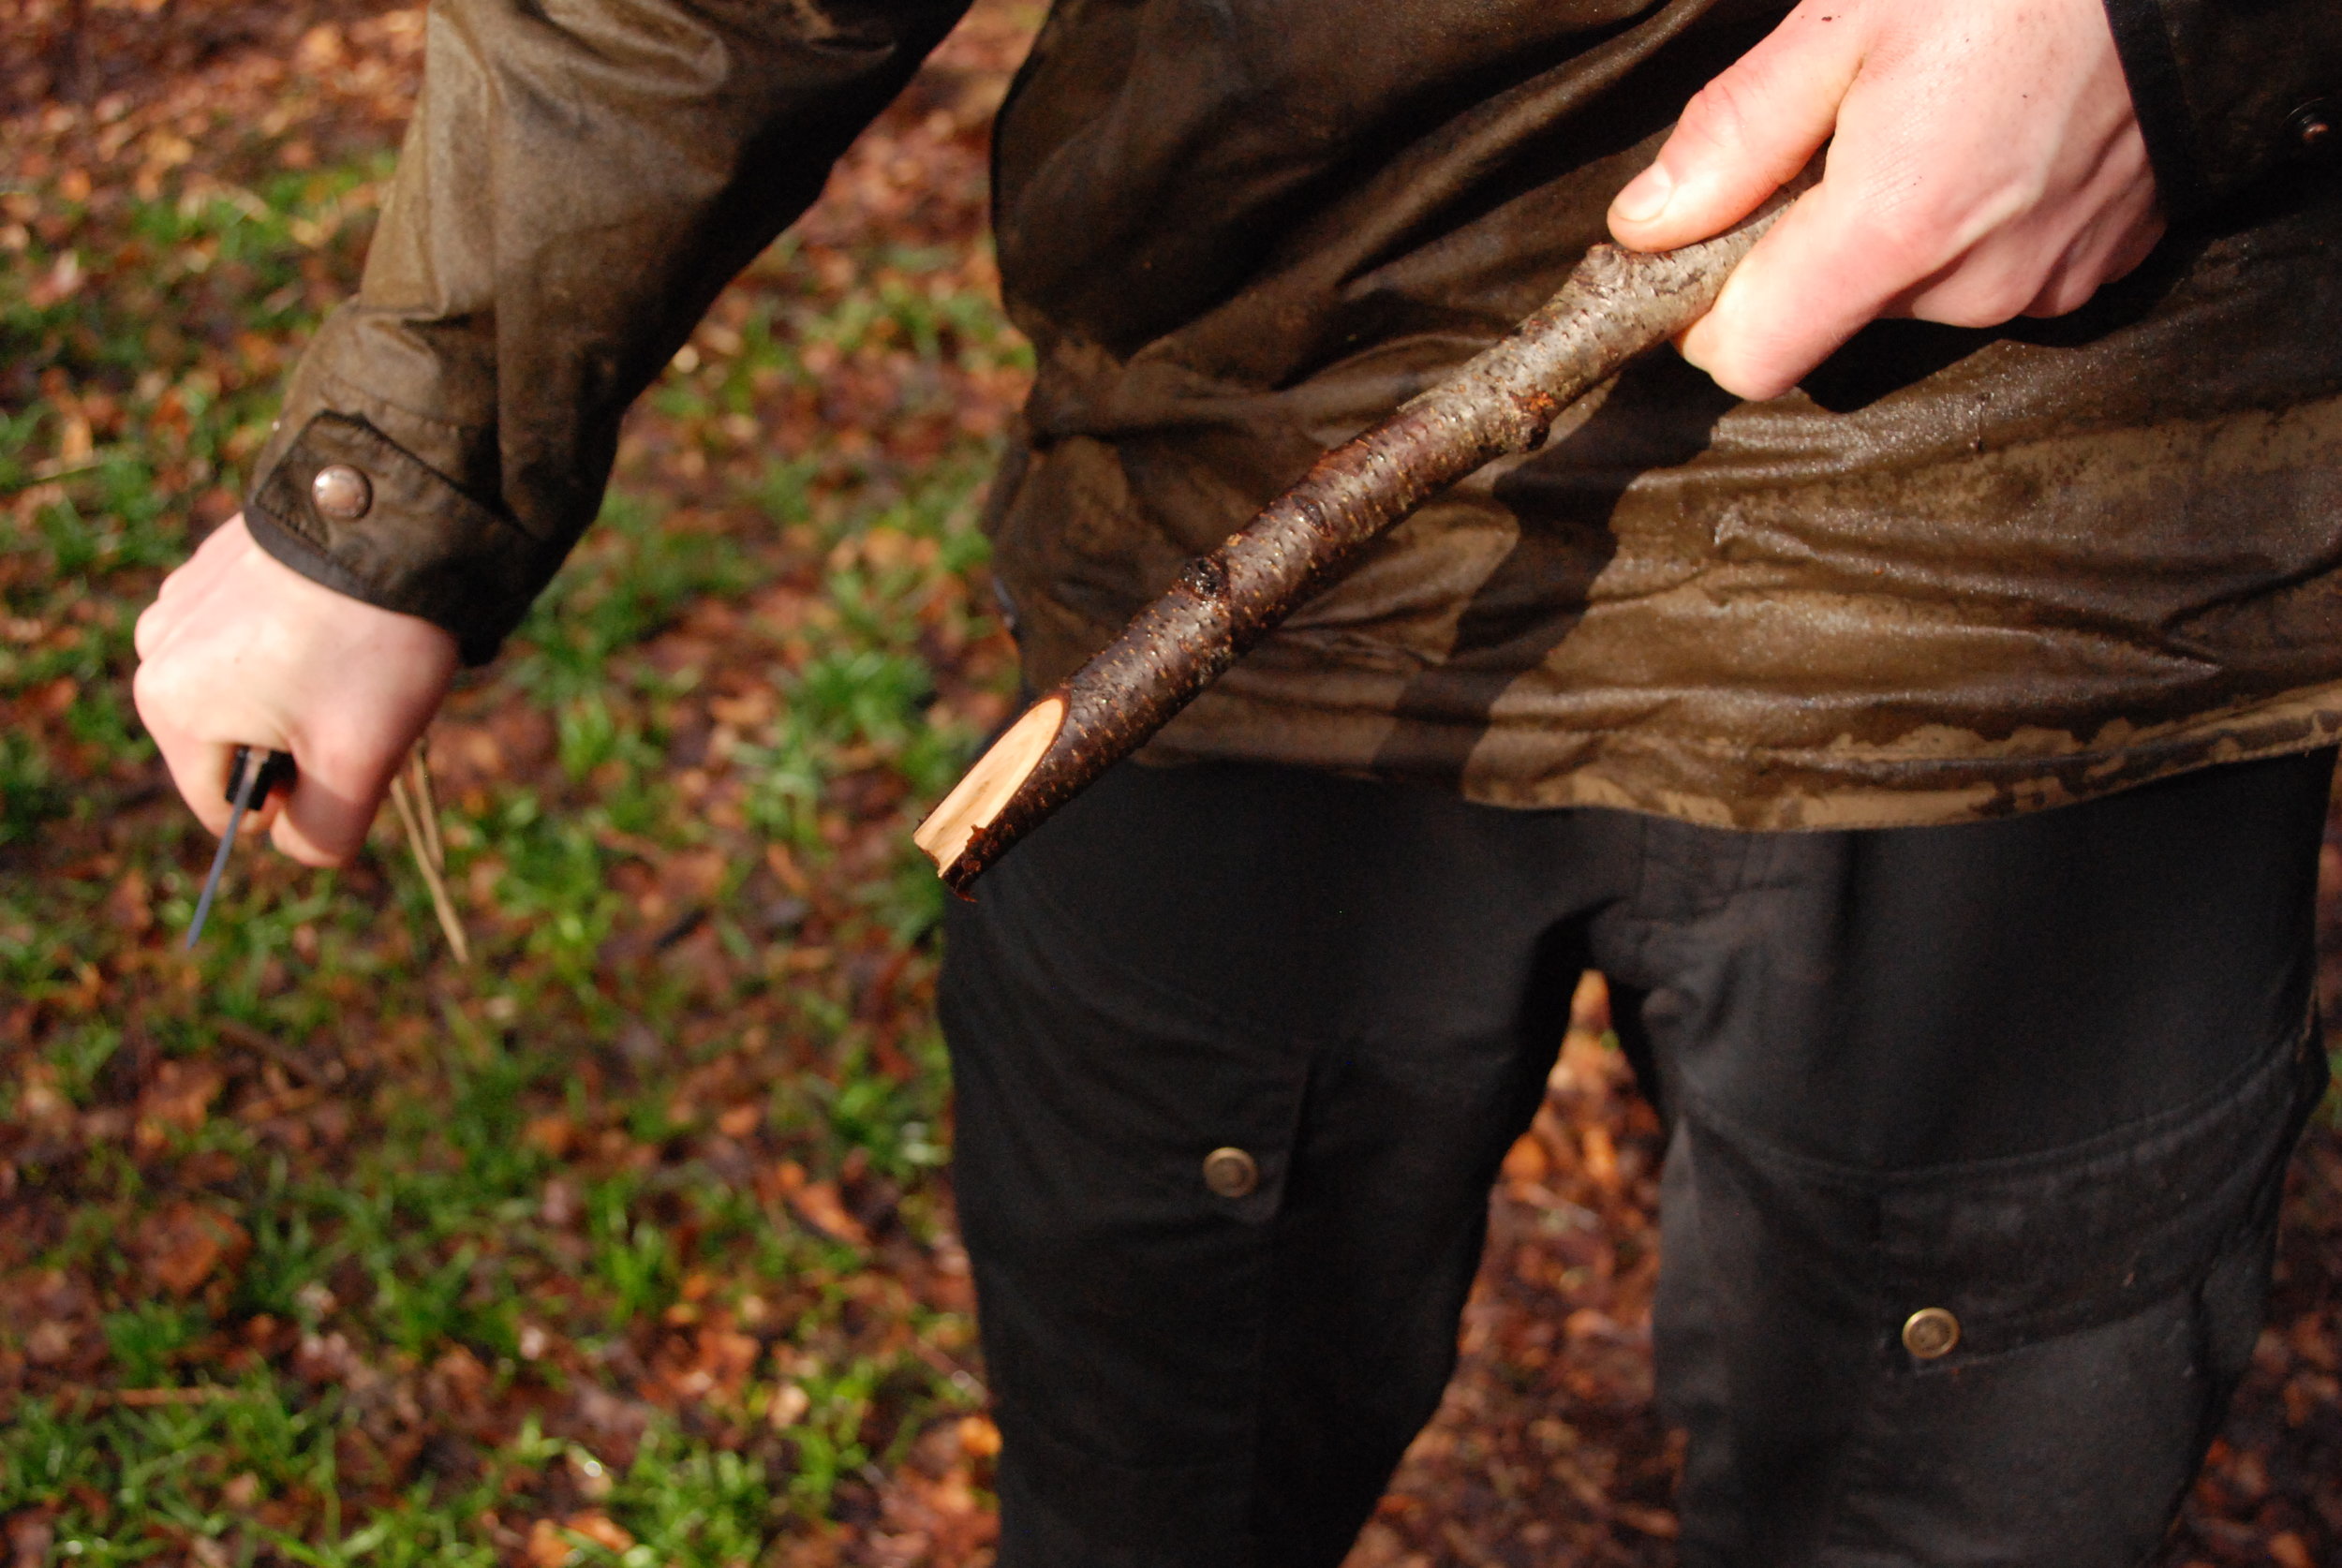
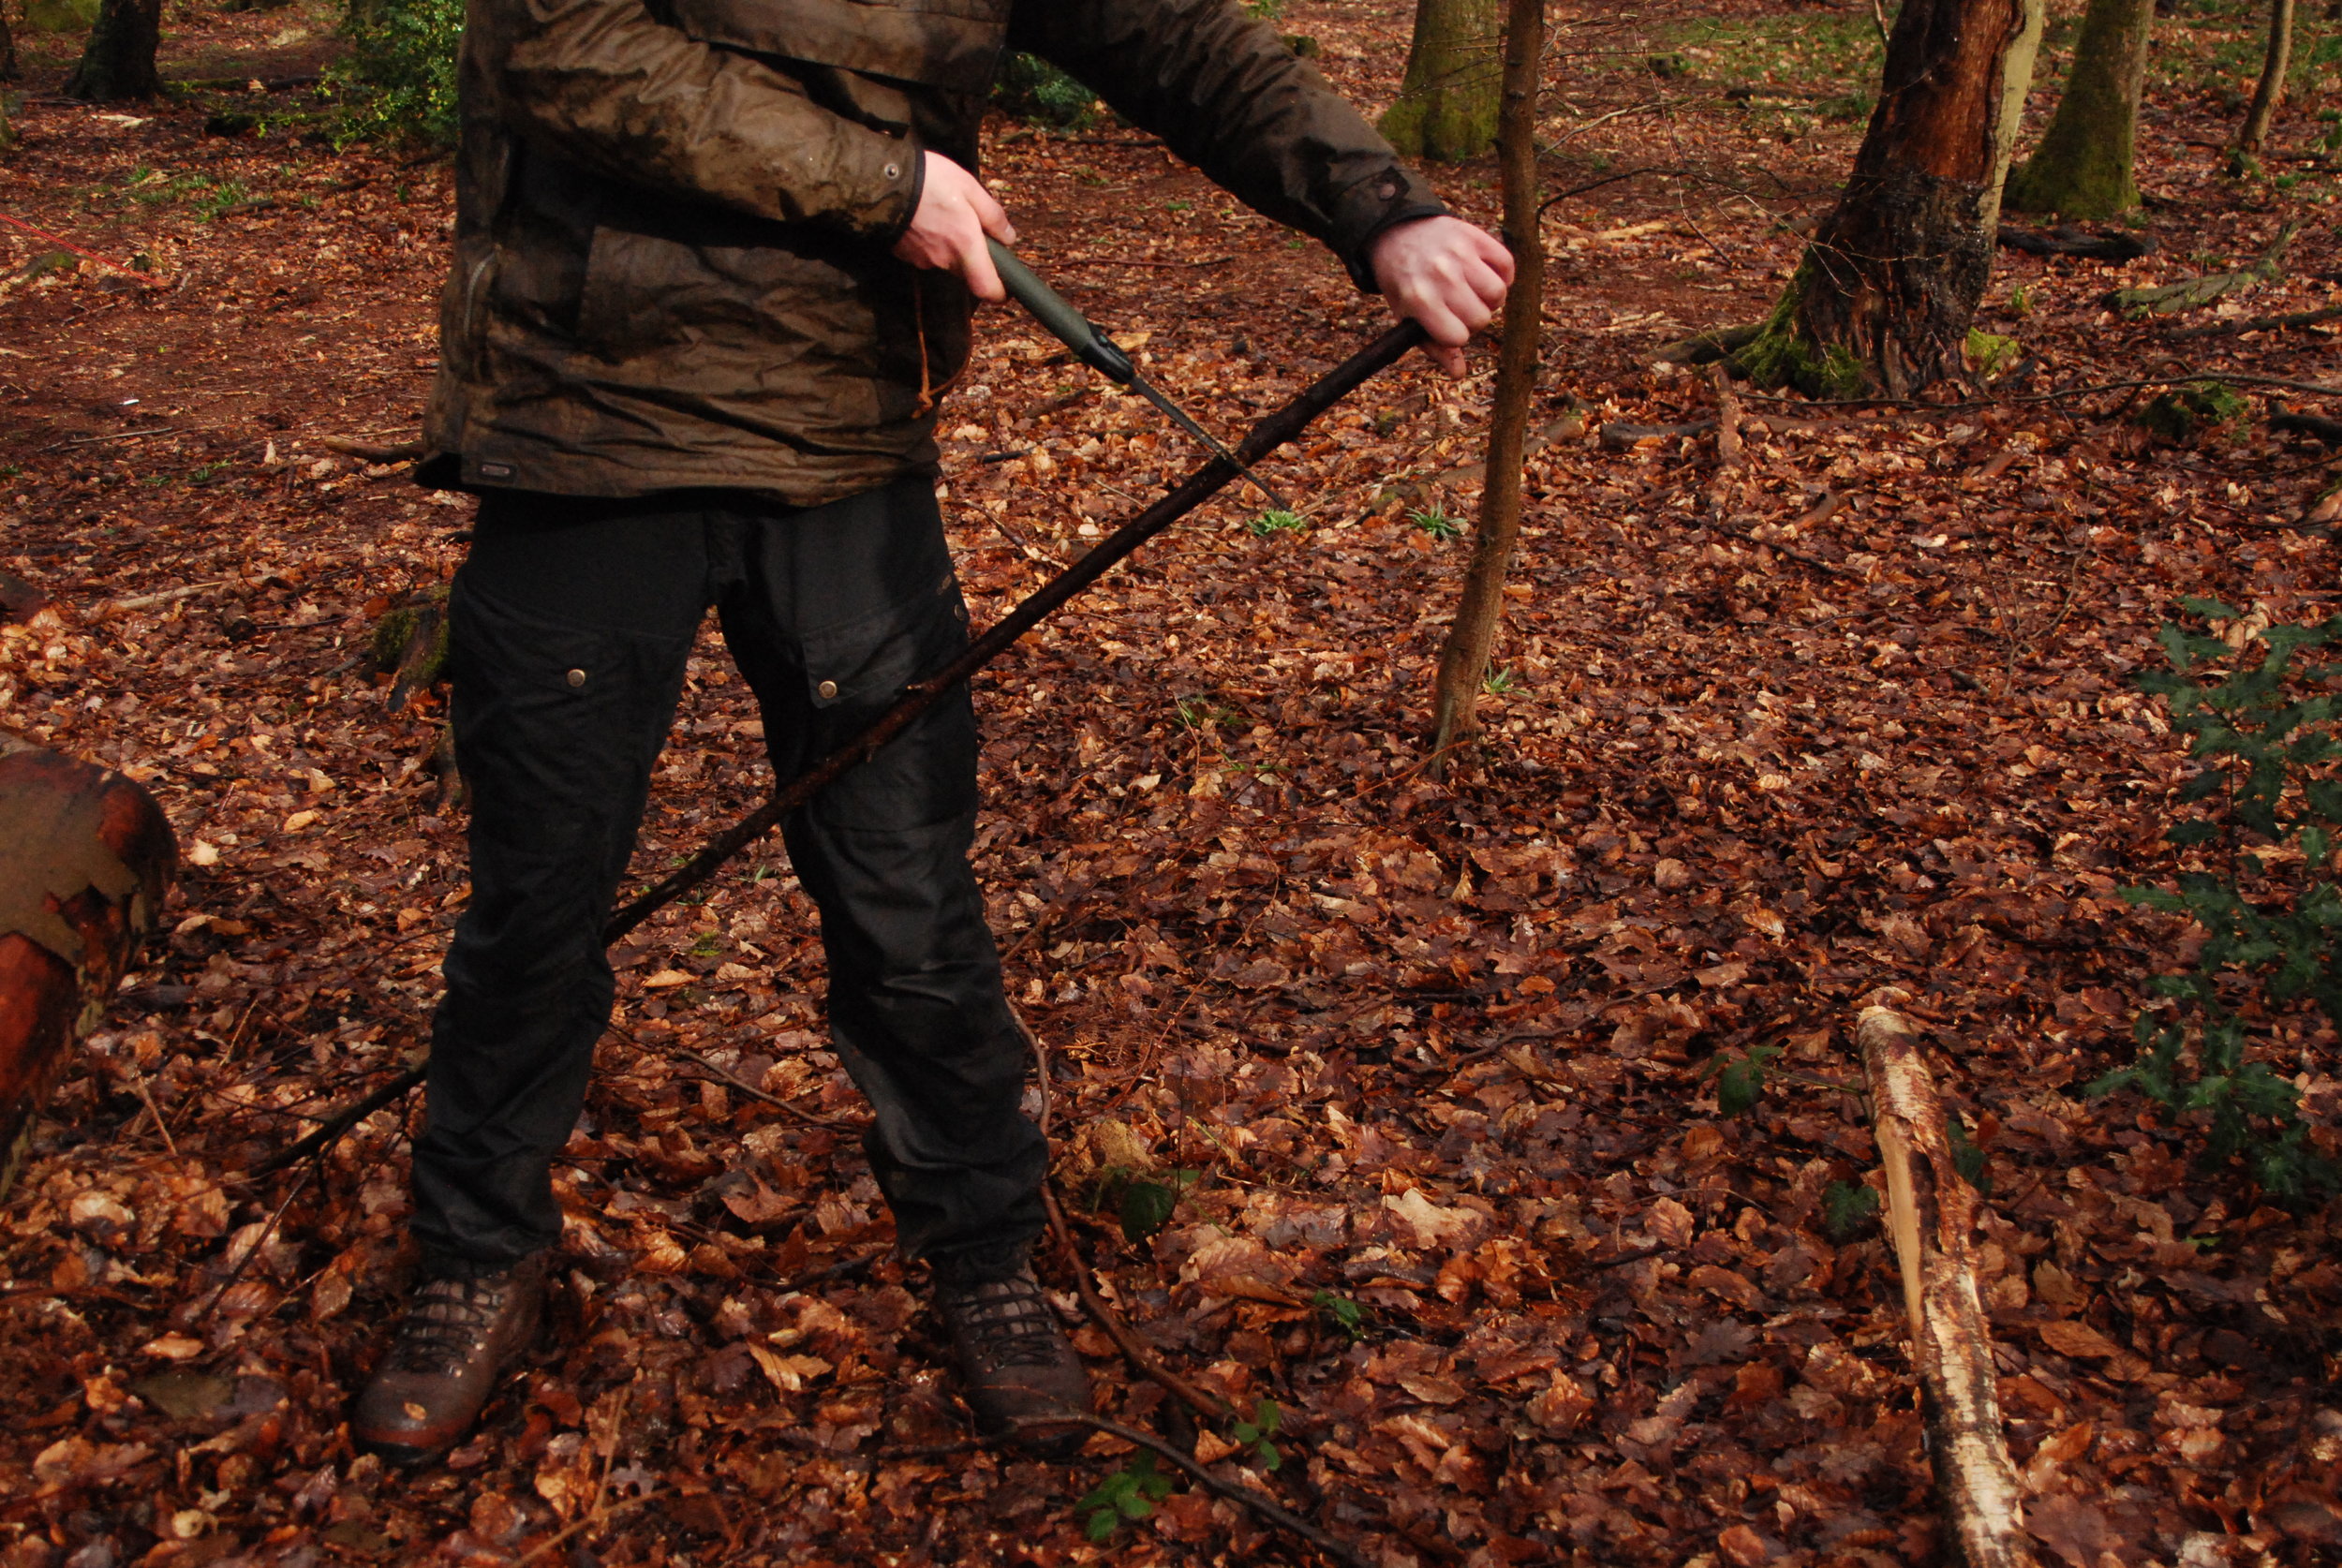
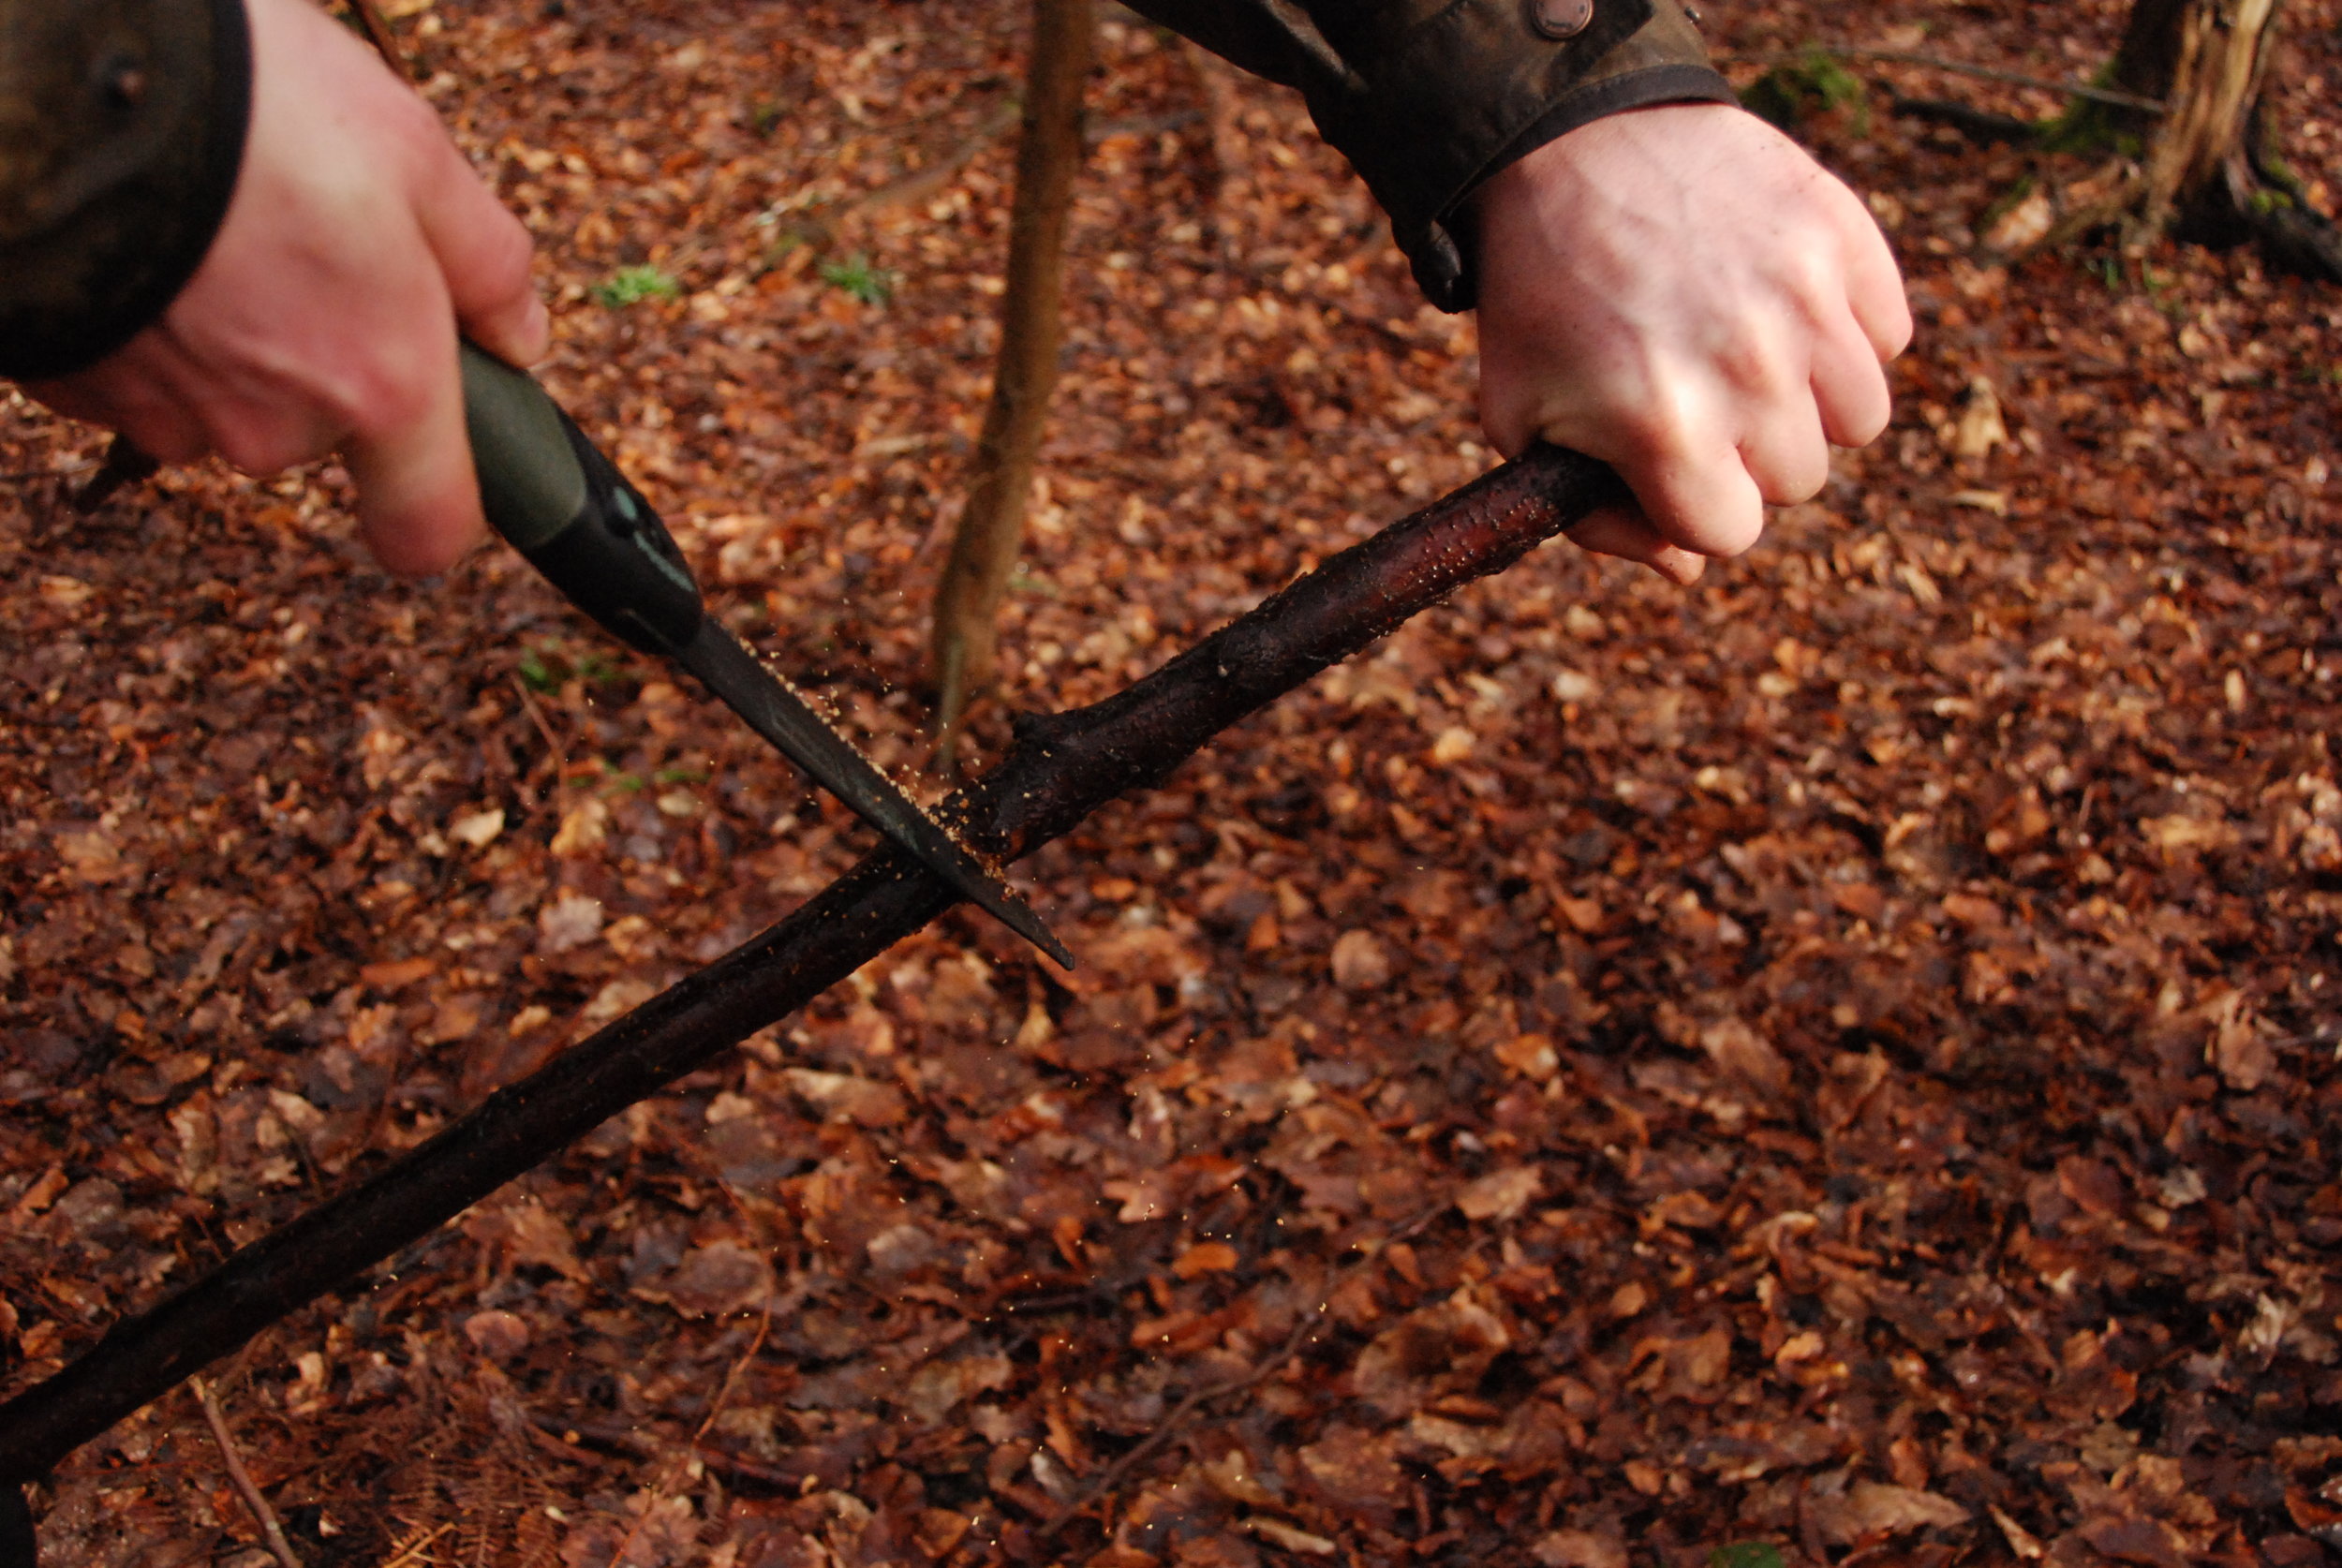
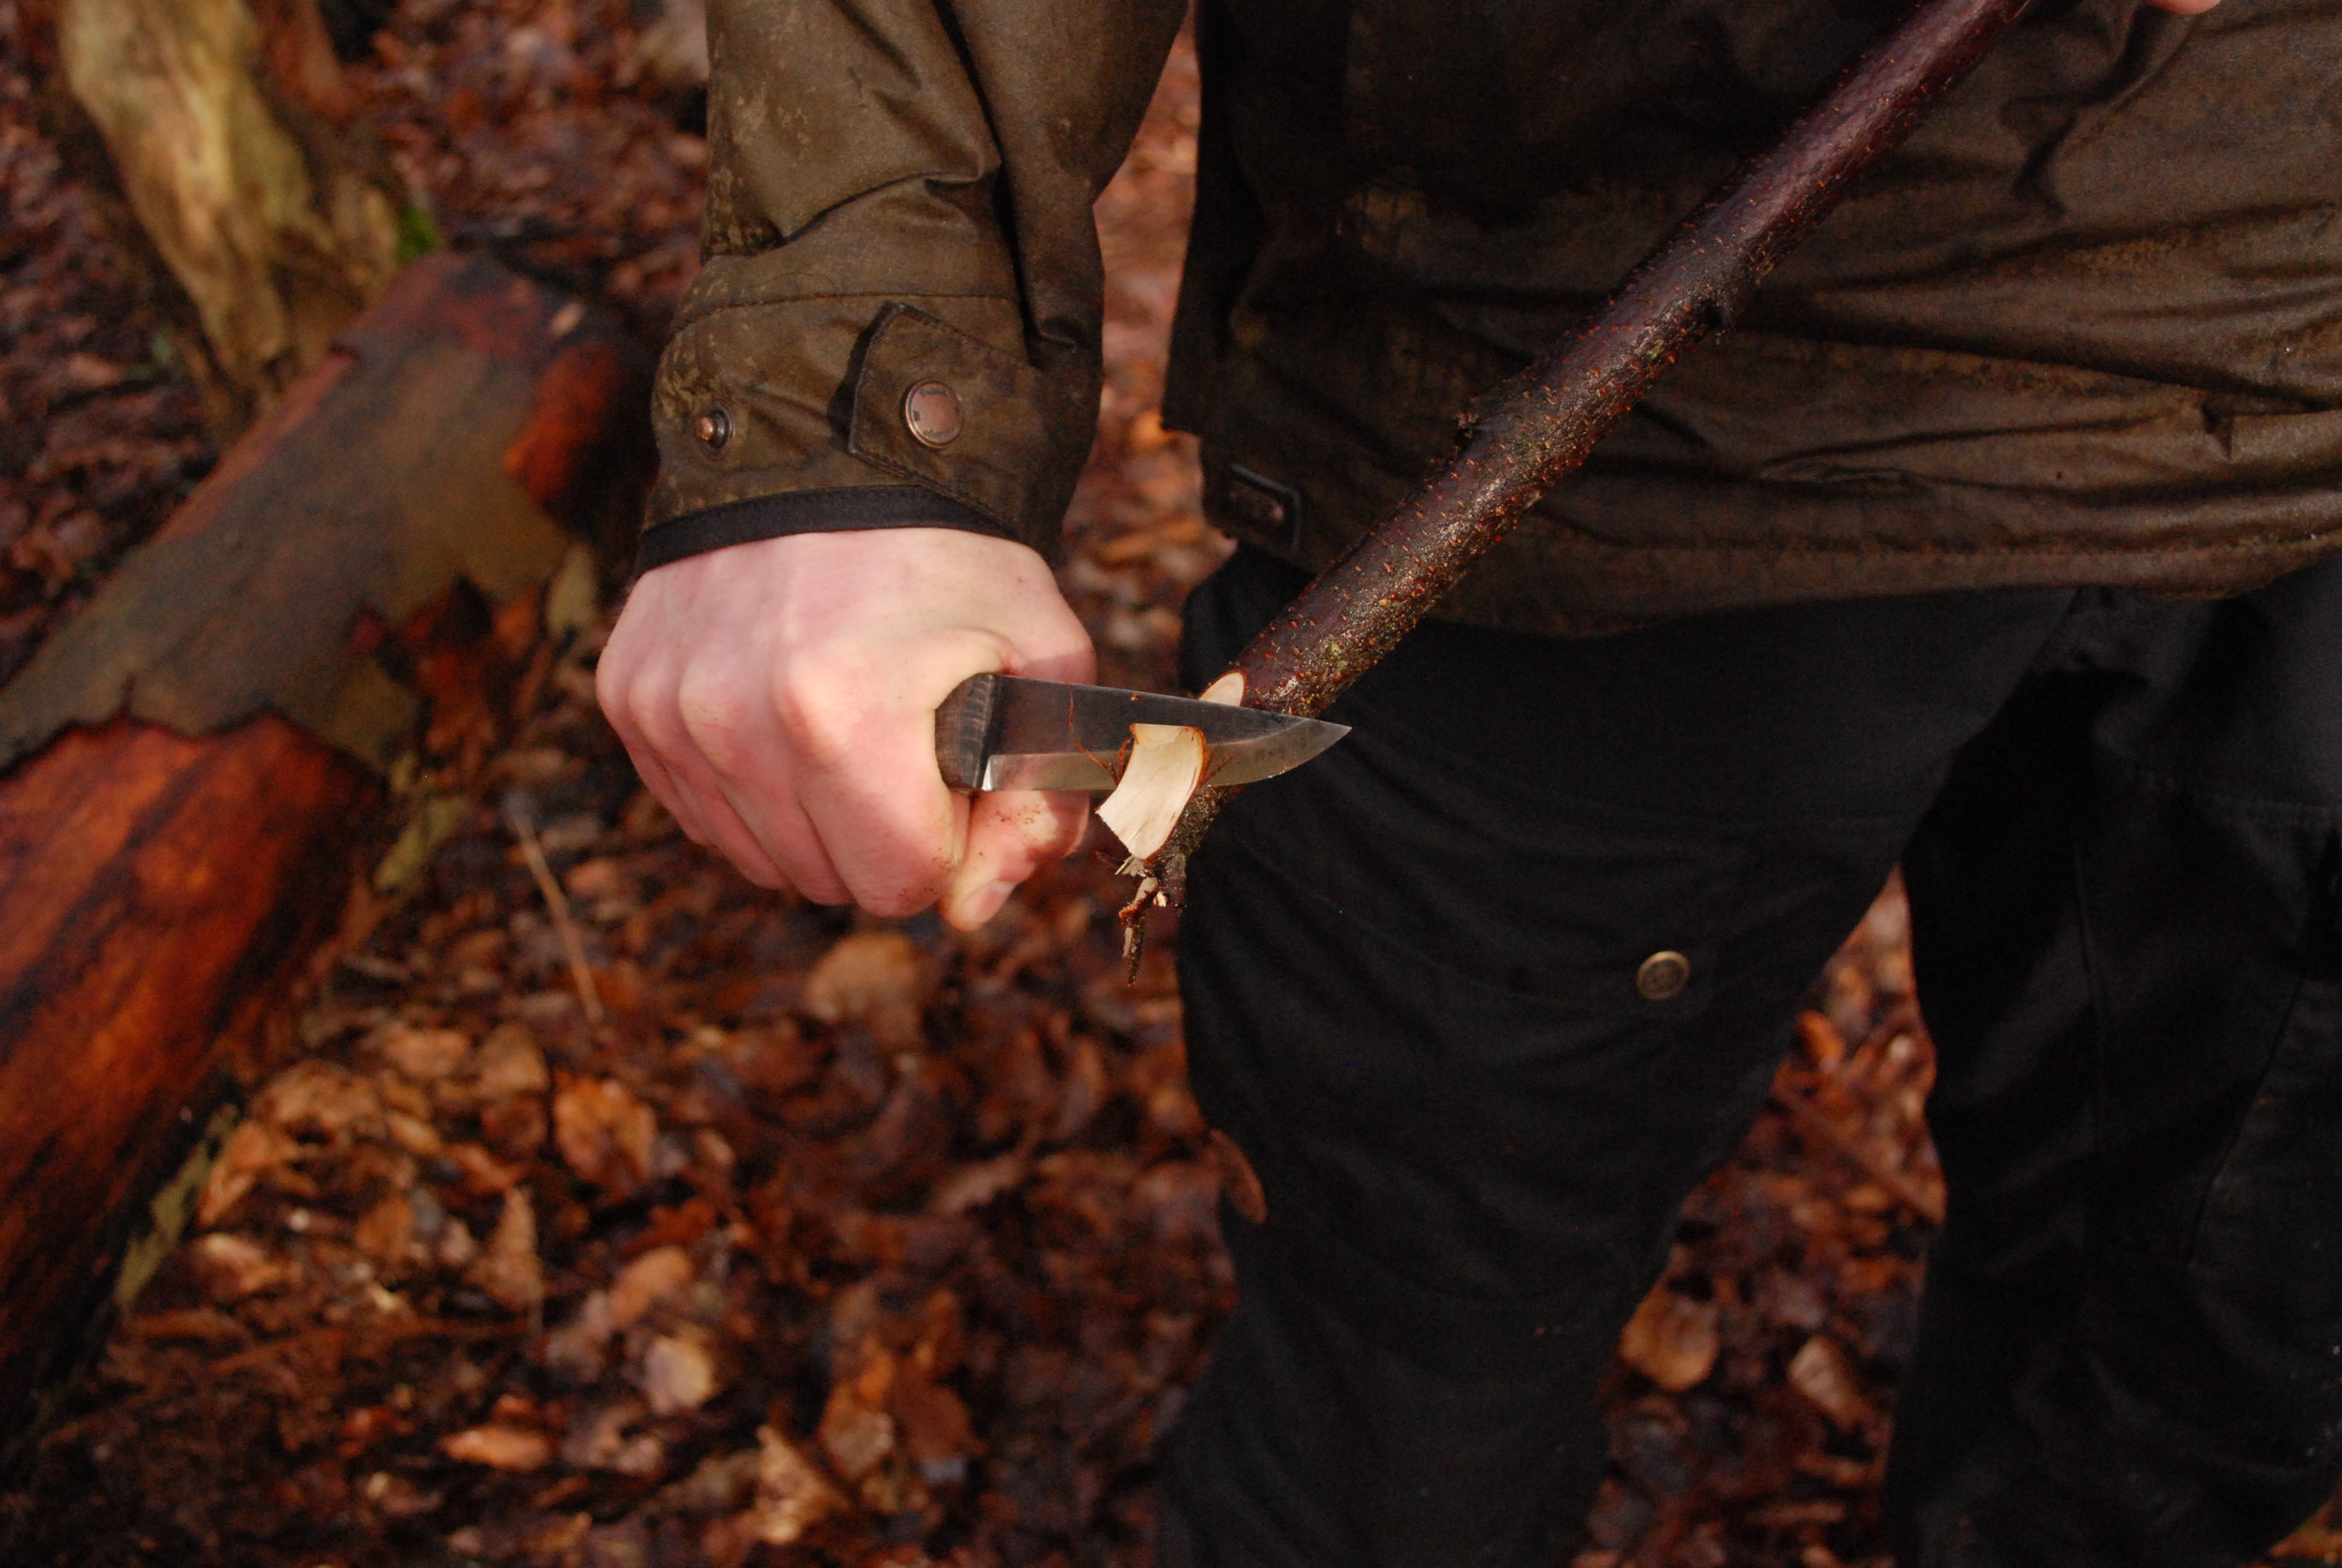
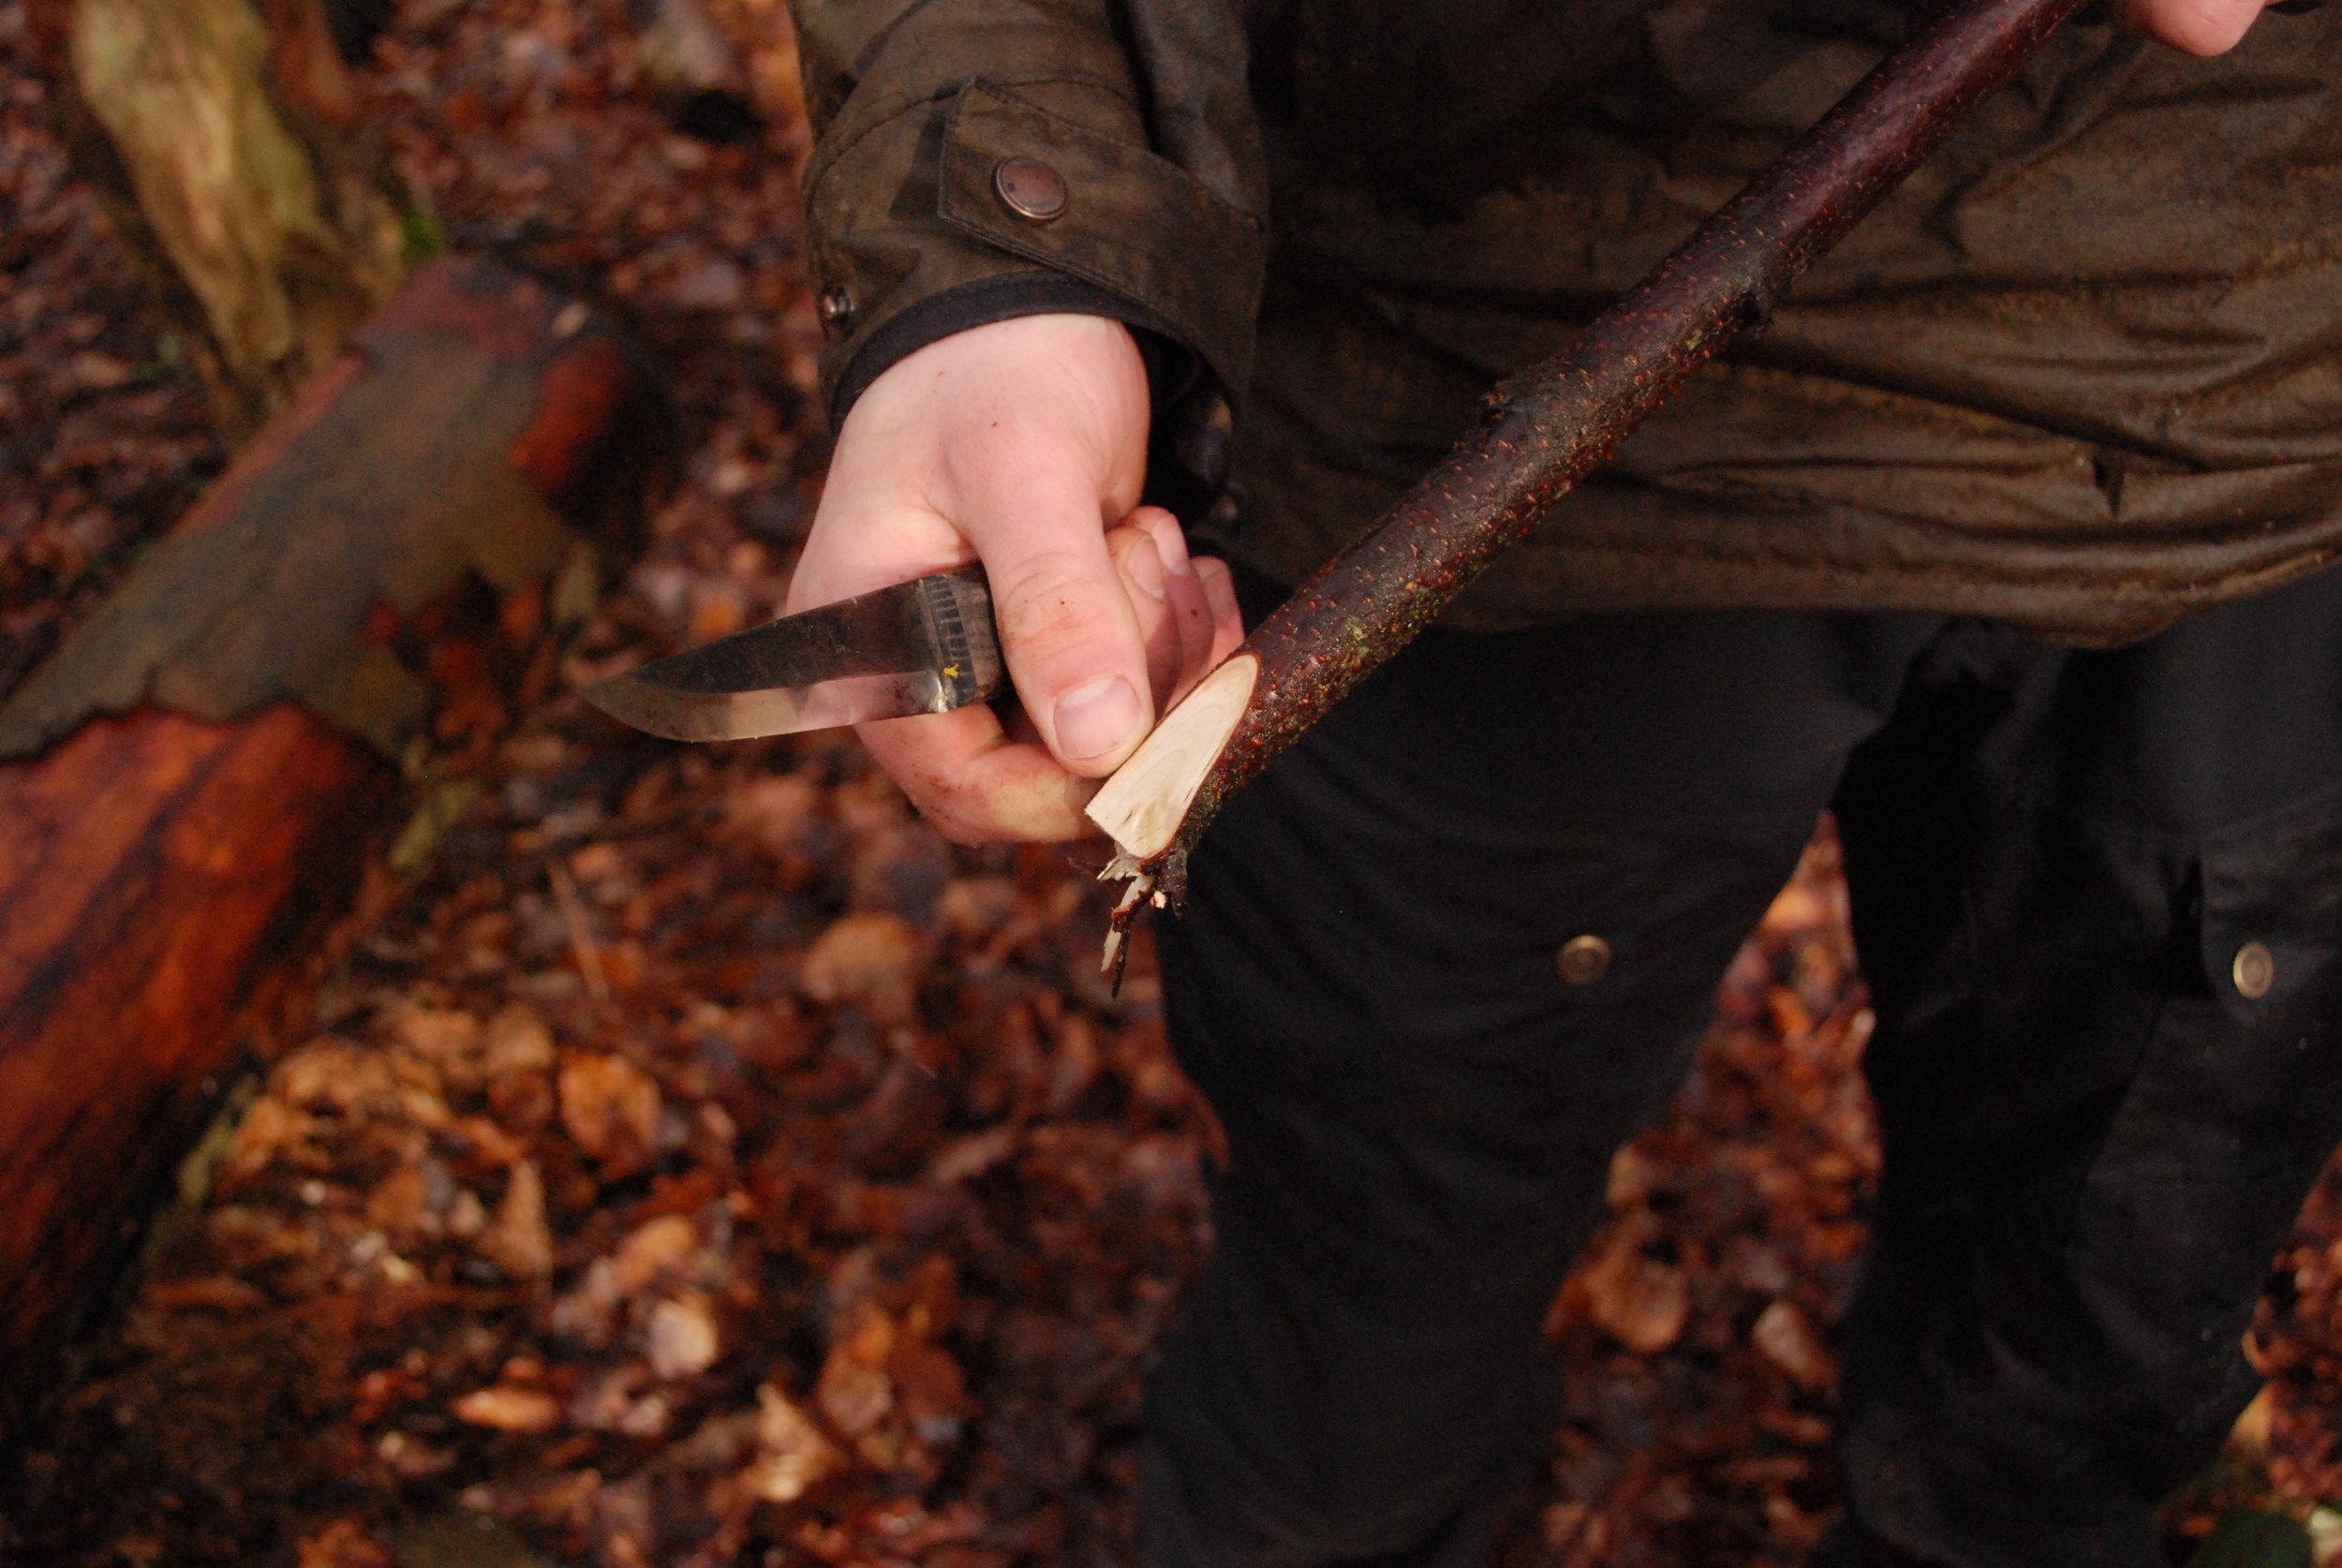
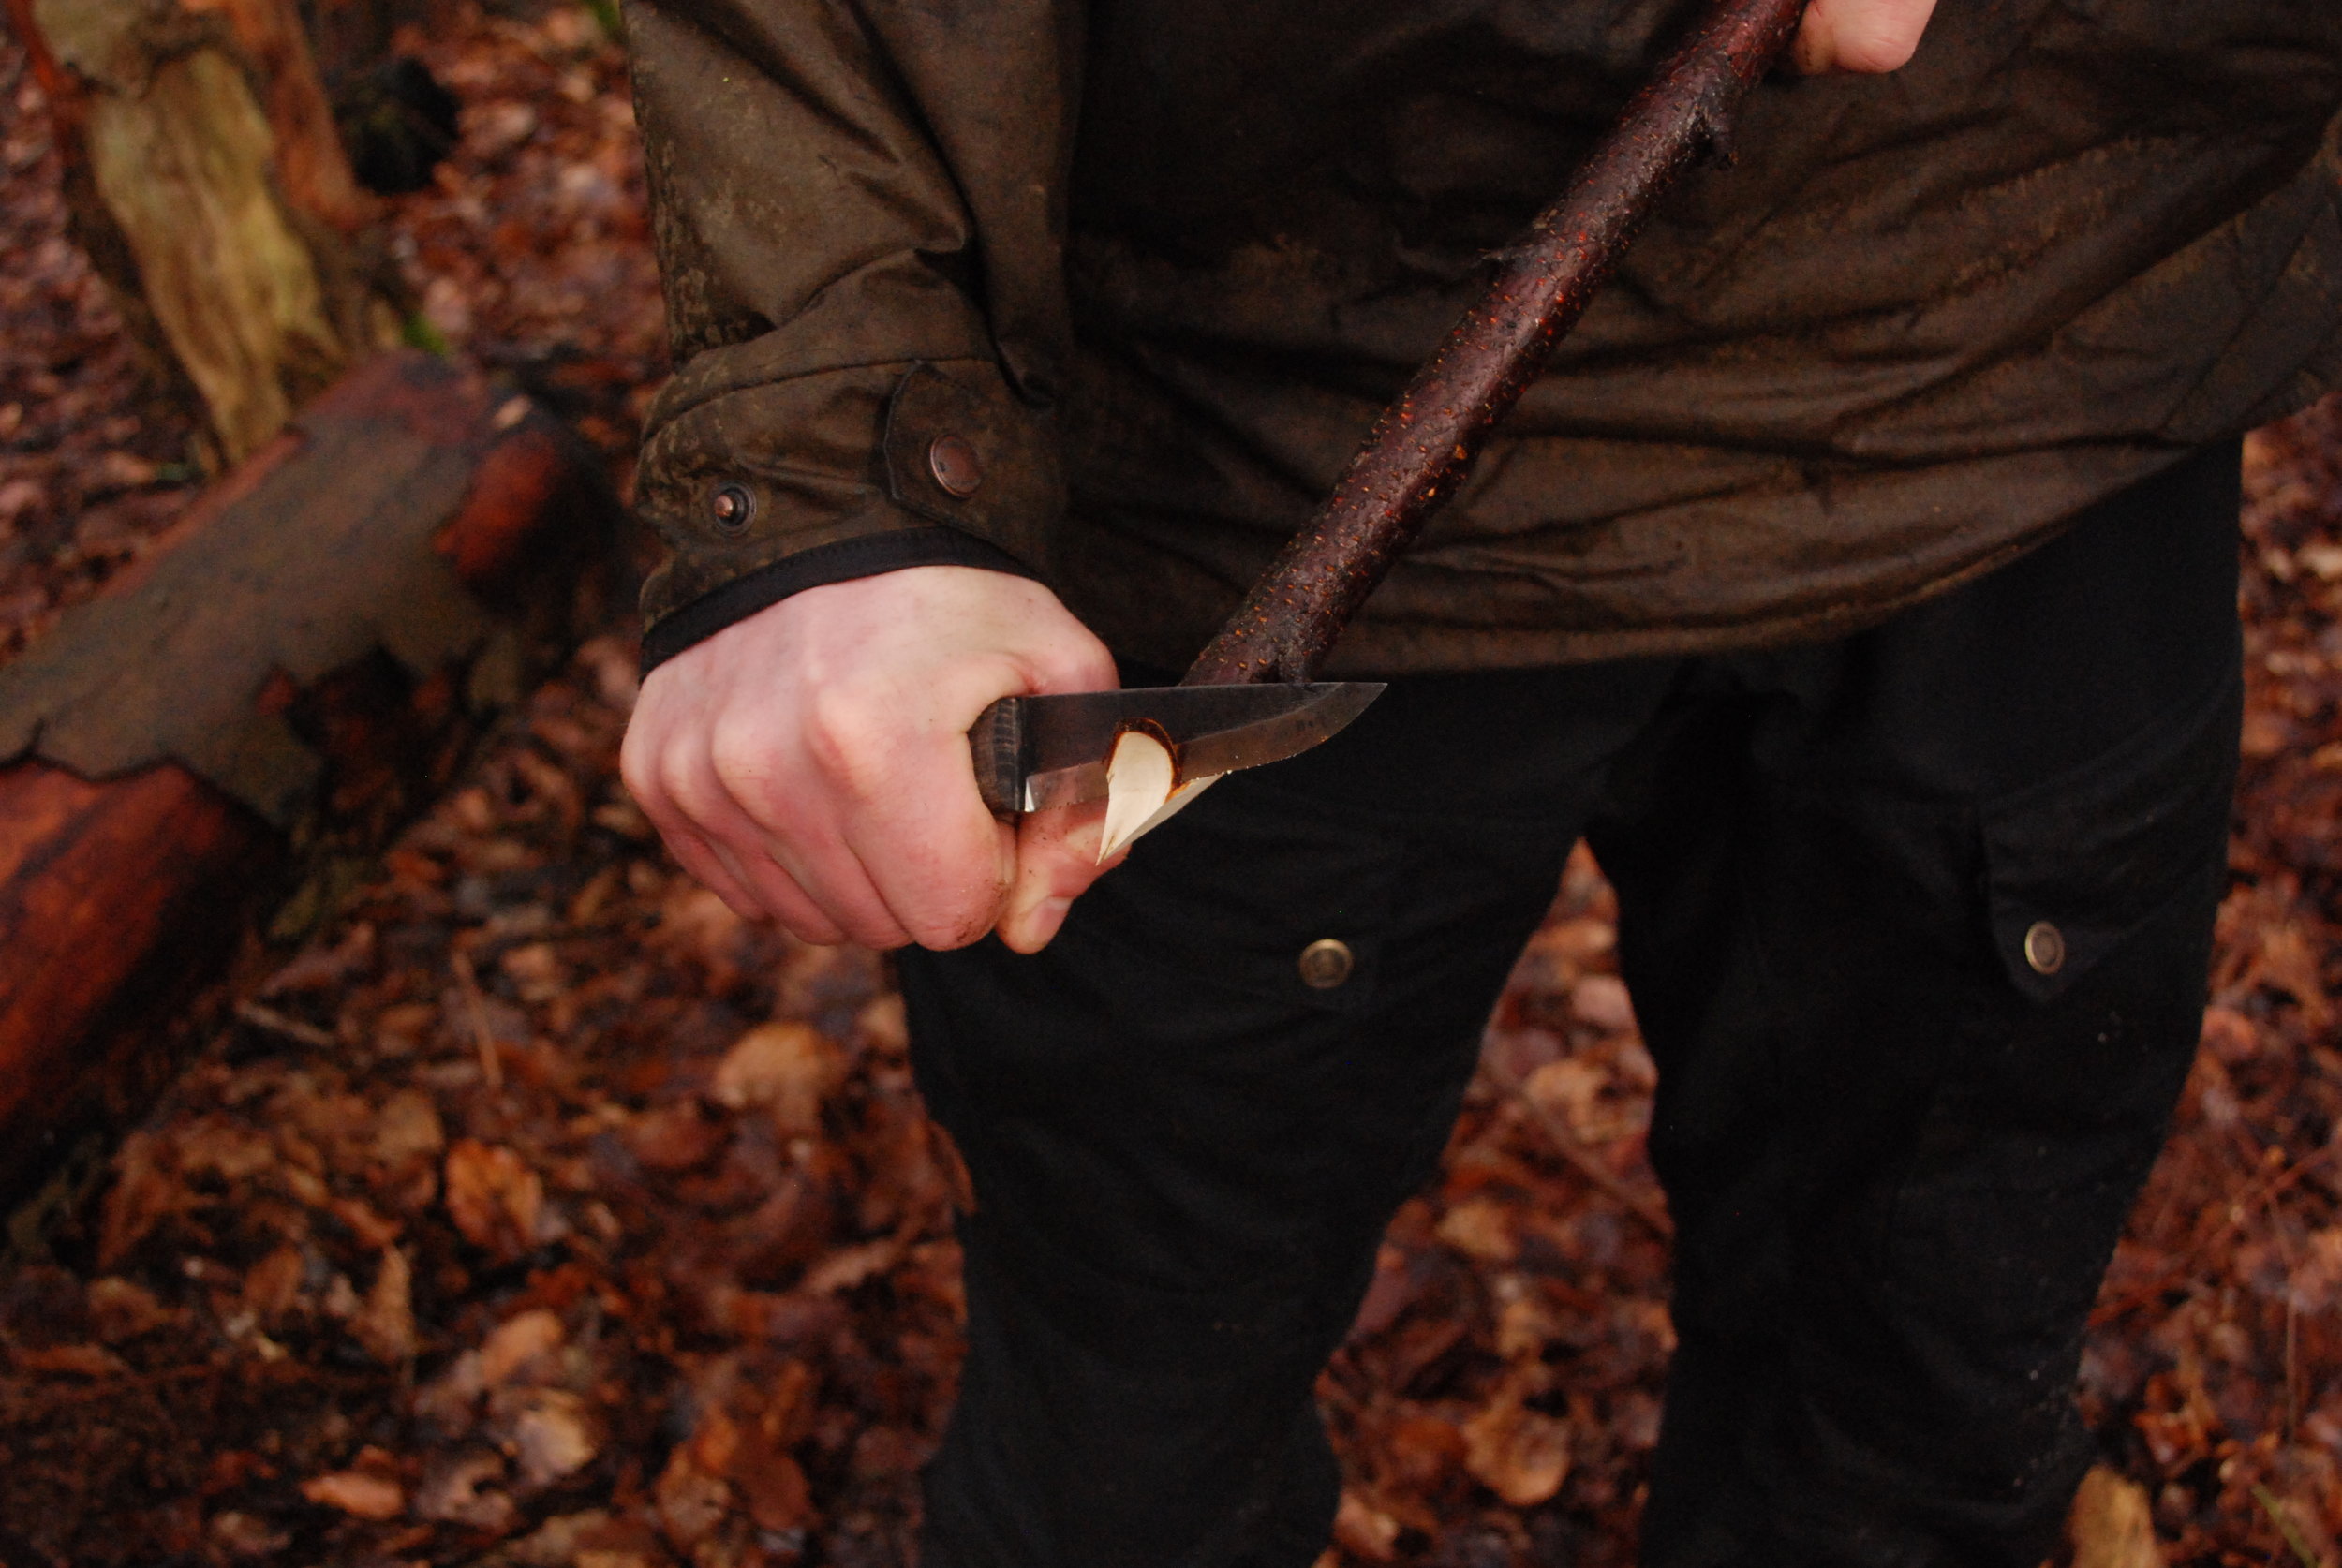
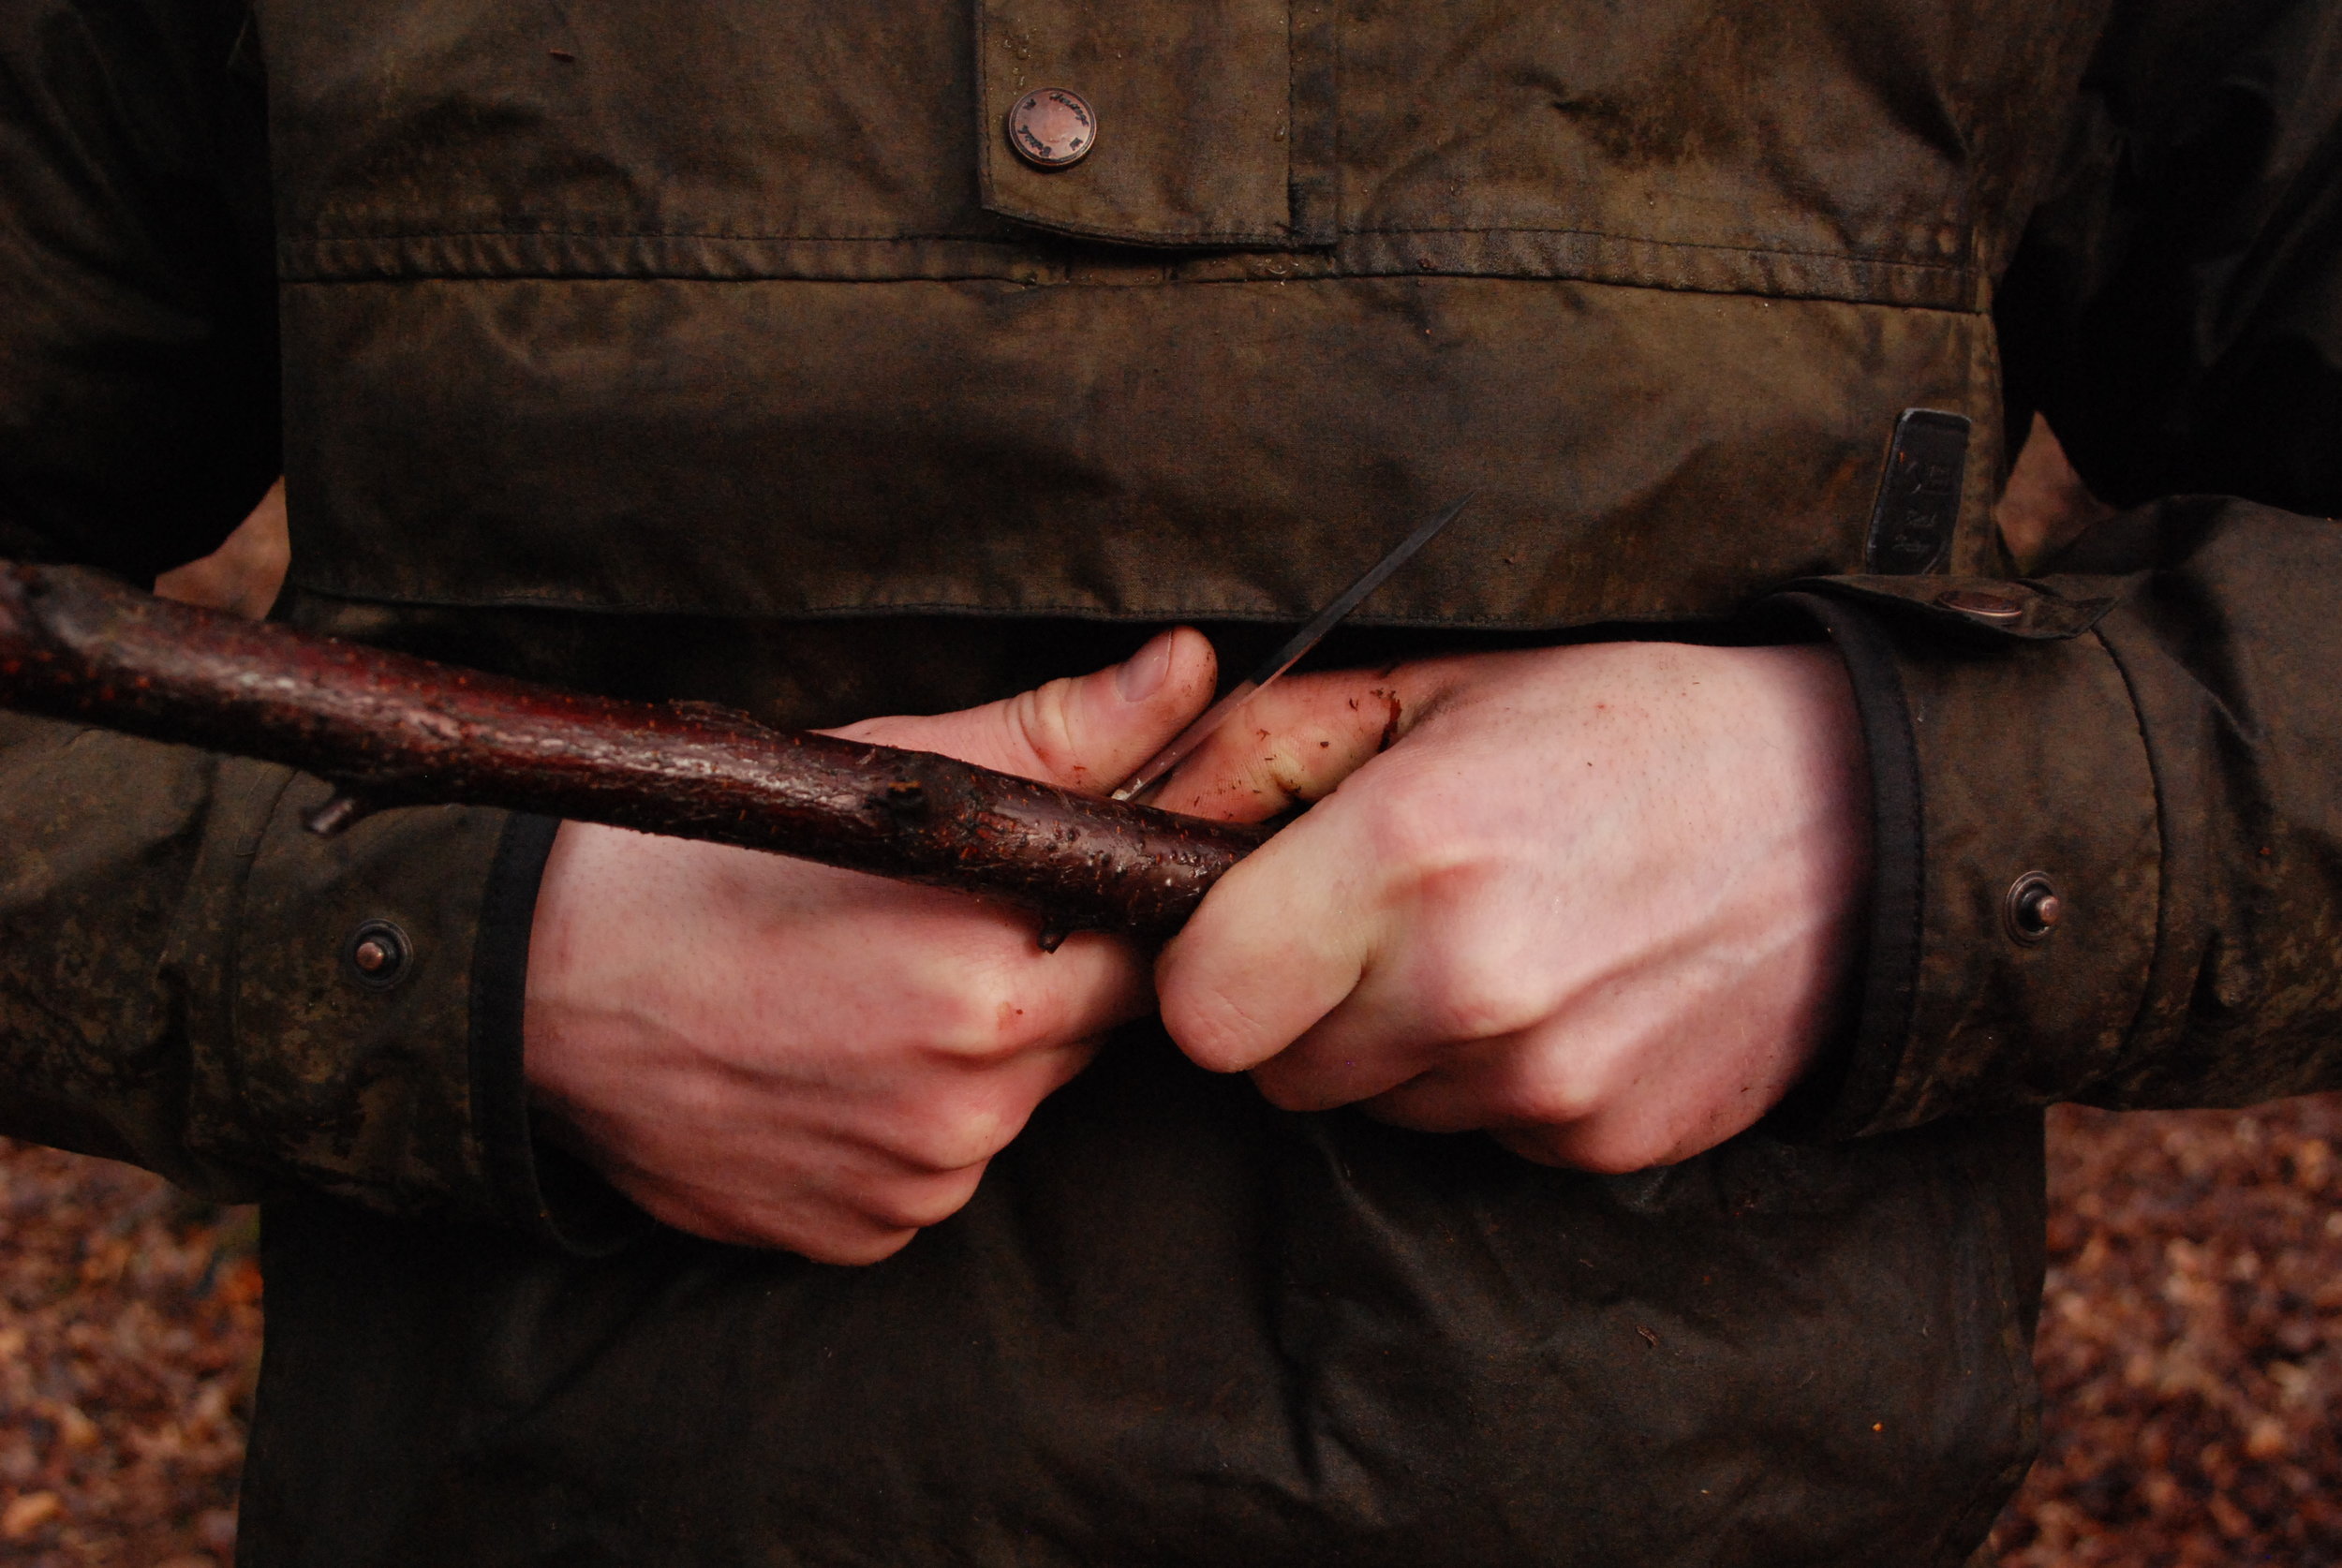
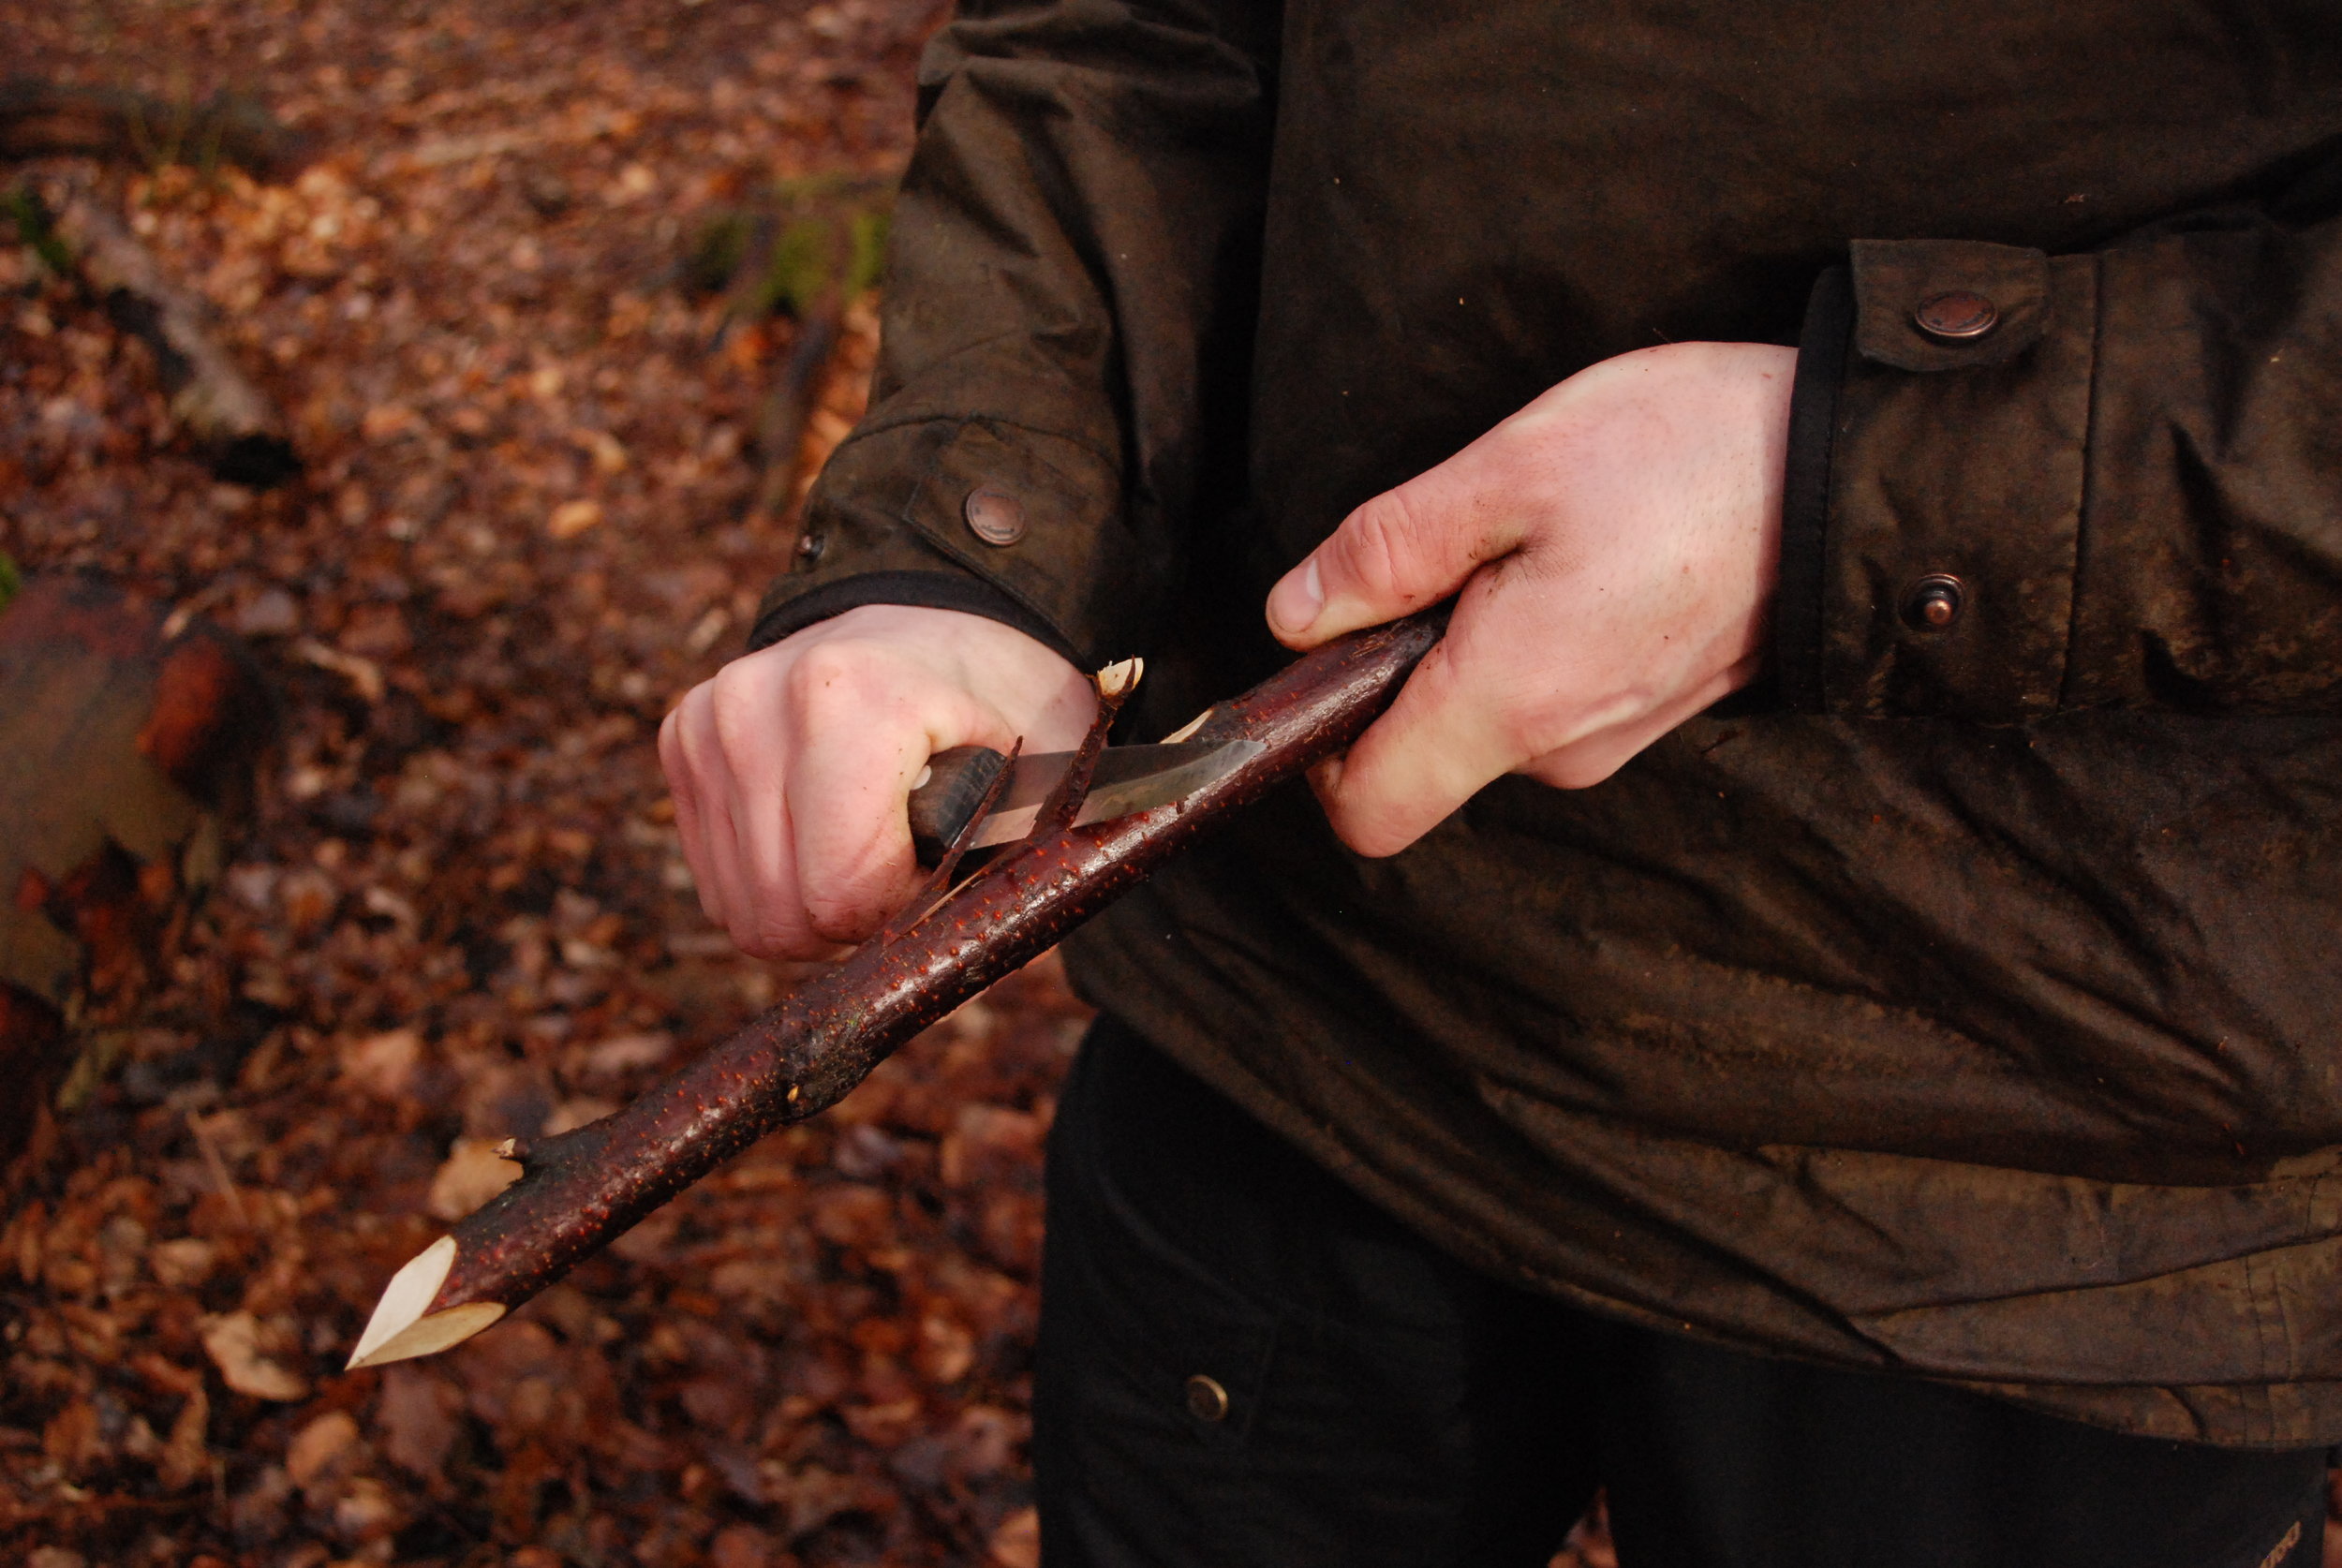
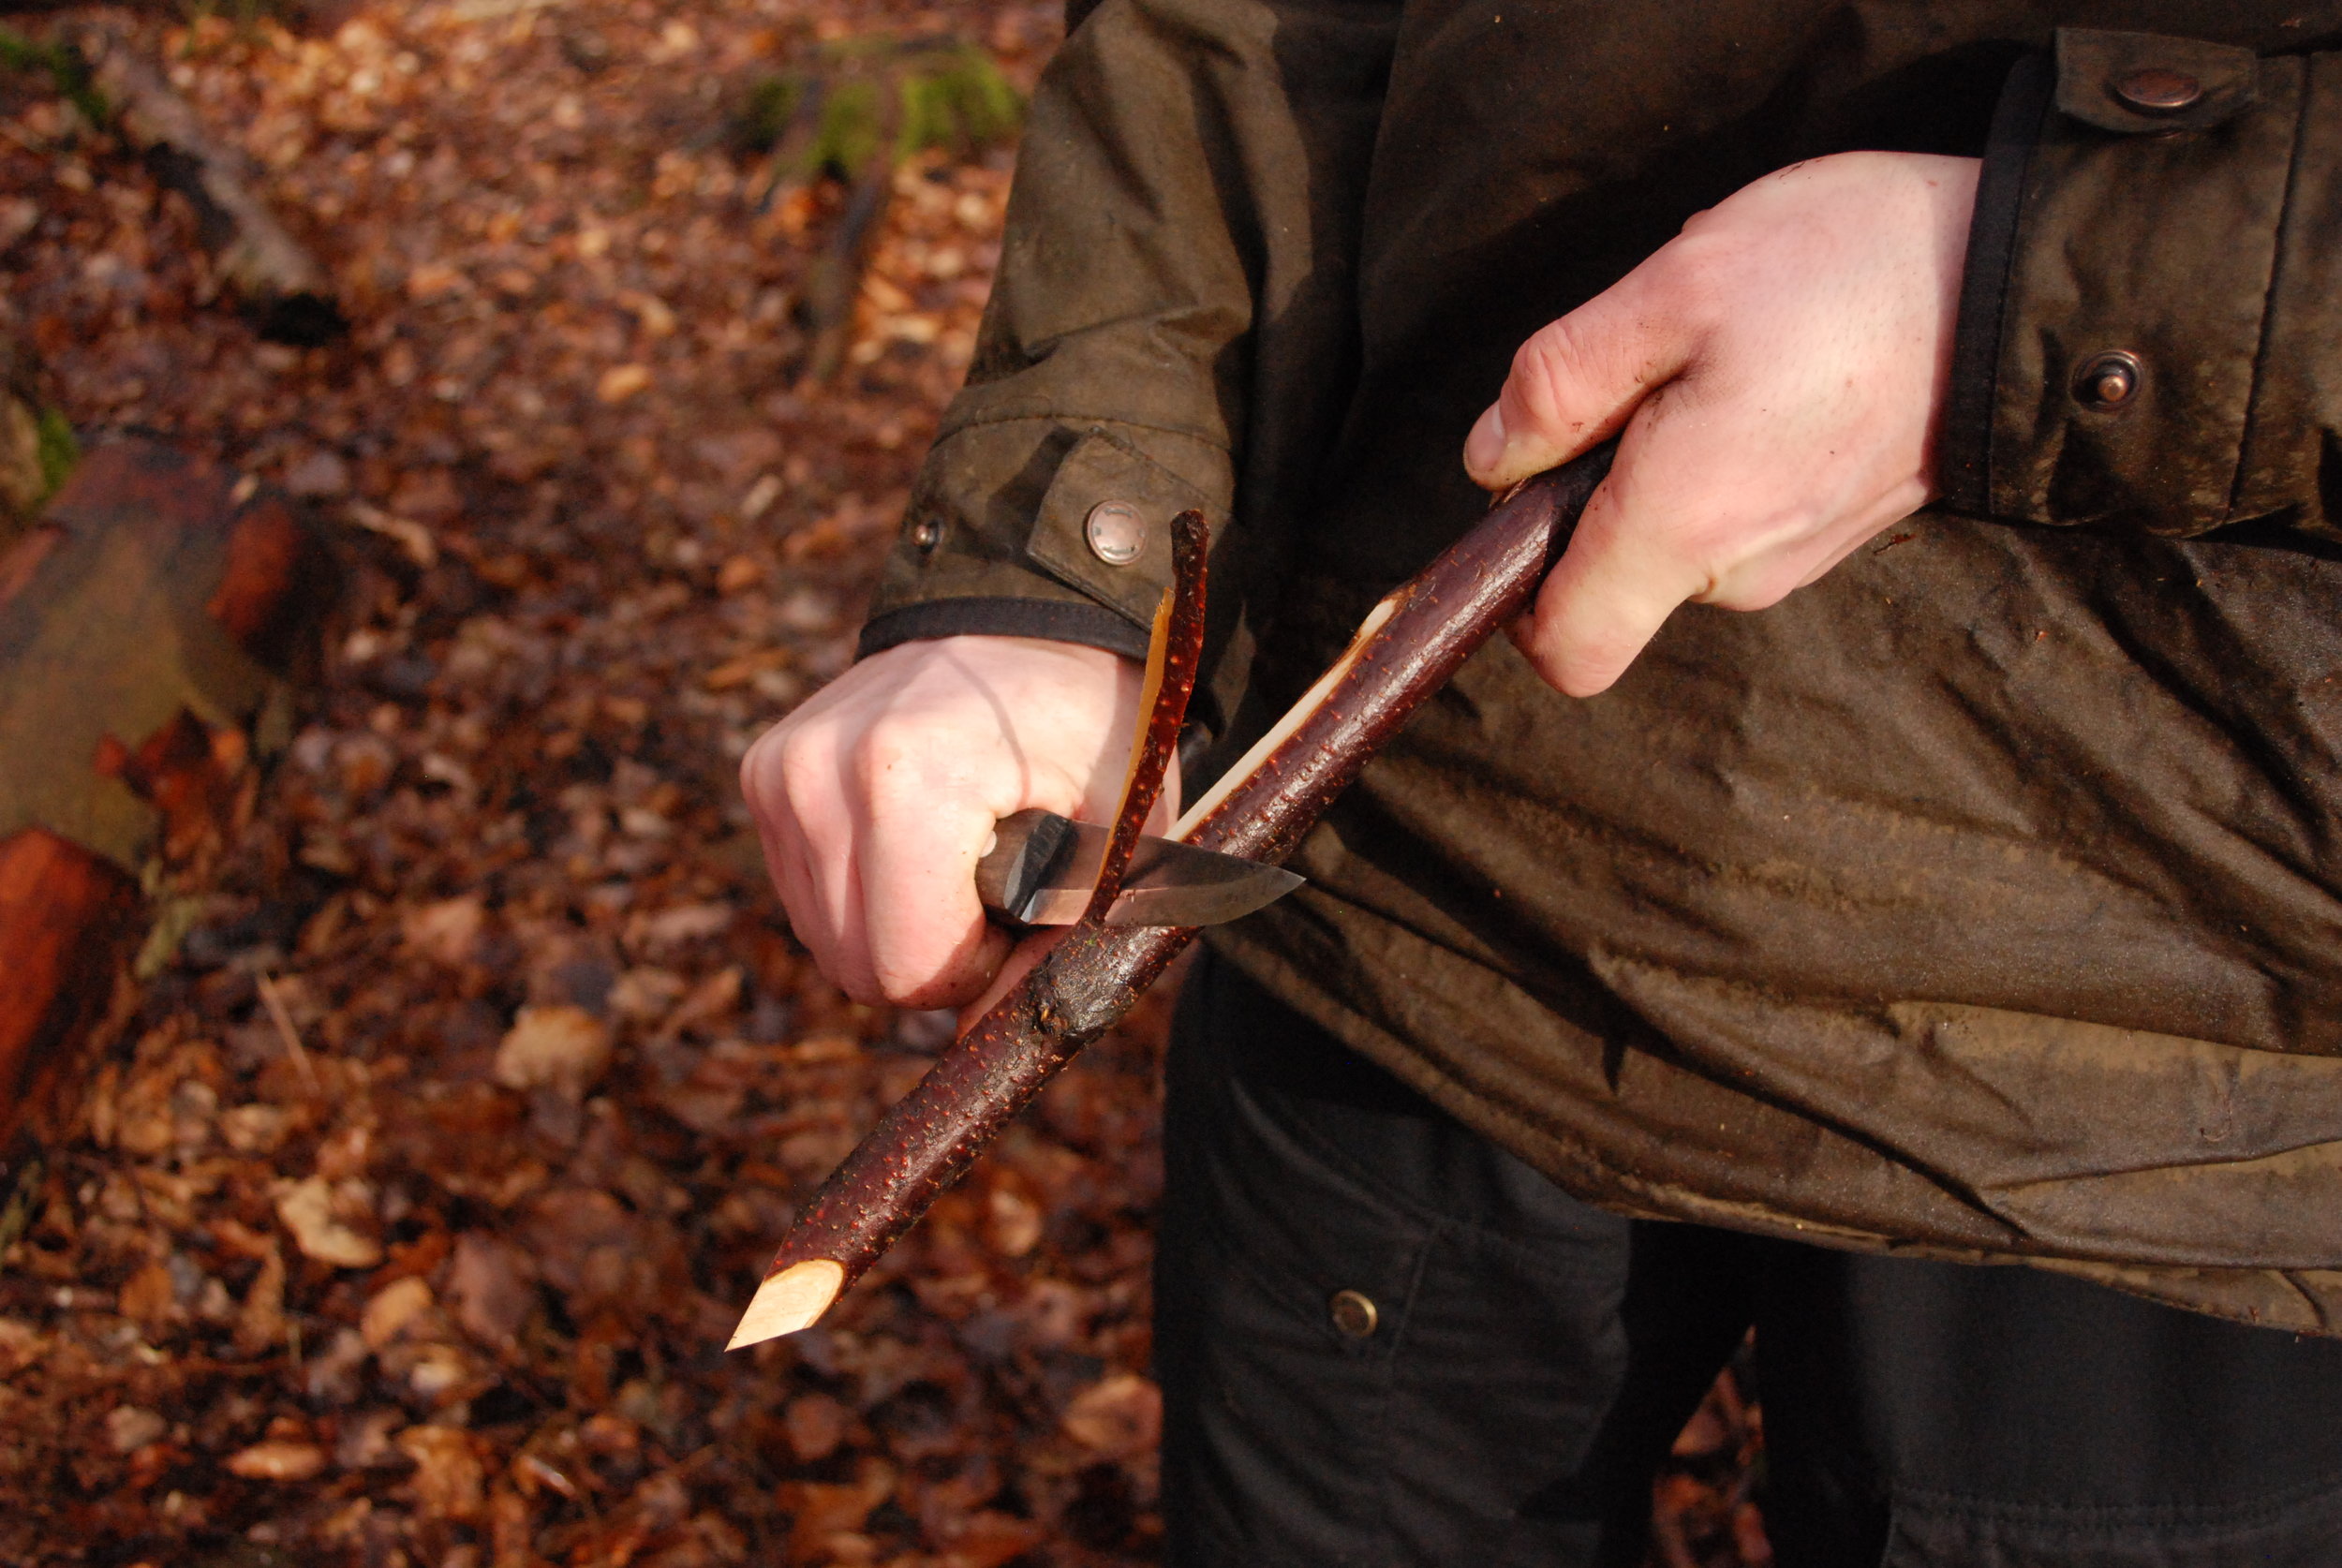
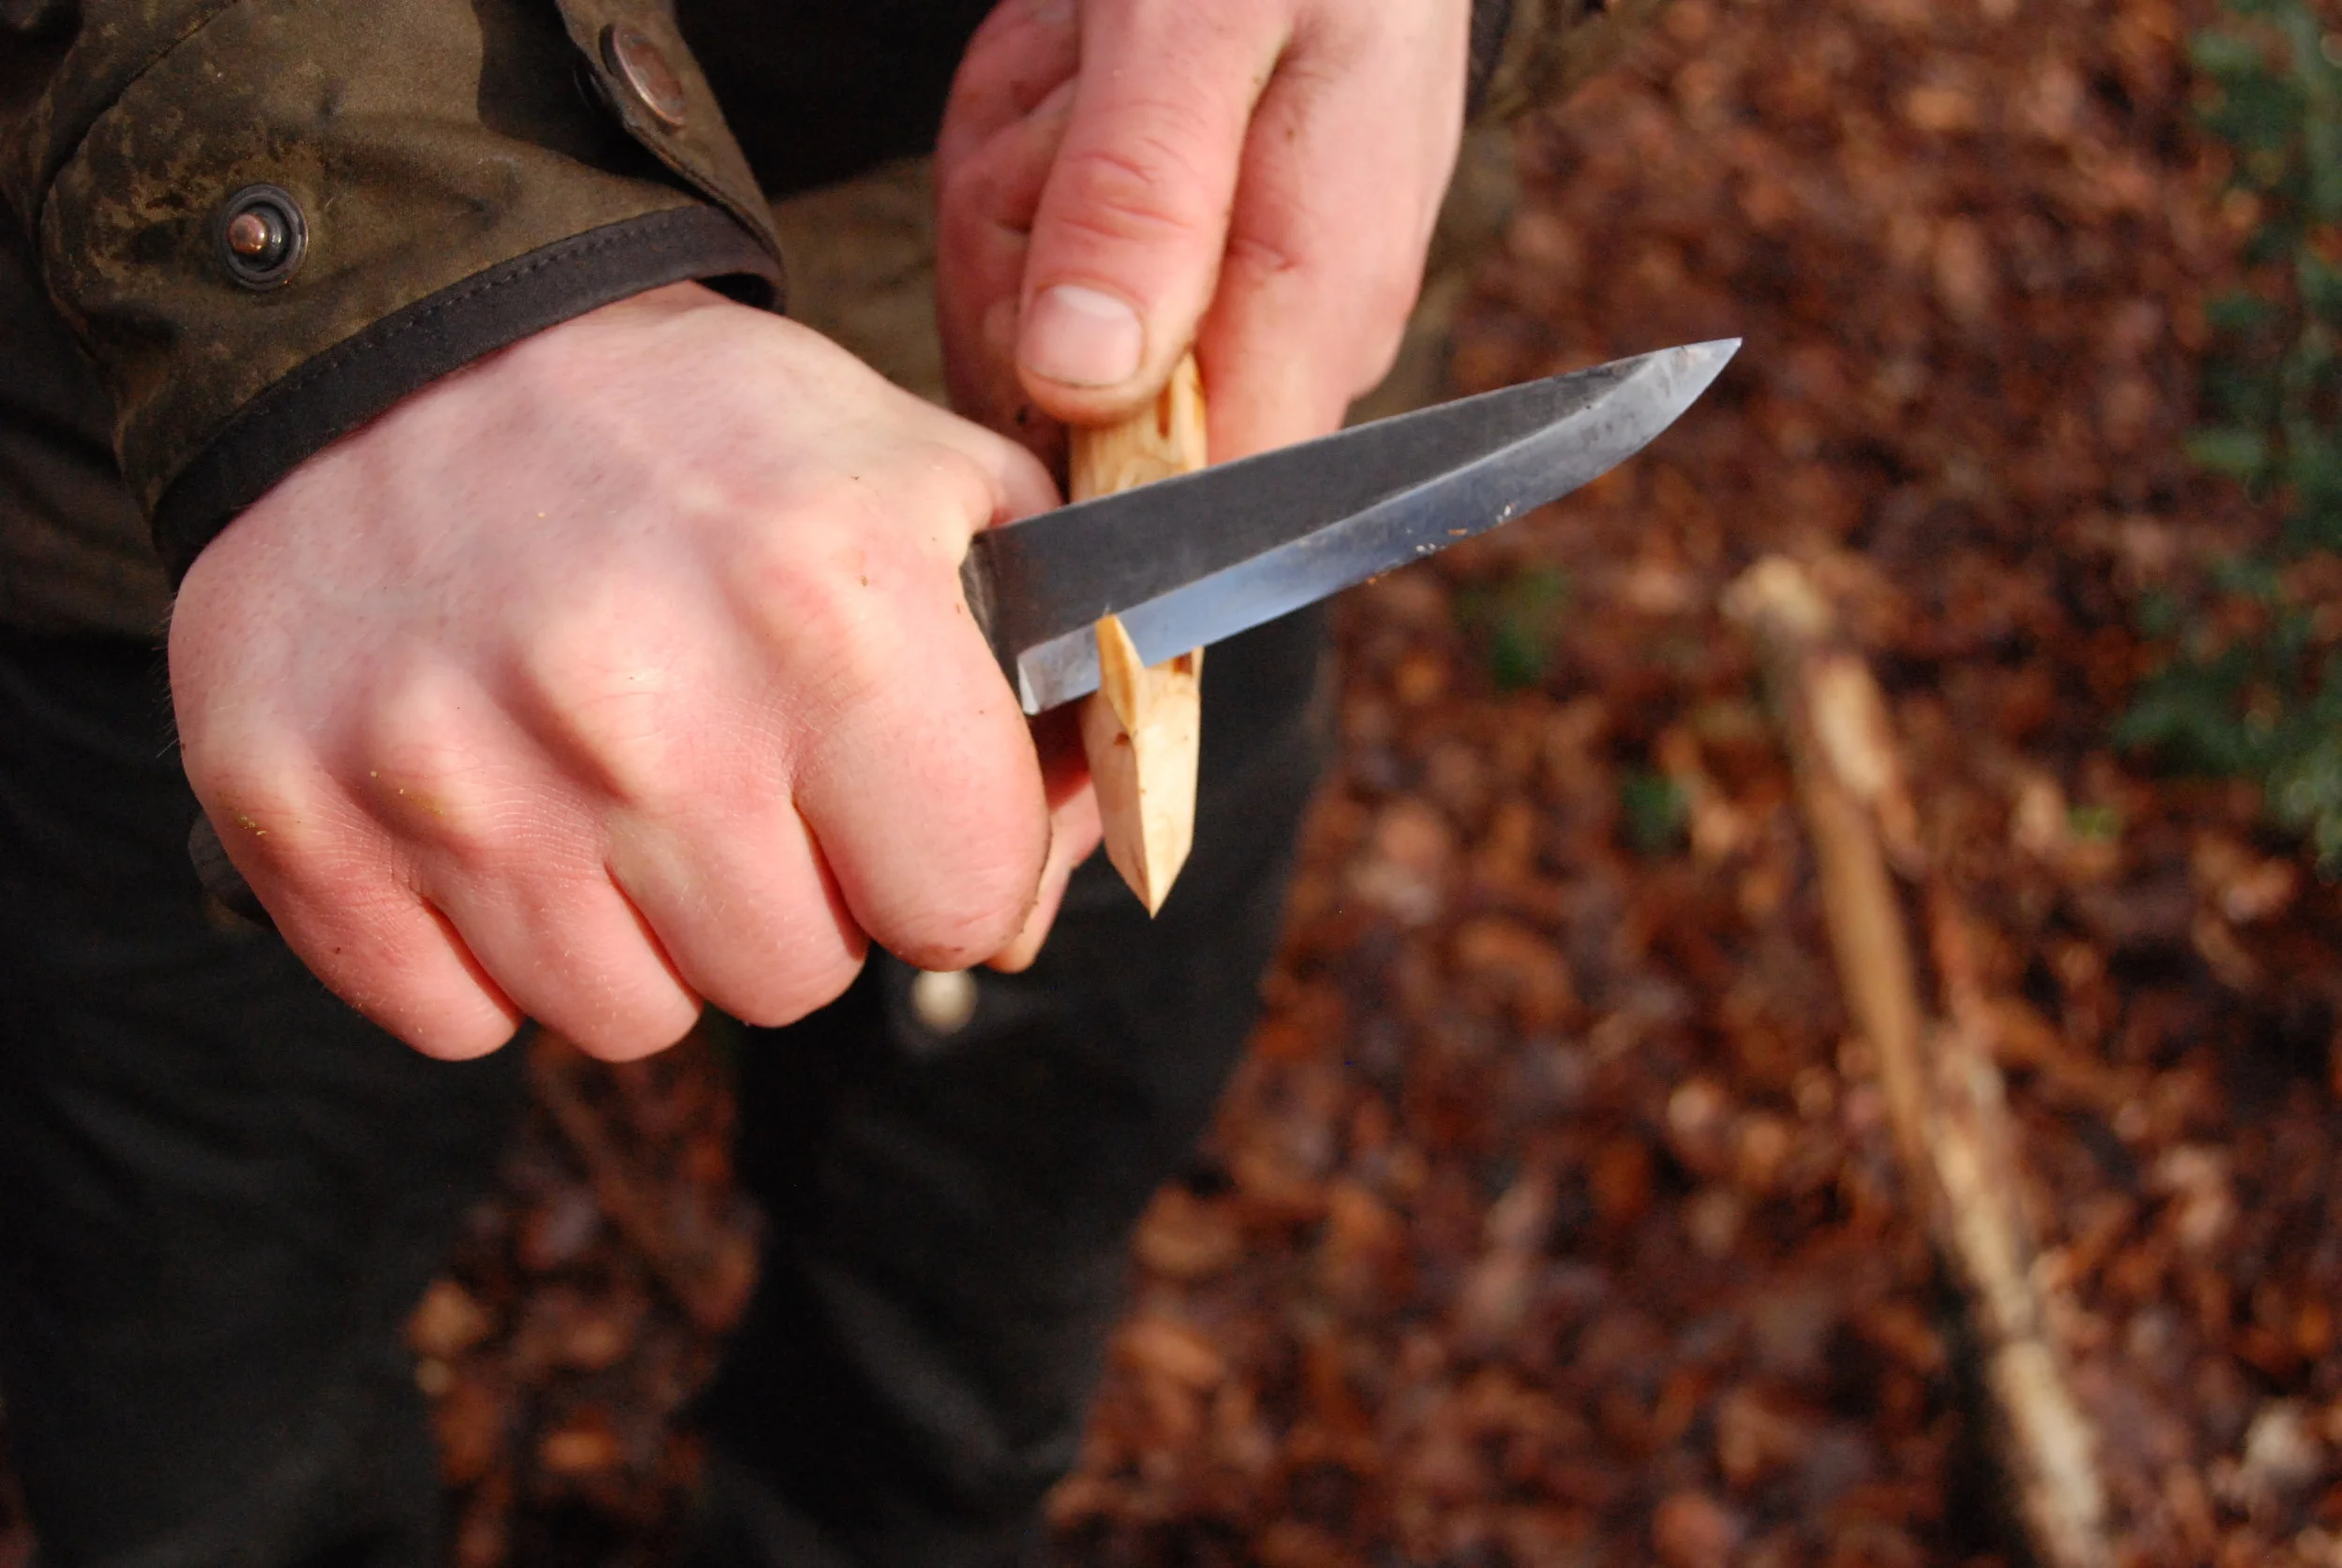
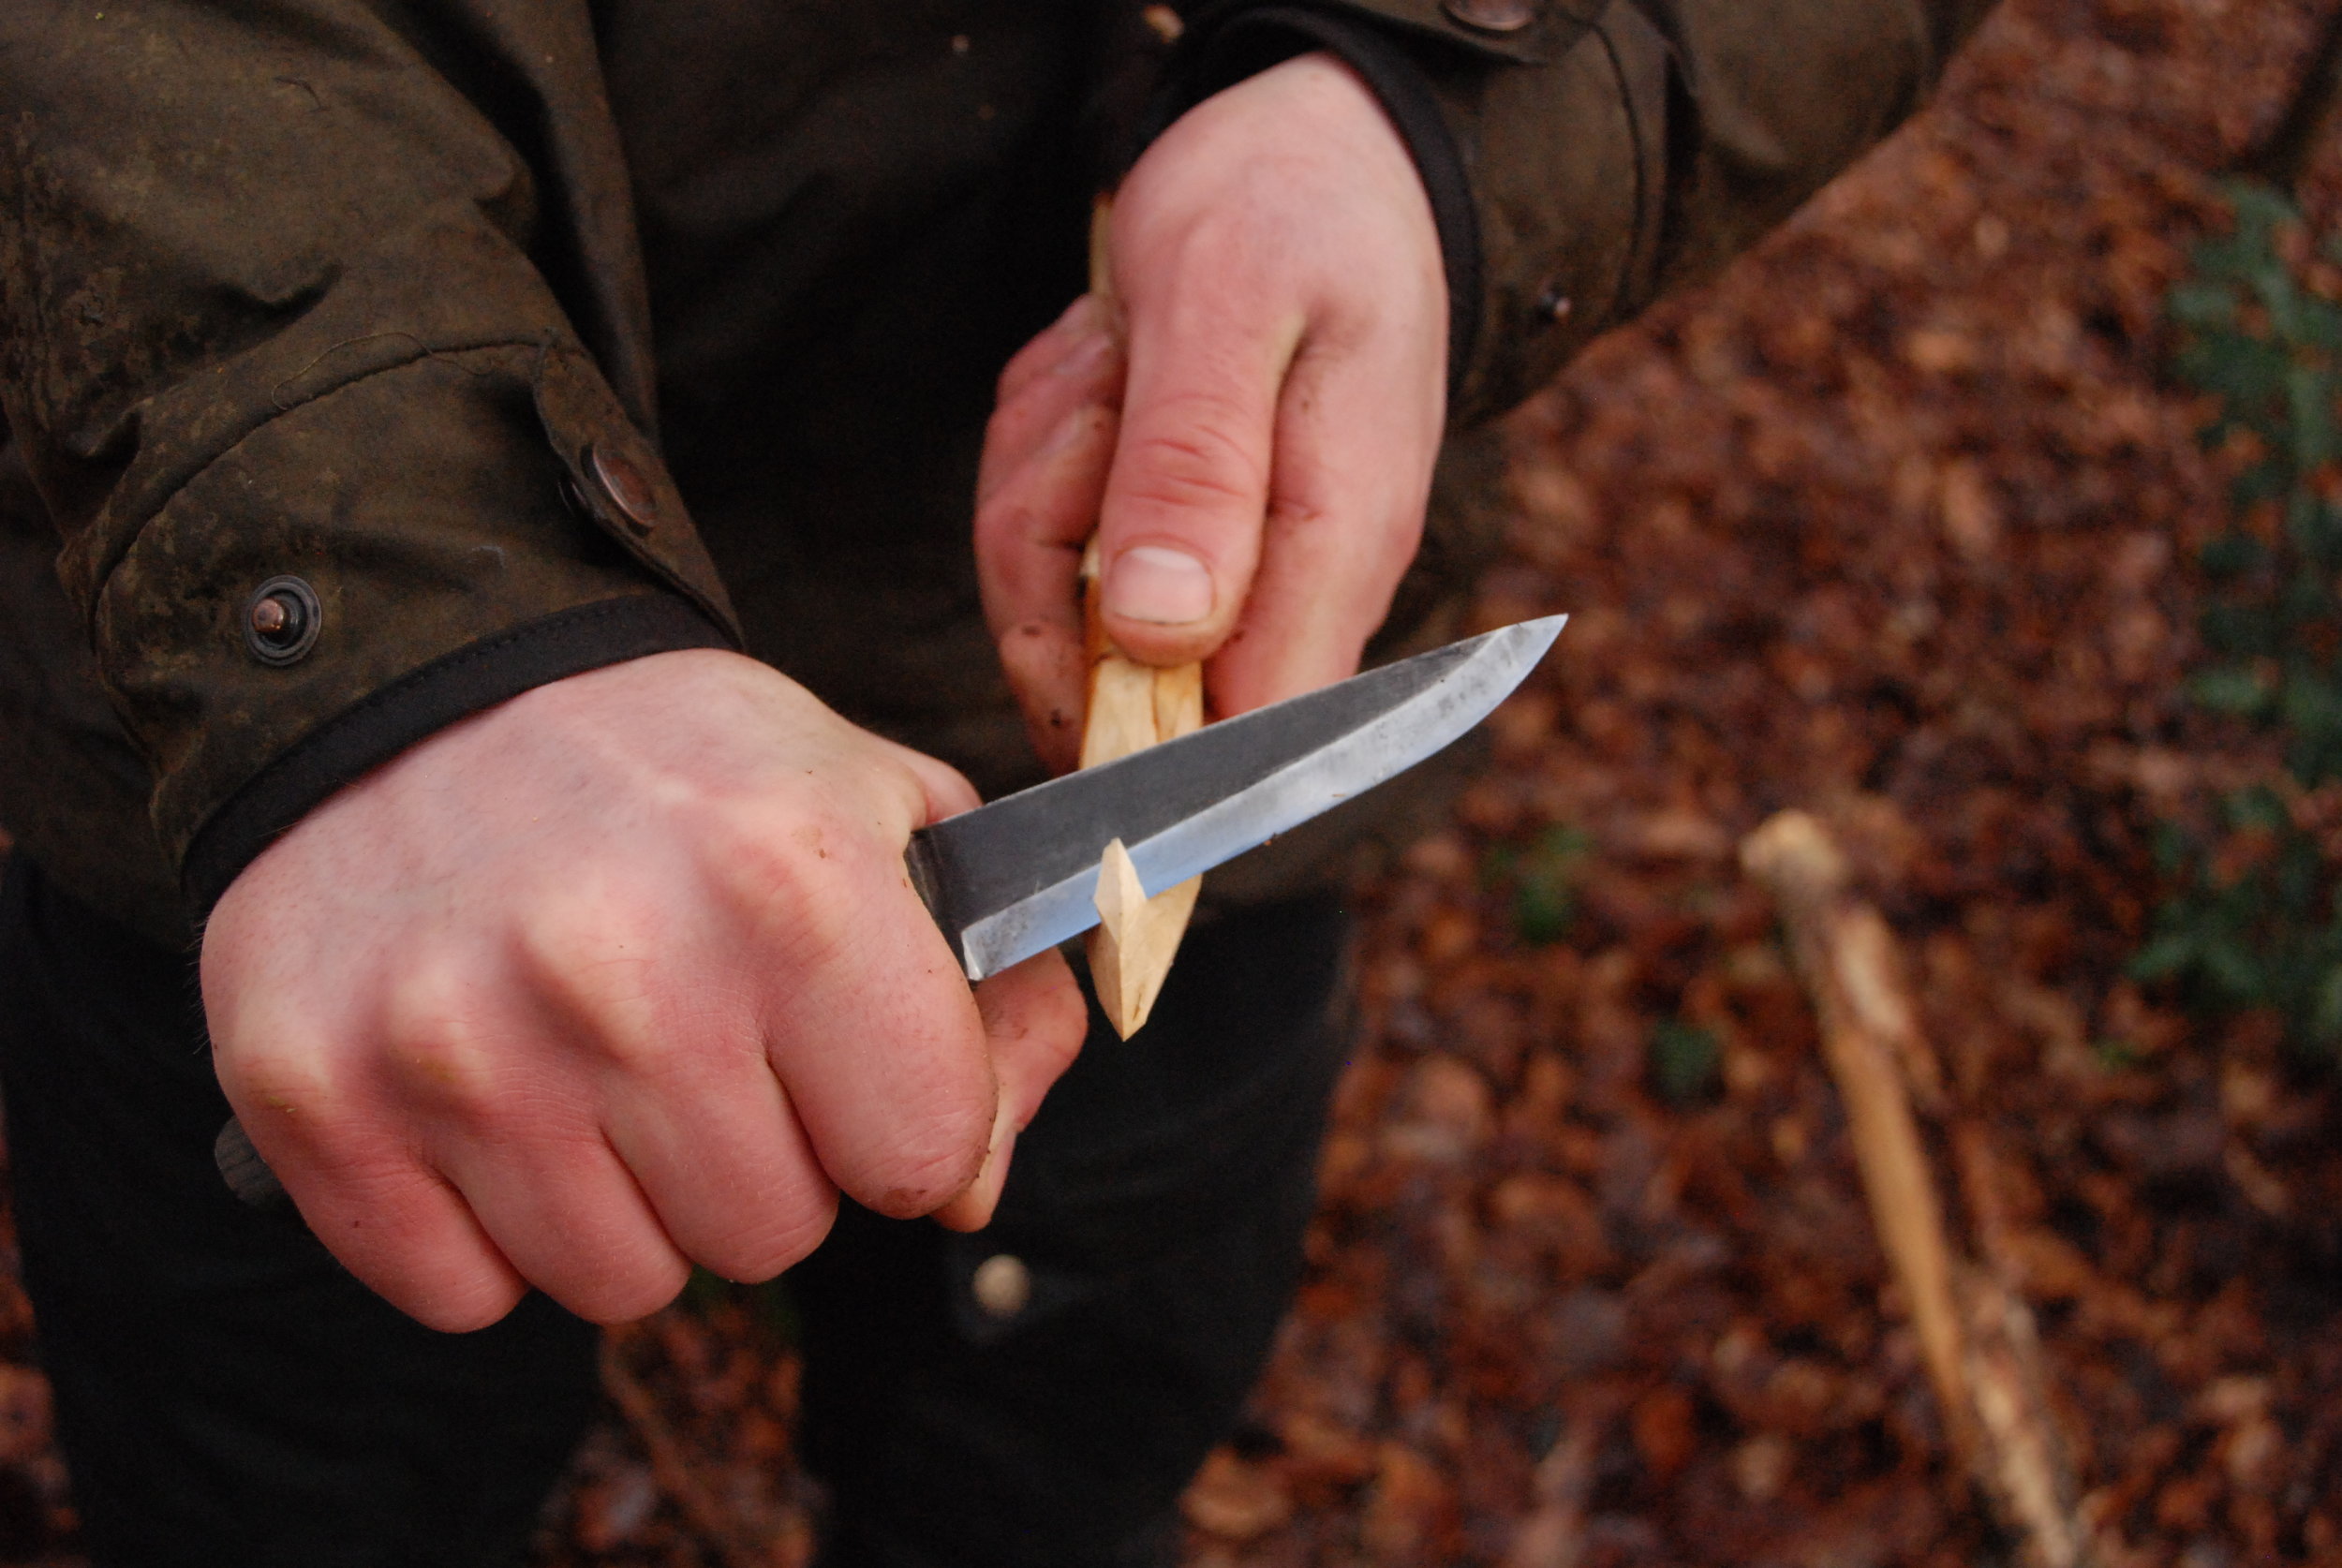
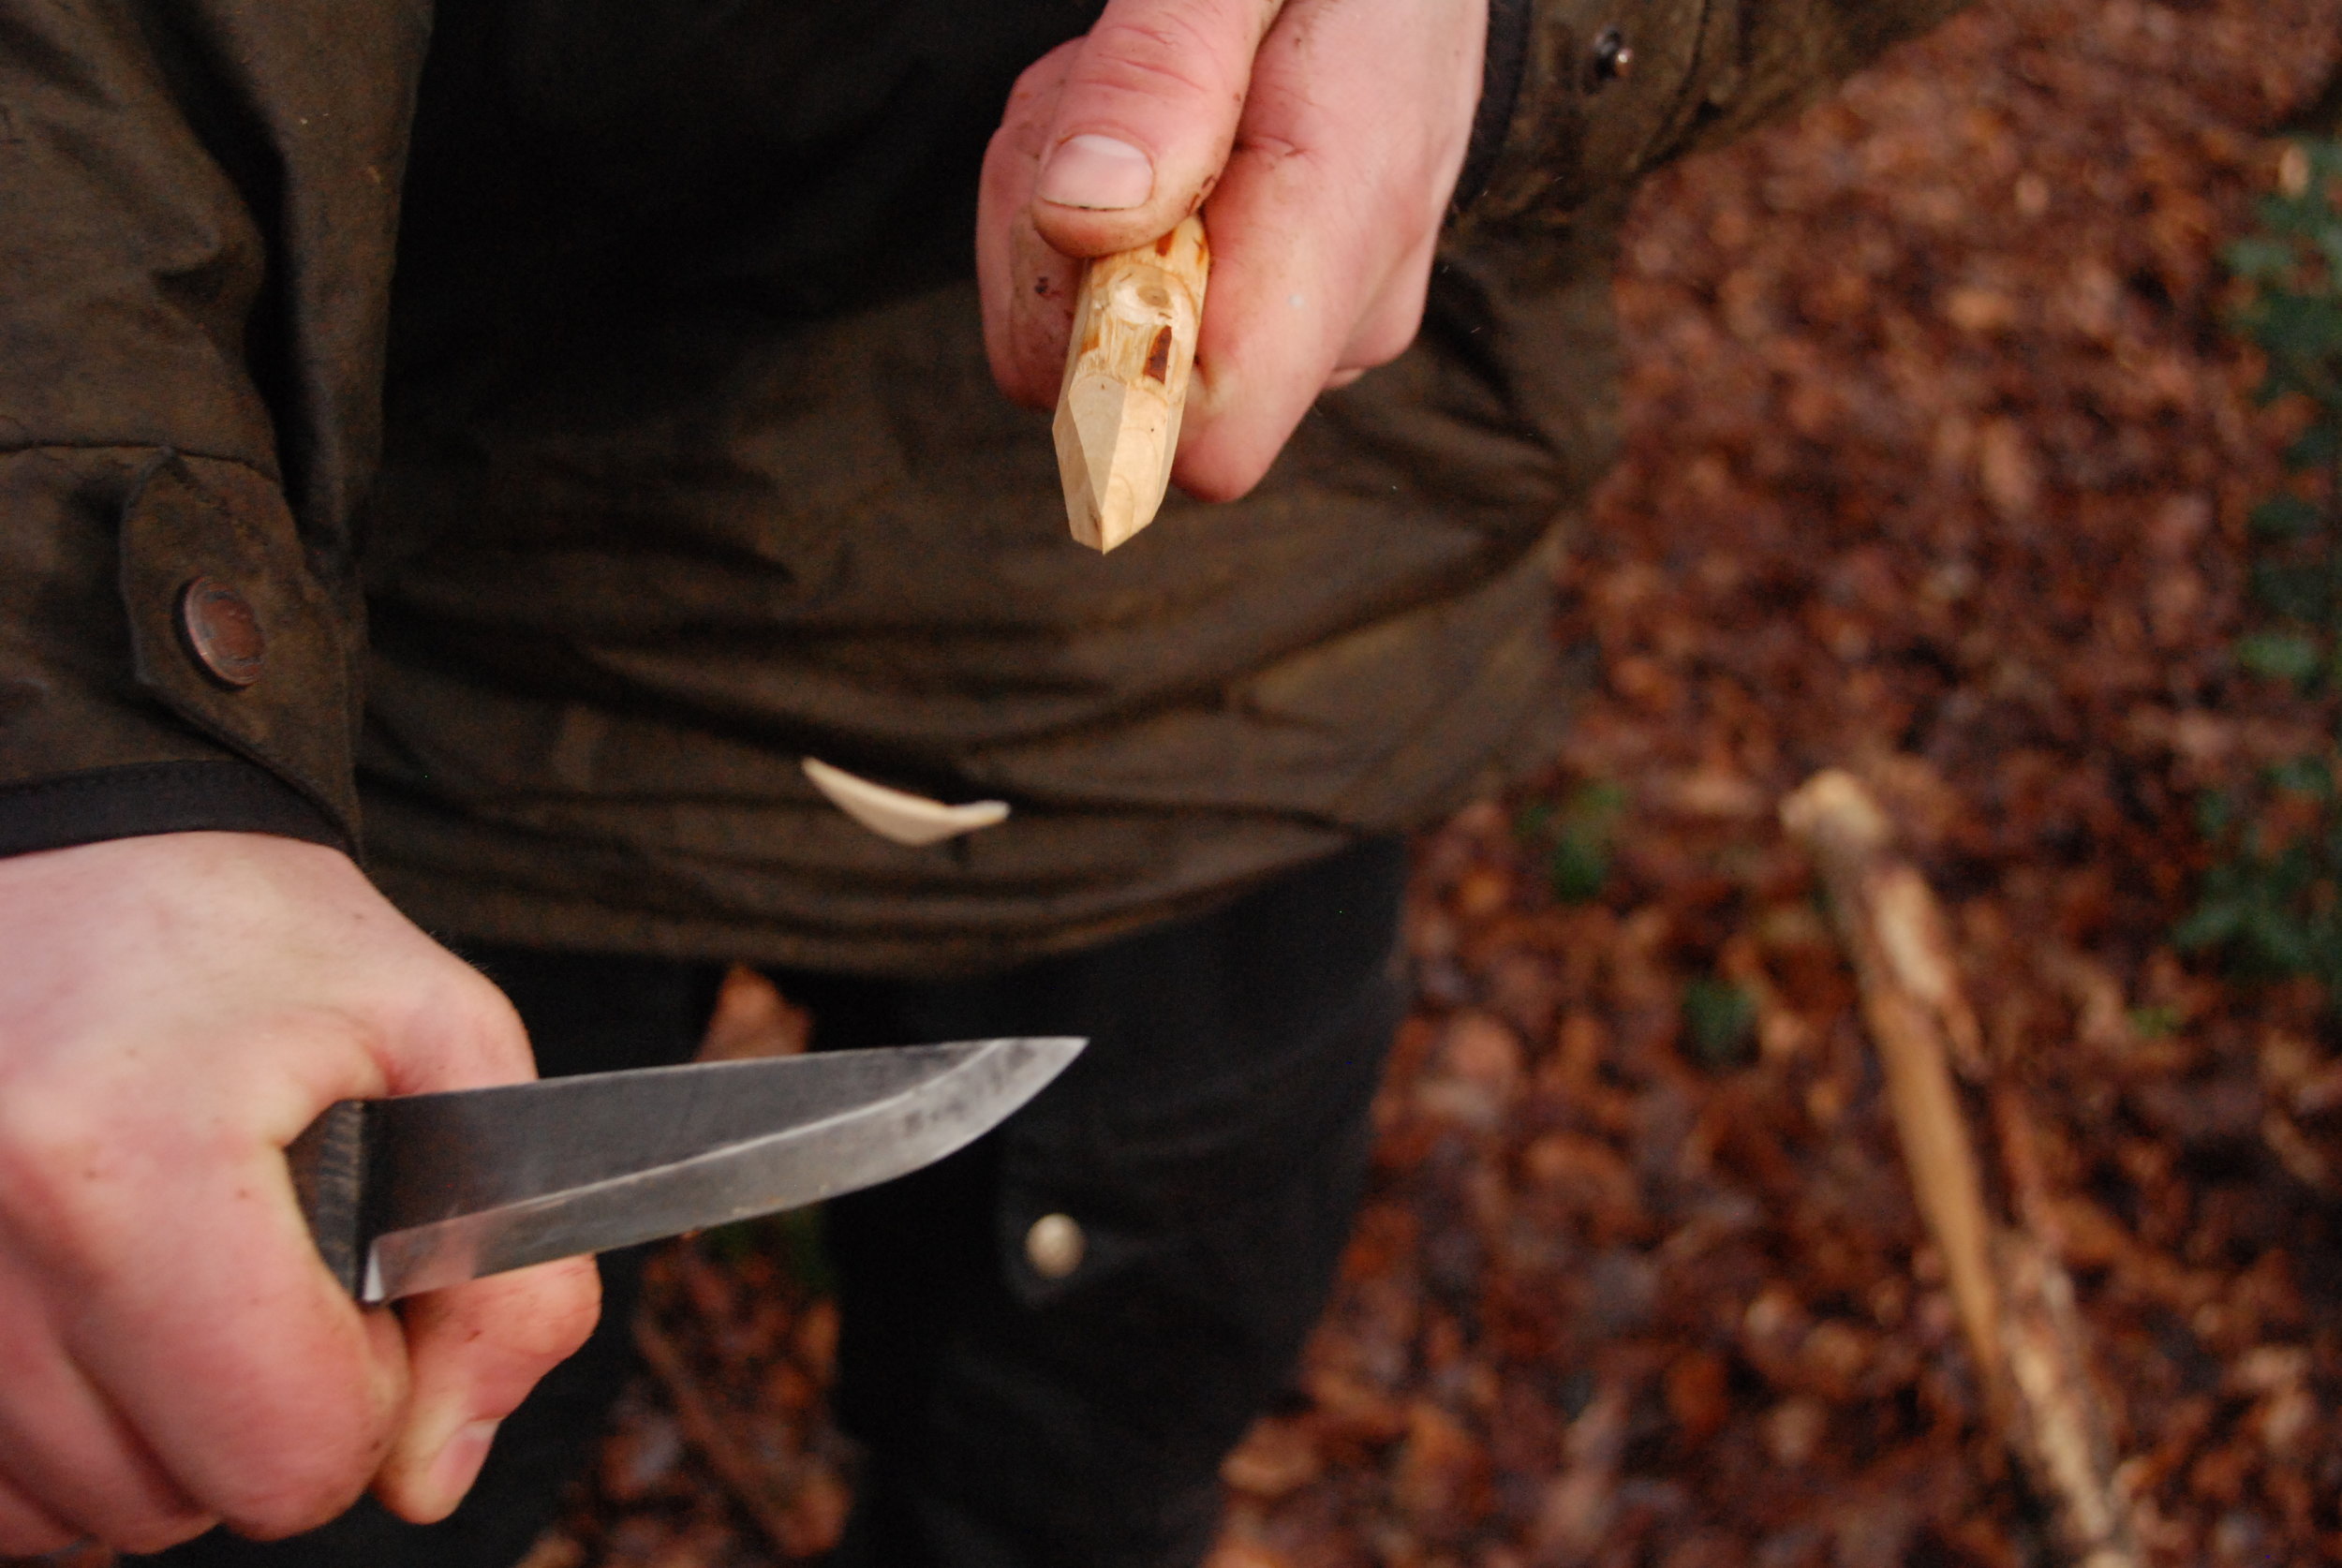
One of the limitations of a folding knife is that you cannot safely use a supported cut by applying pressure on the spine of the knife as you could with a fixed blade. You can modify your technique though, to achieve a similar effect: as you can see above I’m making whats called a ‘rosette cut’ around the stick in order to snap it in a controlled way to the correct length. By making lots of small semi-circular cuts into the stick at 45 degrees we weaken the stick for snapping, to do this it can be useful to press my left thumb onto my right hand to apply more pressure while maintaining a high level of control.
Strong and quick to make, the rosette cut at the top also bevels the end as you carve saving you the time between swapping to a saw and back with the knife to cut and bevel the end: the Rosette cut does this in one.

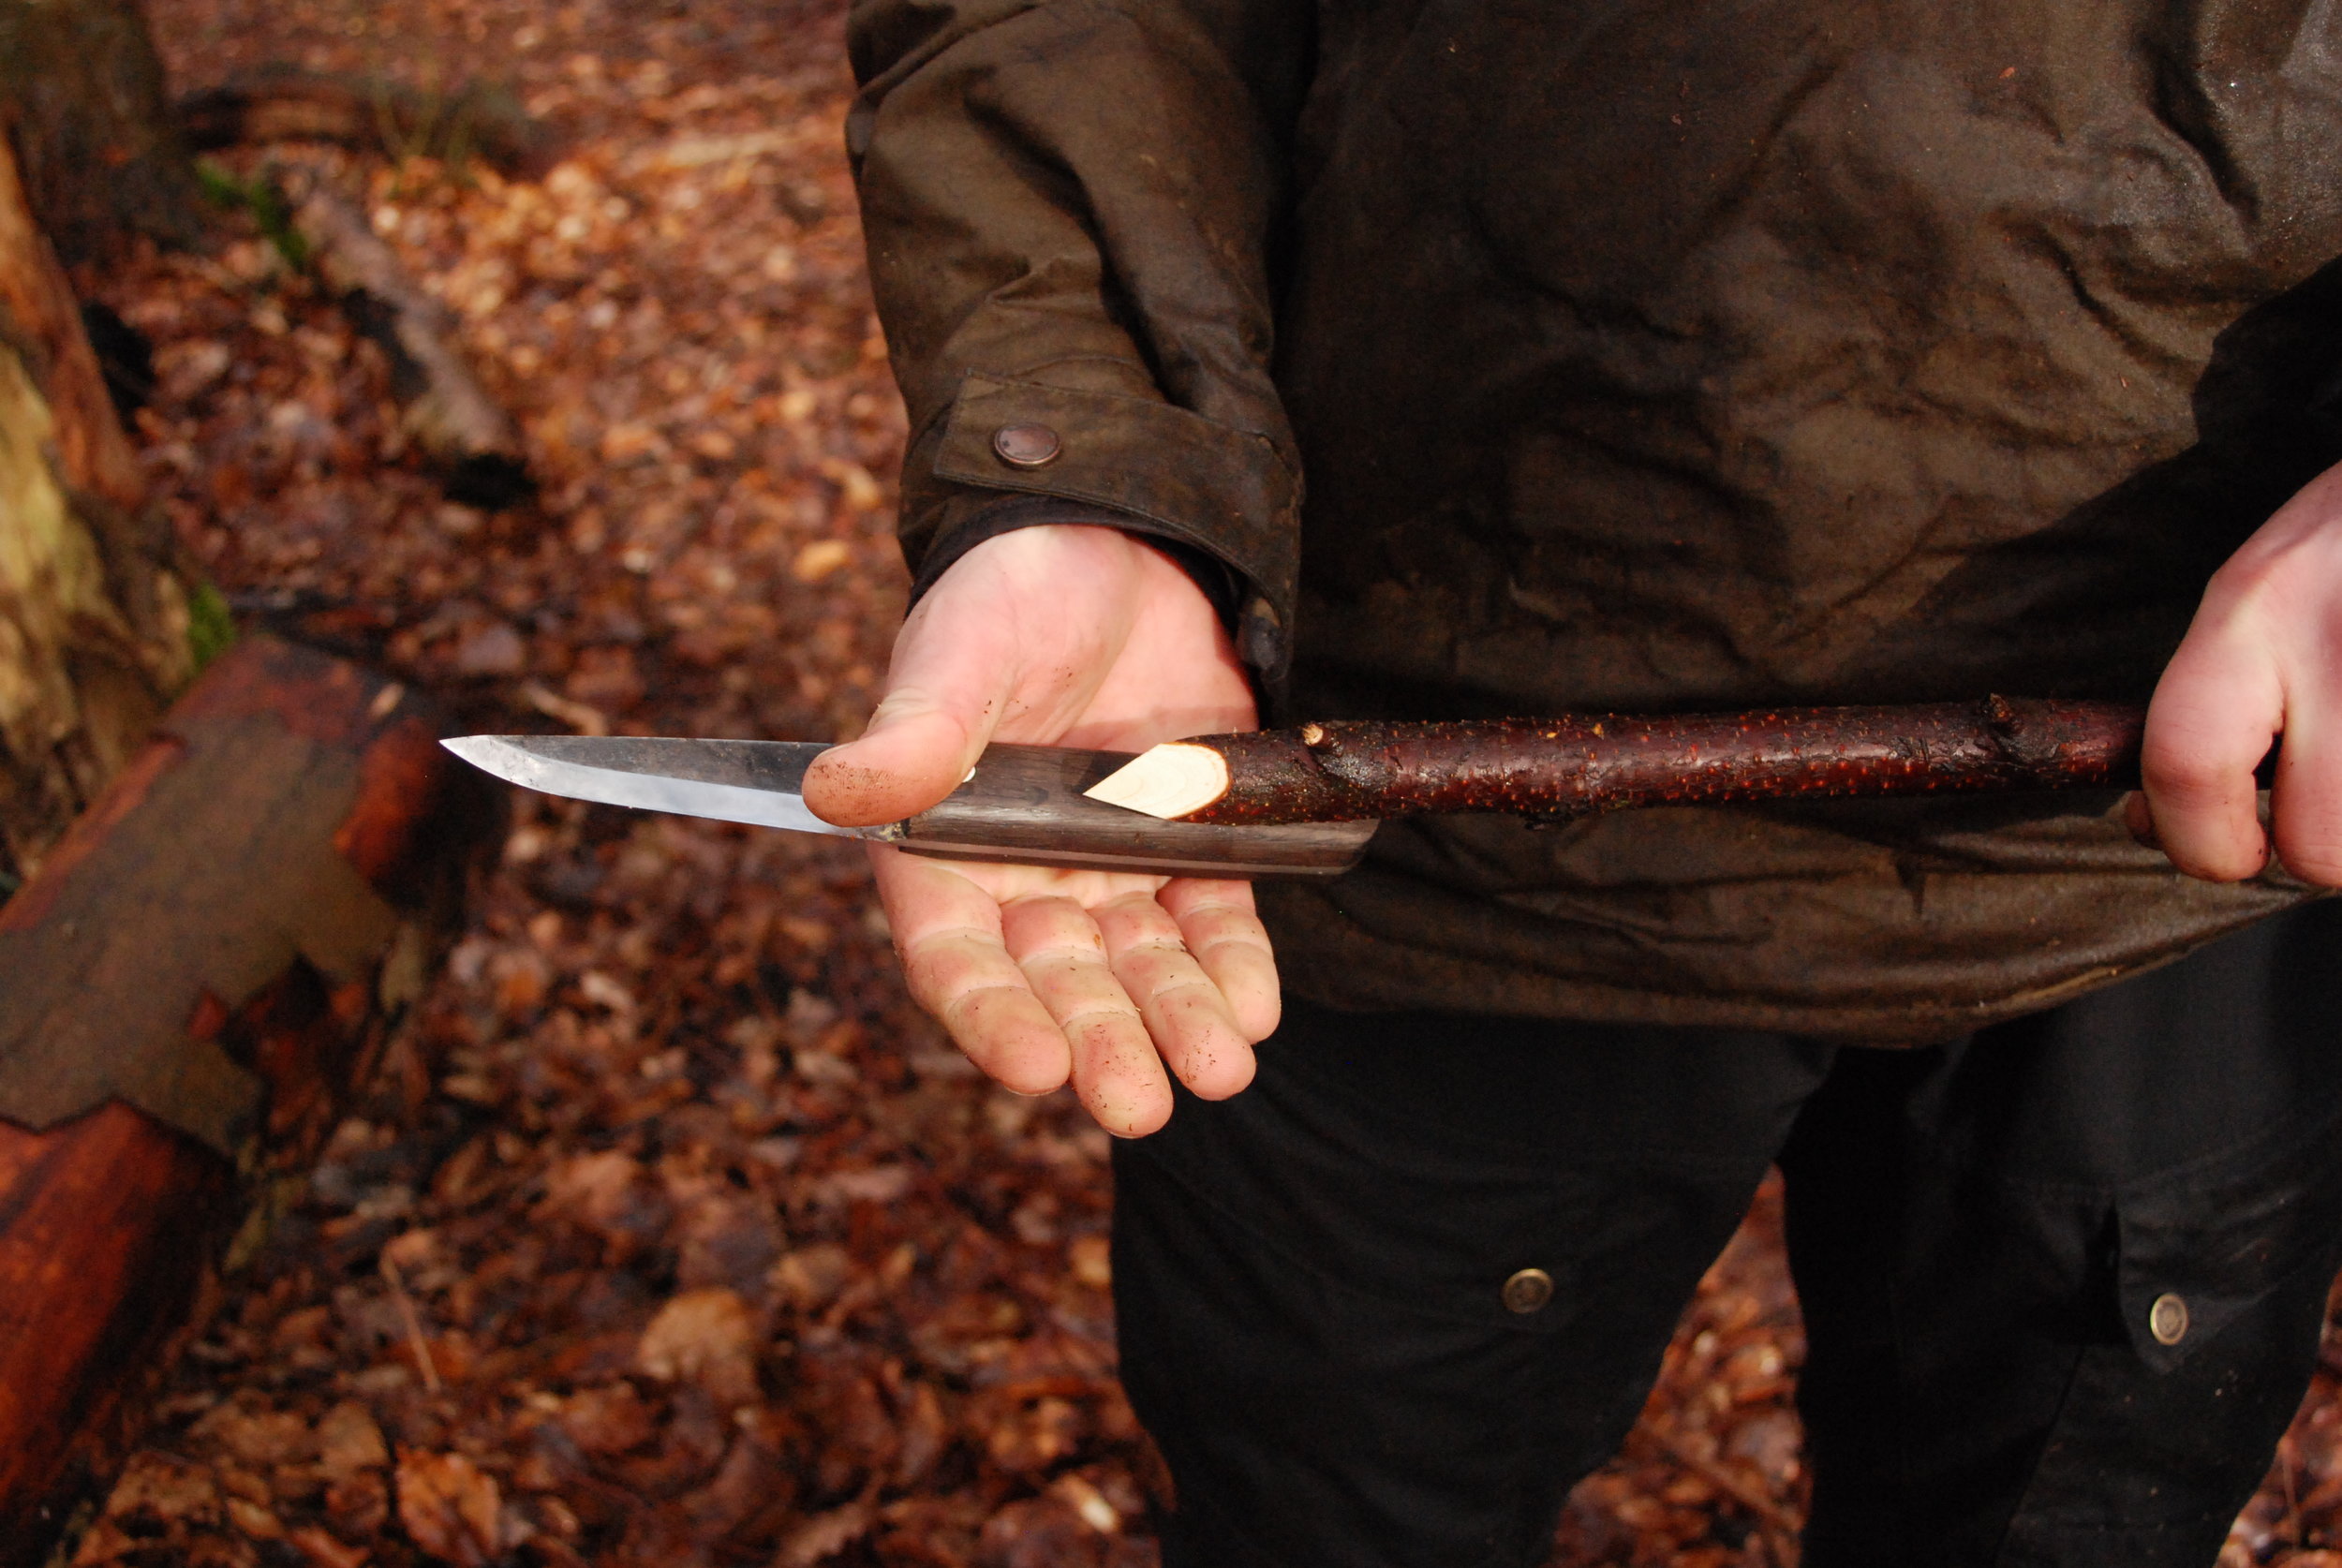
A robust peg to use time and again.
Having looked at how we make a peg on the fly, let’s focus on making a high quality peg from greenwood which we can take a little more time over and create something we can use over and over, carried between camps in the rucksack. What we want then is a stout peg, with a strong and resilient point and a top that will take being hammered on with an axe or stick when driving the peg into the ground.
When making good tarp pegs I select a green stem of a durable wood such as Hazel, Ash, Birch, Rowan or Sweet Chestnut, from a place of abundant growth and take from the tree in a way that minimises the harm to the tree. I use green wood as it strong, and once dried much tougher than a dead stick you’d find on the ground. To make the most of this green resource I also try to find a stem that will produce all my pegs from its length, instead of cutting 4 different shorter stems. We start with the saw, cutting sections which are 2 peg-lengths long.
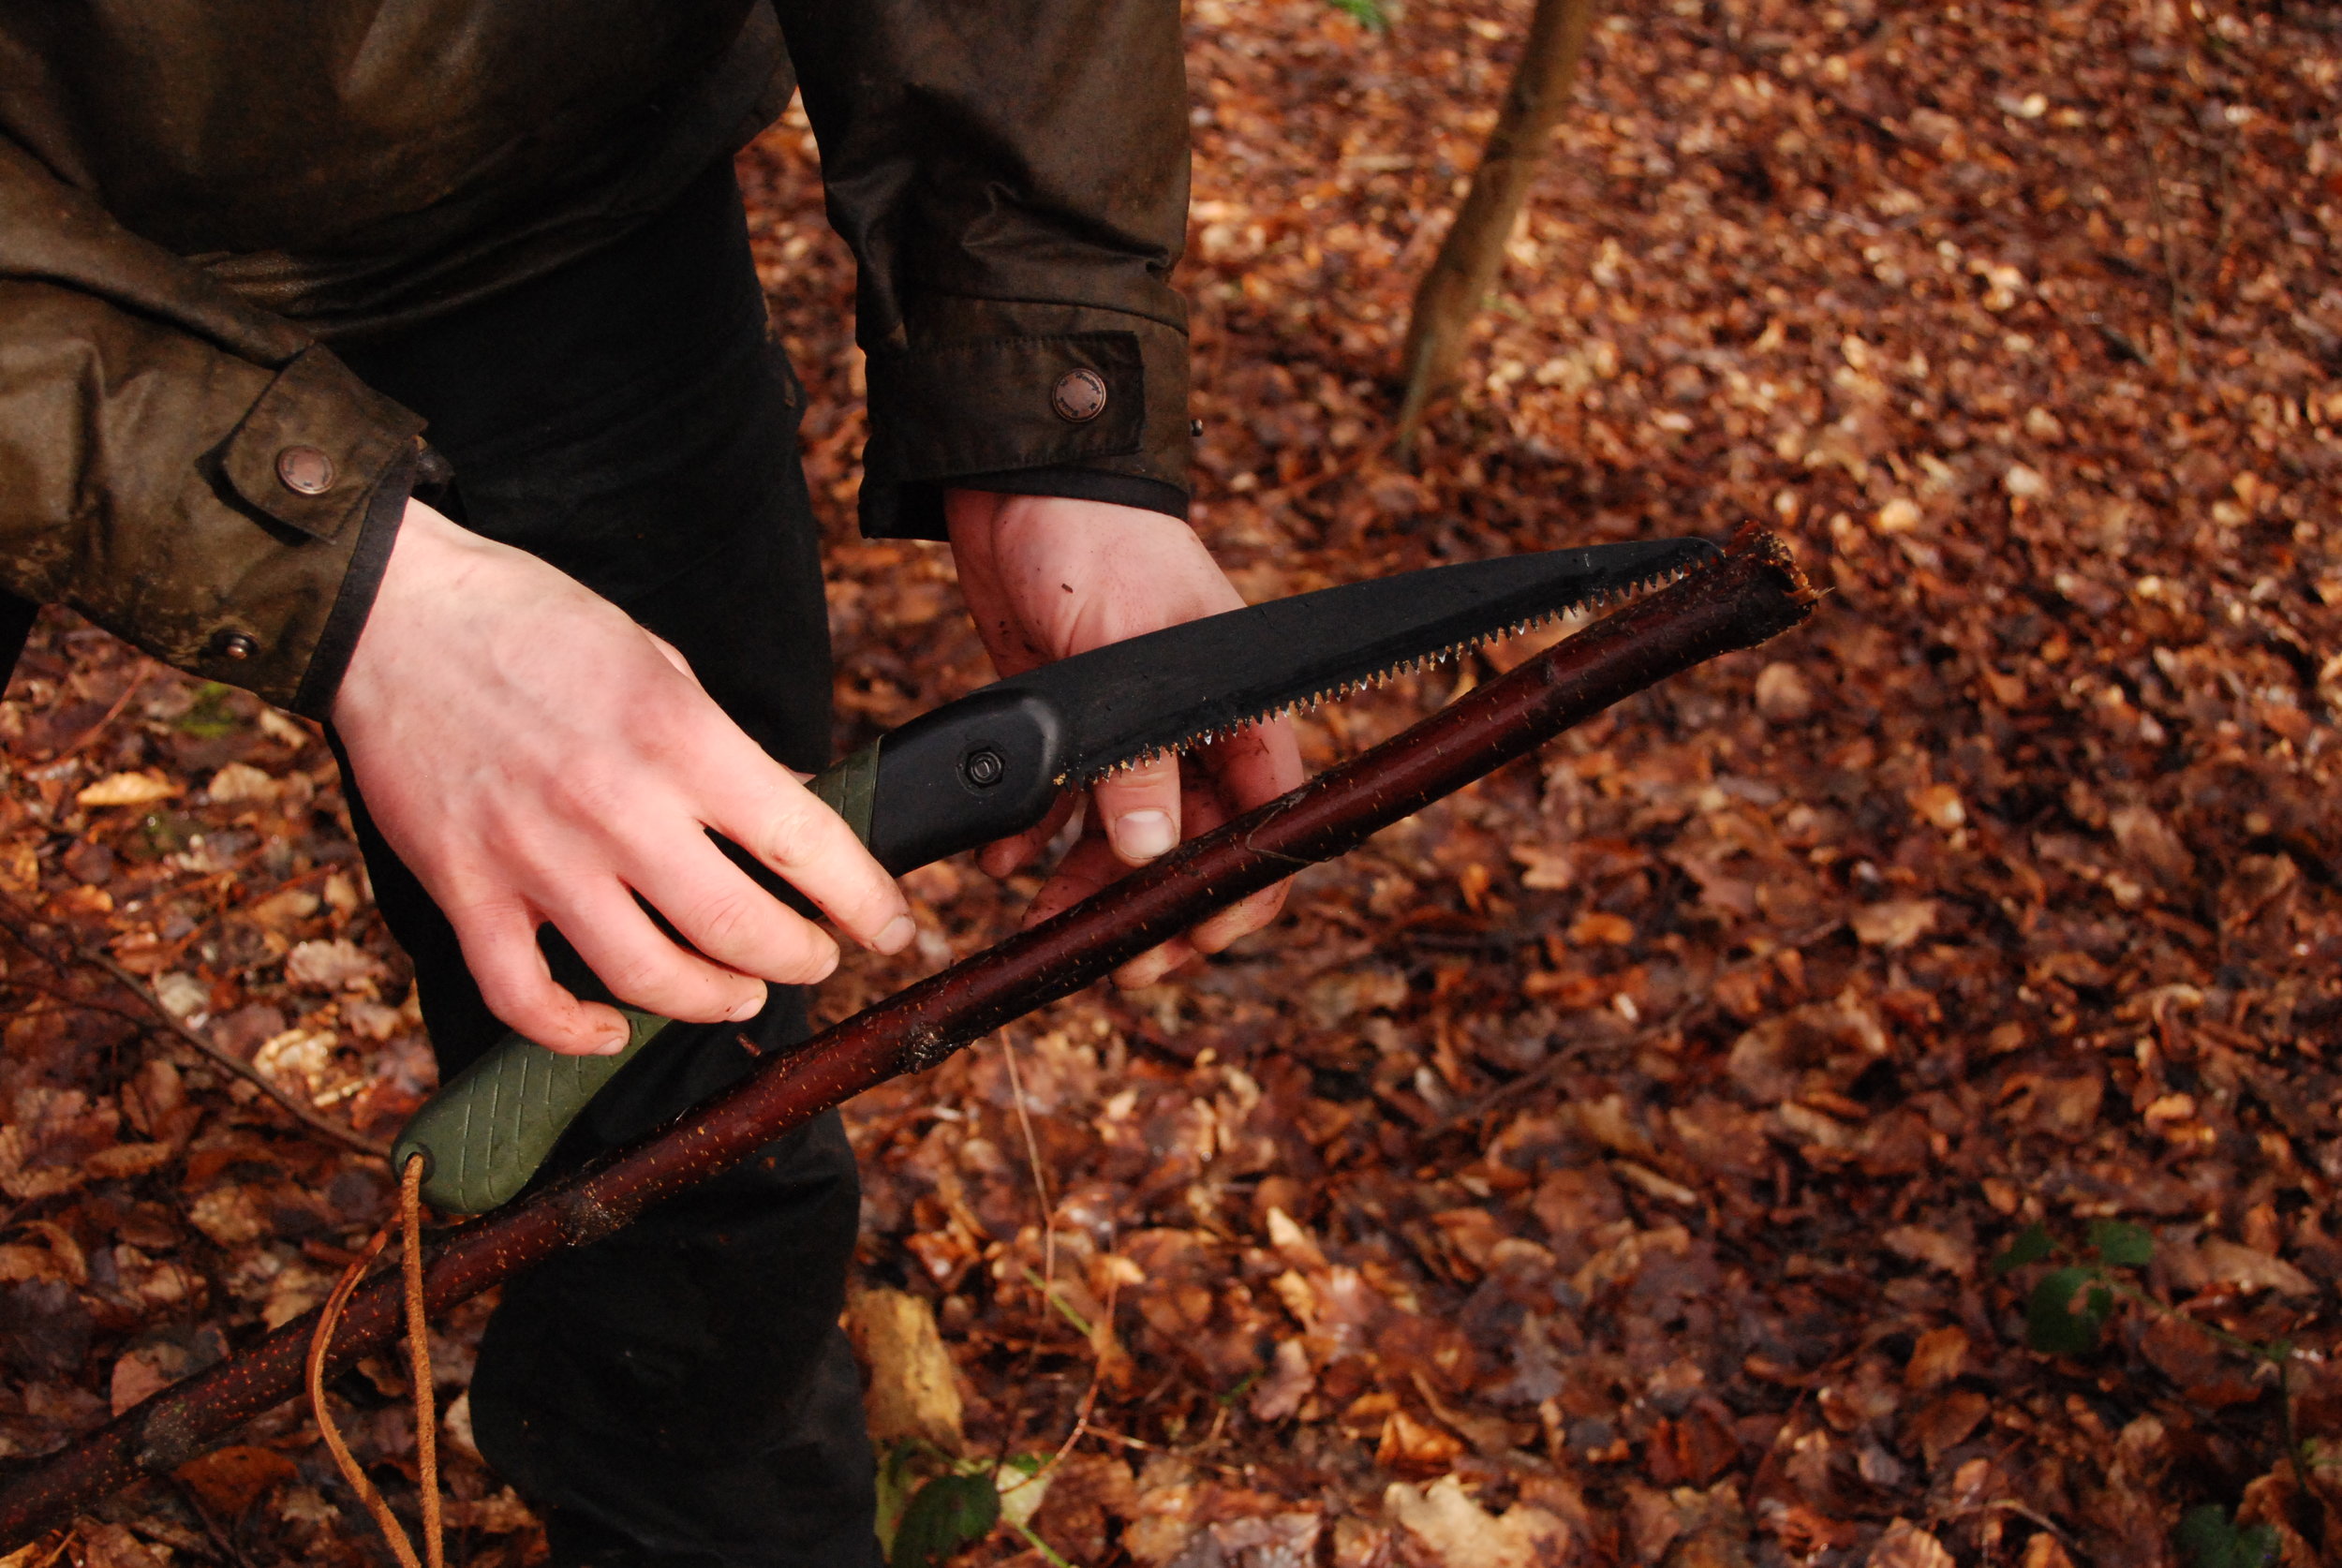
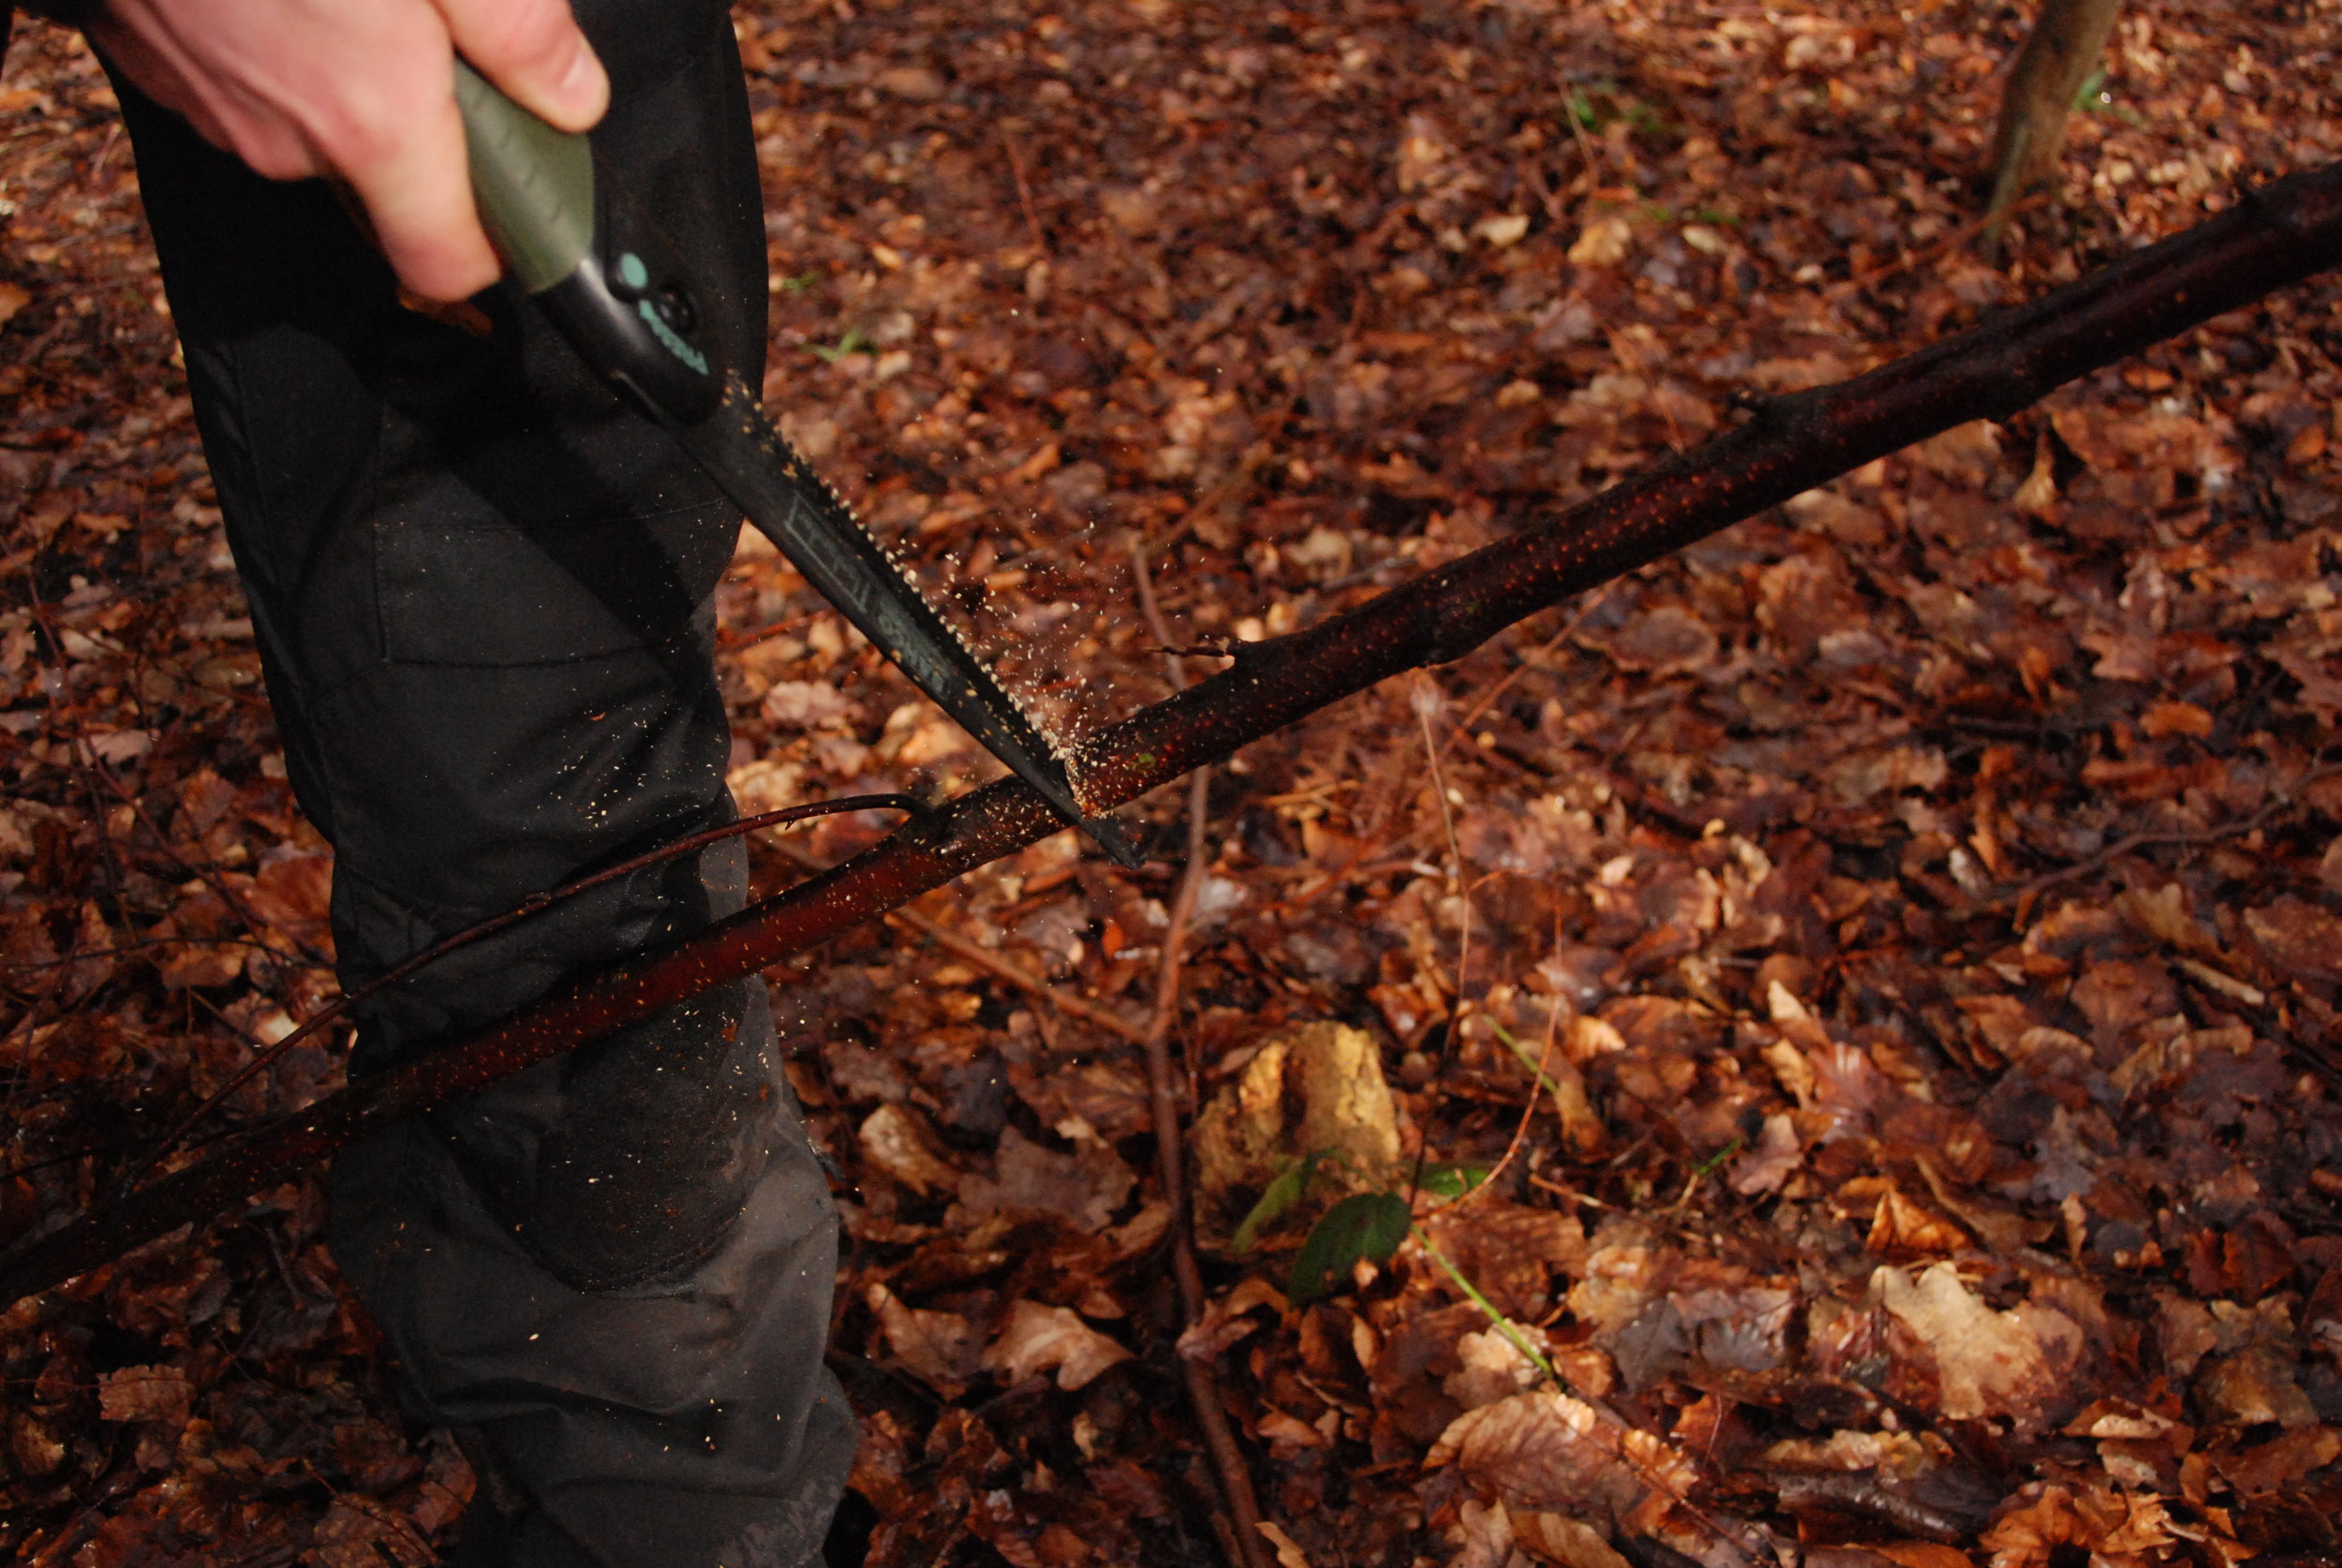
I cut the curved, knotted end from the stick to leave a long straight section to work with. I then measure the section, I find two open Laplander saw lengths is good for two pegs.
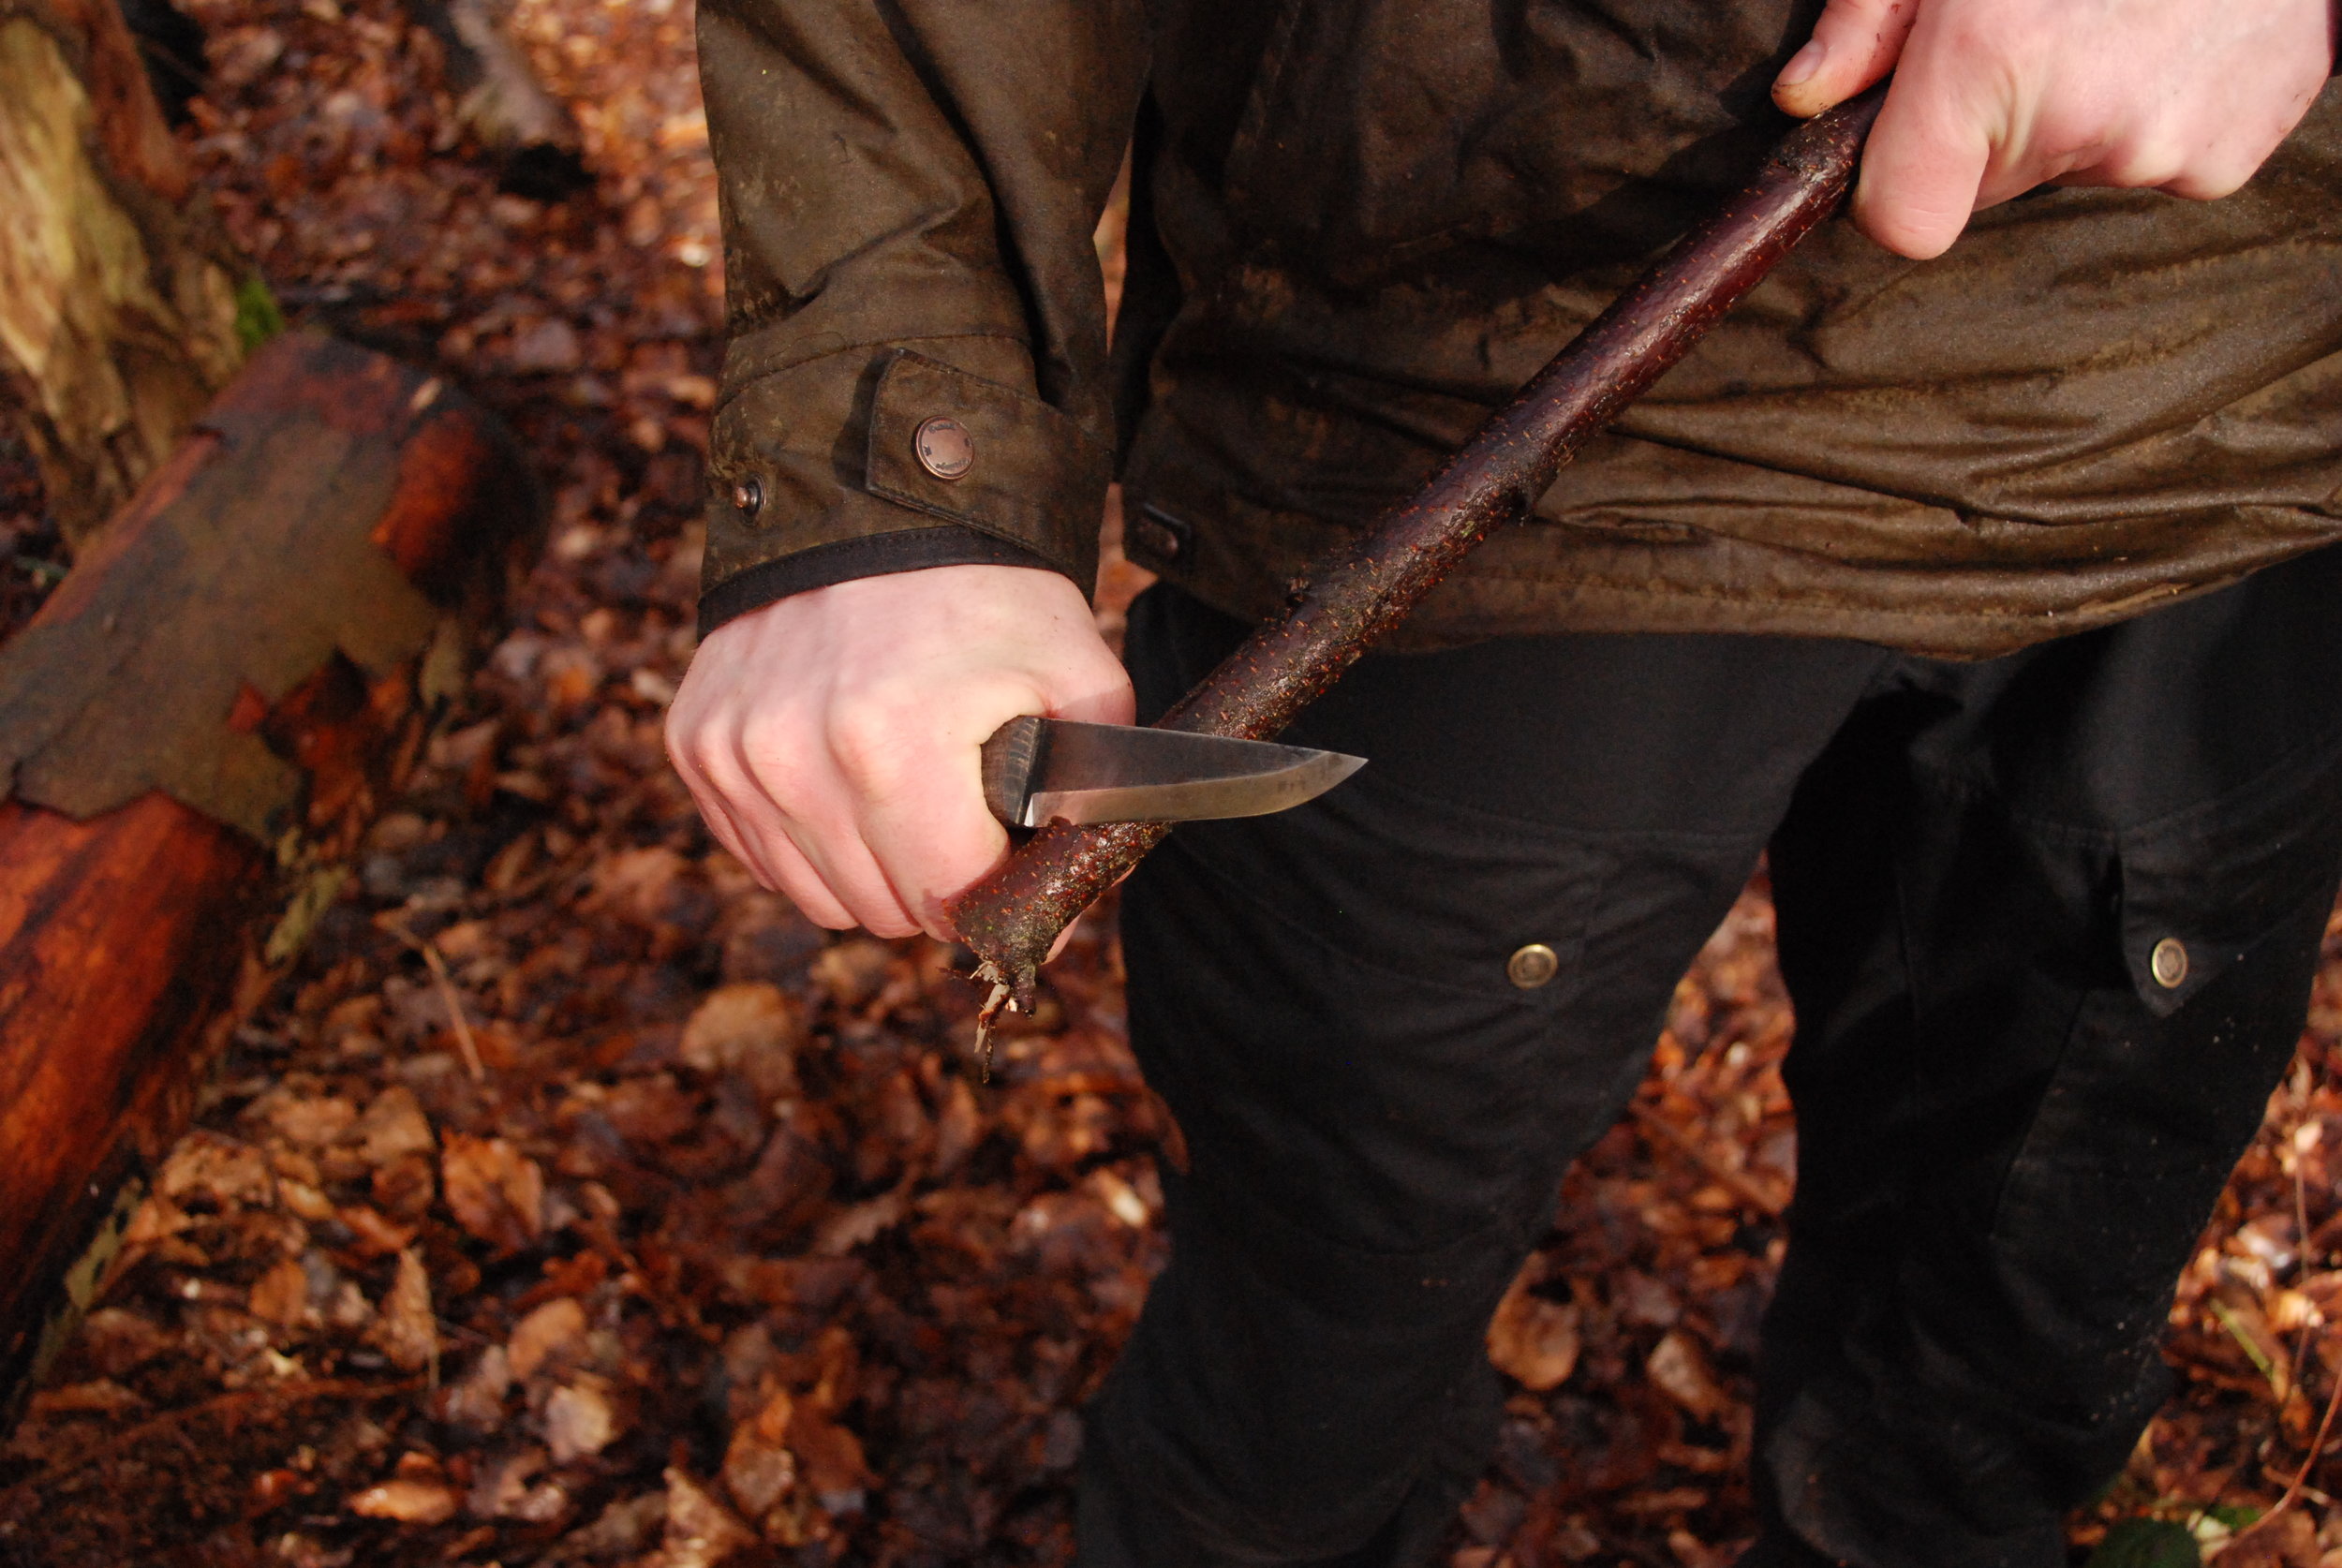
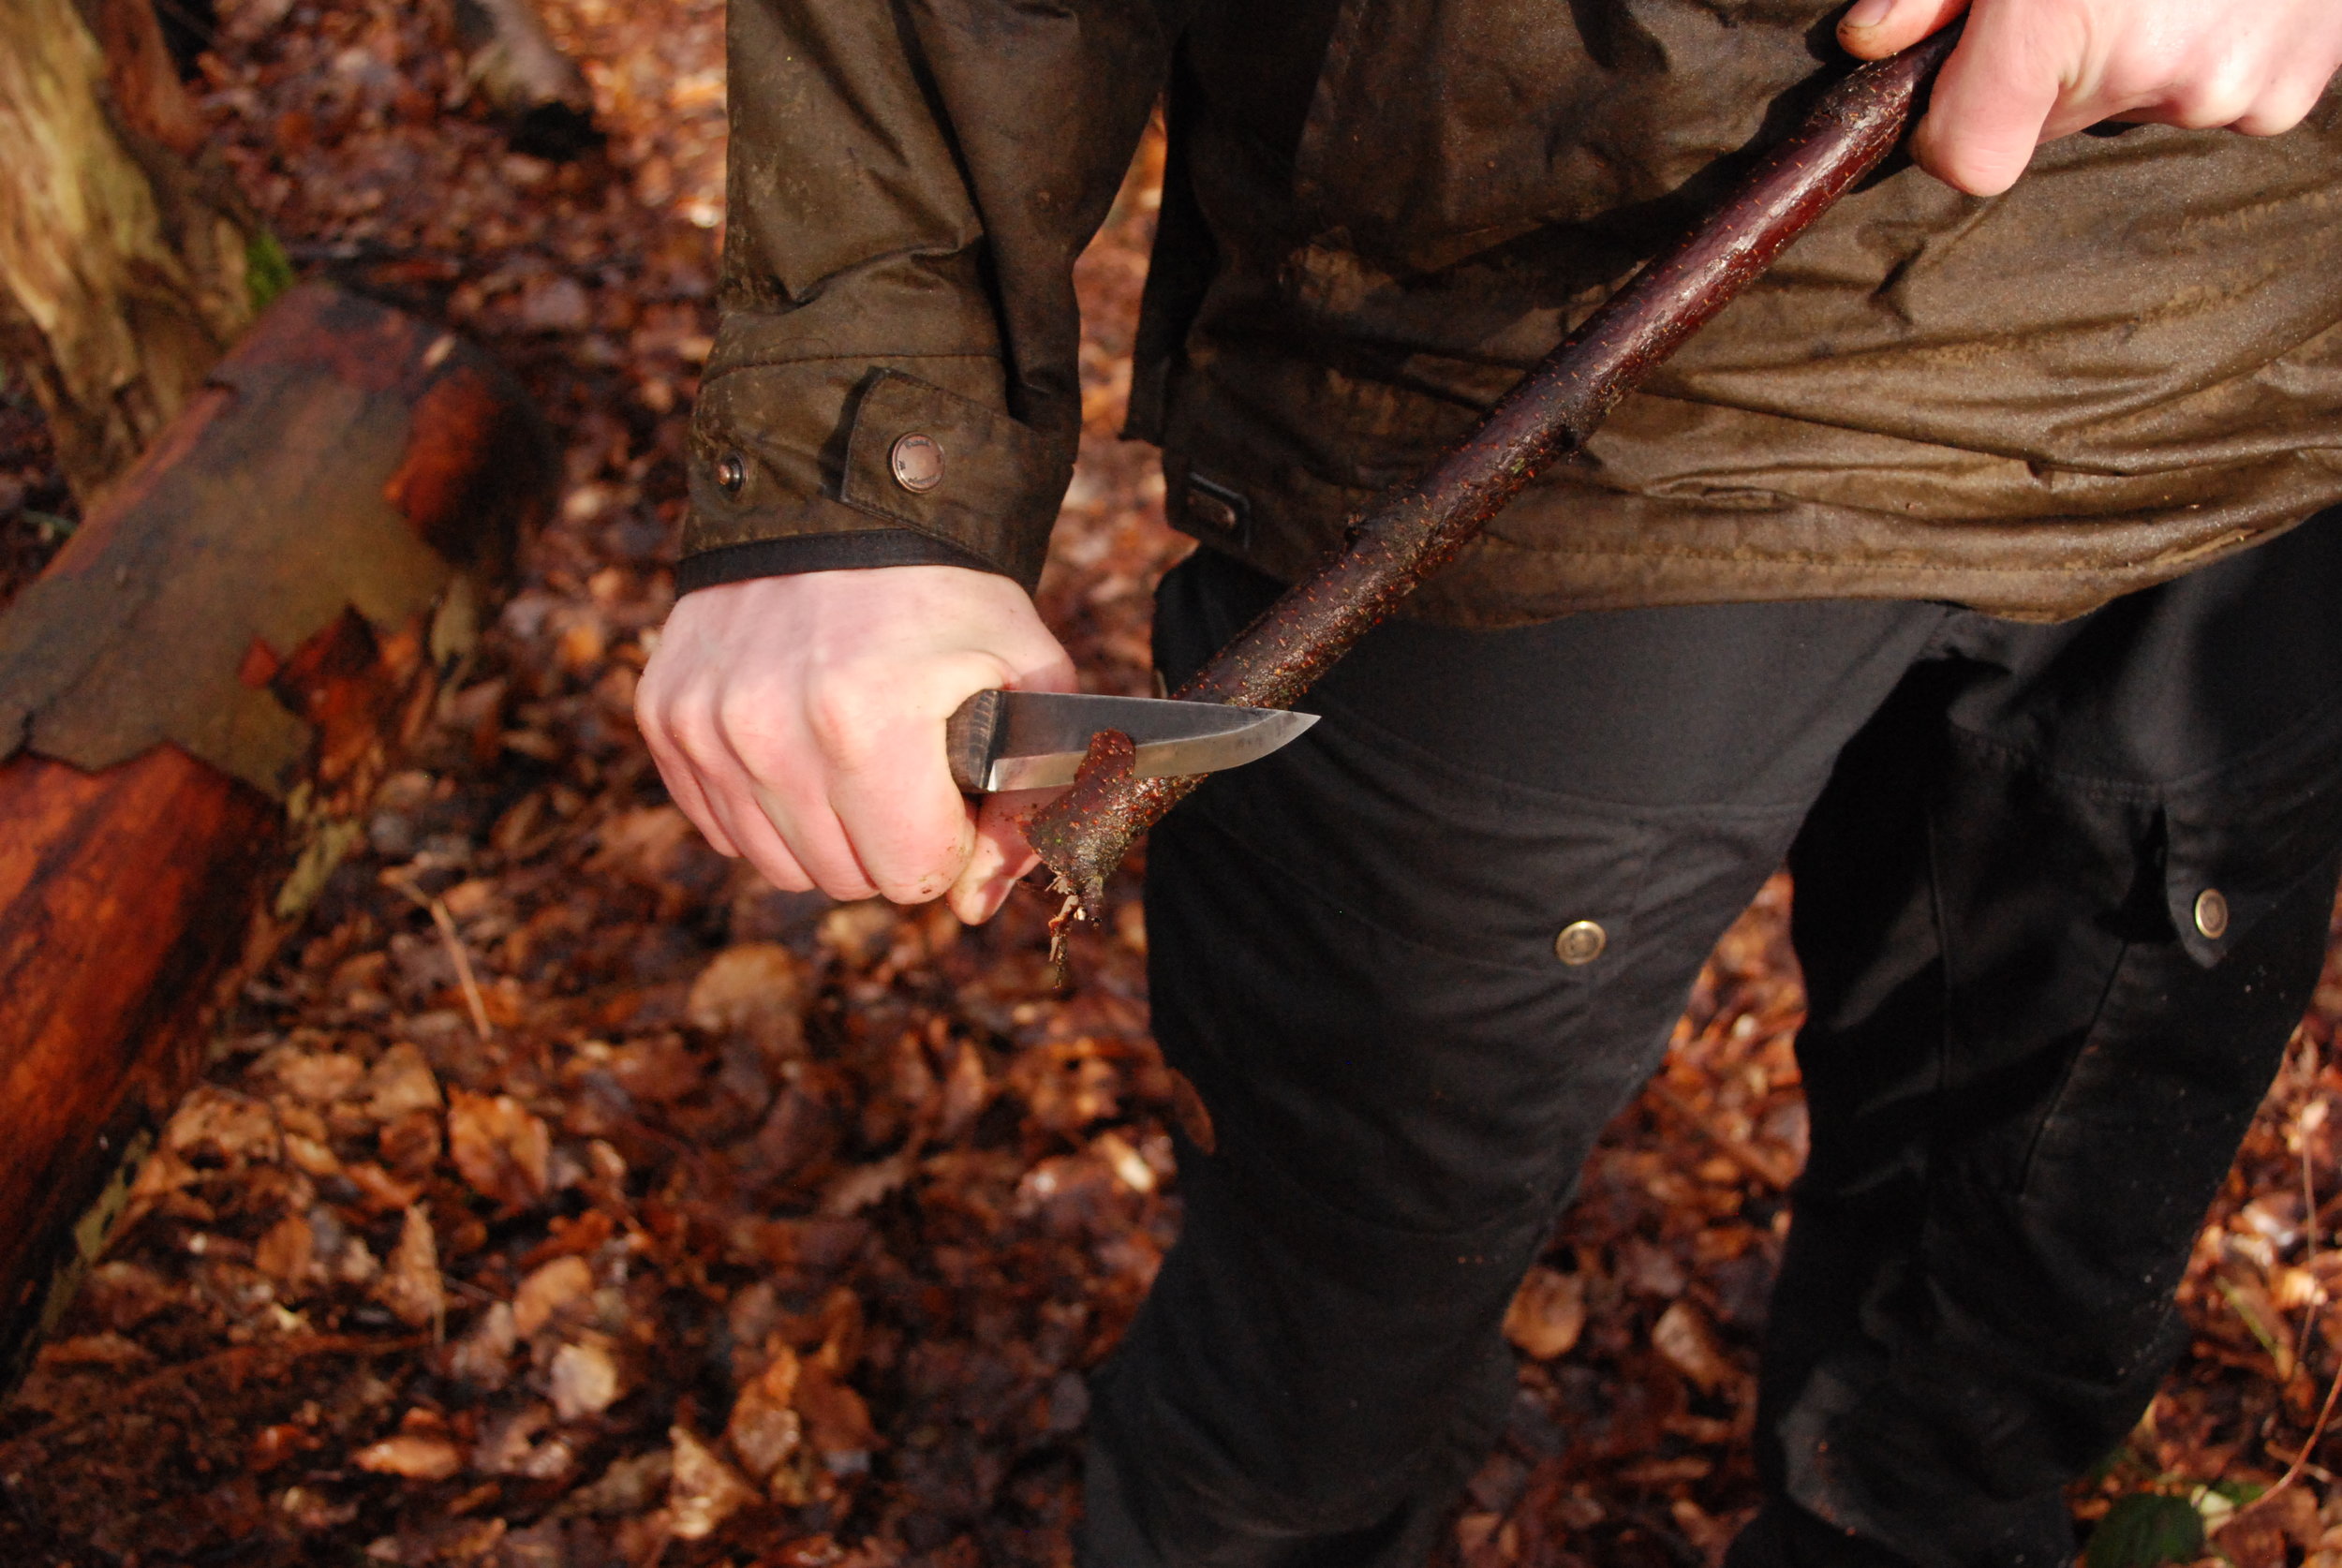
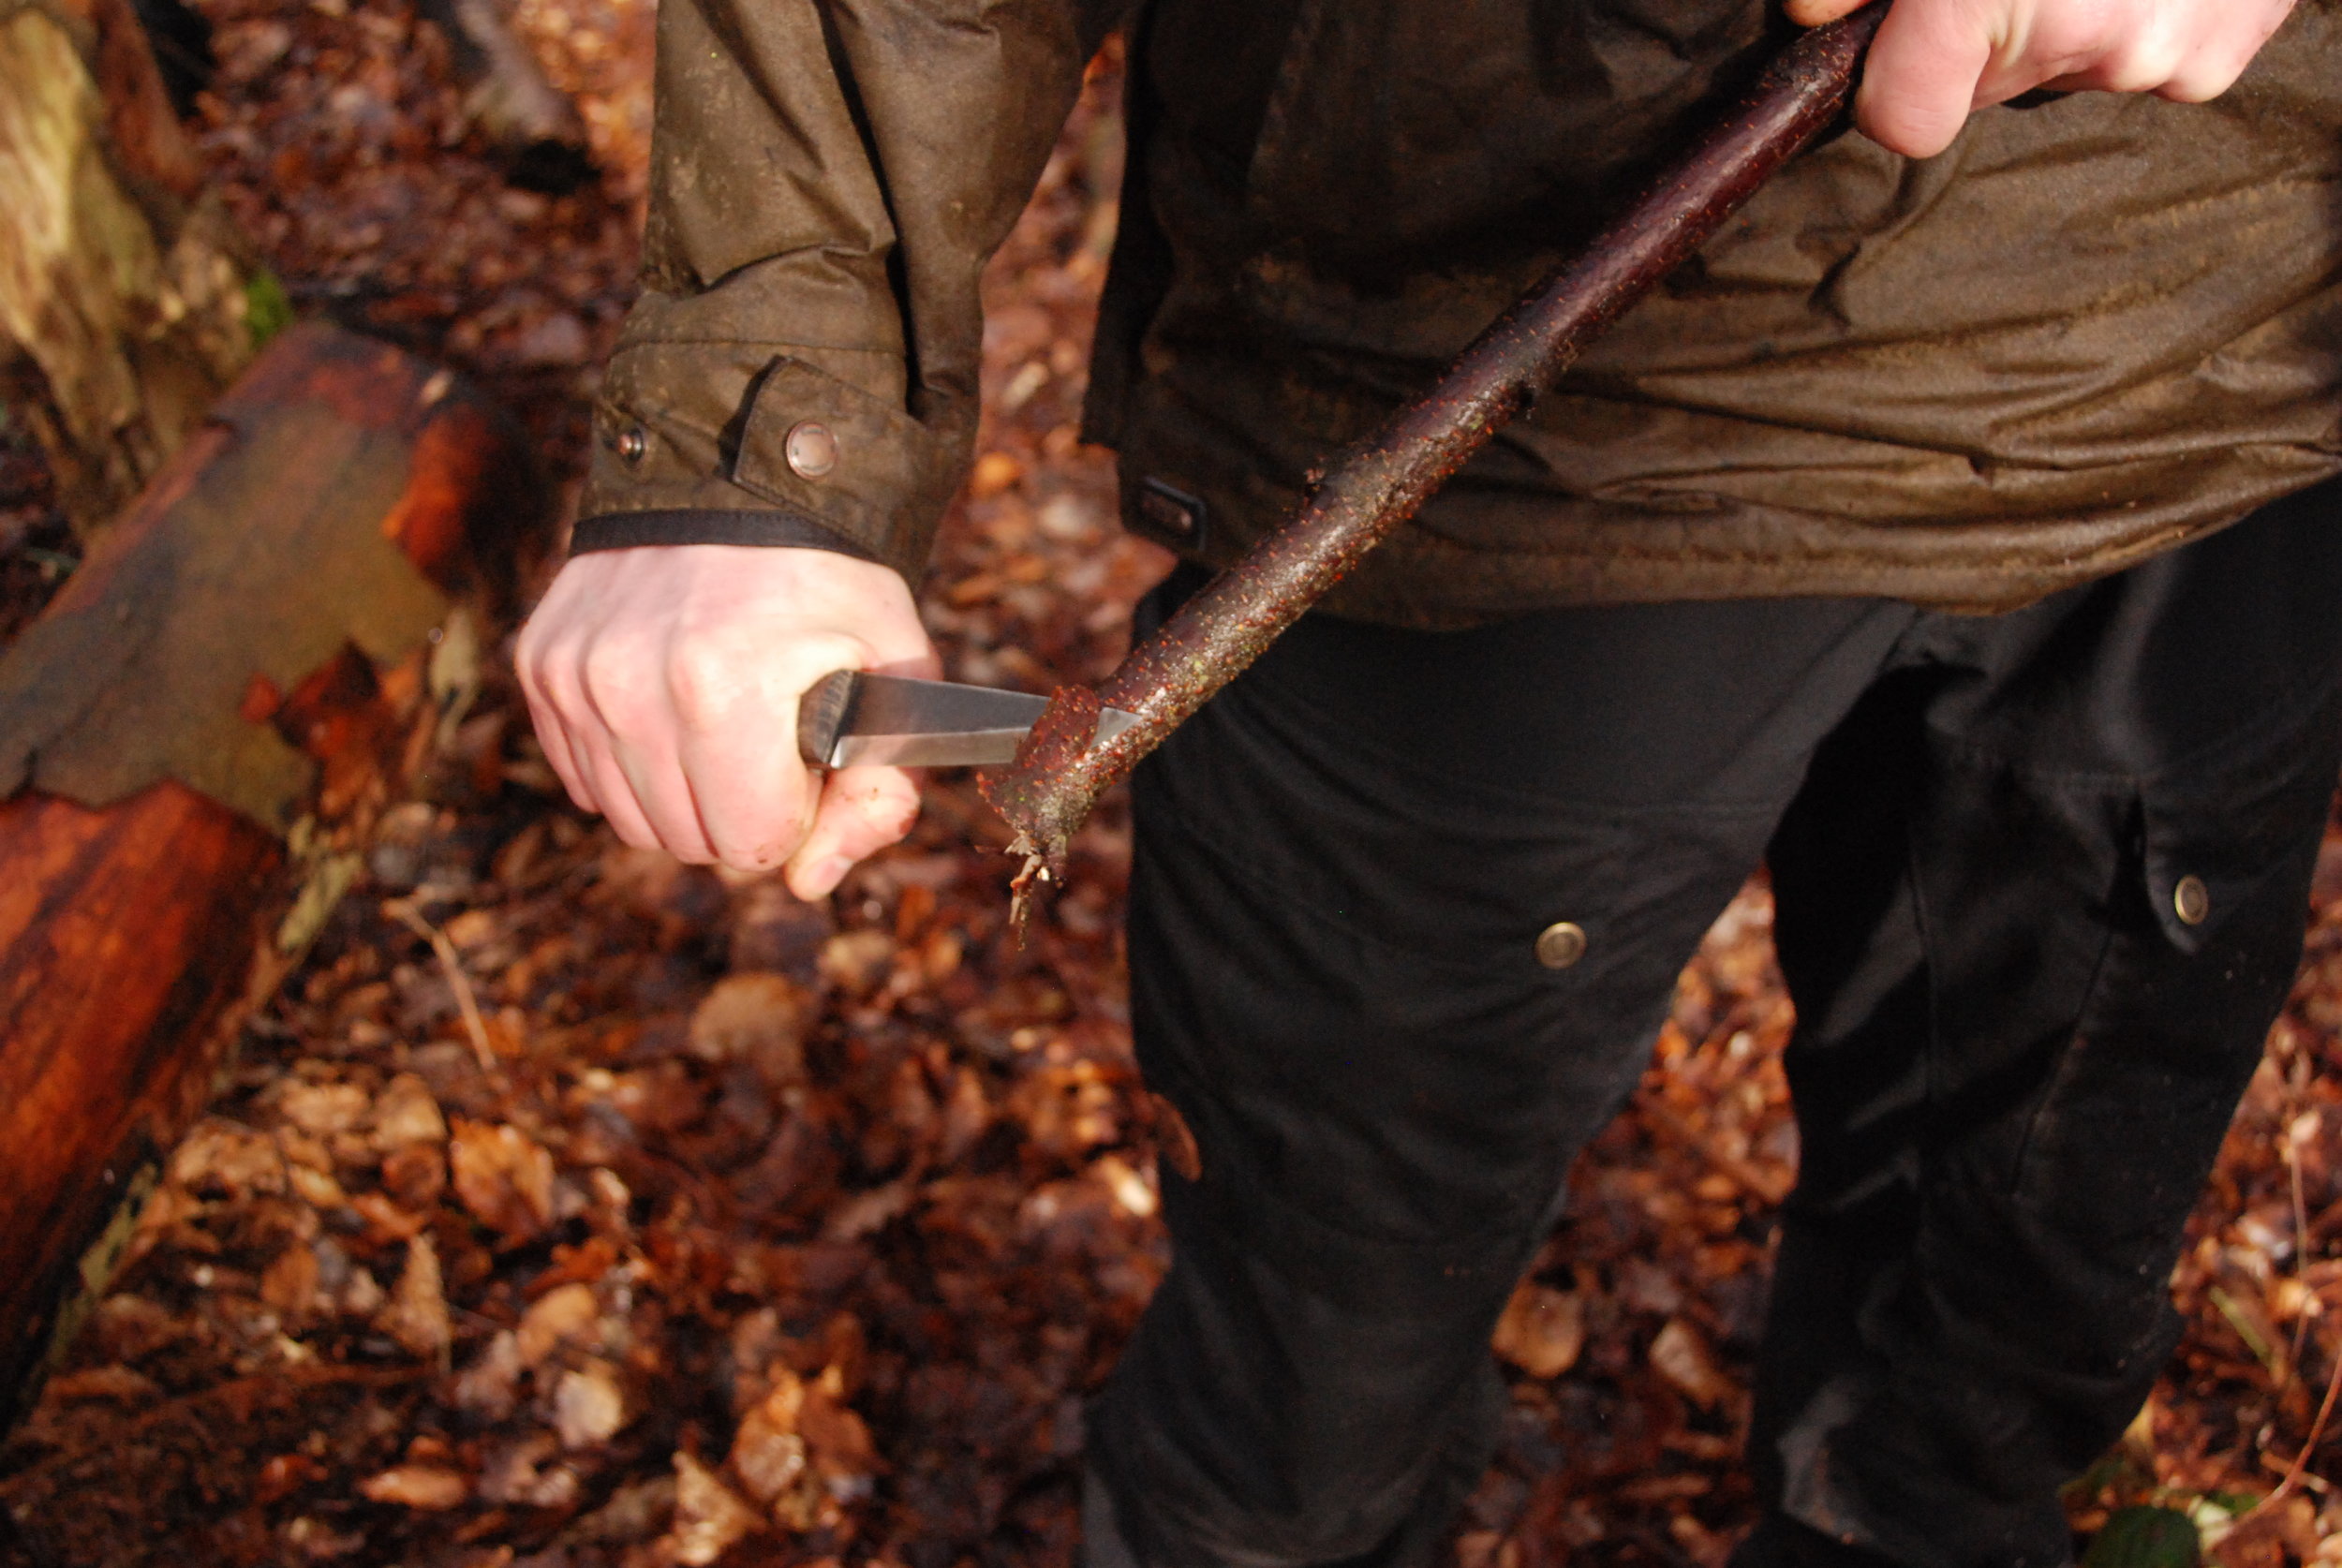
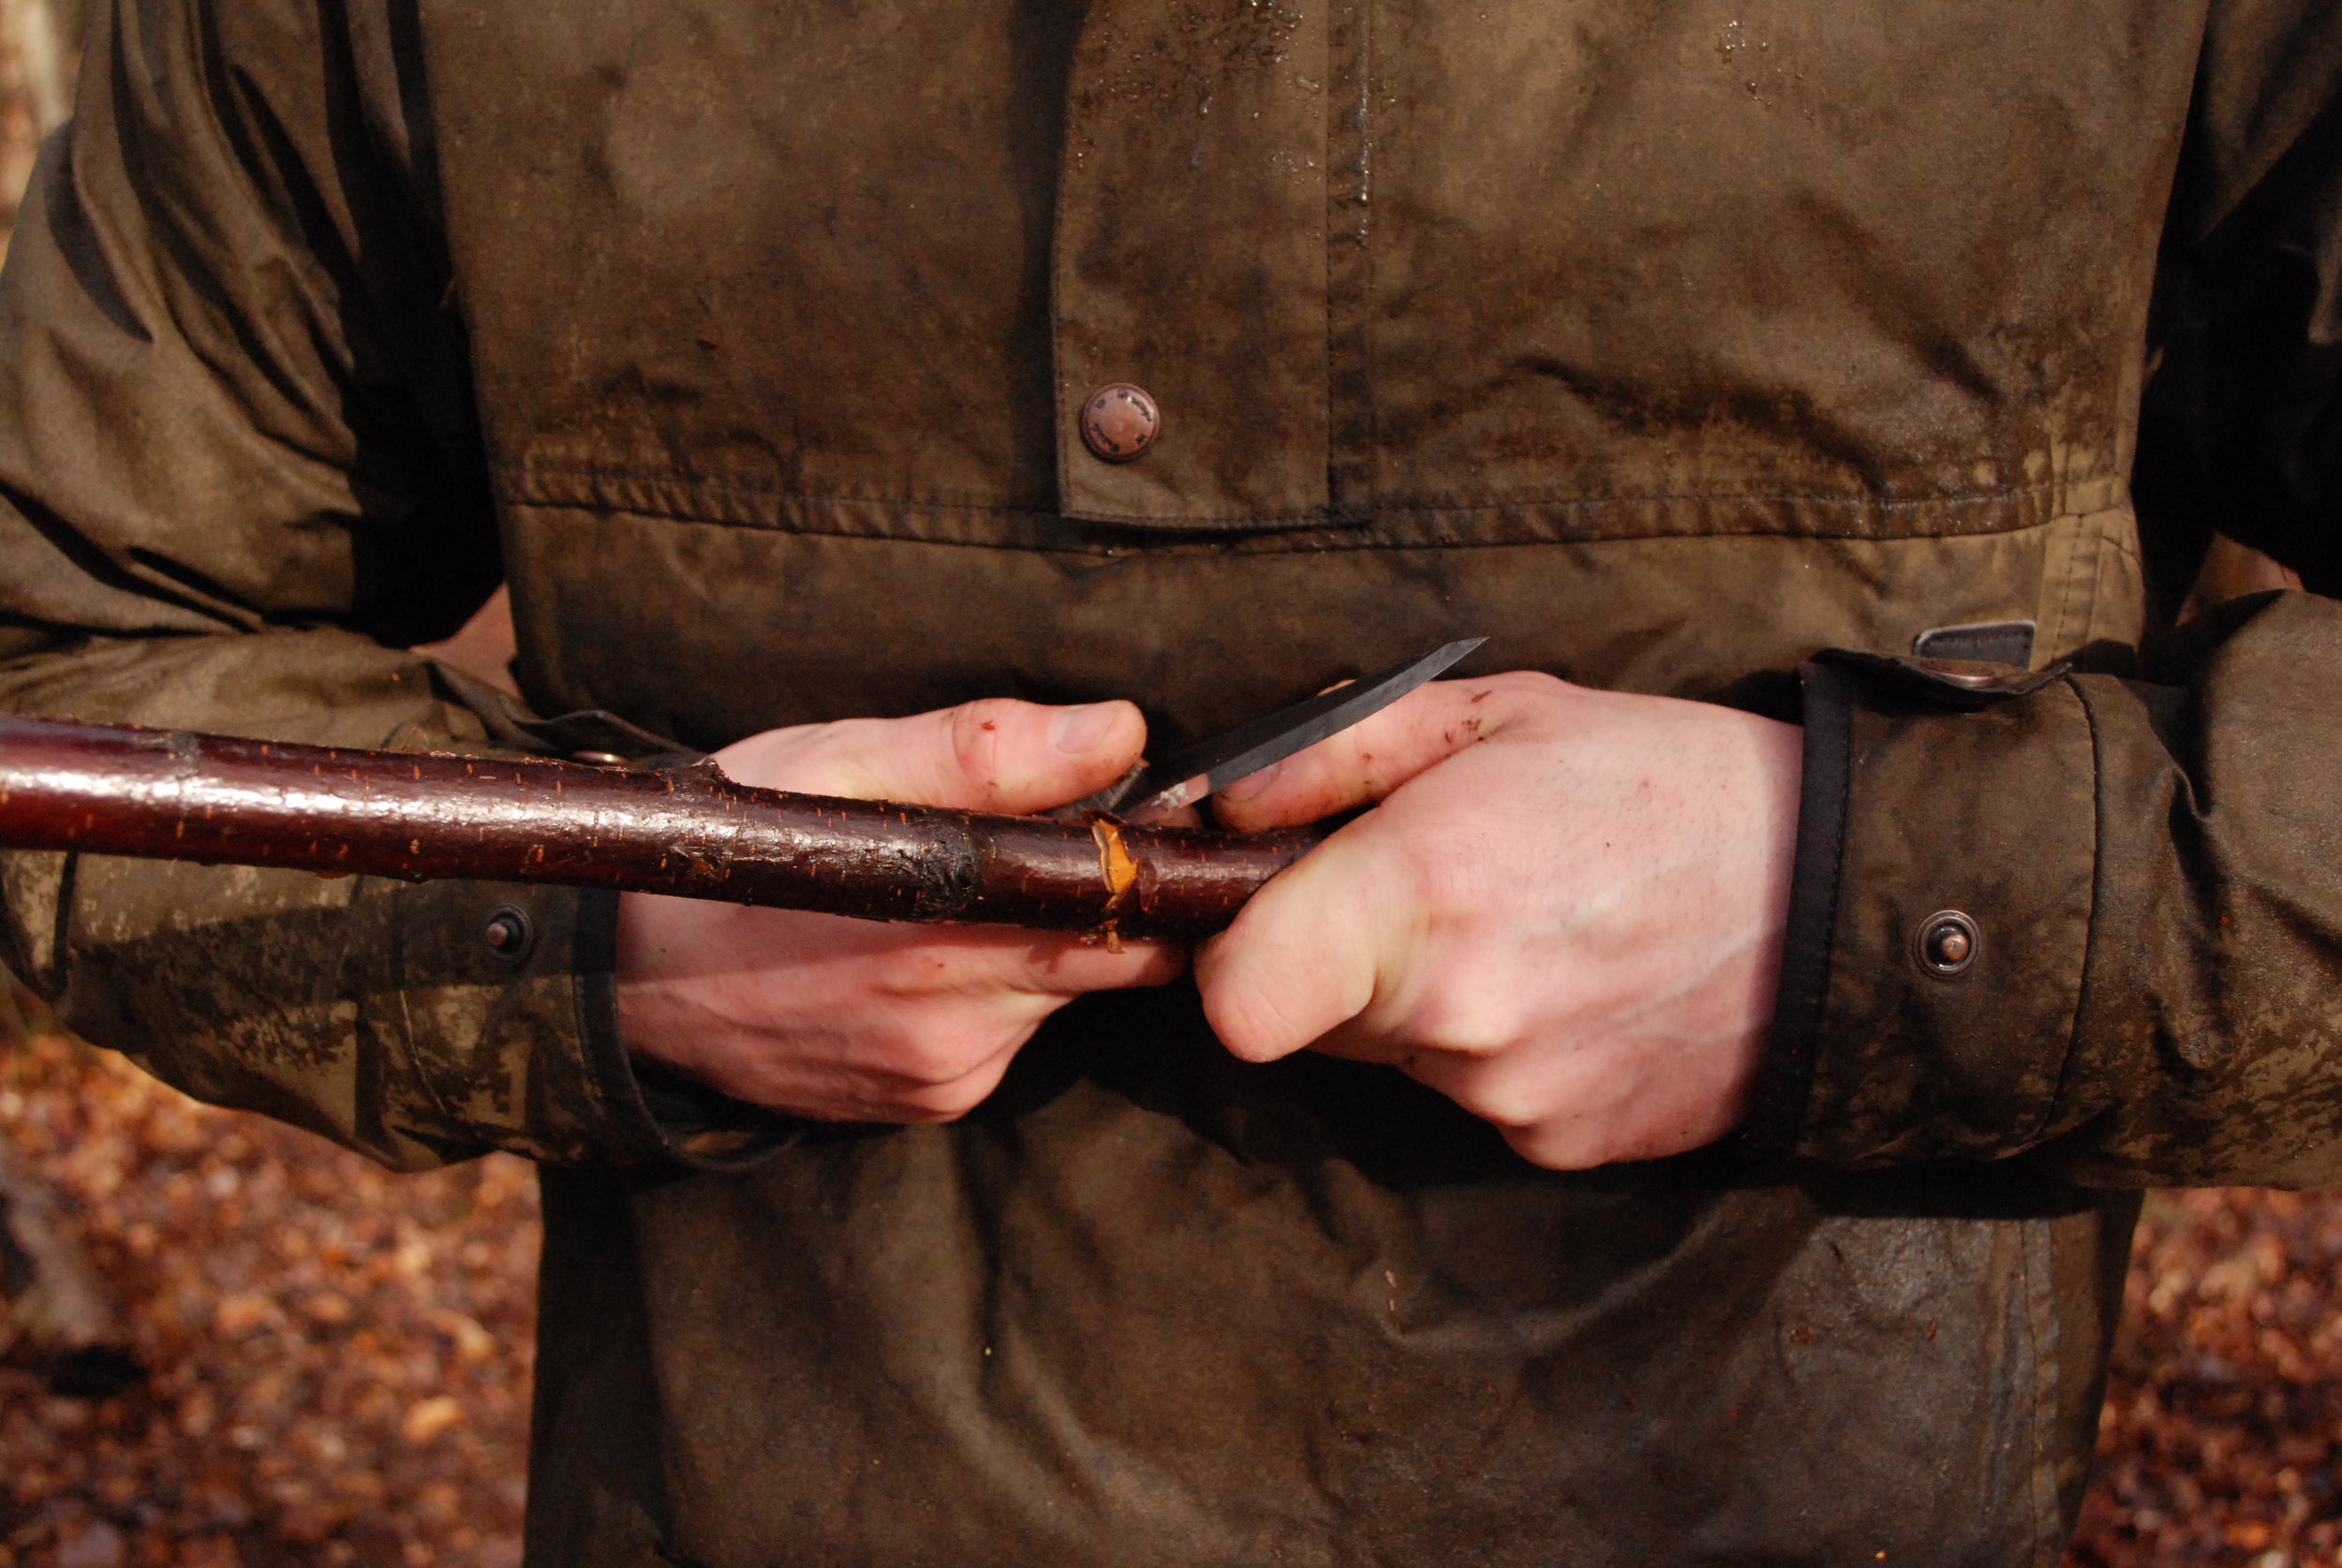
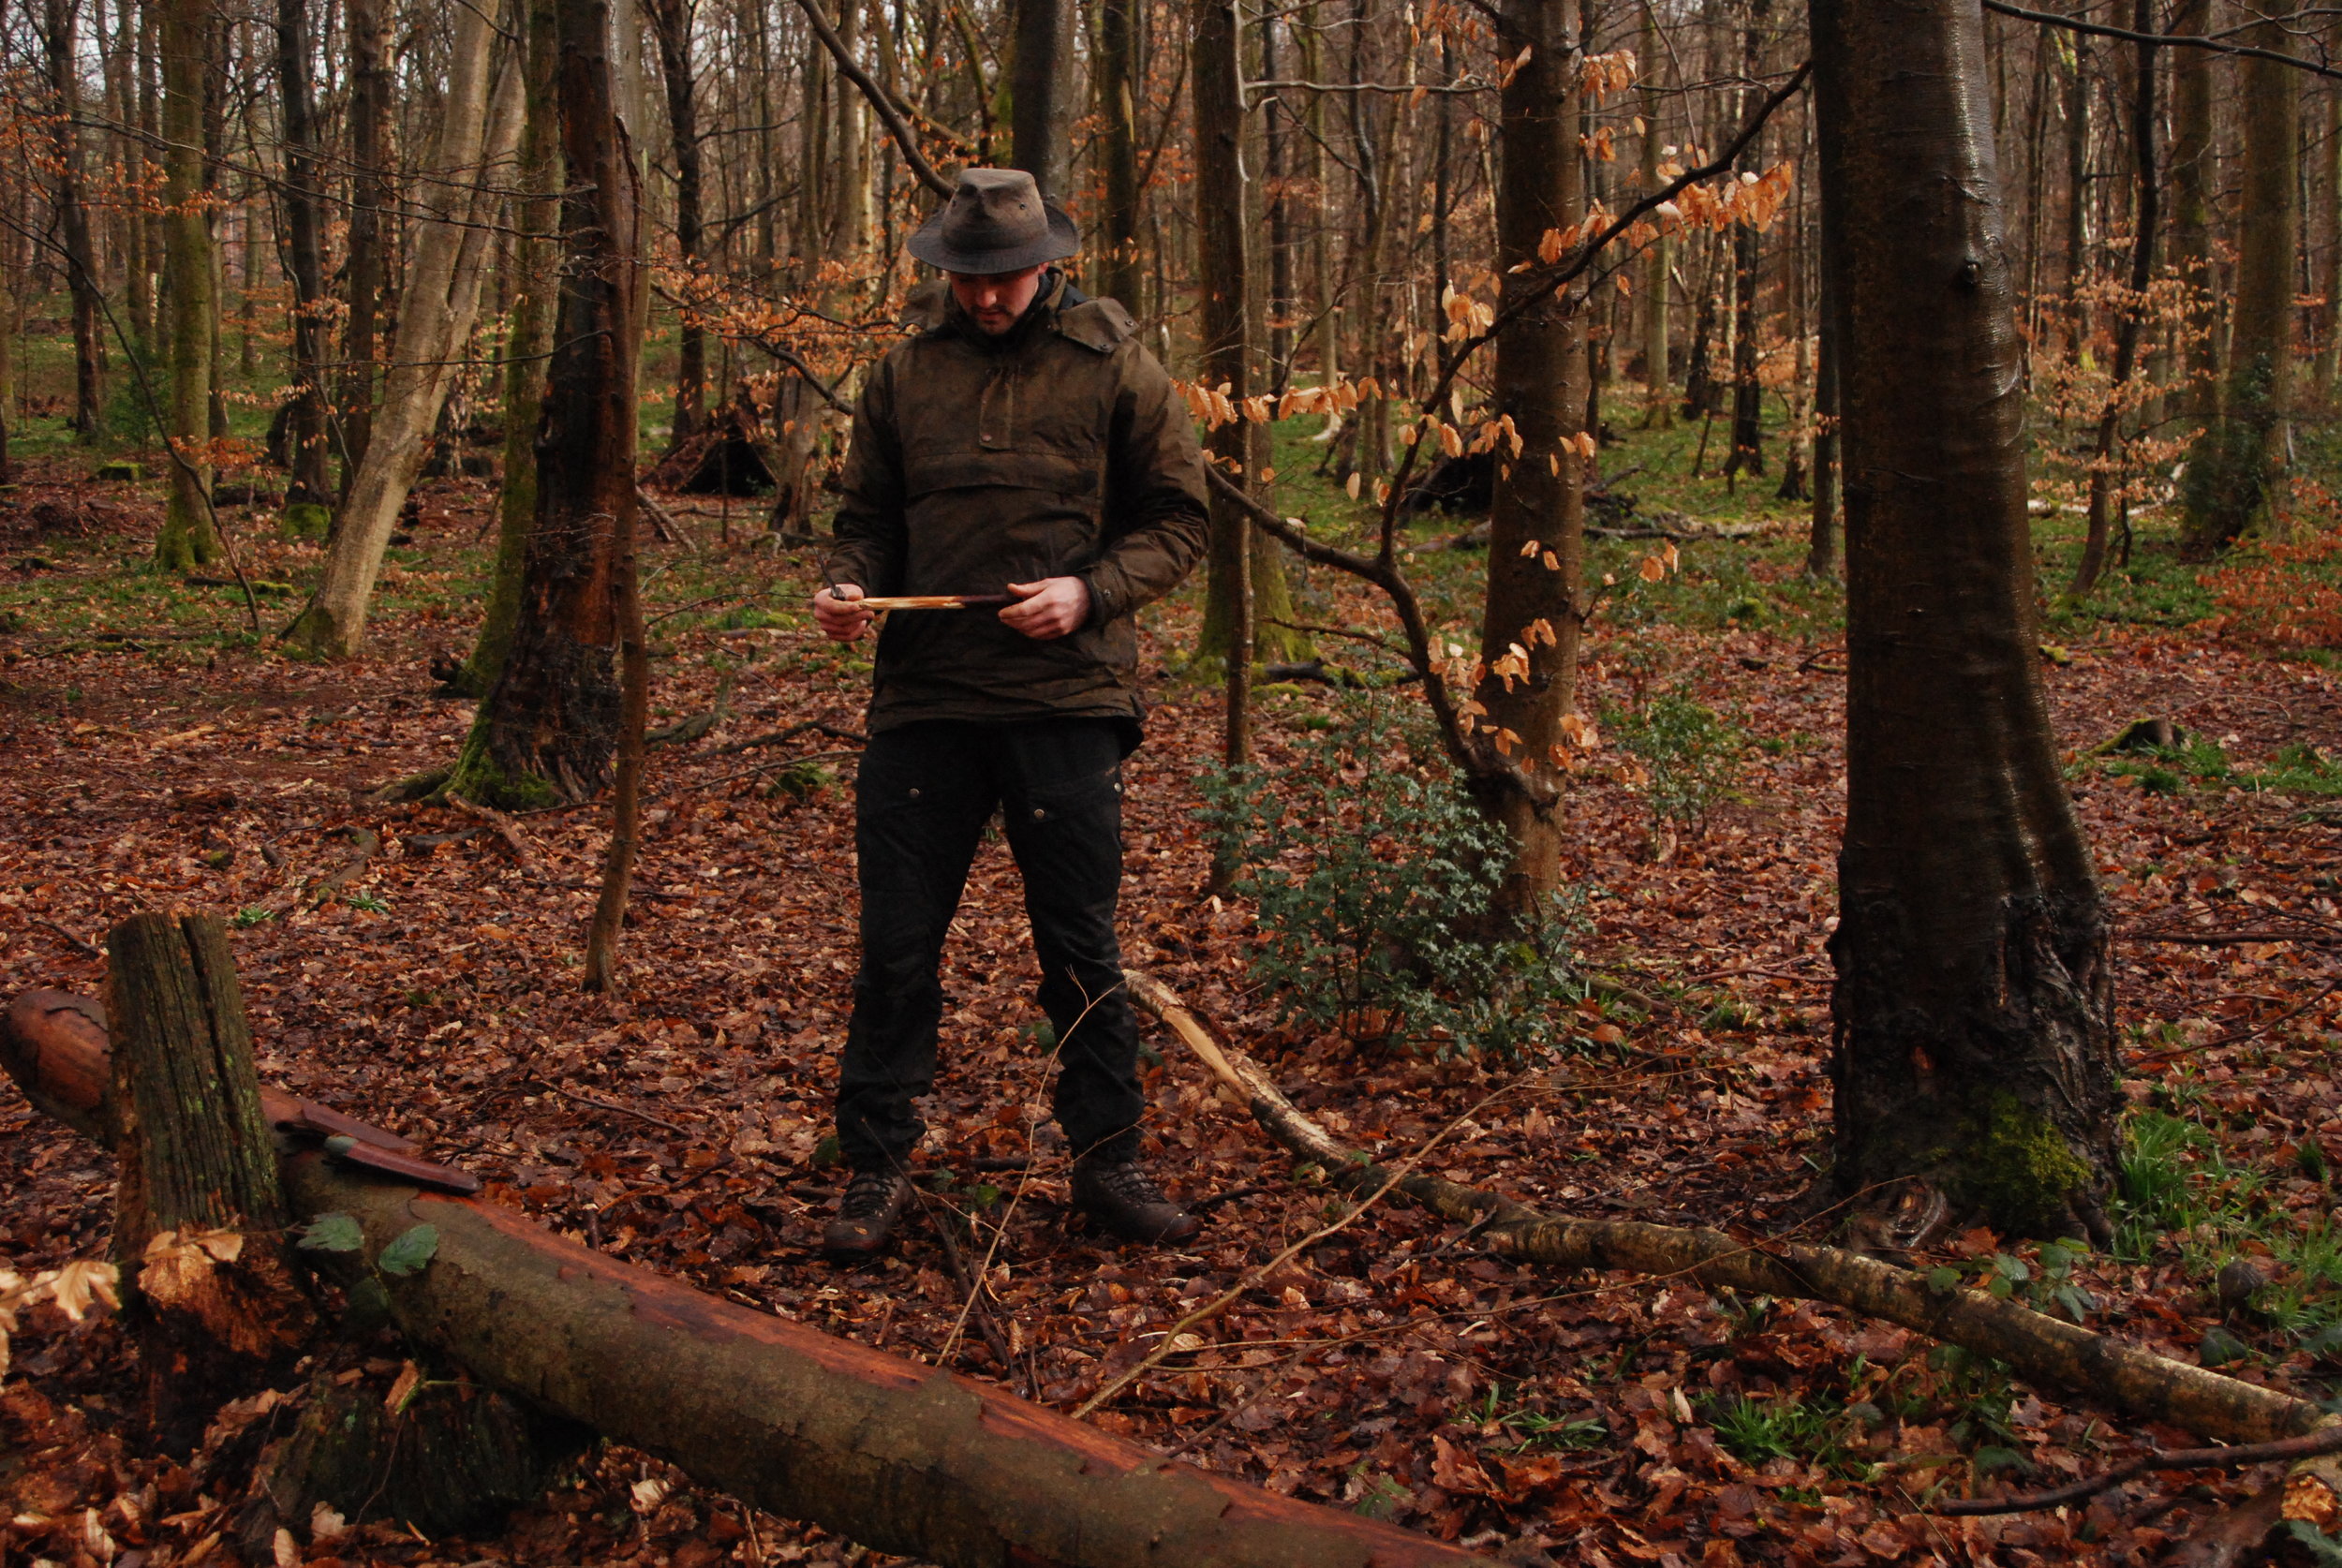
As we’re making two pegs in one, we need to point each end of the stick. Using a belt knife in this example we carve much like we did for the impromptu peg before, making a 3 sided point. In finessing your knife skills, try to develop a strong slicing action using the full length of the blade. This first cut is made until you reach the middle of the stick, then turn a third of the way around and cut the second side, and repeat again for the third side.


With both ends pointed it’s now back to the Rosette cut in the middle. We could do this as before with the forehand grip, supported with a thumb push from behind or we can employ another technique from your repertoire and use the Chest-lever grip.
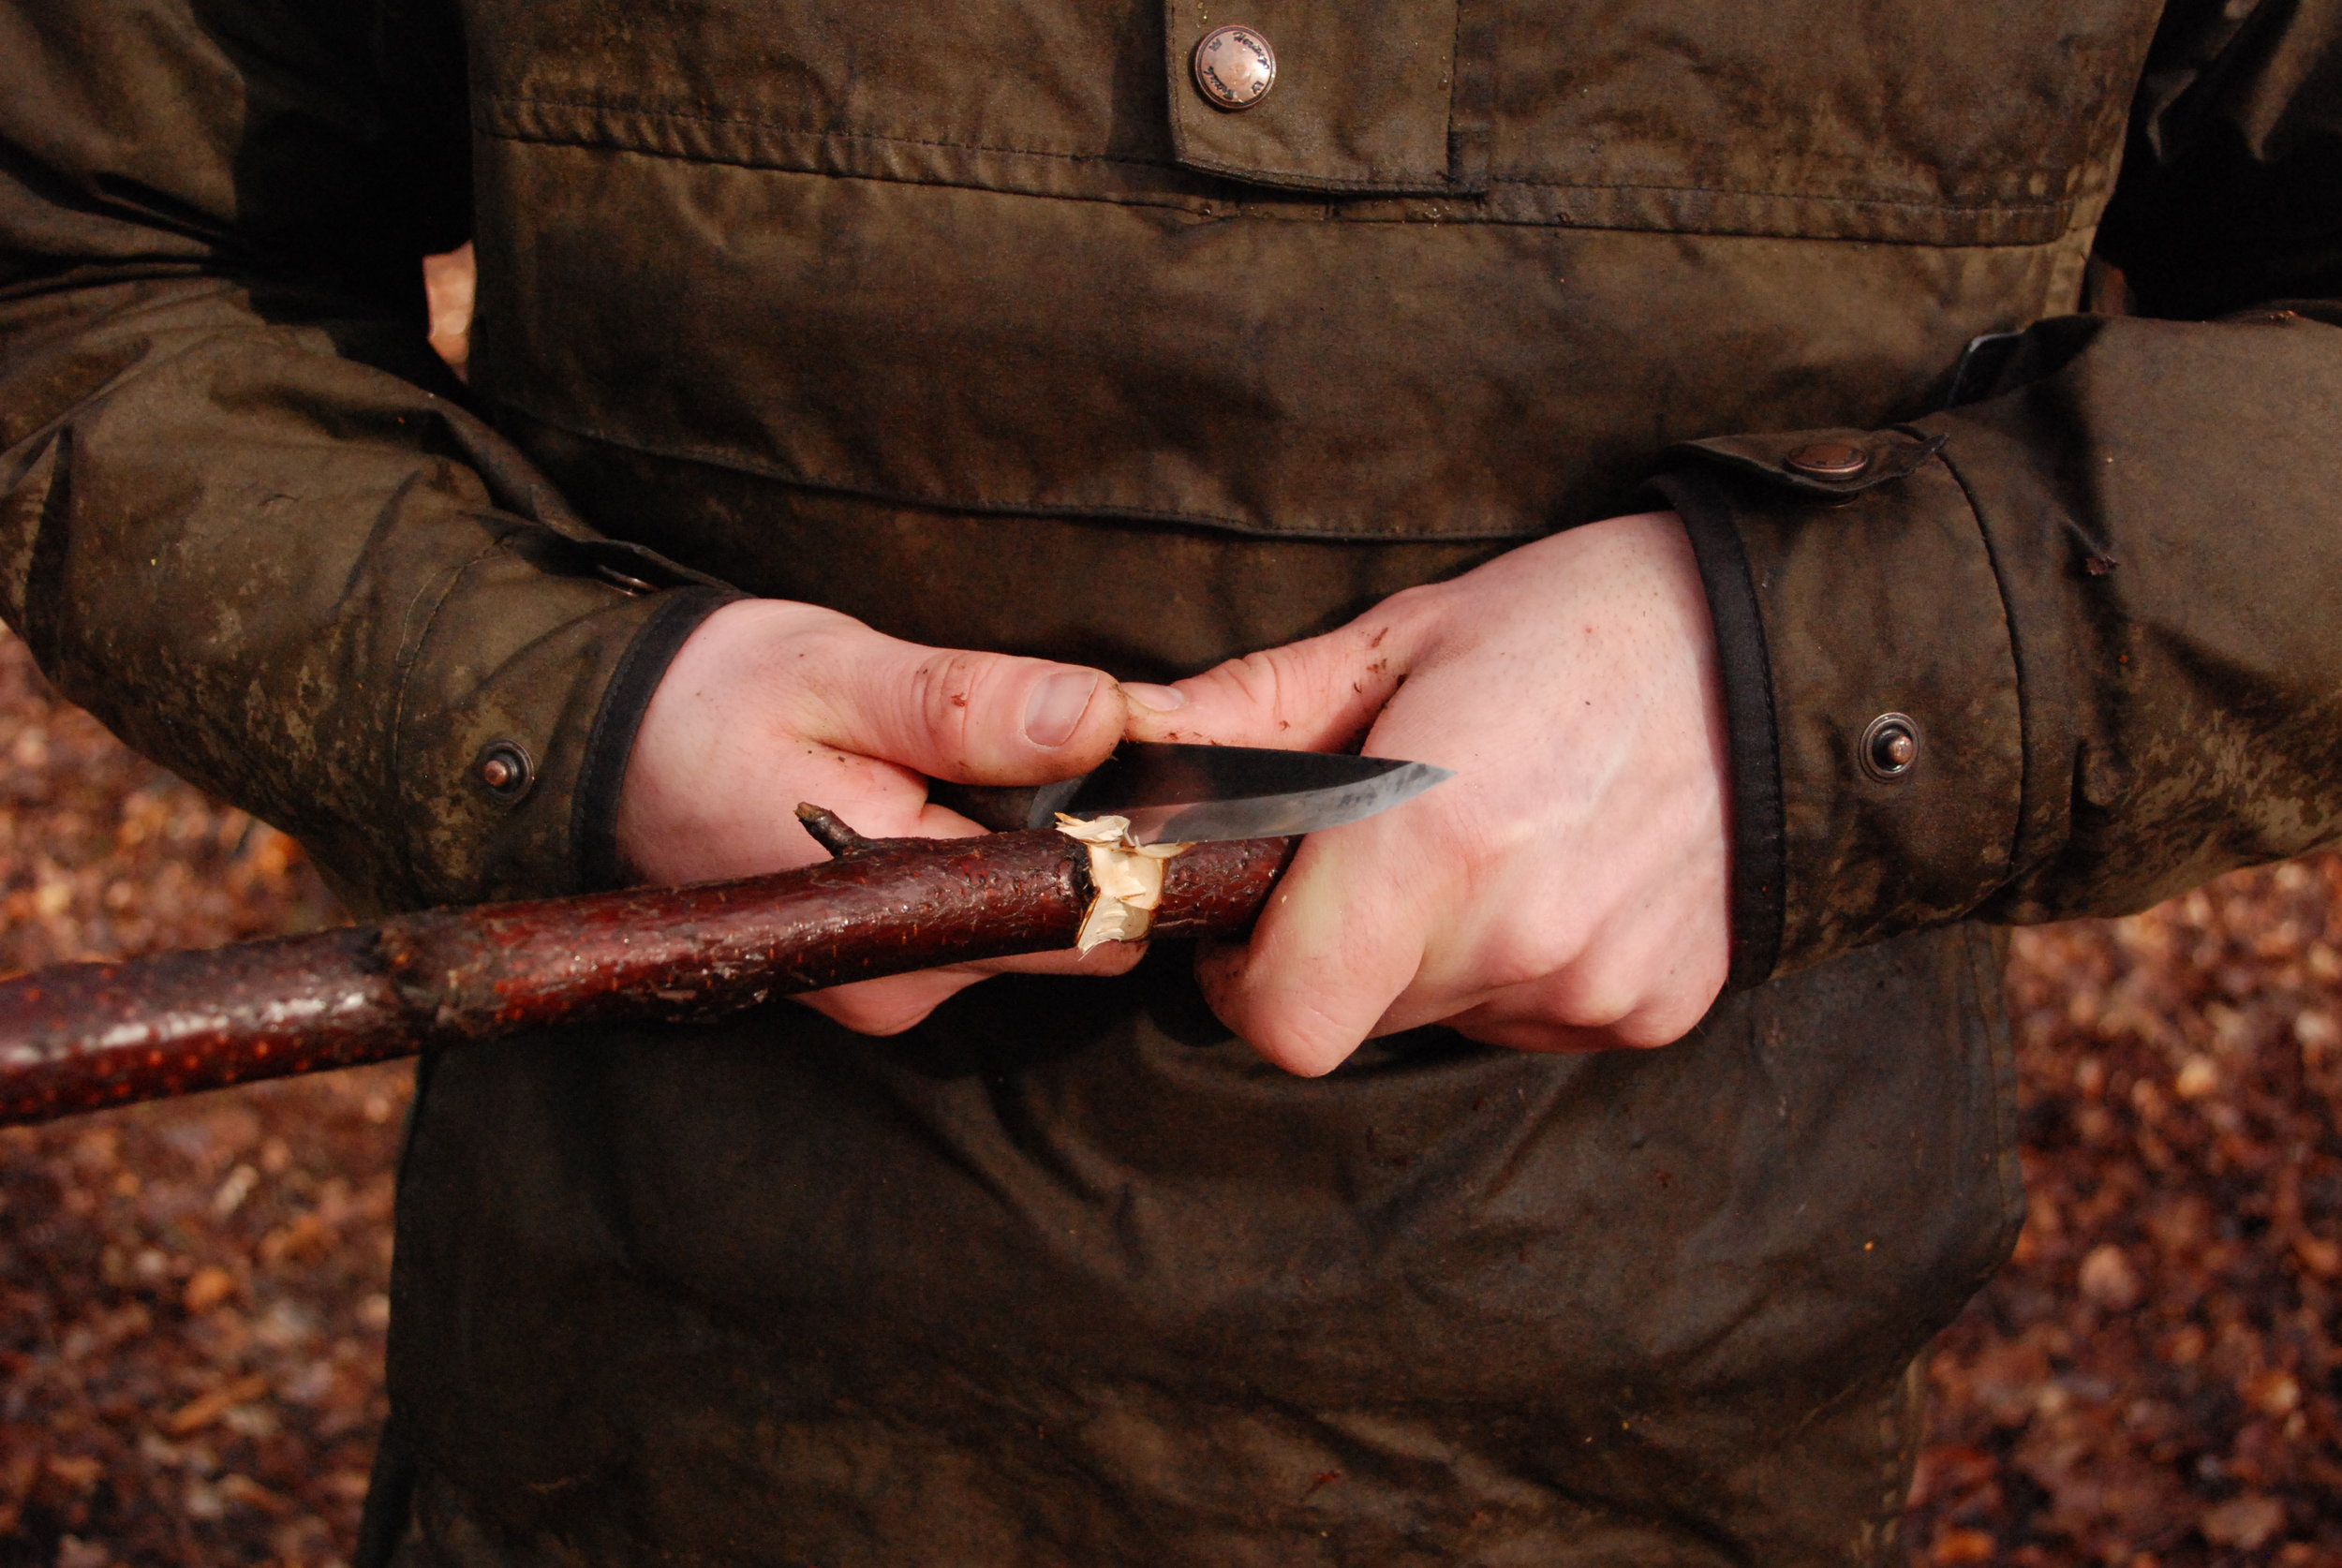
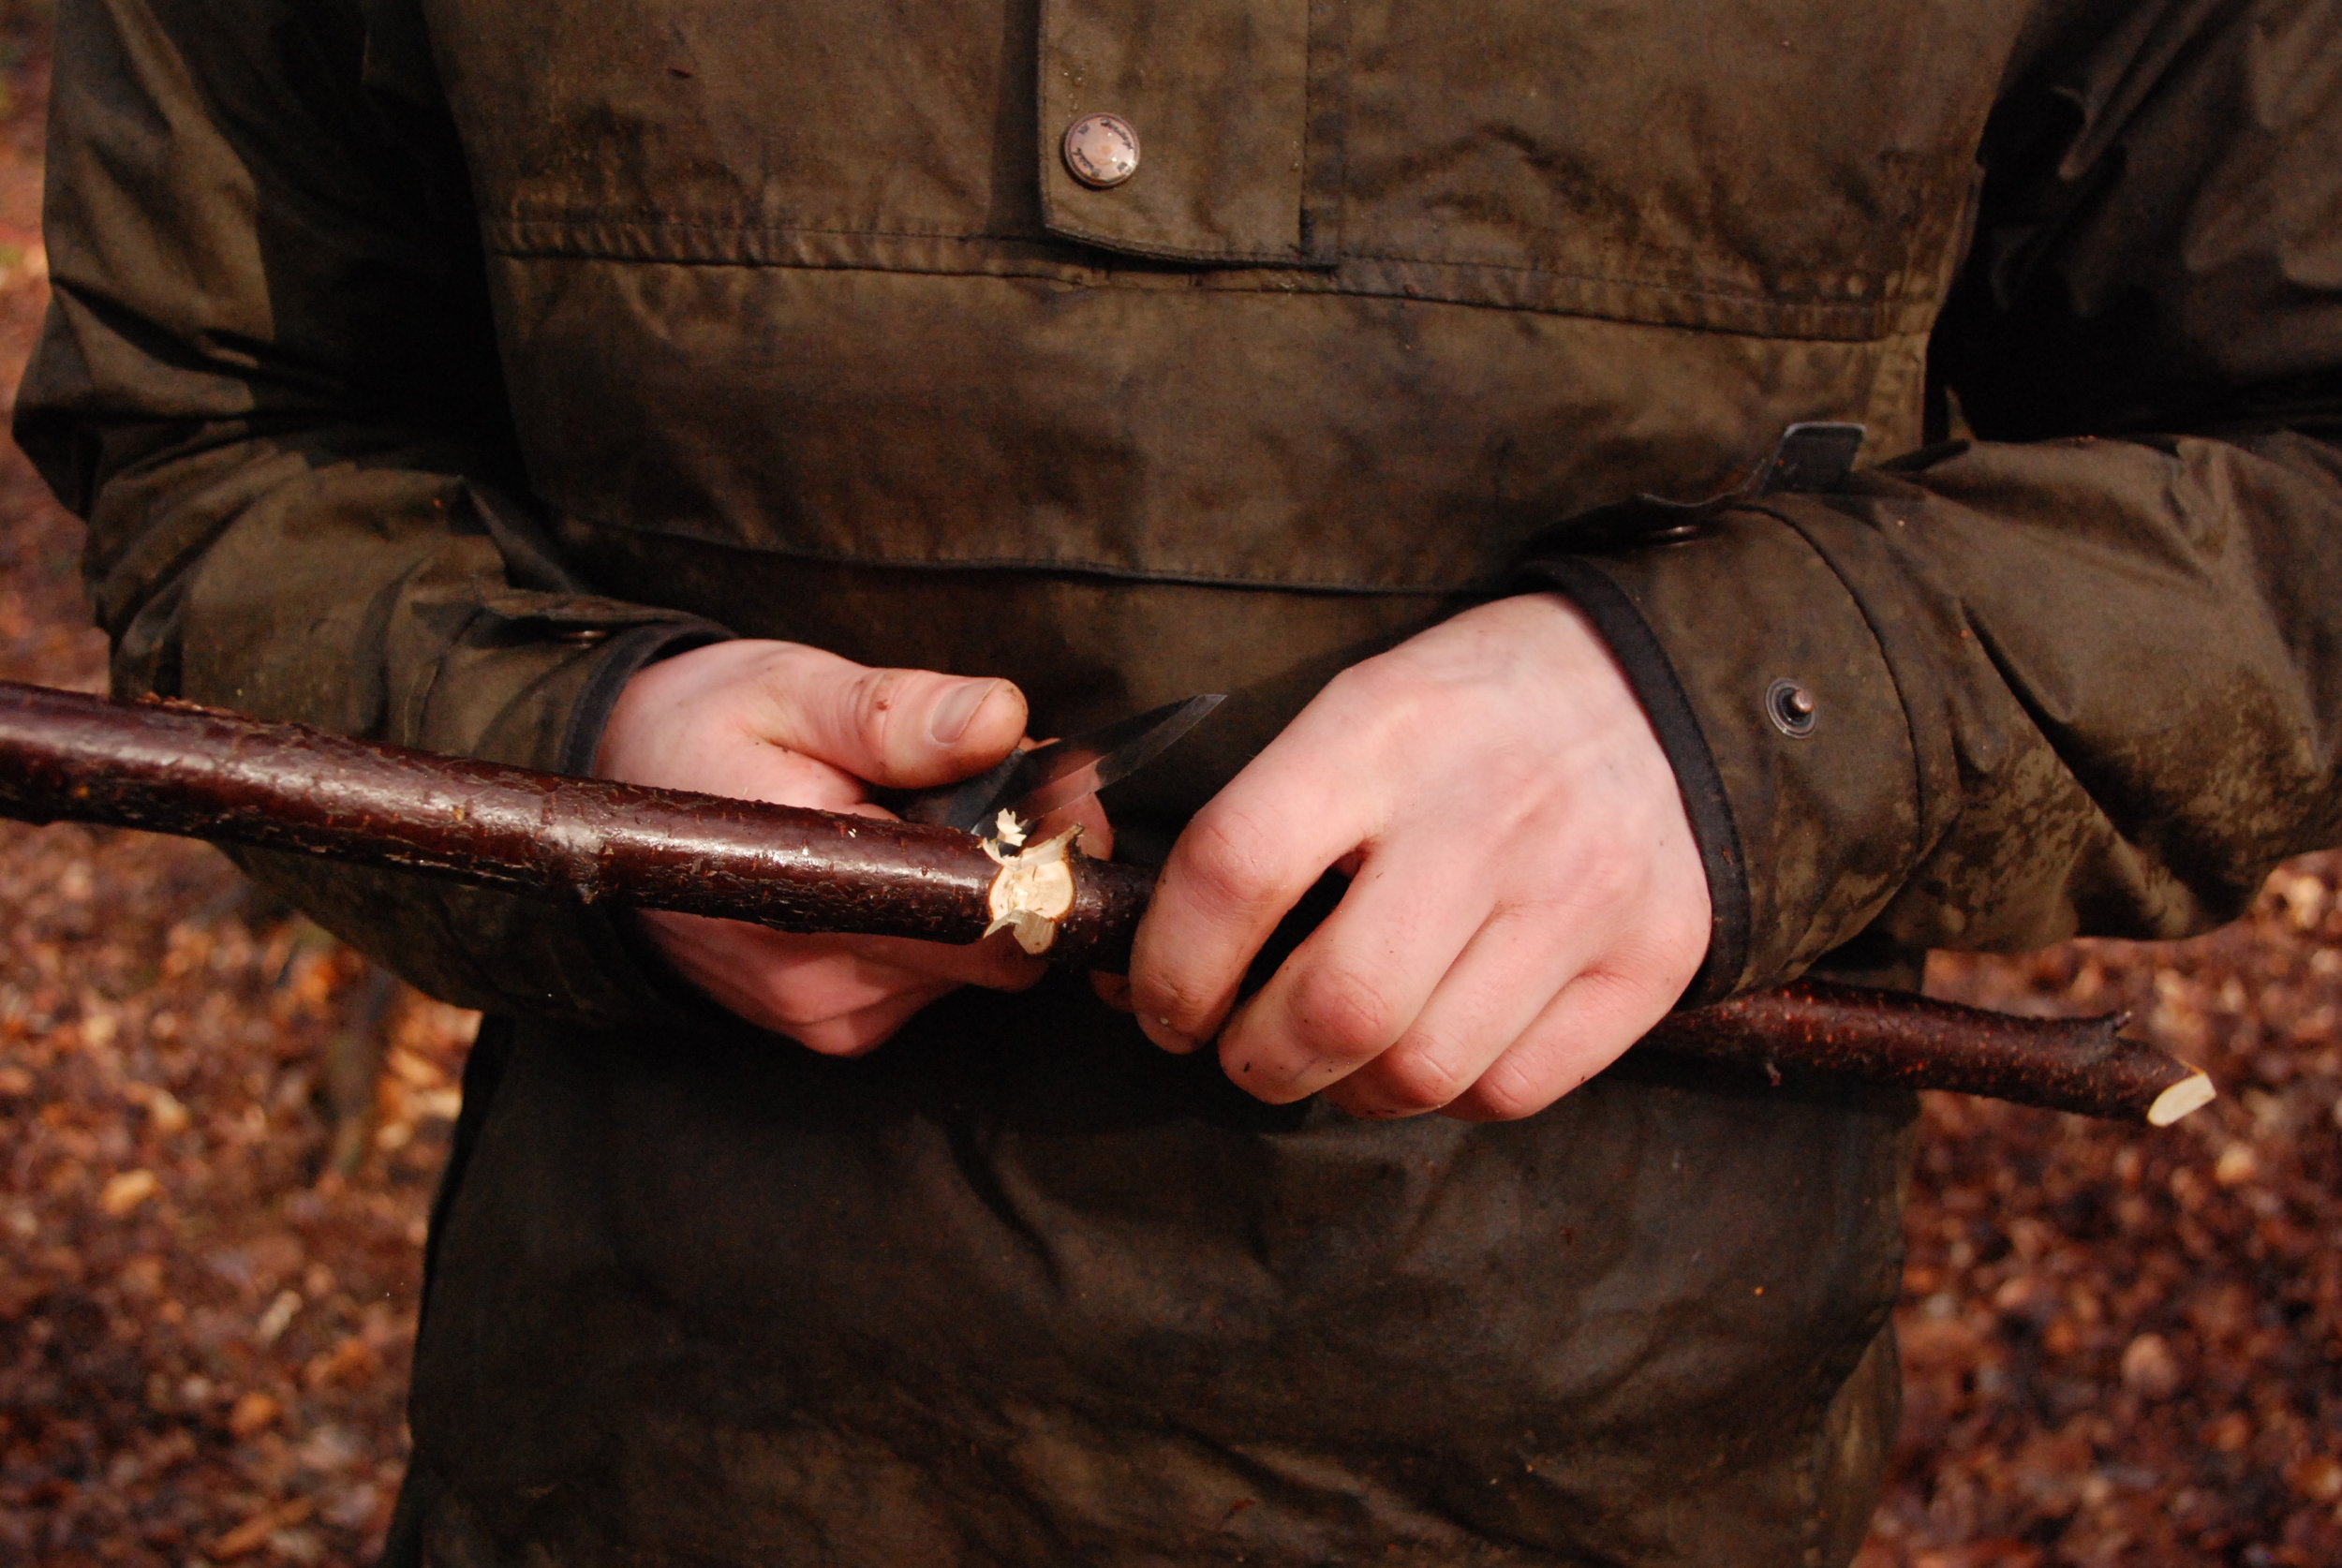
The Chest-lever grip employs the muscles from your shoulder blades and triceps to ‘lever’ across the wood. Holding the knife with the sharp edge facing back towards your knuckles, place your thumb on the flat side of the blade and set your hand in front of your chest. Engage the blade into the wood, pulling your elbows backwards with the muscles from your back and shoulders. With practice this technique provides huge power and control at once, allowing you to carve deeply into the wood with high accuracy.

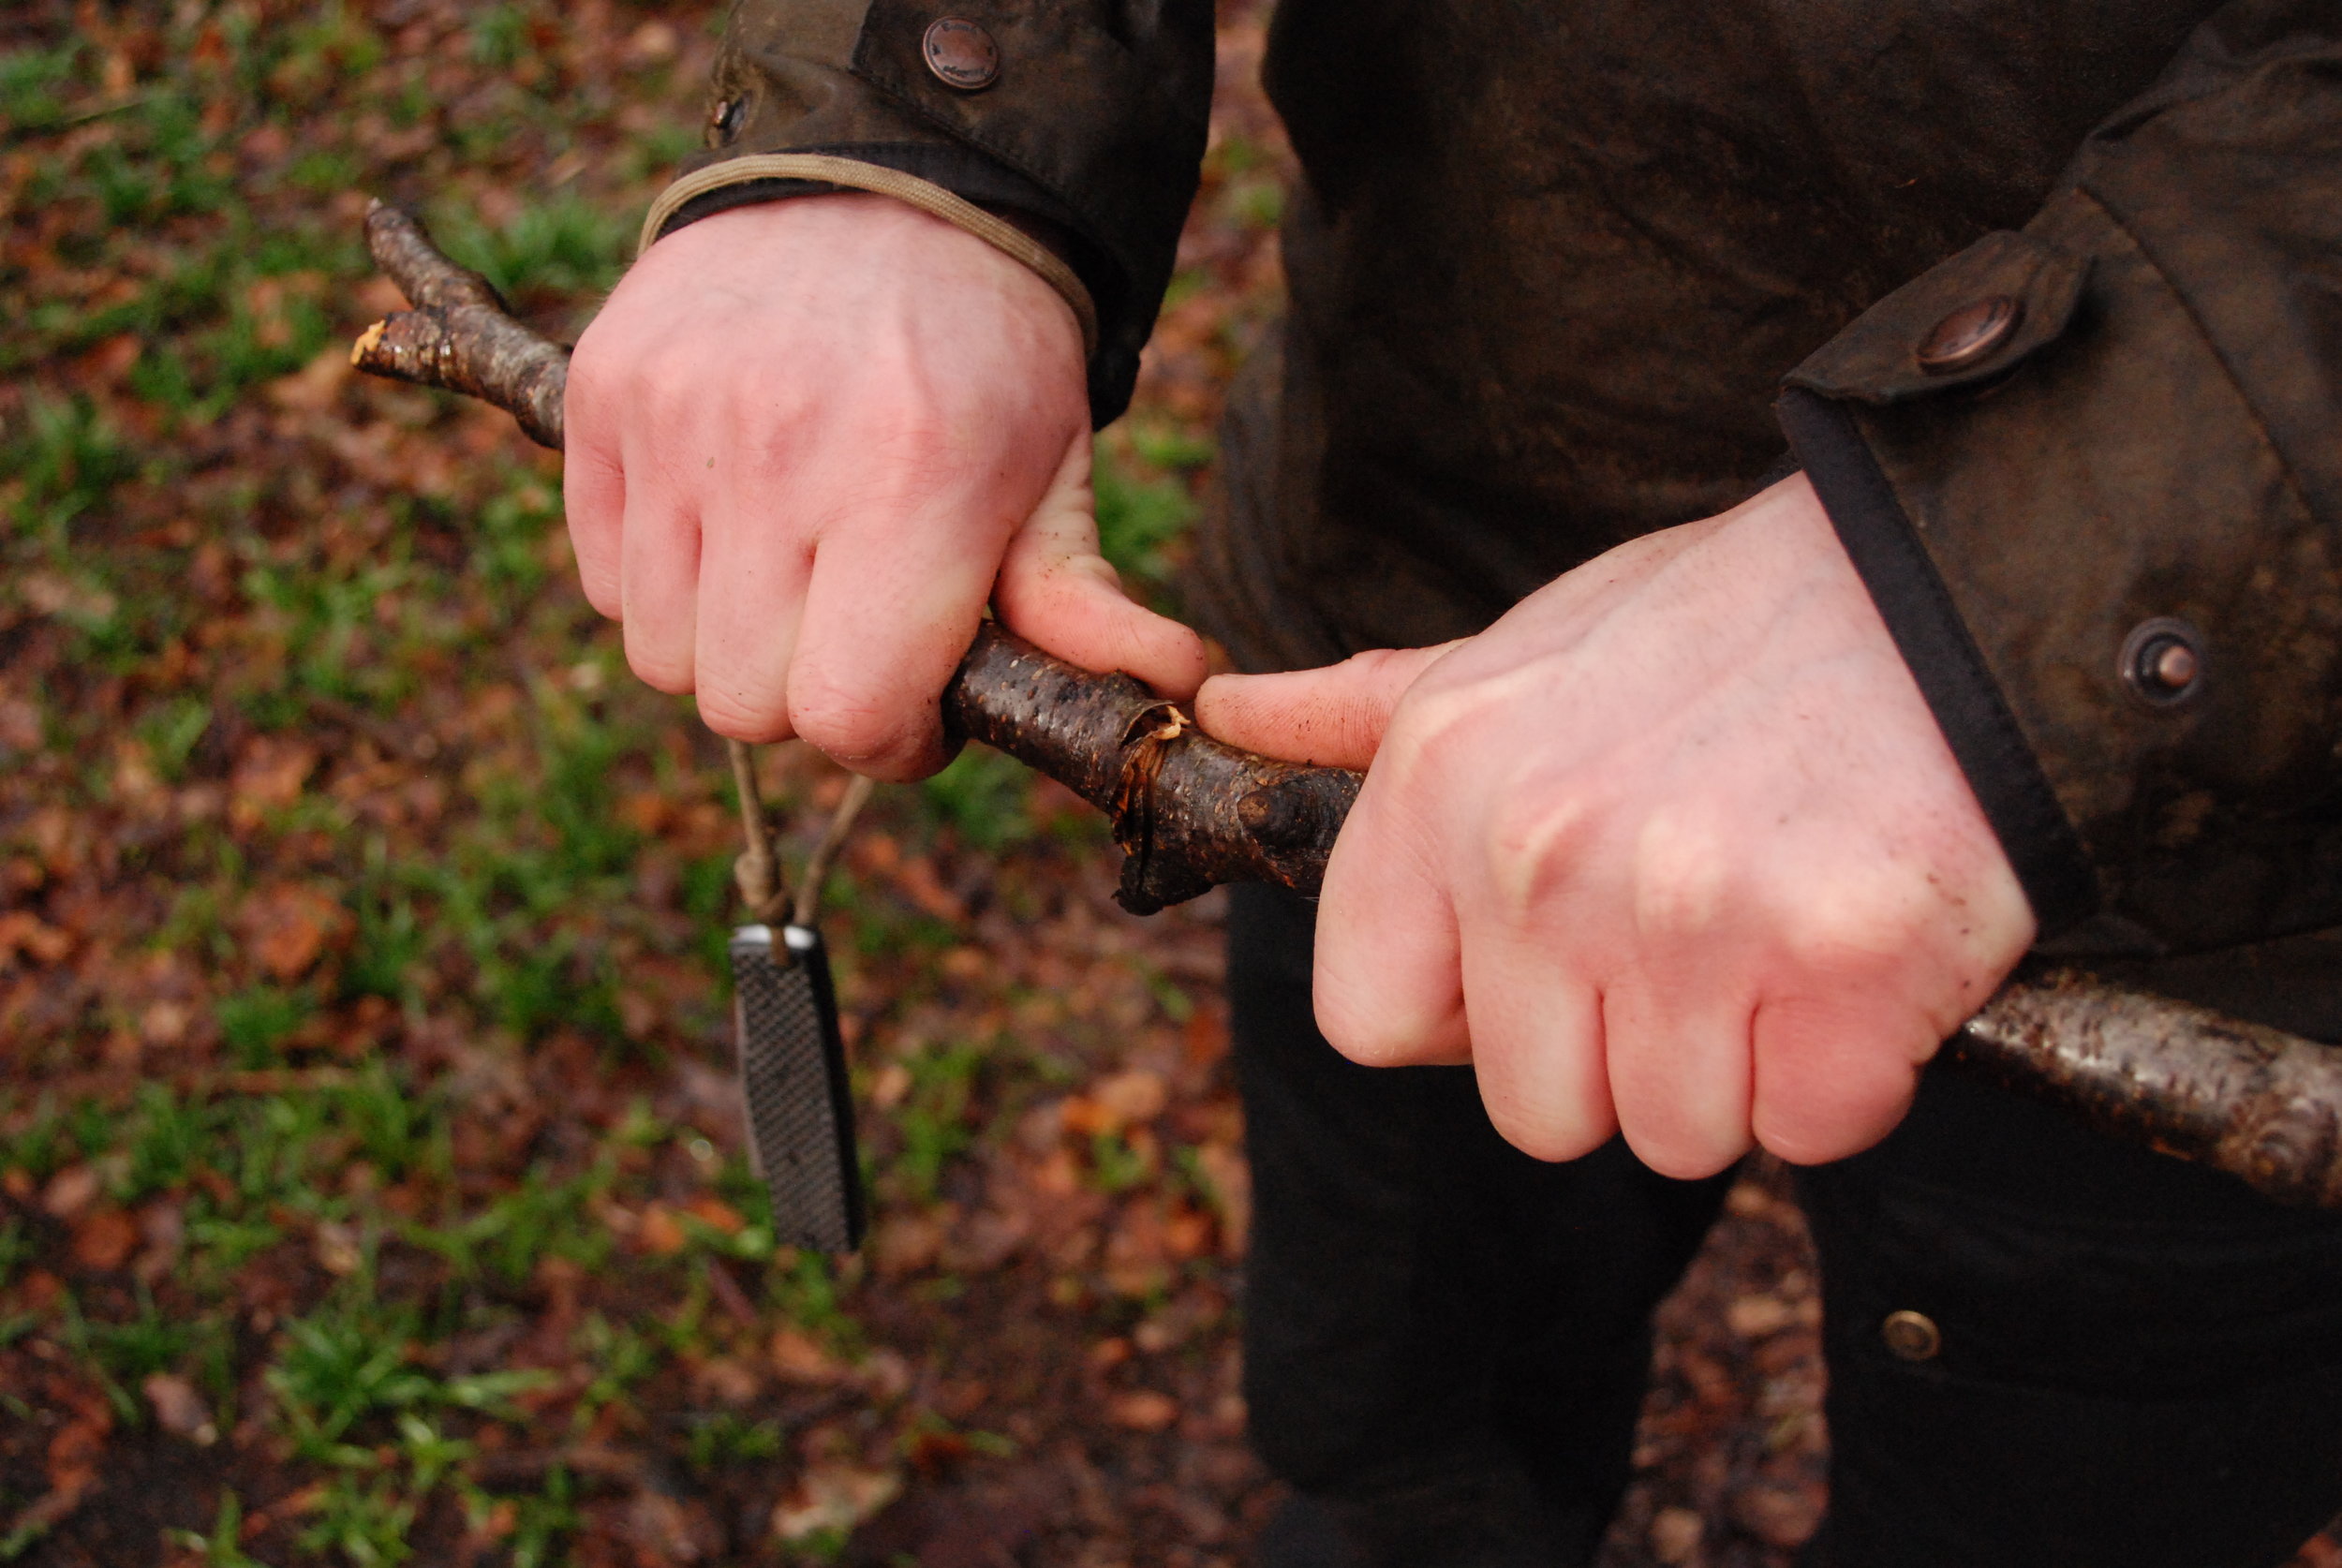
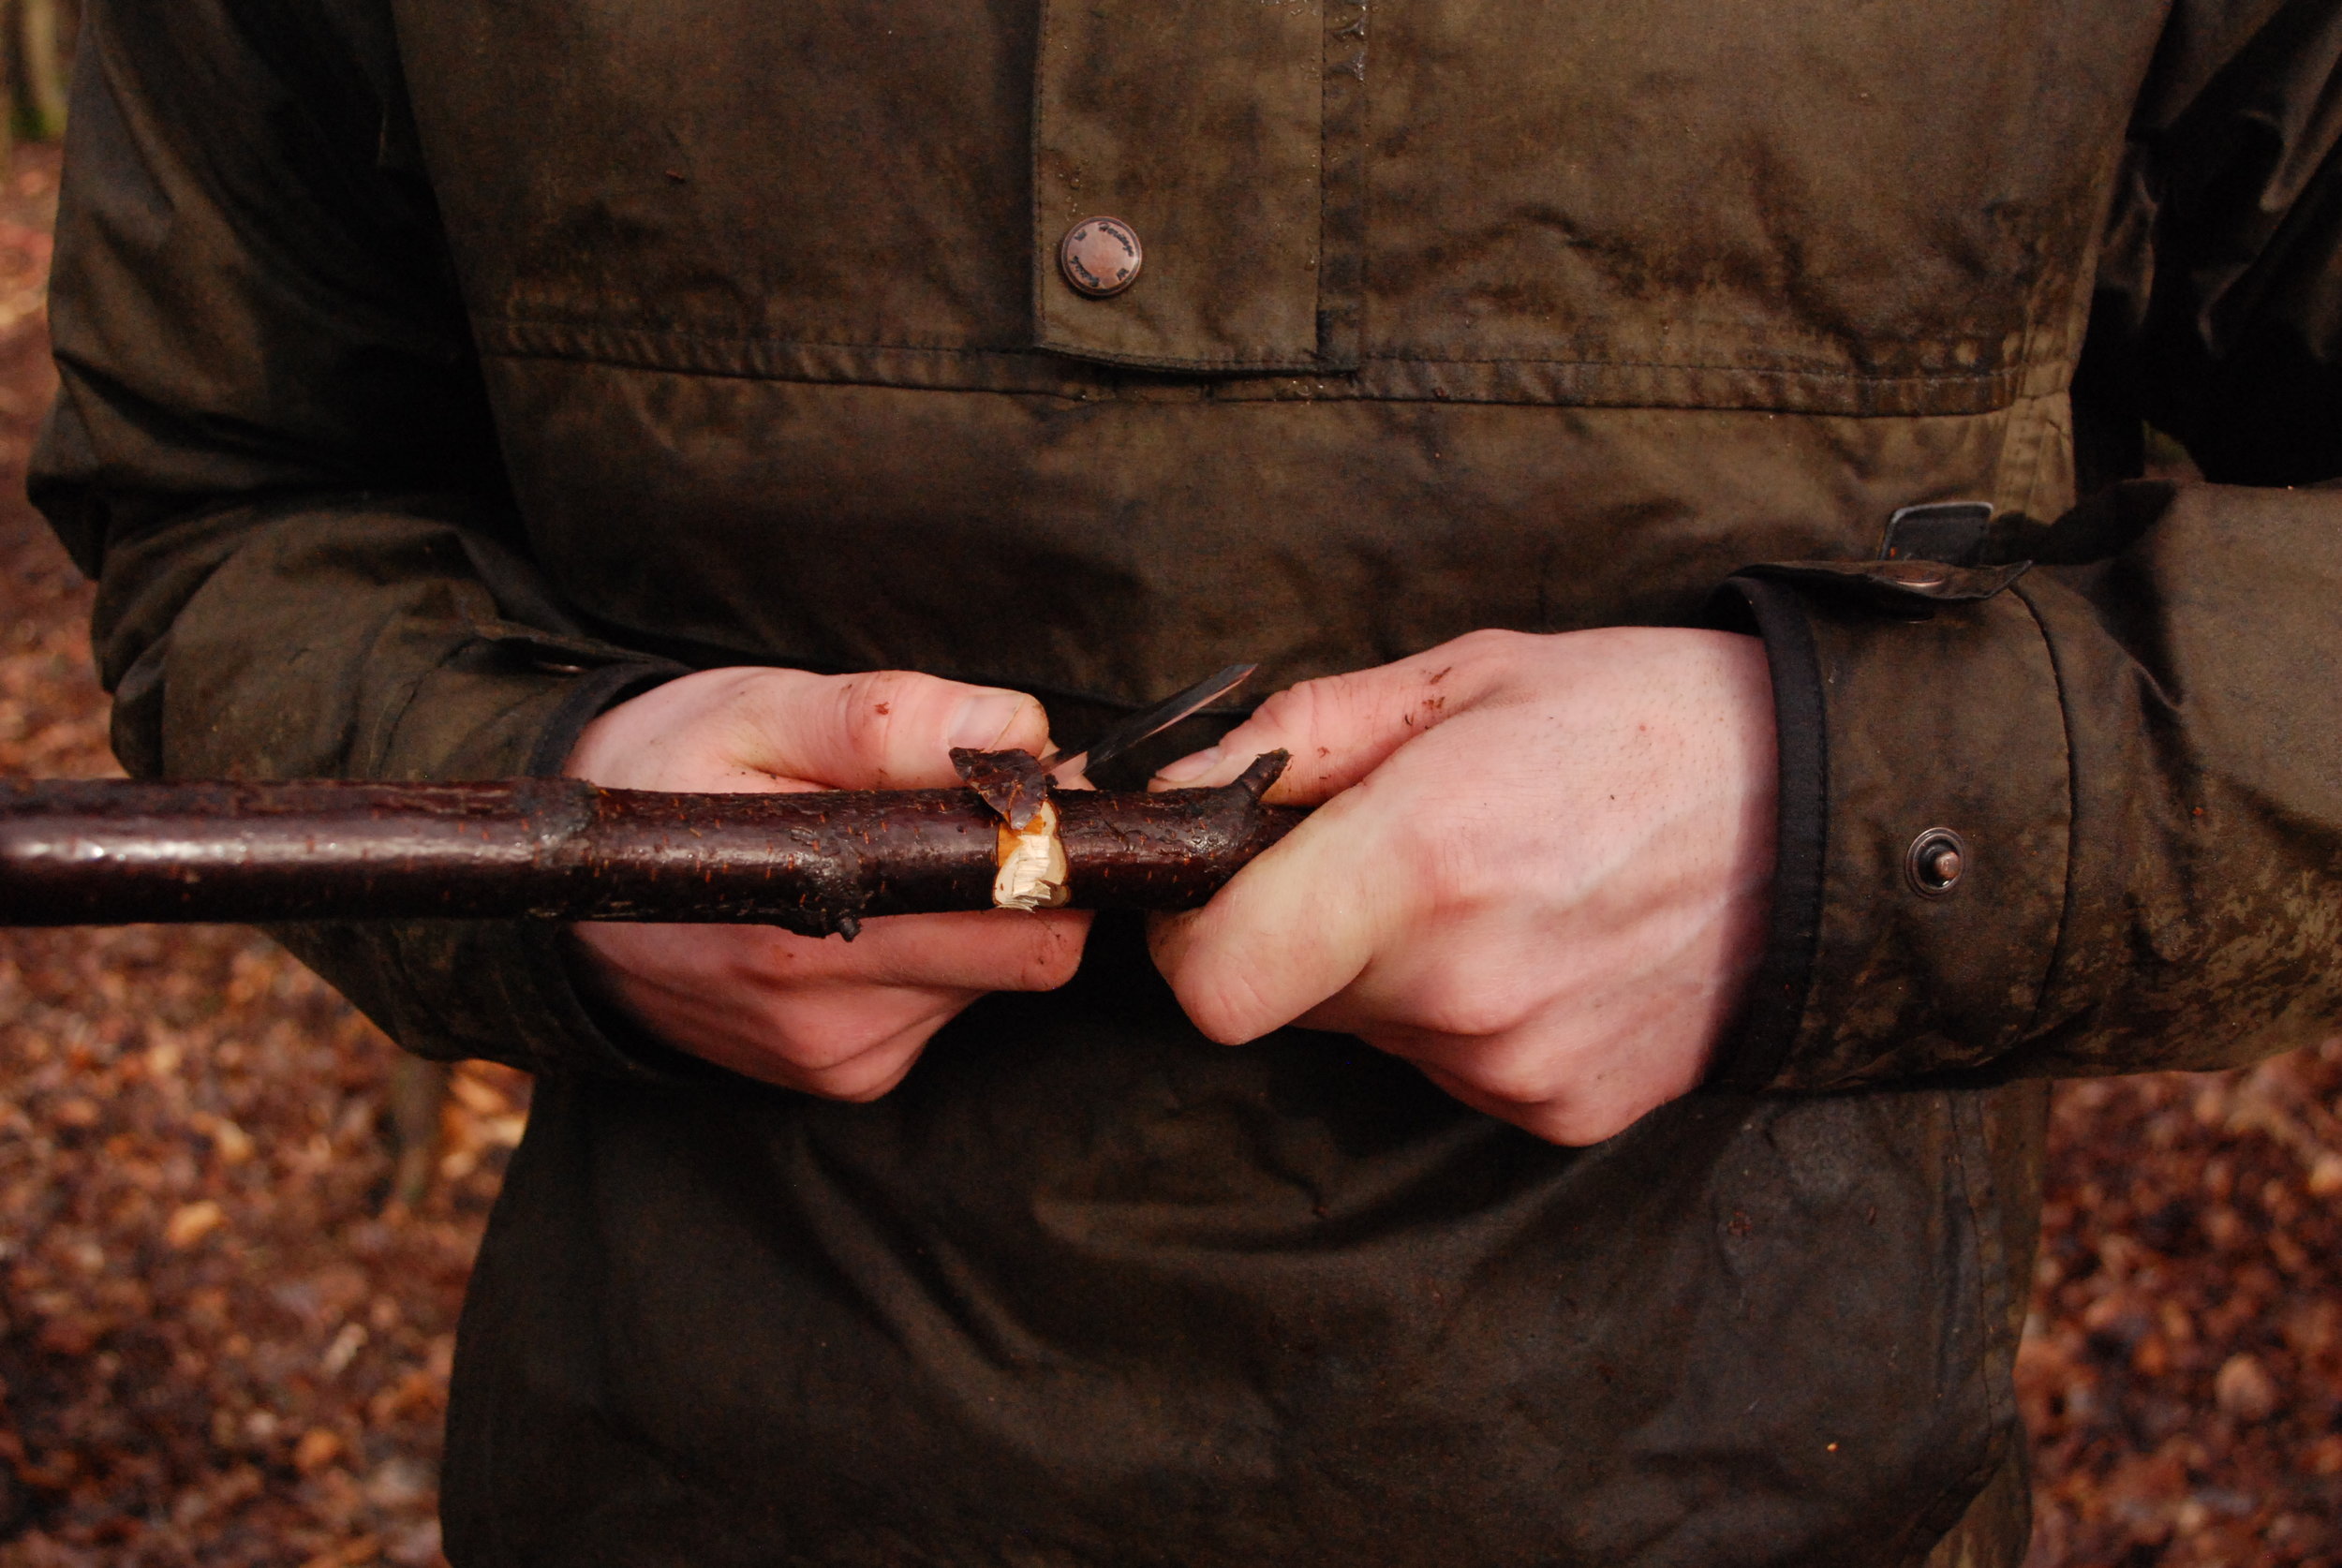
In the photos above we complete a full rotation of rosette cuts, then turn the stick 180 degrees and carve a second rosette cut to meet the first. In this way we make a 'beaver notch’ removing a tight wedge of material and leaving a cut bevel either side.
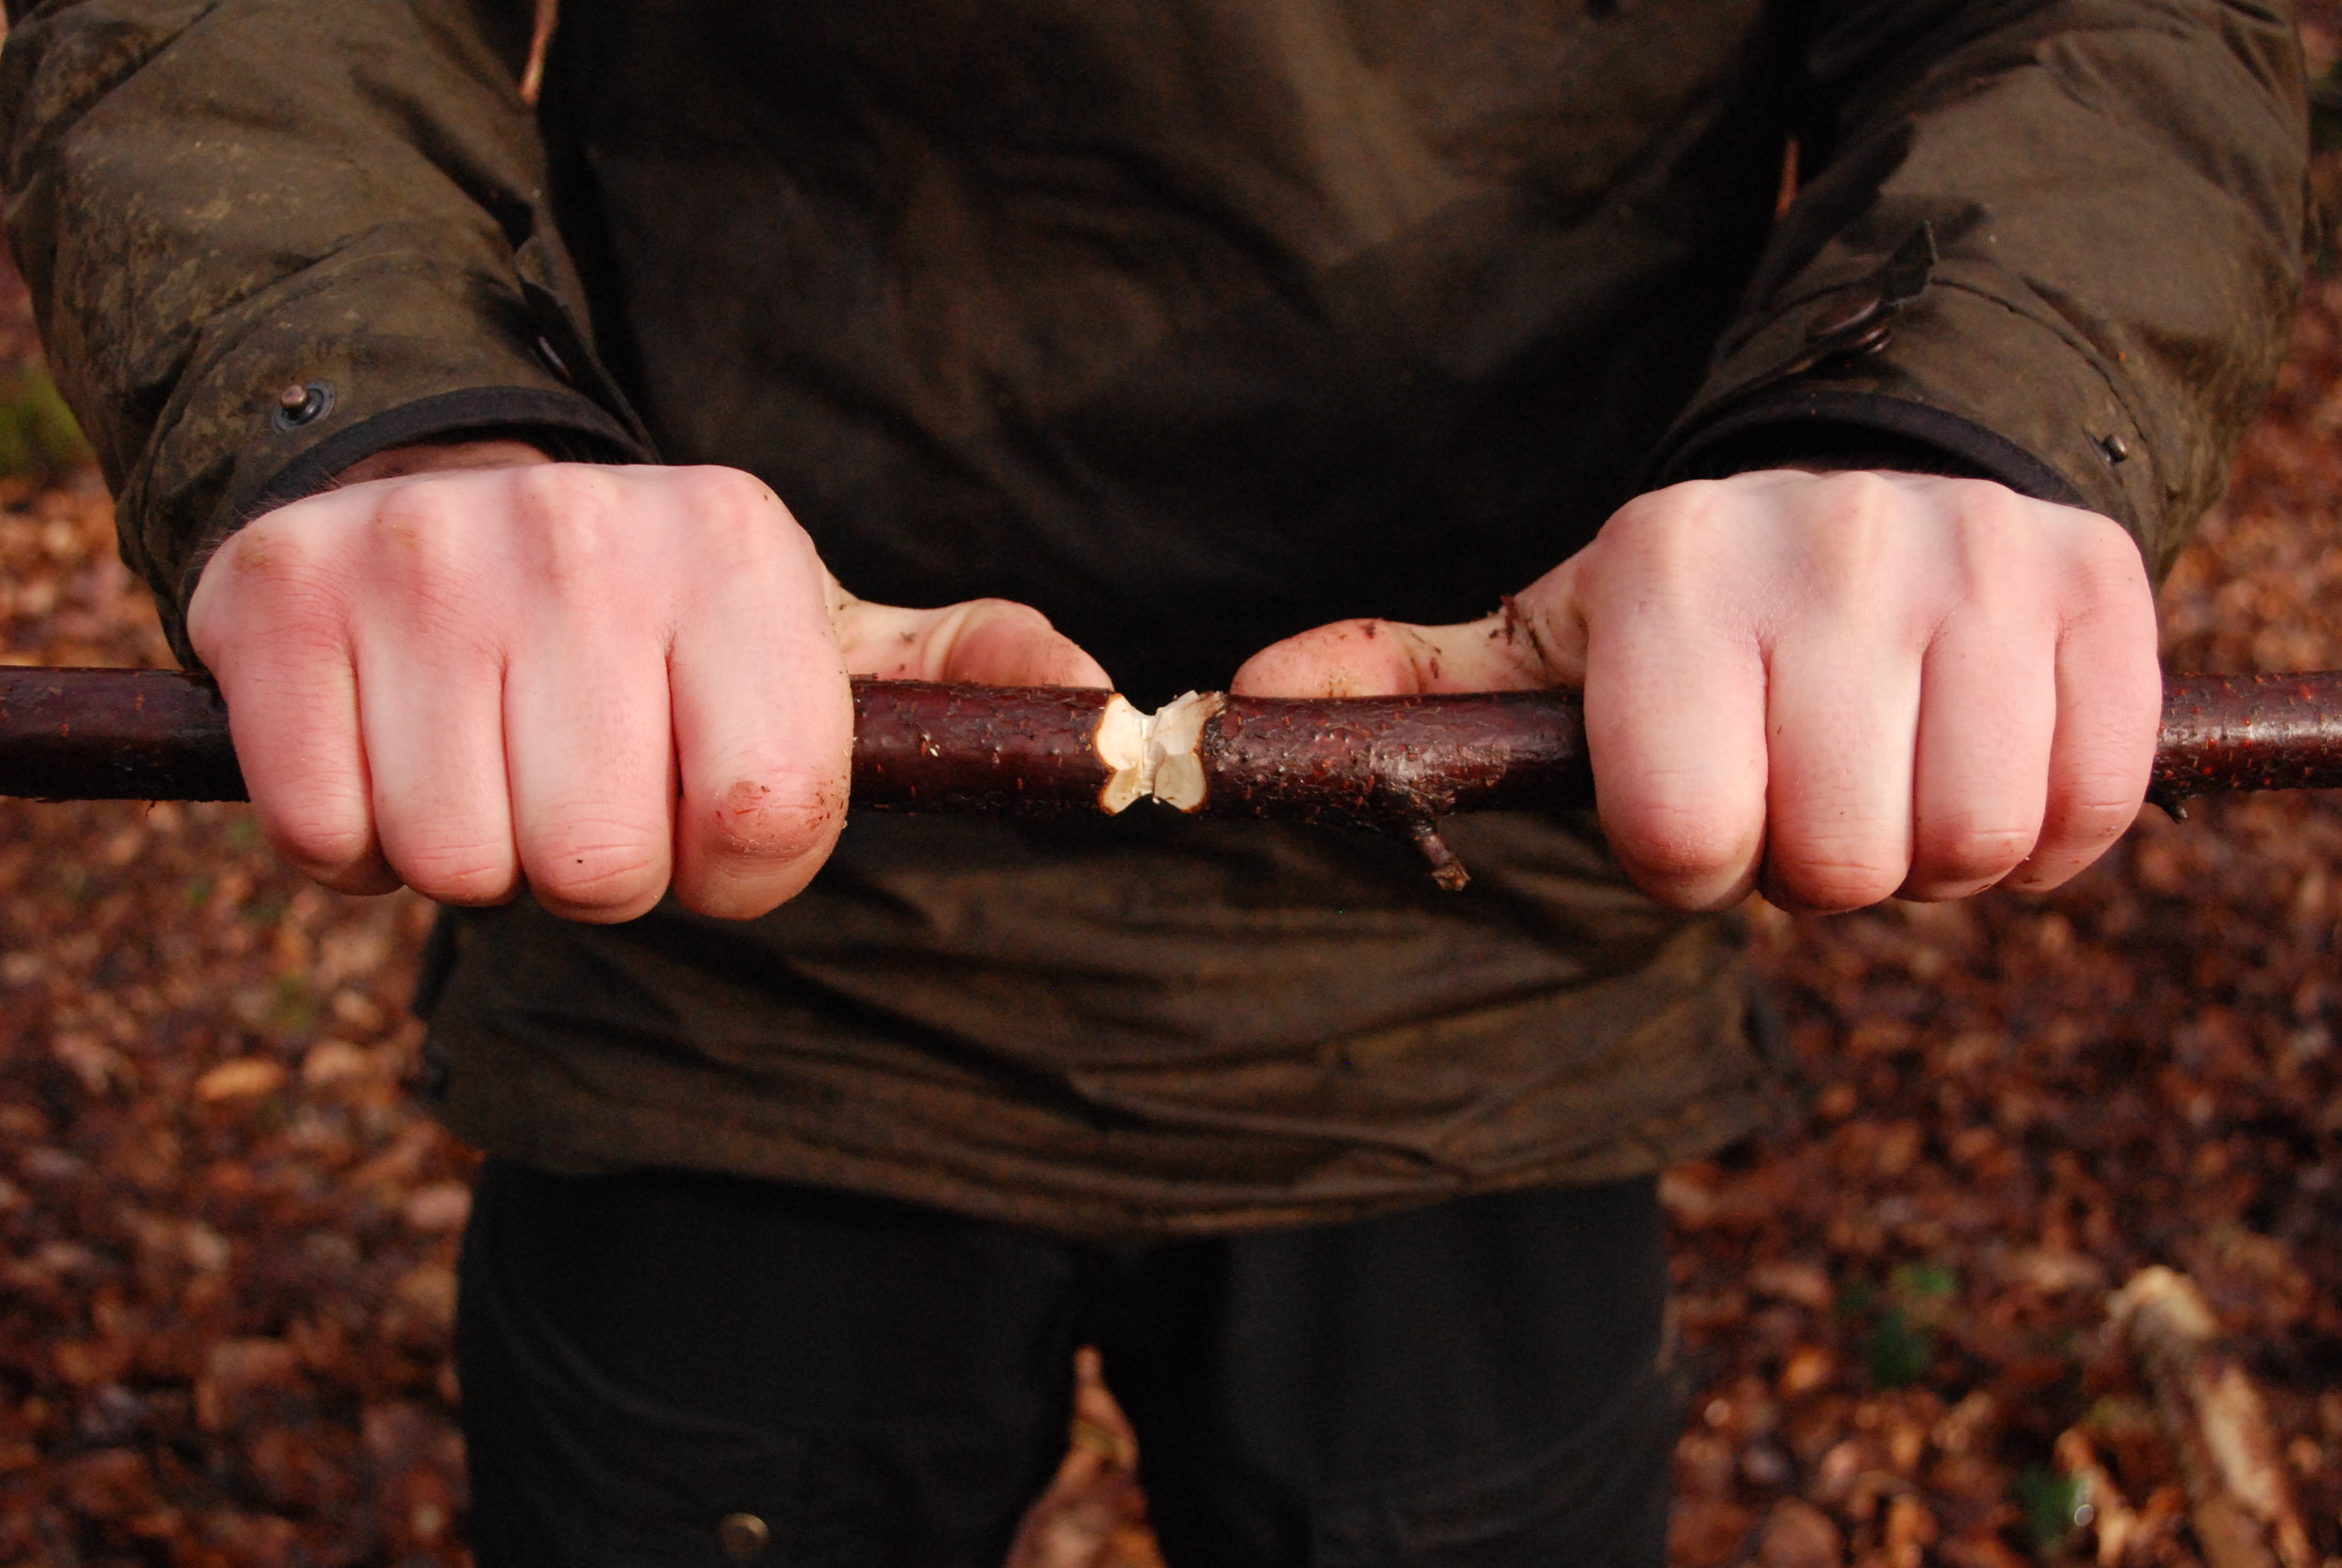
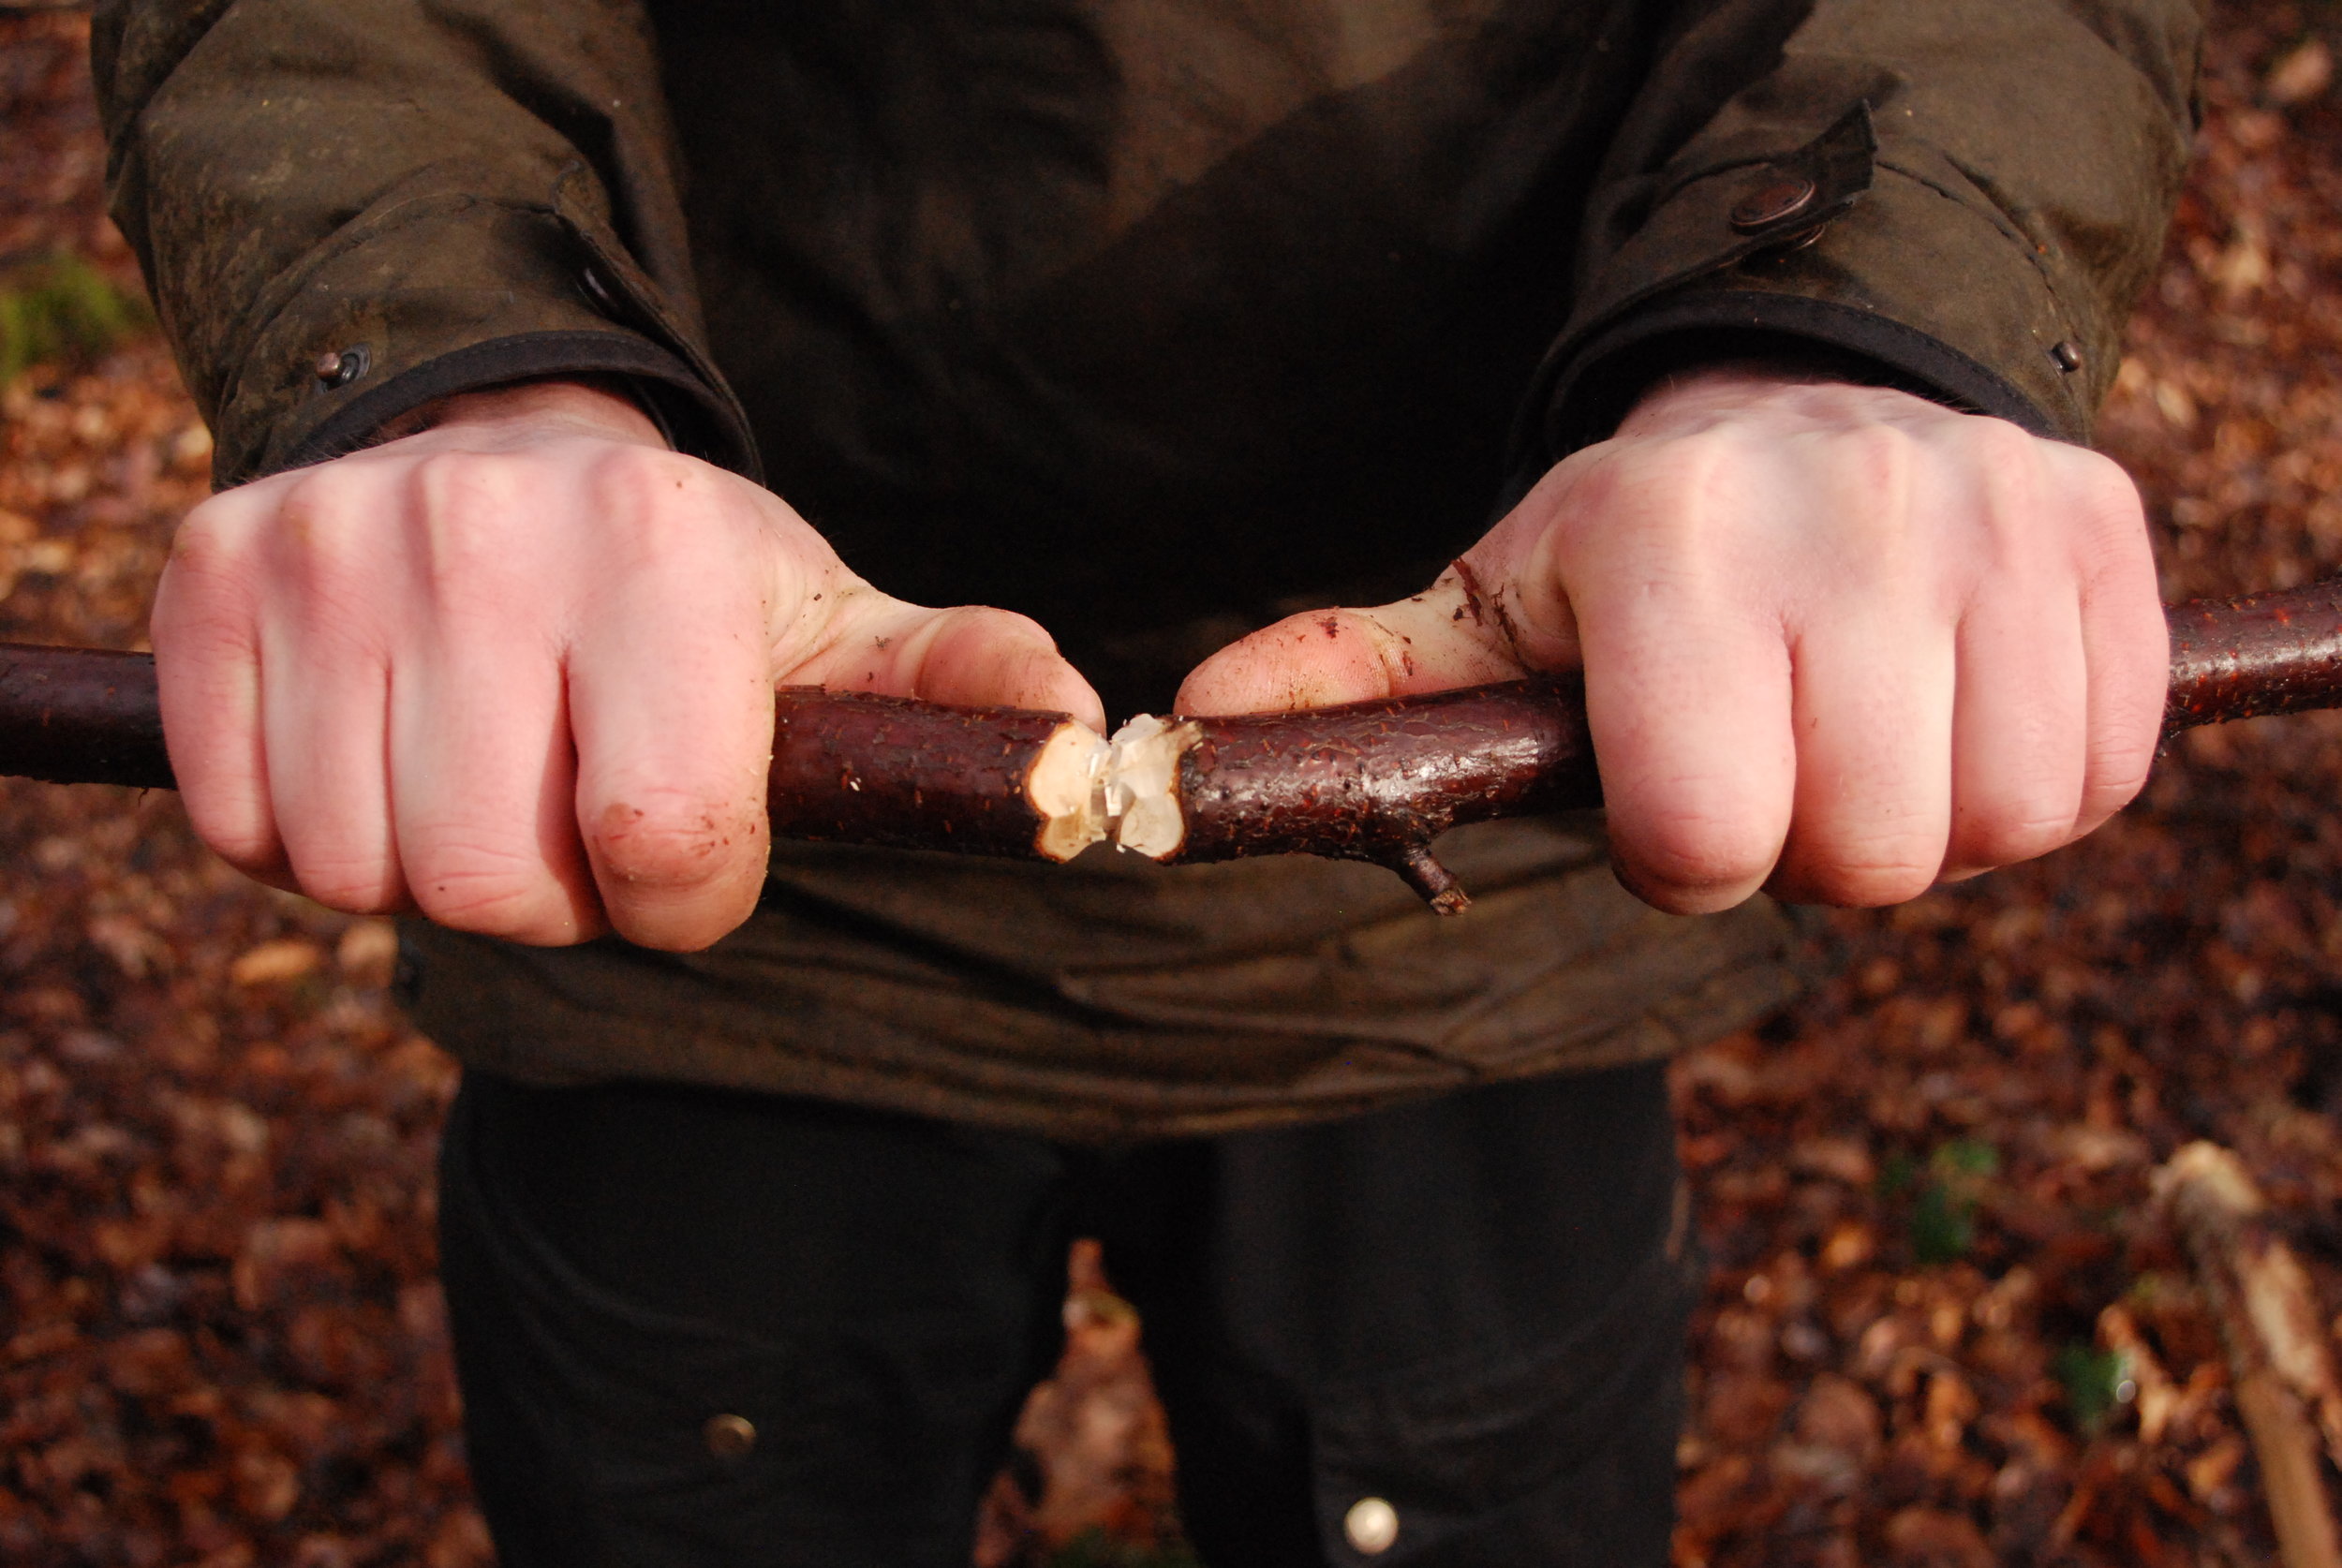


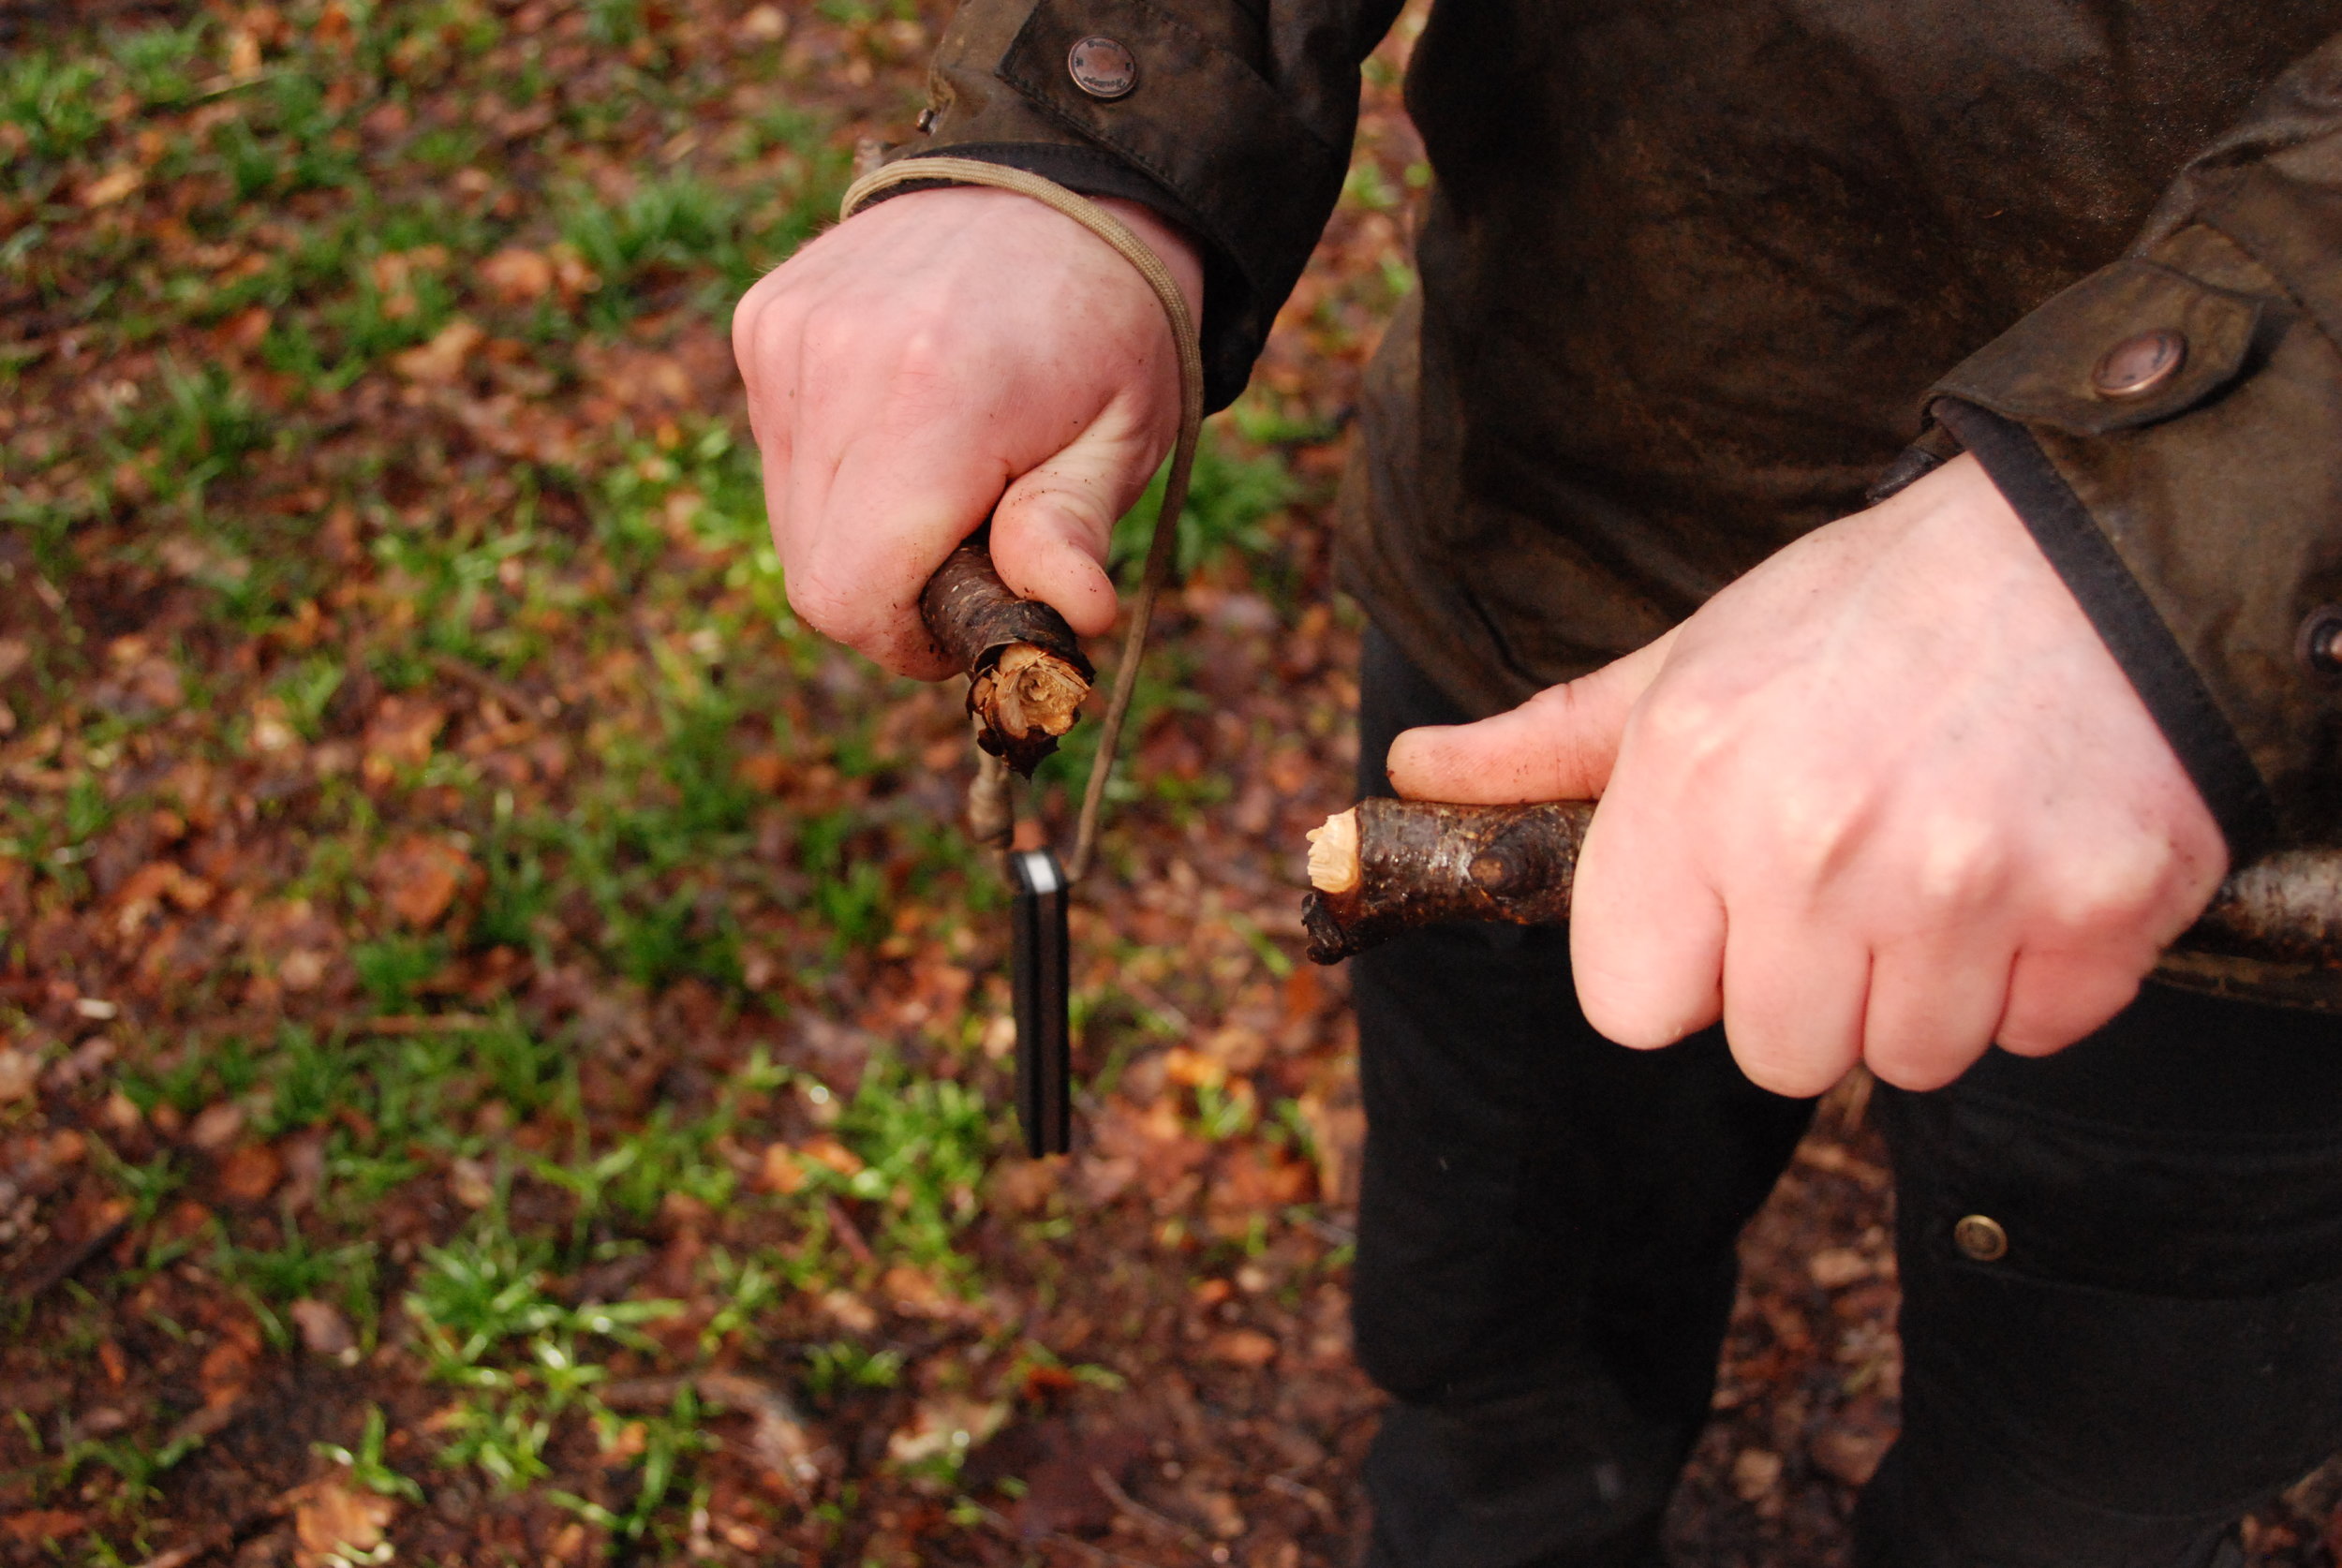
The two pegs are then snapped apart. All that’s left is those finishing touches which will produce a durable pegs that will last for many, many trips.
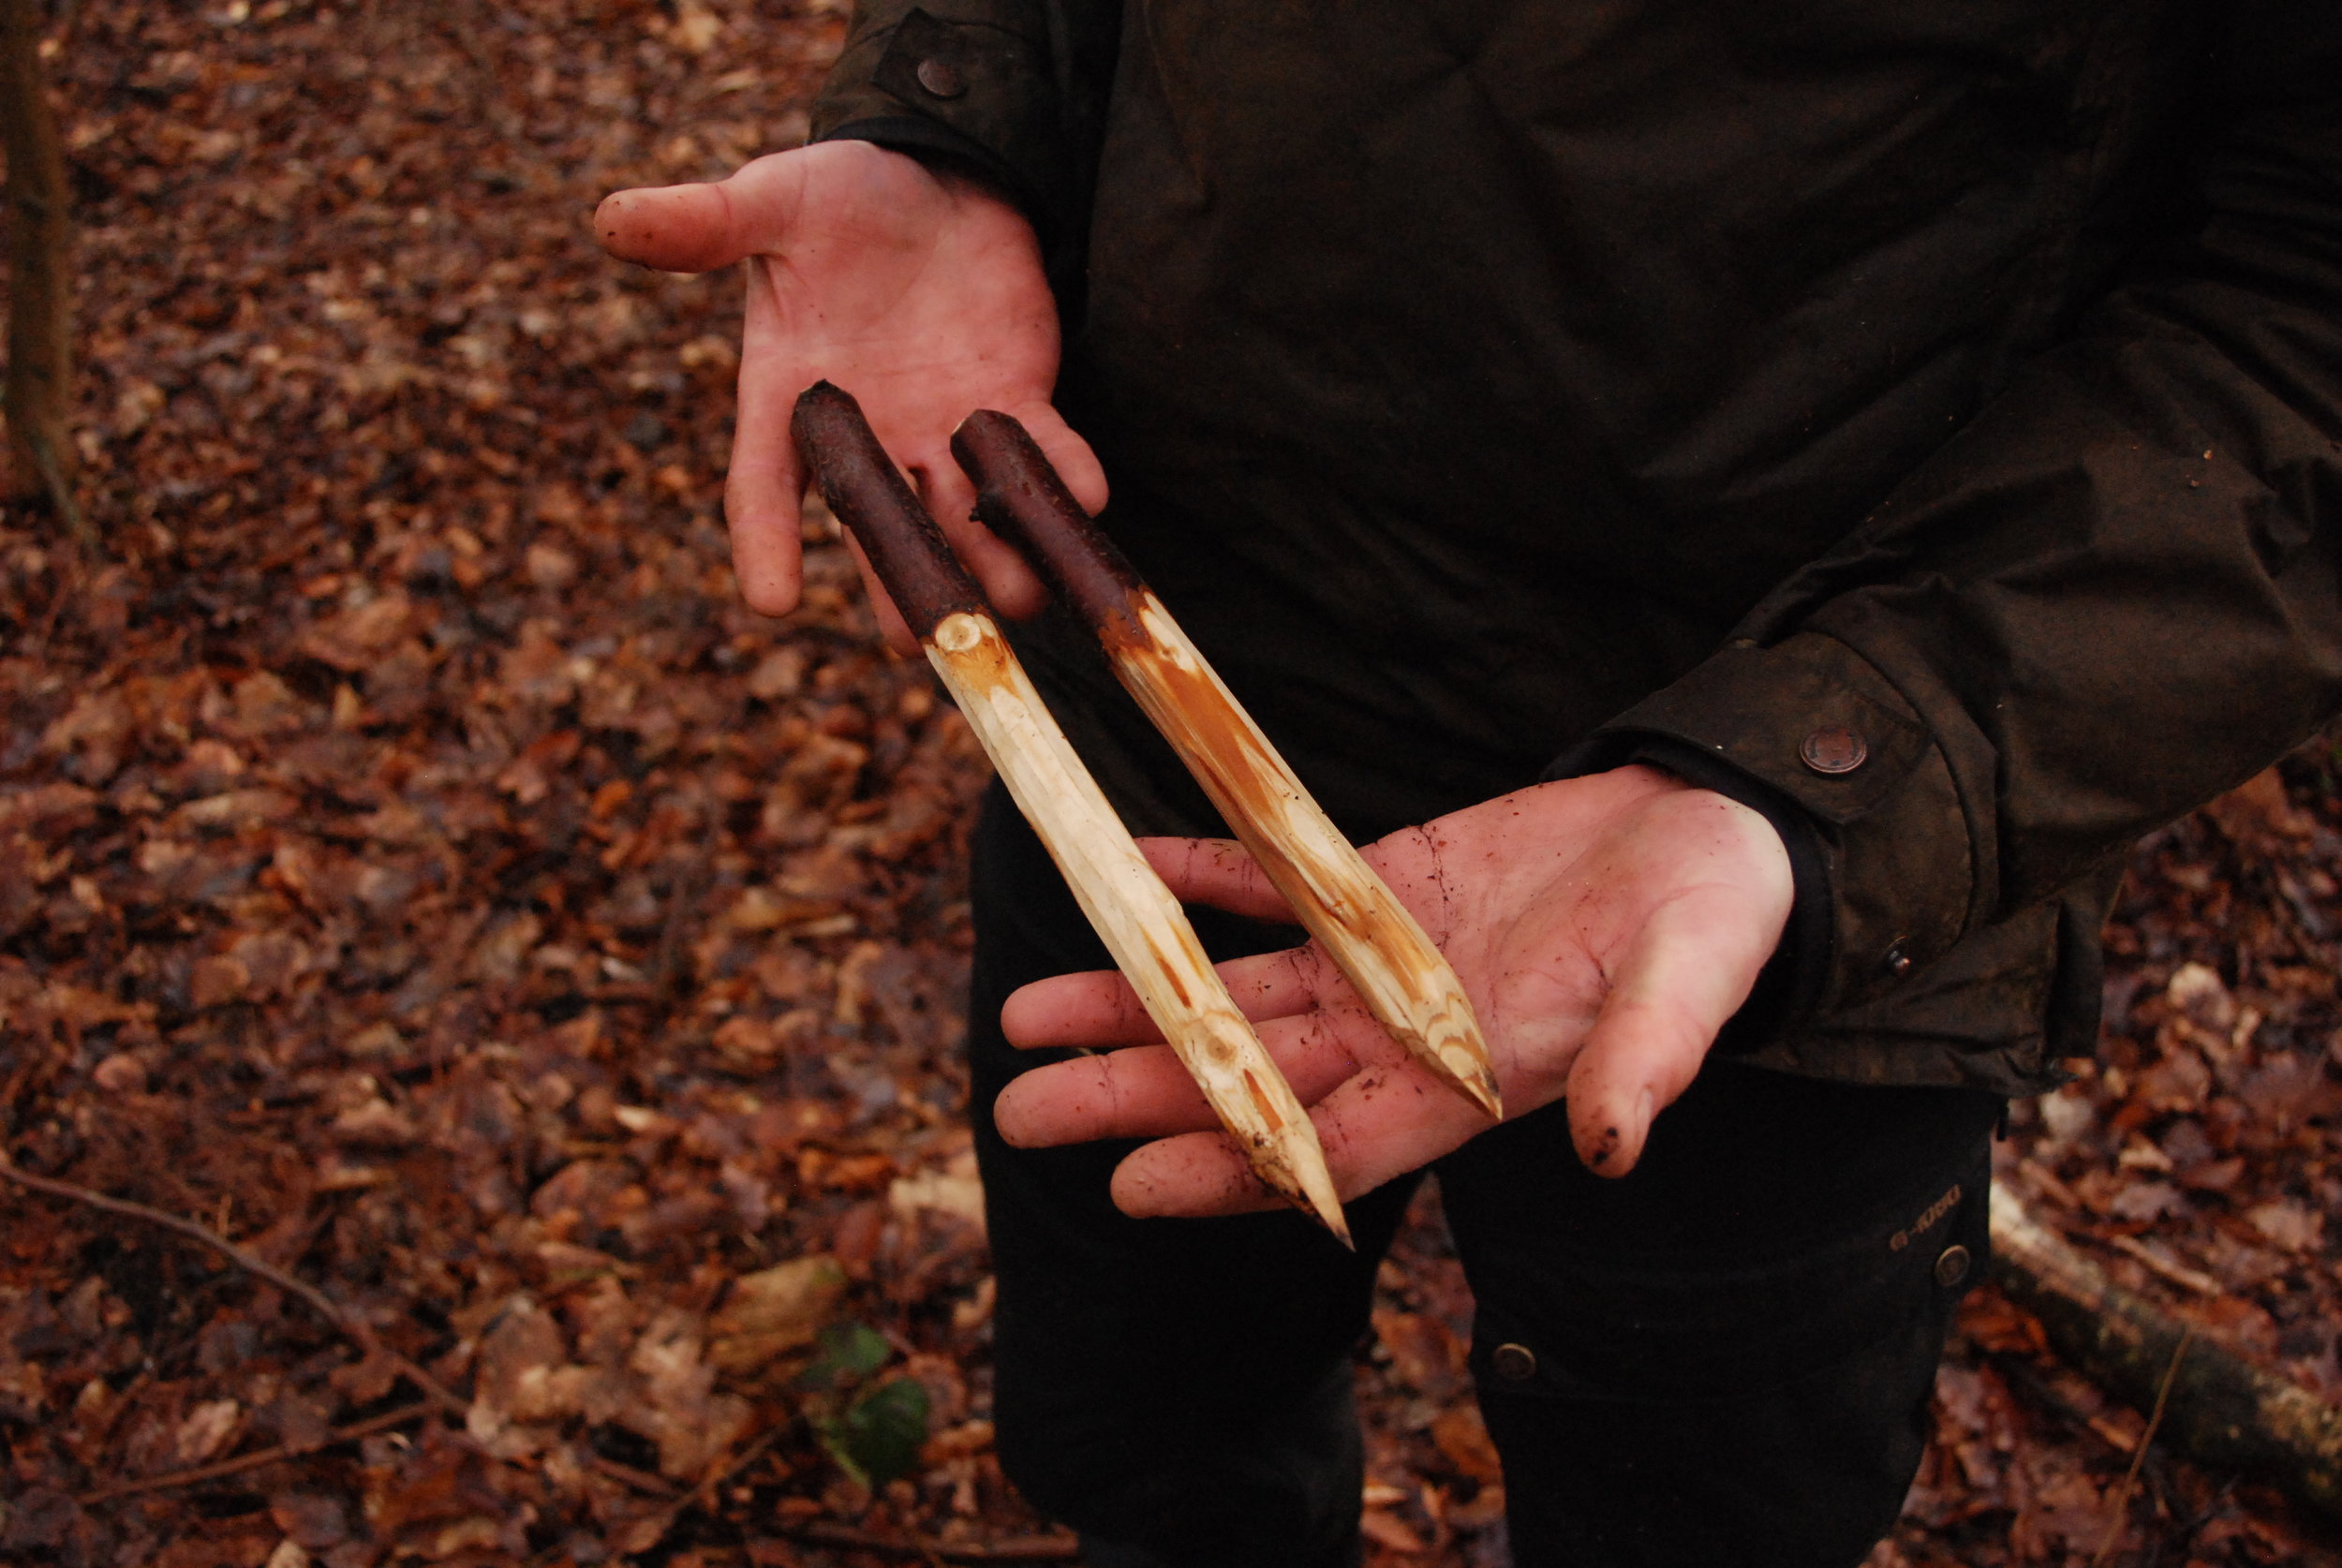
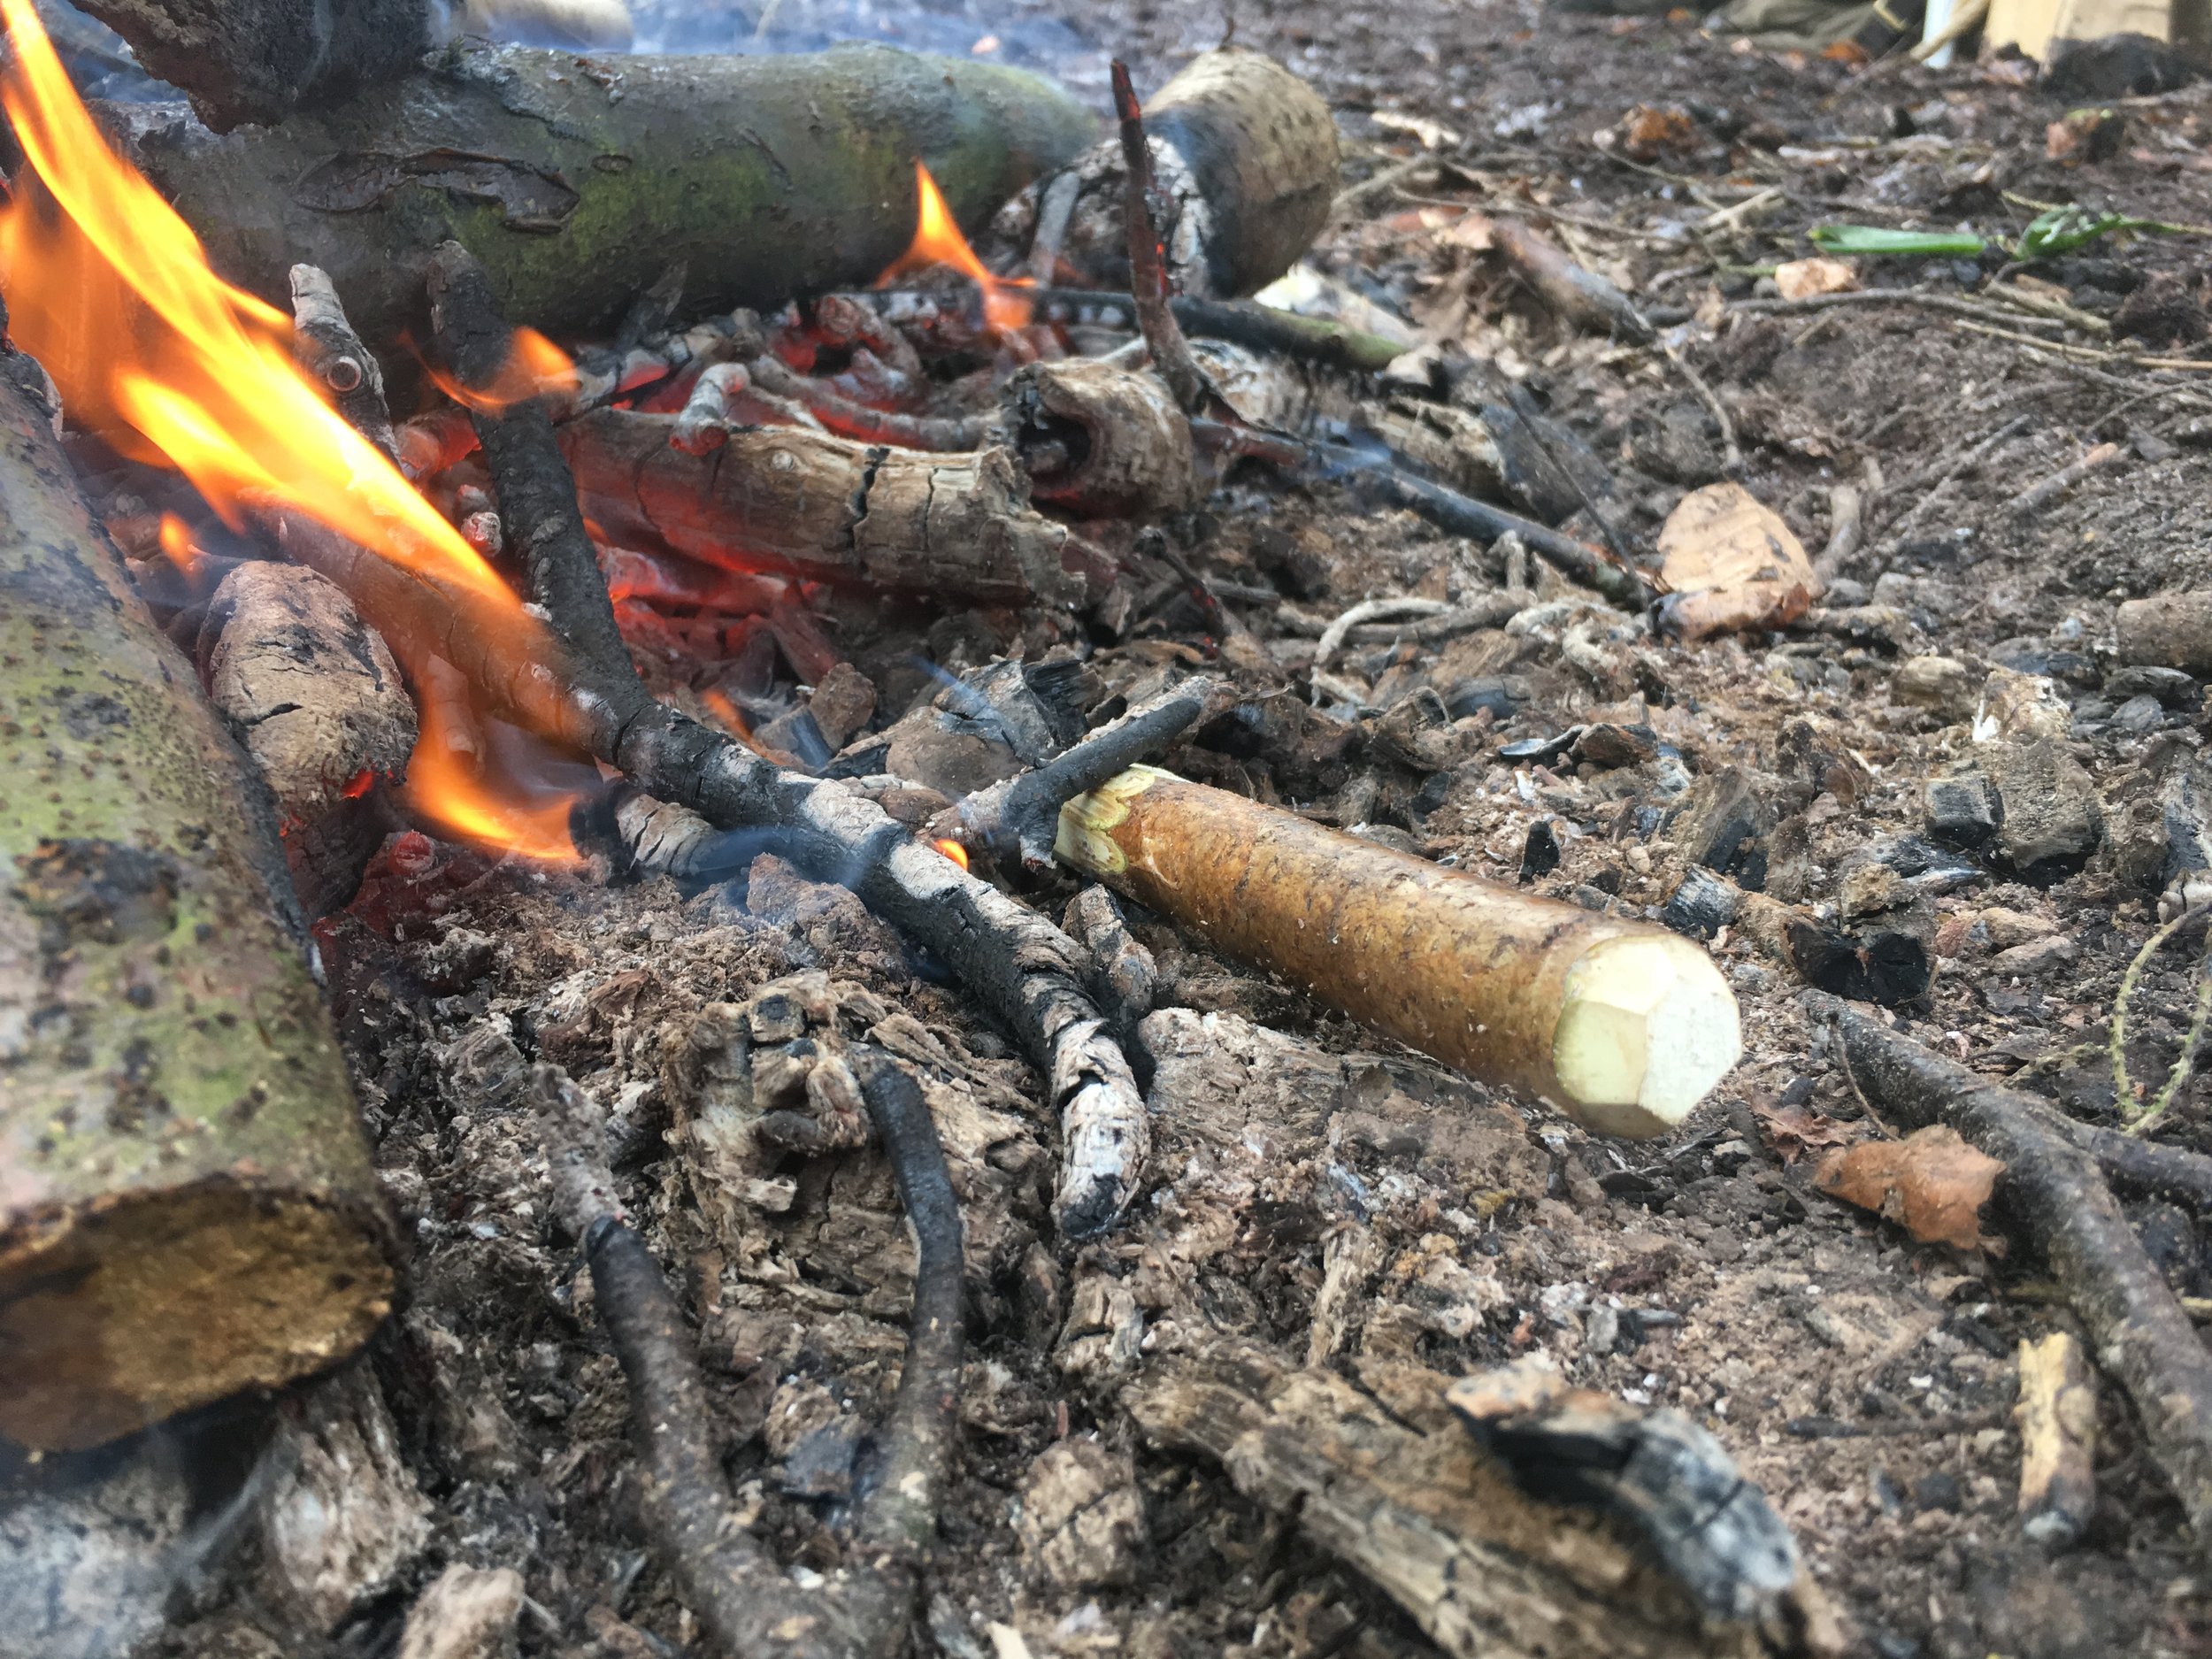
We clean up the tufts left by the snap, remove the bark from the bottom two thirds, and we slice those three corners off the point to form a six side tip. What we have then is a perfectly good peg in greenwood, if we allow this to dry it will become much lighter and tougher as the fibres of the wood shrink and bind together more. We can improve even this though, by baking the peg under the fire.

And that’s the peg finished! You can make these much longer if you need for use in the snow or in very soft, mossy ground. They’re light enough to carry while hiking instead of metal pegs and can ultimately return to nature when they can lived out their service.
You may have noticed that I’ve failed to put a notch in the peg to hold the guyline from the tarp… and this is of course a conscious decision. From my experience the angle at which you drive the peg into the ground should be sufficient to retain the peg, any notch to hold the guyline is then superfluous.

I hope you found this article useful, and of course there are many ways to achieve the same ends. This is the method that works for me. If you’d like to learn more Bushcraft skills, take a look at our courses HERE.
Thanks for reading,
JD