
Round House Weekend Build
Given the forecast was good we were hopeful.

In collaboration with Tom Bardon at Greenman Learning we'd planned to build a small scale outdoor classroom of sorts, a kind of multi functional space of utility and humble beauty. As we planned the build we realised there would be a fair amount of practical joinery work and tool use which could be useful for other outdoor practitioners to learn. Thus we embarked on designing a weekend around delivering basic methods of round wood building and hand tool skills. Importantly we wanted to give participants the opportunity to spend some time in the woods without having to look after their usual groups, and work towards learning new skills on a substantial project. A fully catered night in our private woods it was then!
Design
We'd built the design around an Octagon, a pattern I'd used several times before, in order to simplify the angles involved and also to maximise to some extent the ratio of inner space to materials used. Basing the measurements roughly on human proportions we knew we'd need the doorway to be around 2 meters high at the entrance and the walls approx. 2 meters apart. A quick doodle with a protractor and ruler and the plan for a 4.7 meter diameter house was hatched, with some wise words from Dave Watson along the way. The build process we broke down into two stages: the 'henge' (Upright beams and cross members) & the Roof, the henge construction being the majority of the learning resources for our clients. Keeping it simple we decided to erect a complex roof we'd never attempted before, and one that requires quite precise balance: Flash forward through a year of experimenting at different scales and I reckon we'd cracked the nuts and bolts of a working reciprocal roof using eight rafters. The roof then would be an experiment for us all, and of course the back up plan of a more traditional roof system with a central tower support if needed!
Execution
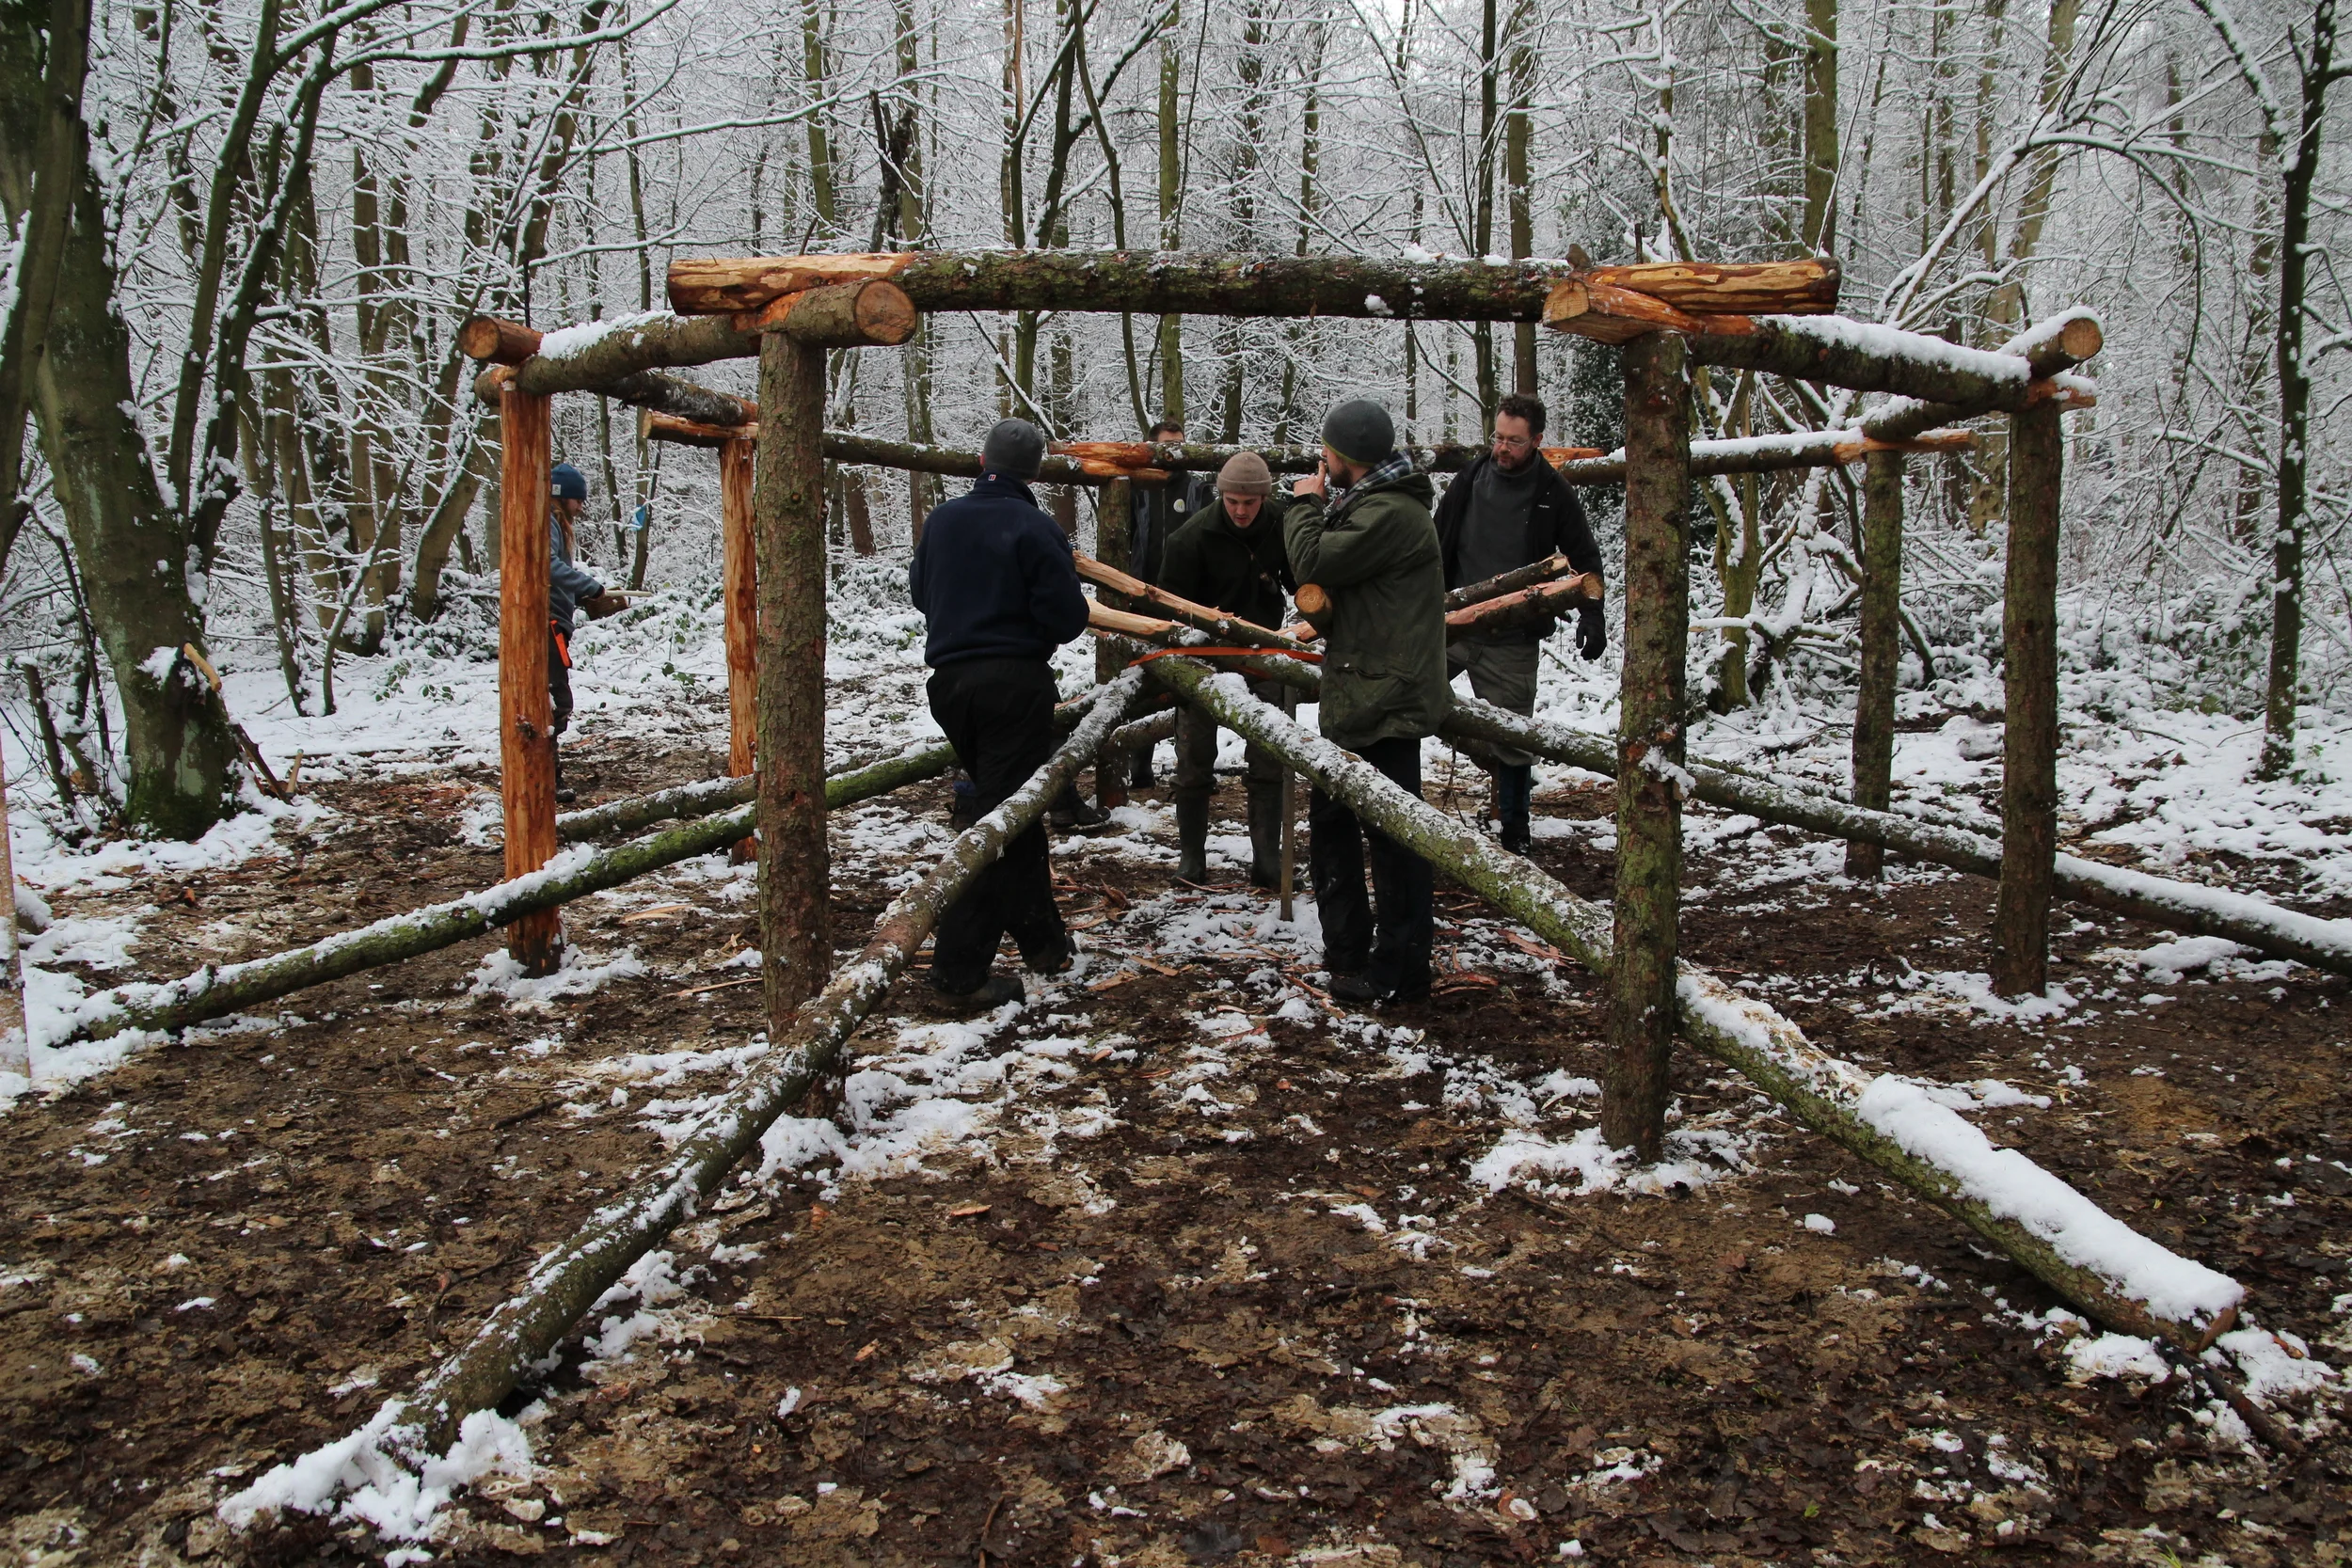
Location is key. Lucky for us we knew our woodland well, and the weeks of heavy rain only help us determine the driest spot in the woods. We looked principally for flat, even ground with no overhead risks just as we would when building a simple bushcraft shelter. Plotting the upright post holes can be done many ways, I usual opt for the typical string and set square method: Choosing a centre point and marking the first 4.7m diagonal cross that point. A quick 90 degrees from that point gives you diagonal no.2, and 45 degrees from that you've got no.3. 90 degrees from there and your final diagonal line is drawn. Using string to mark this 8 pointed star means you can check your 'map' before you start the laborious task of digging post holes.
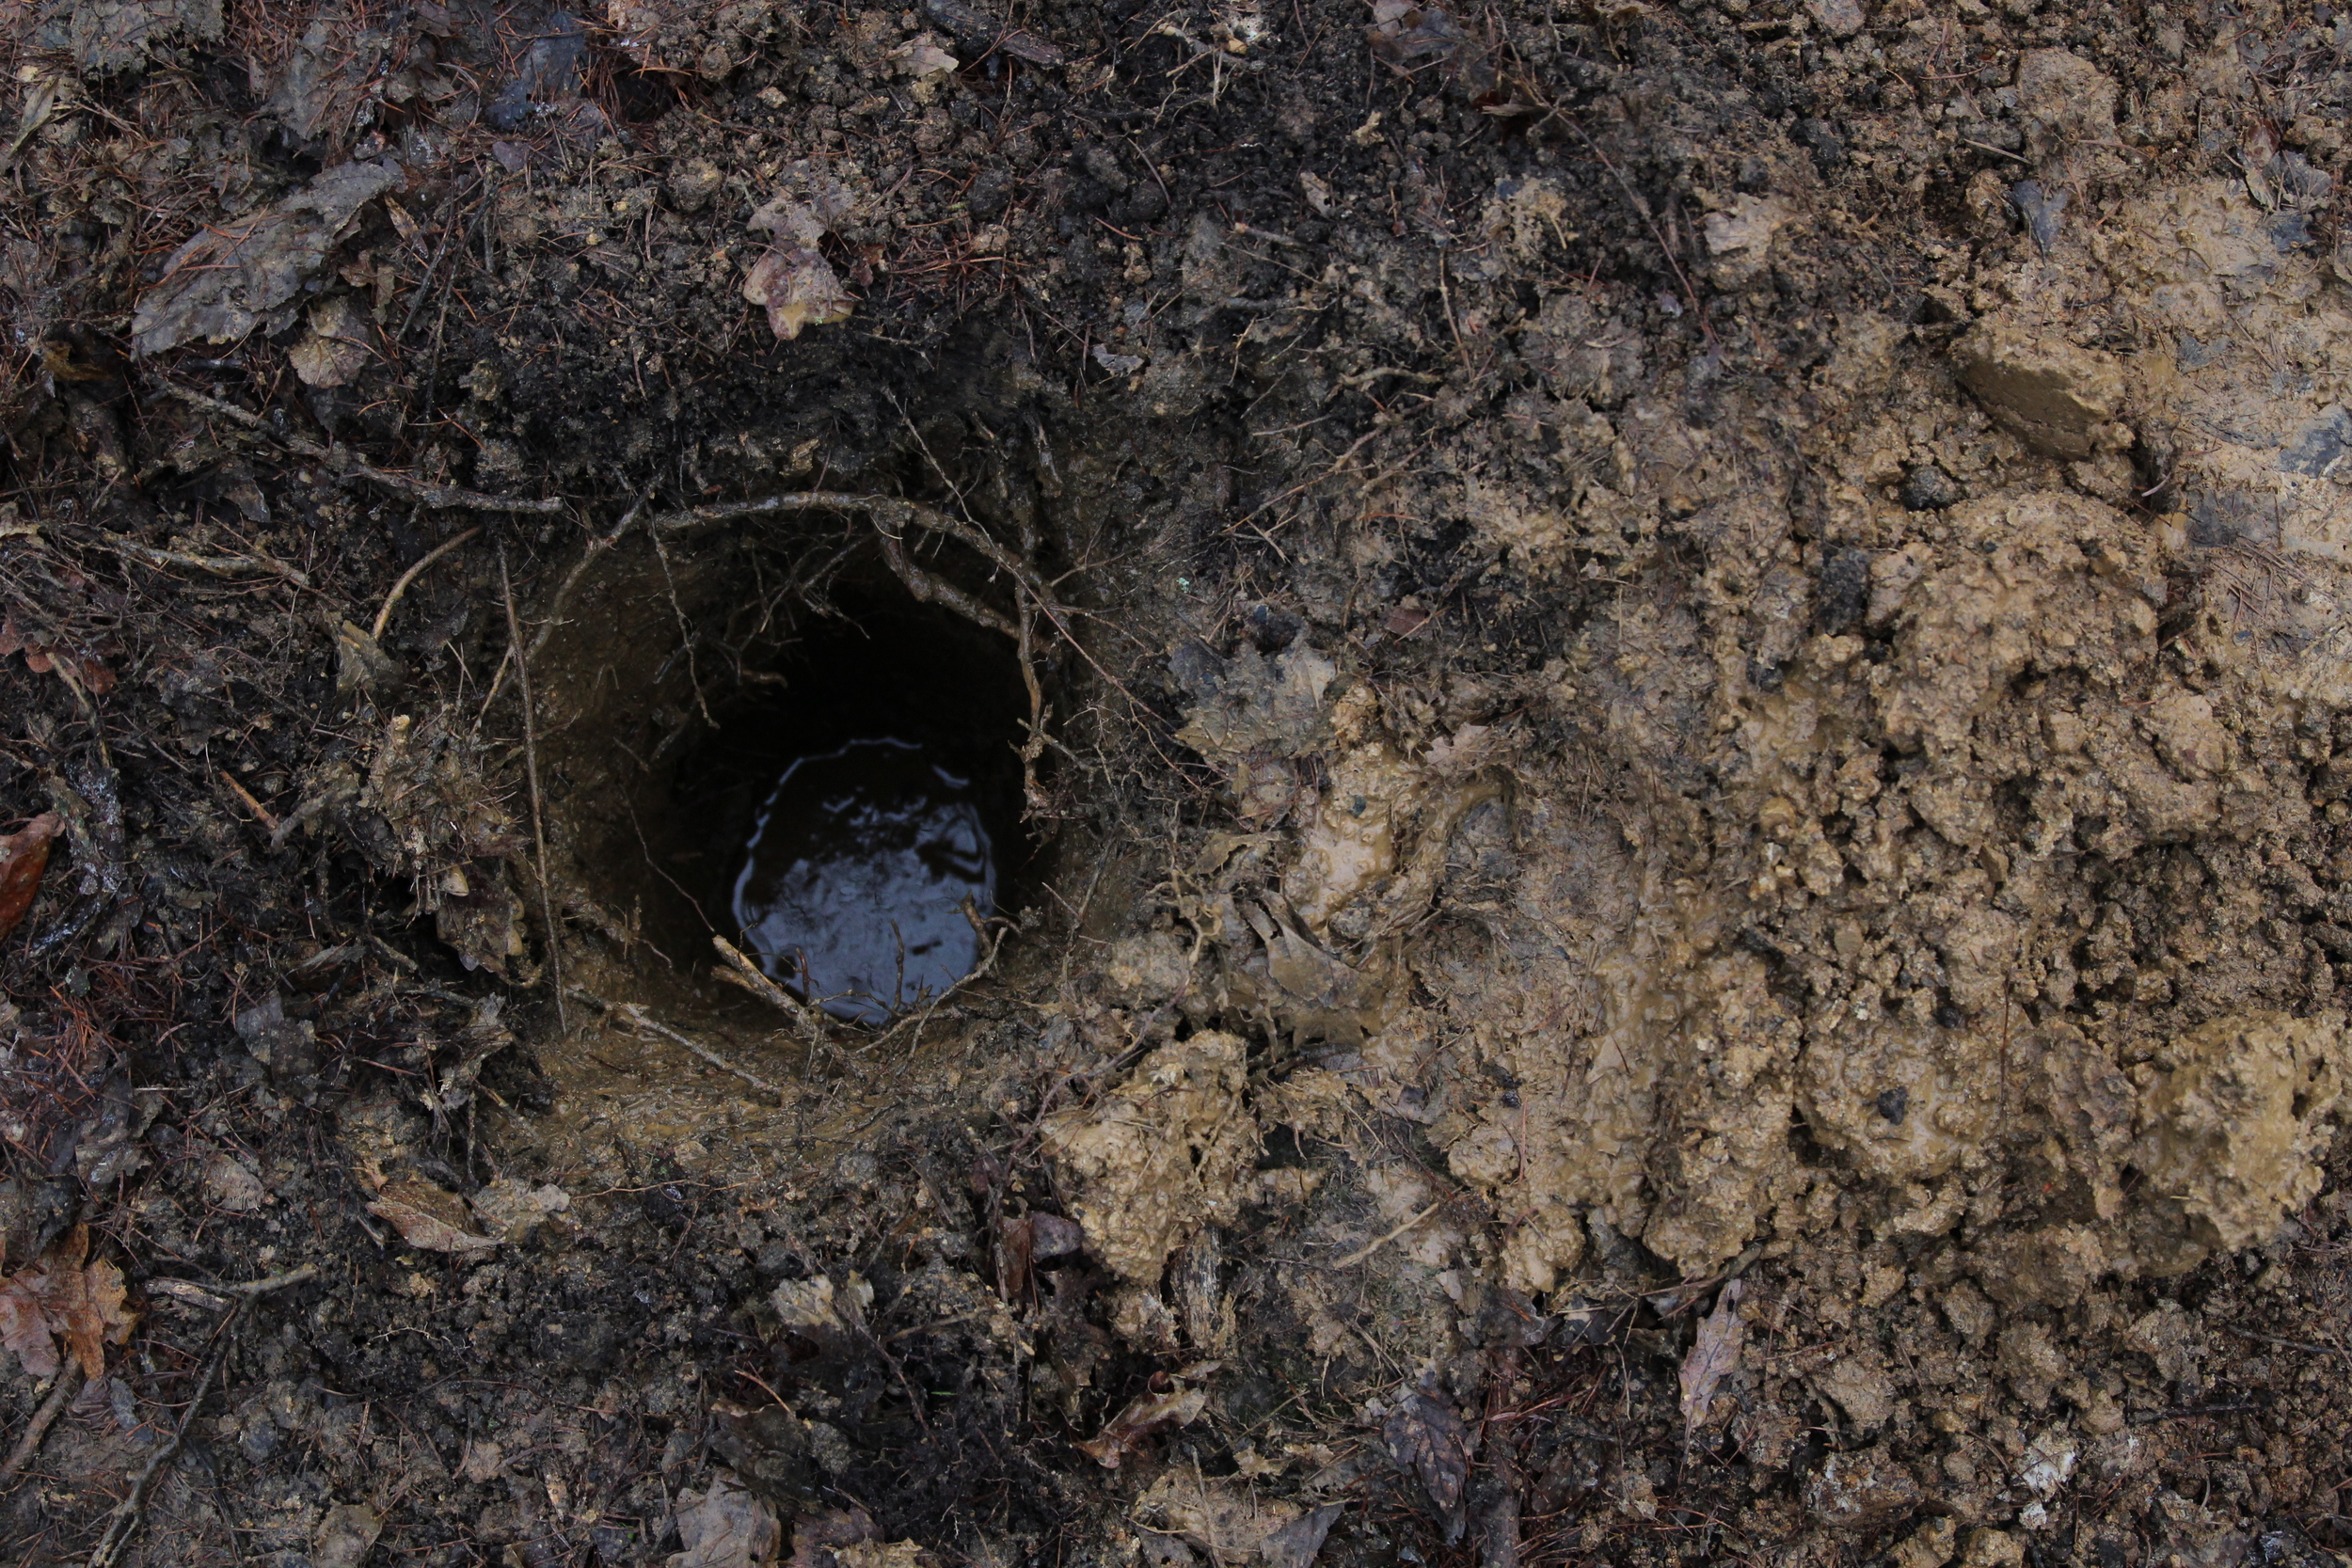
Holes dug between 80cm & 100cm deep give you plenty of support in firm ground. We hit clay and ground water at 50cm deep.
Packing in the posts. Its well worth spending due time and care over this often over looked stage in order to have the true support of the ground. We'd used Larch Larix Decidua sourced from inside our 12 acre site as the principle build material. Larch is naturally rot resistant and lasts well under ground in this way.
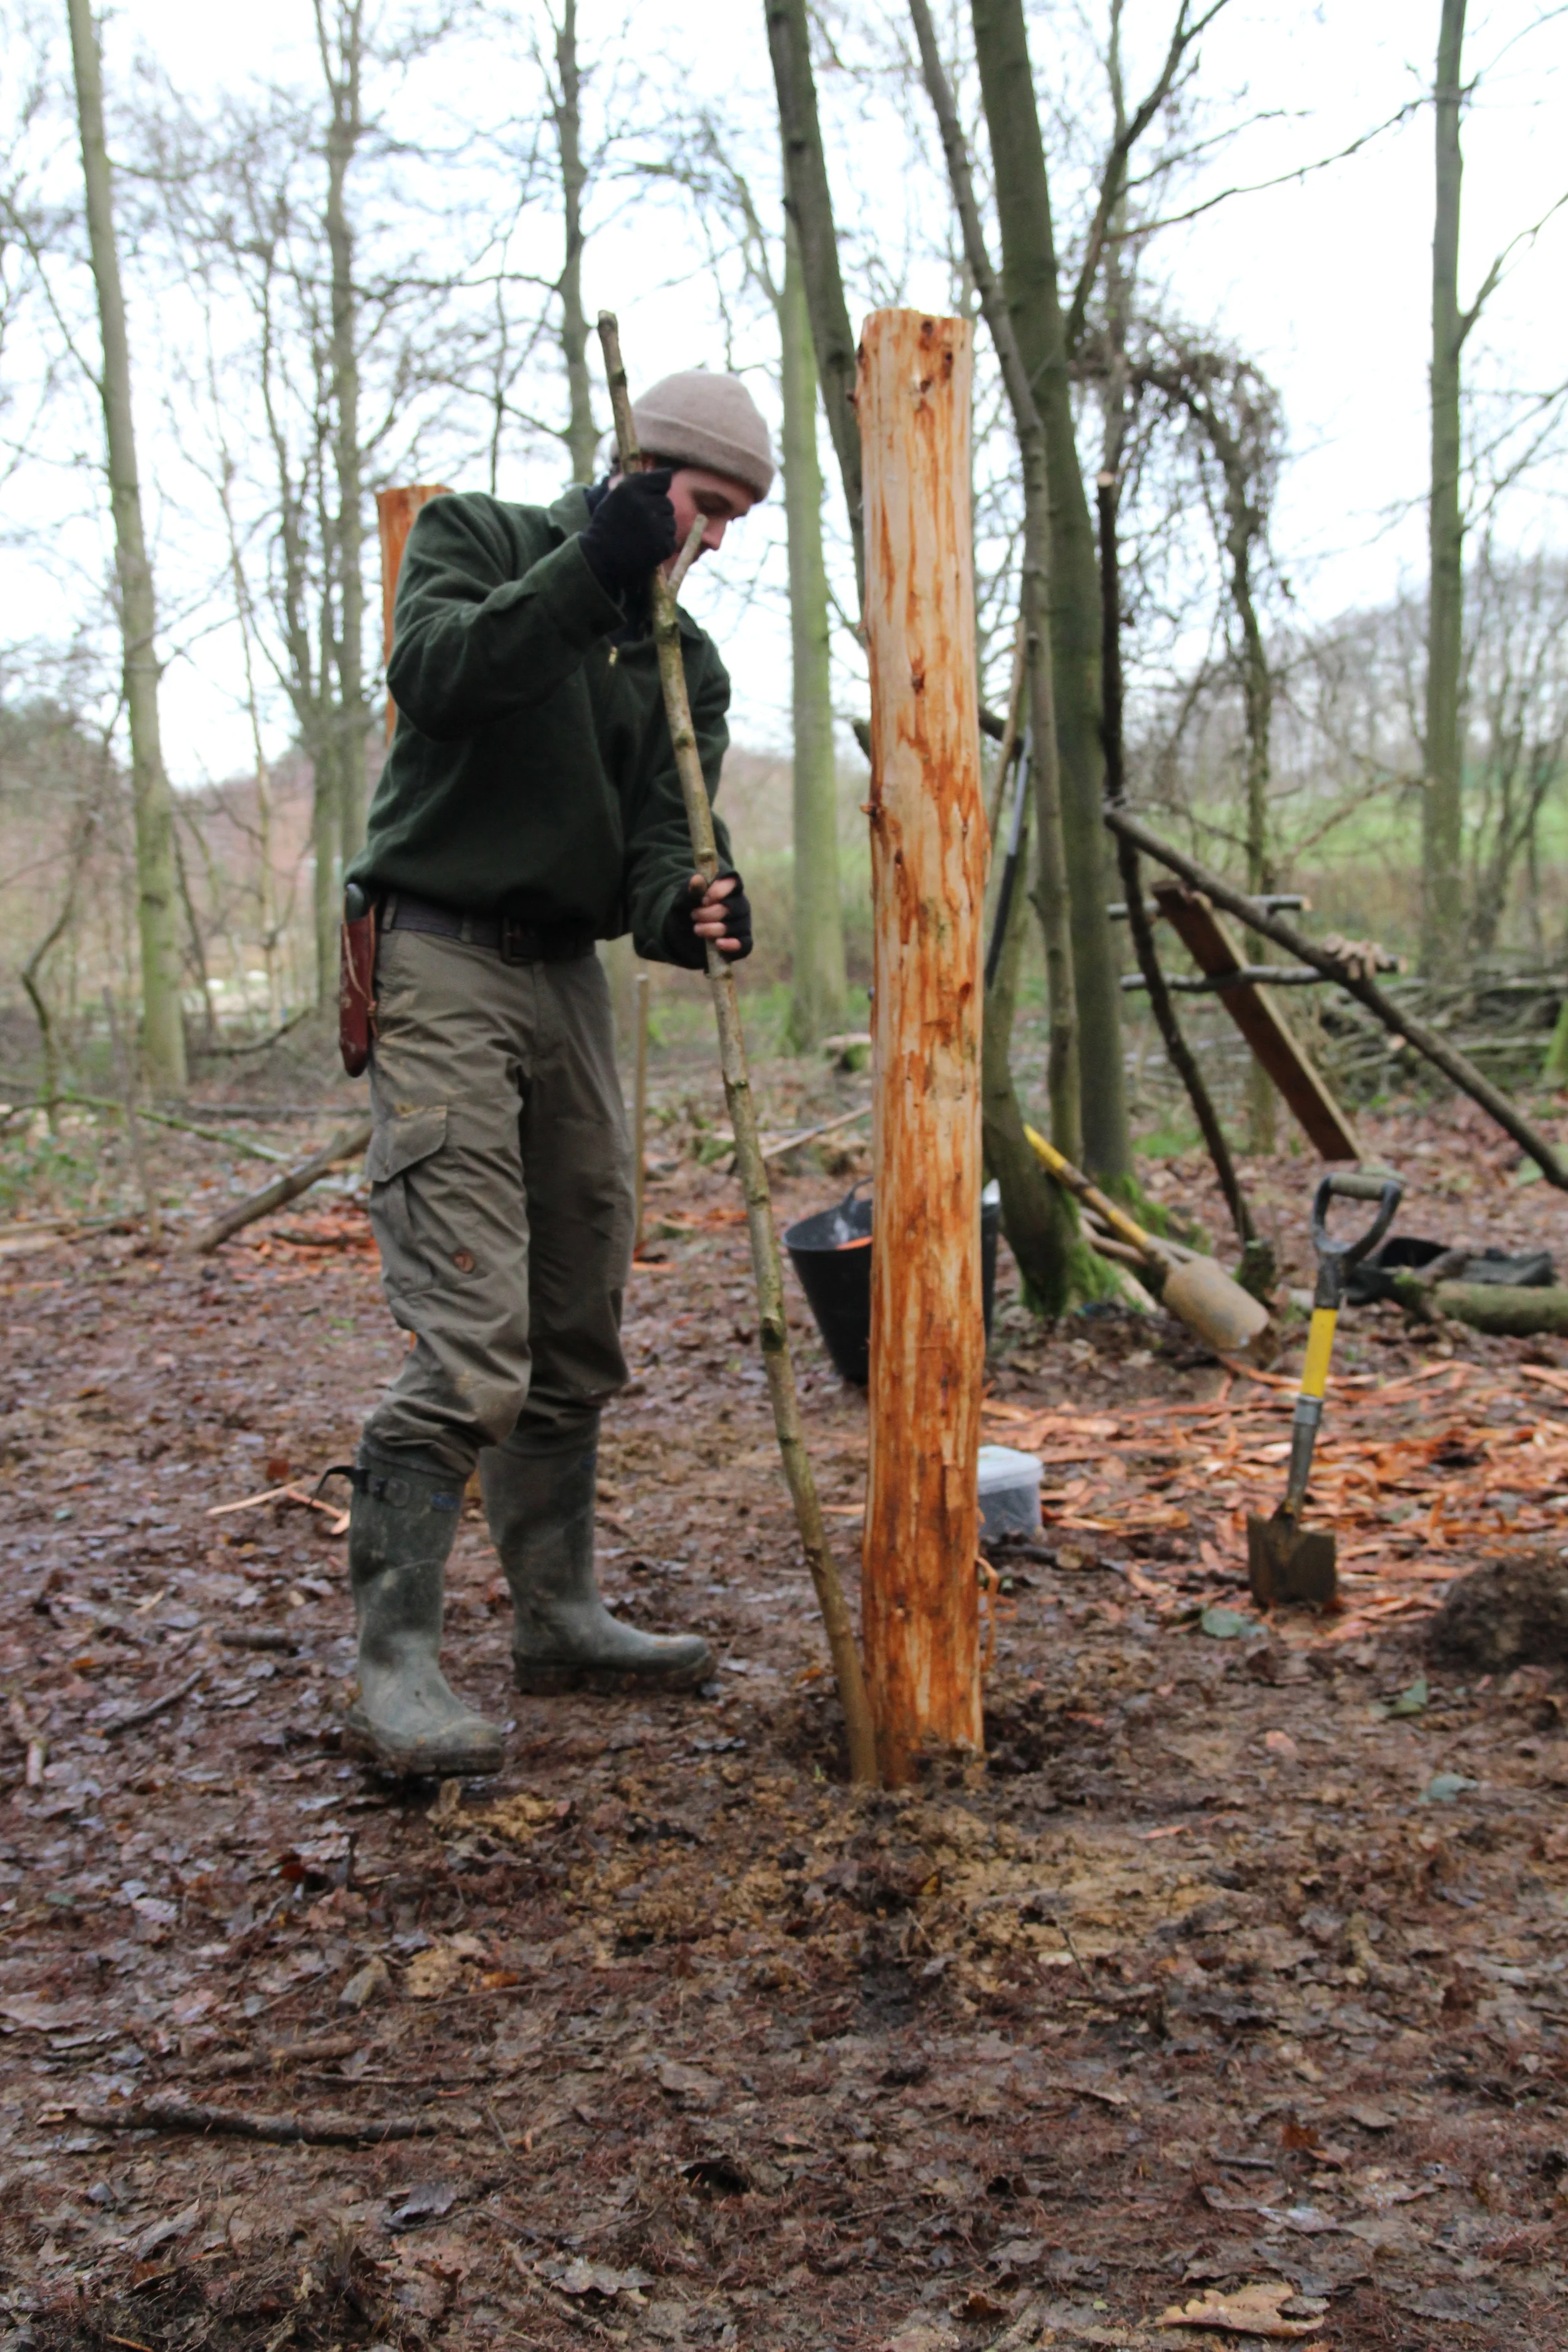
Holes dug we erected the upright posts. Rarely is a site perfectly flat and ours no exception, to counter this we fixed the post at the lowest point first, levelling from this fixed point all the other uprights by slightly deepening the holes as we moved up hill. This method is far more accurate and involves much less 'see-sawing' than cutting the posts themselves to different lengths.

All posts in their upright positions we check the level before moving on. It's worth noting we charred the bottom ends of half our posts, we'd heard varying sources spout the virtue and nonsense of doing this to help better preserve the wood. We'll know for sure which lasts better when we deconstruct this a few years down the line.
The next task was to drill into the tops of the posts before fixing them into the ground. A task made much easier as a group work together with a long handled auger.
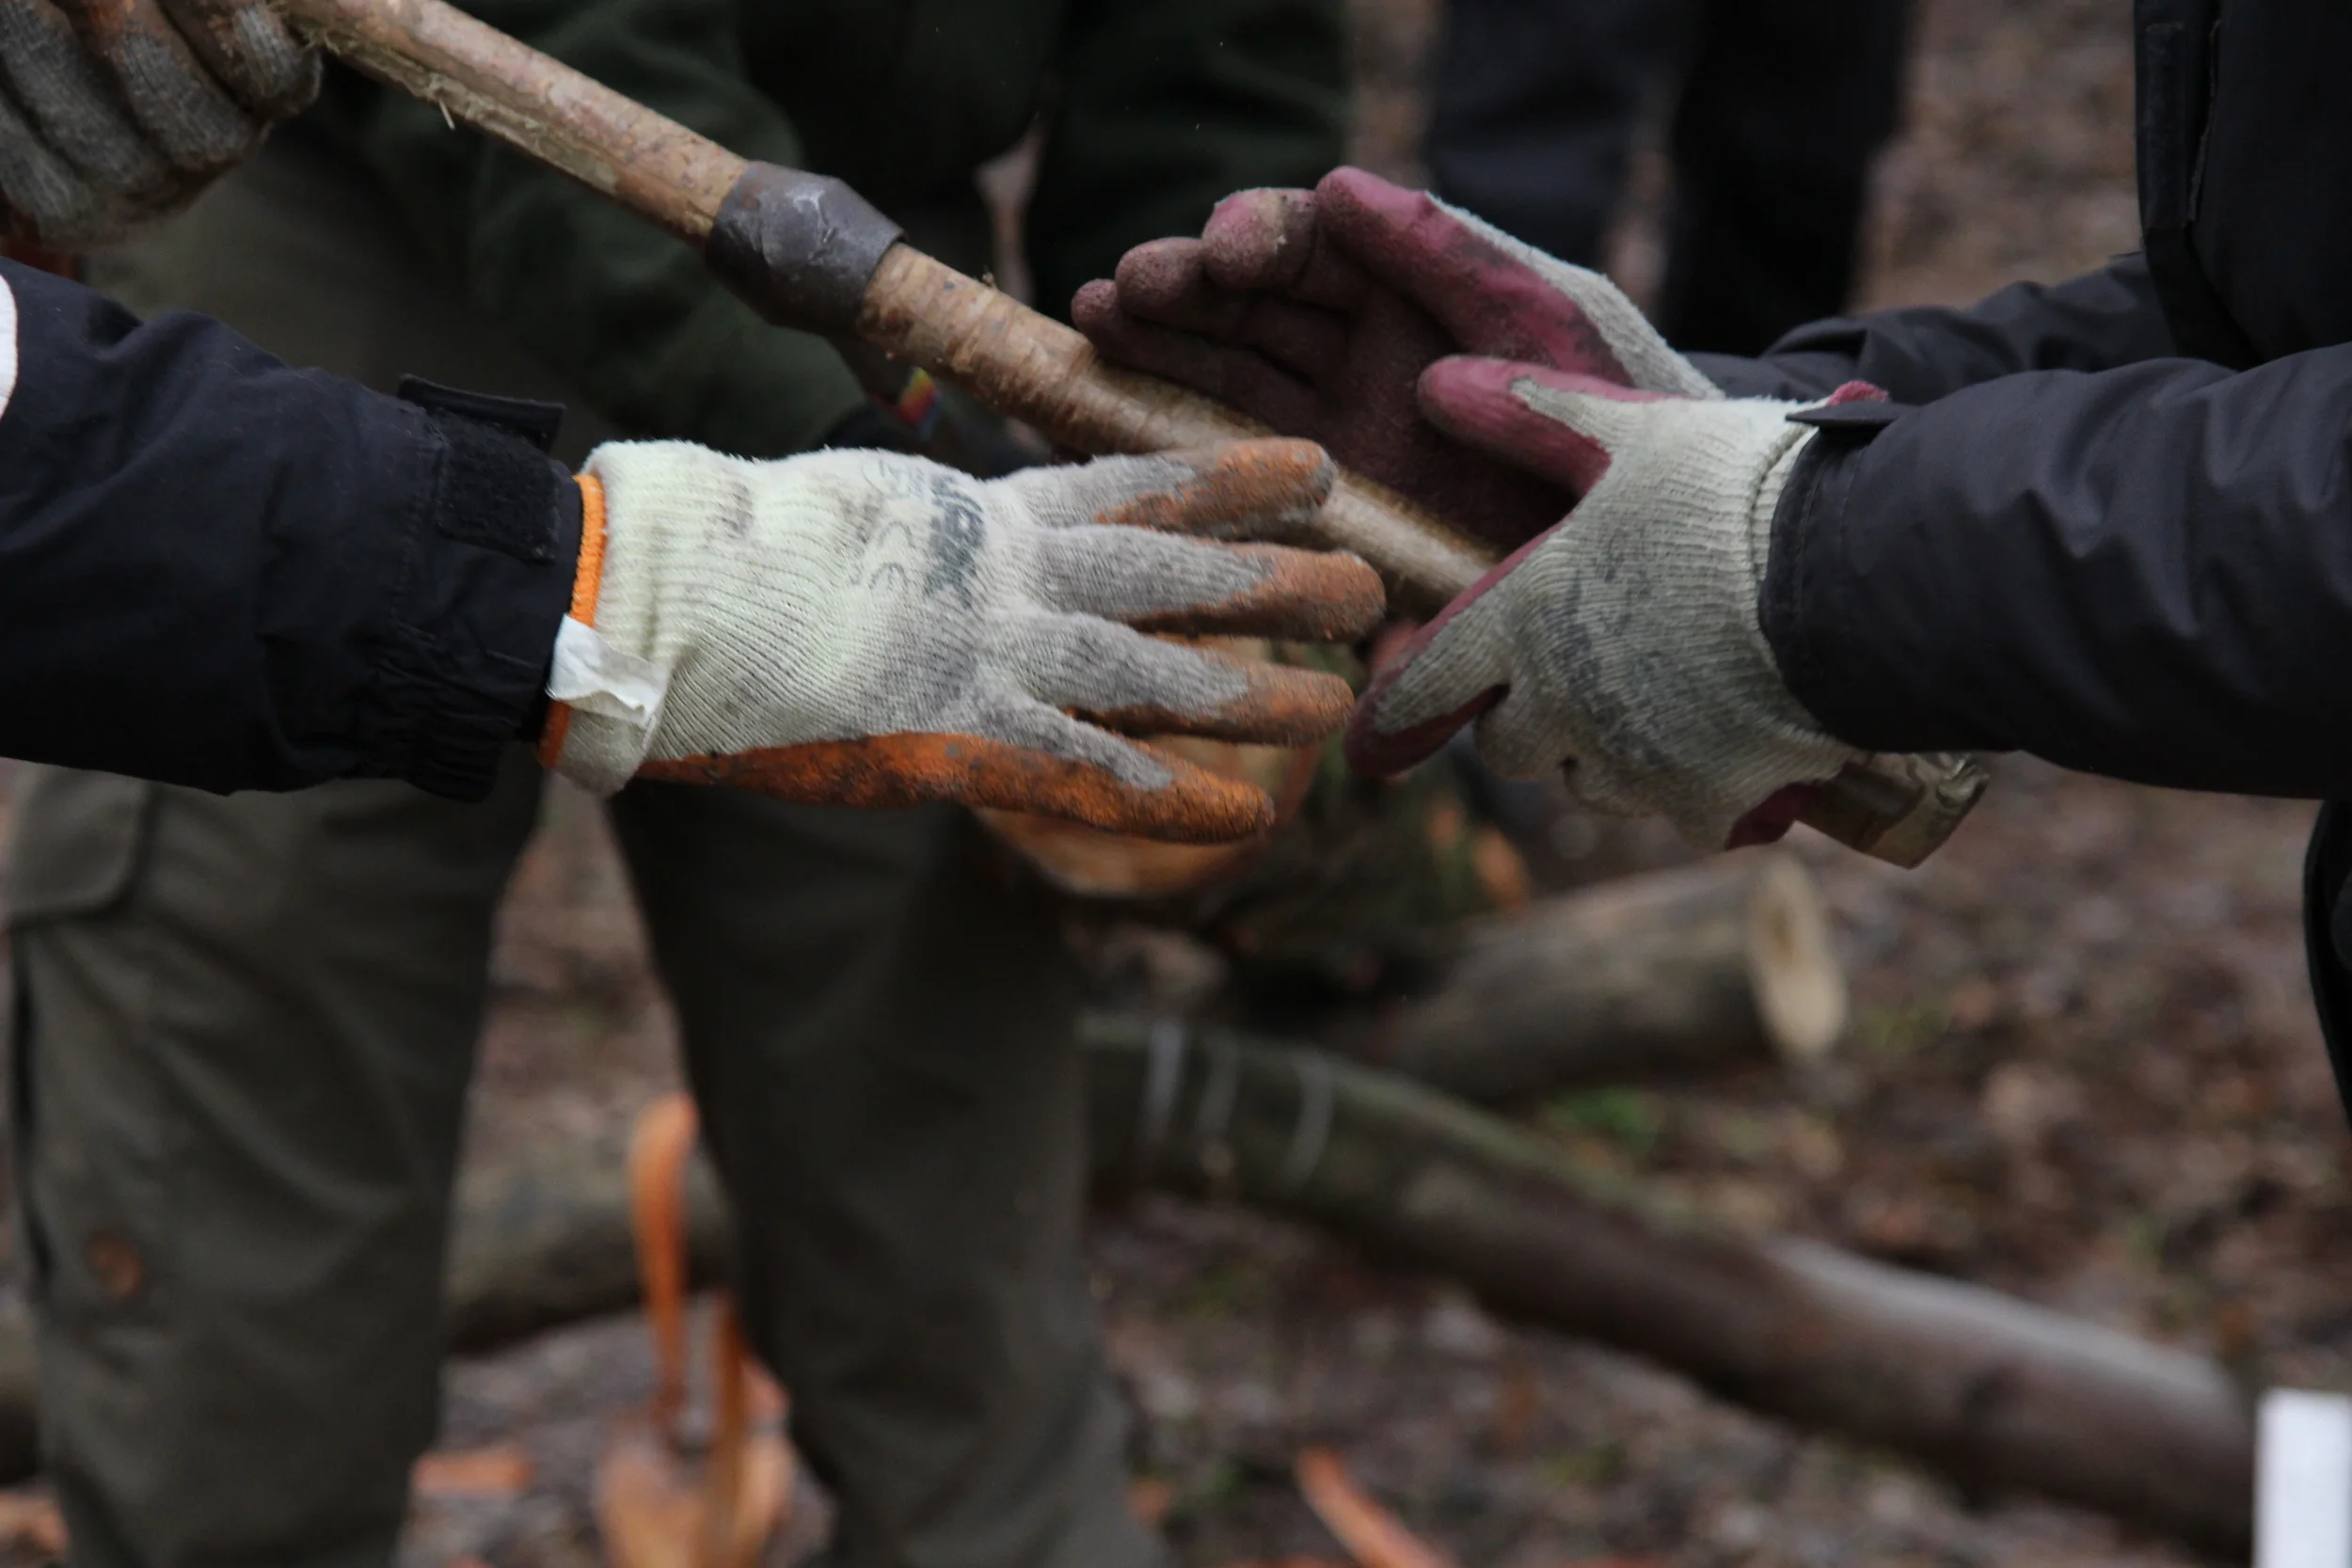
Of course, we may have forgotten the drill a hole in that first upright we erected. Looks like Tom and me were sorting this one out in situ!
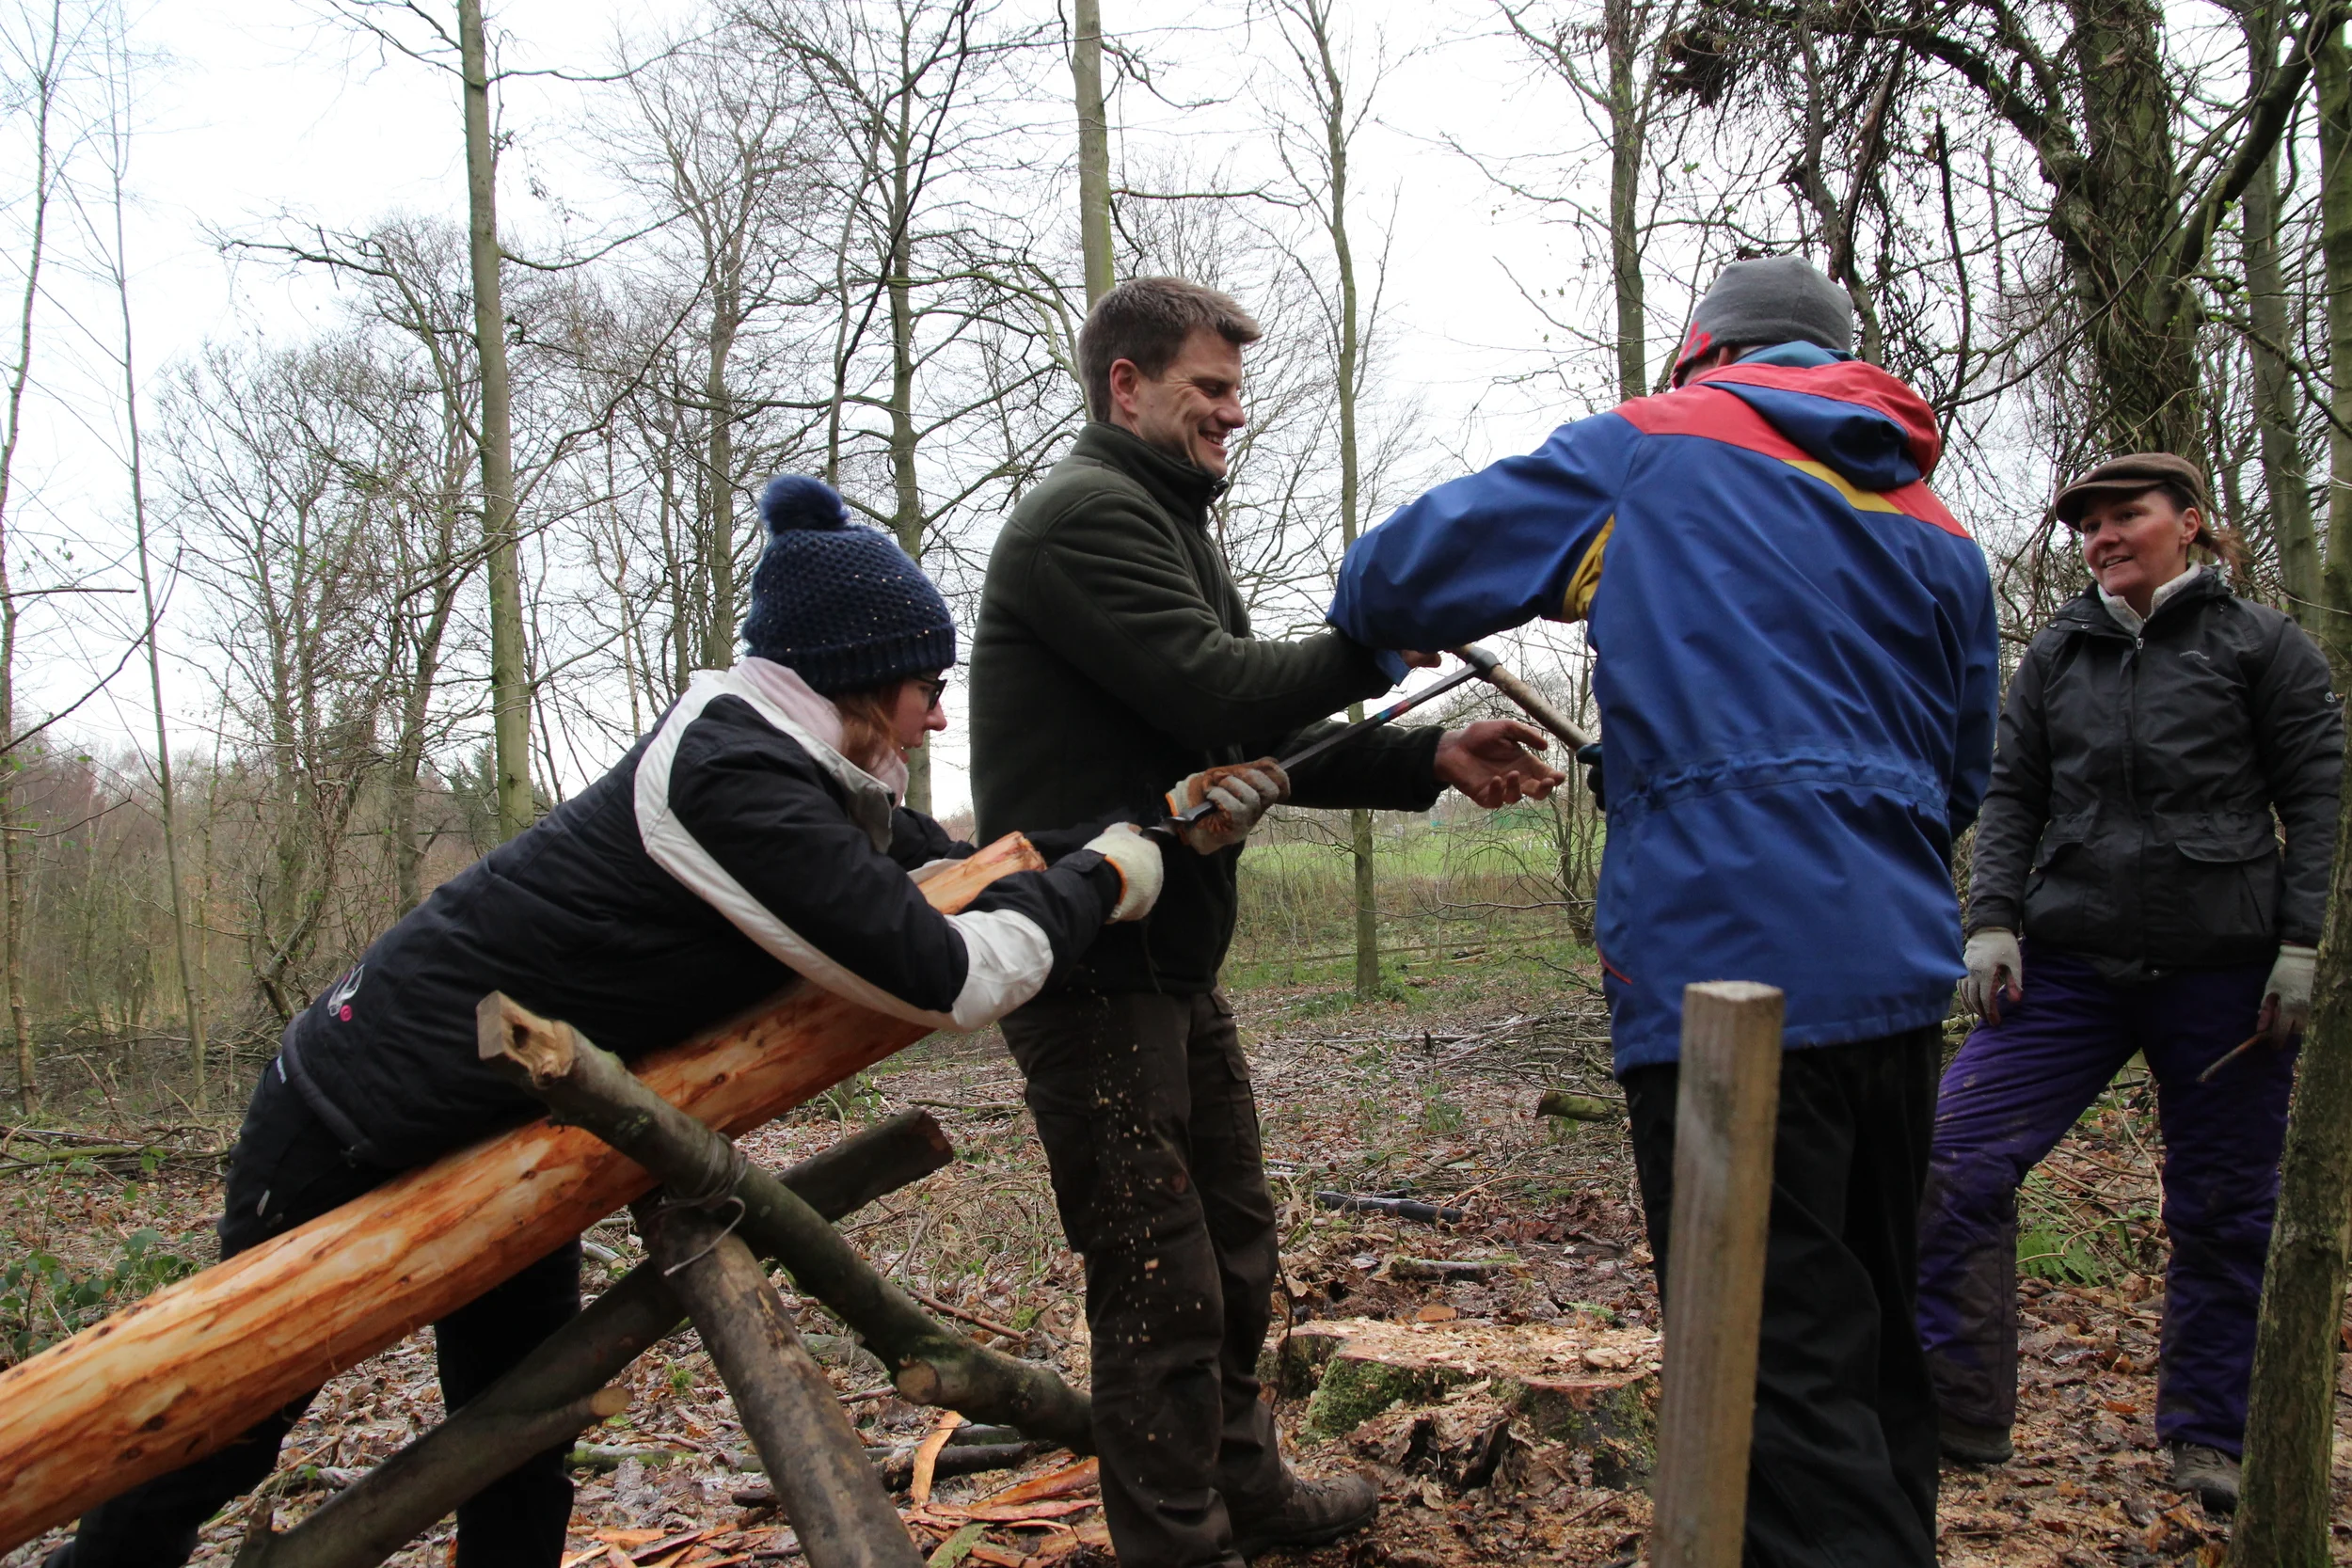
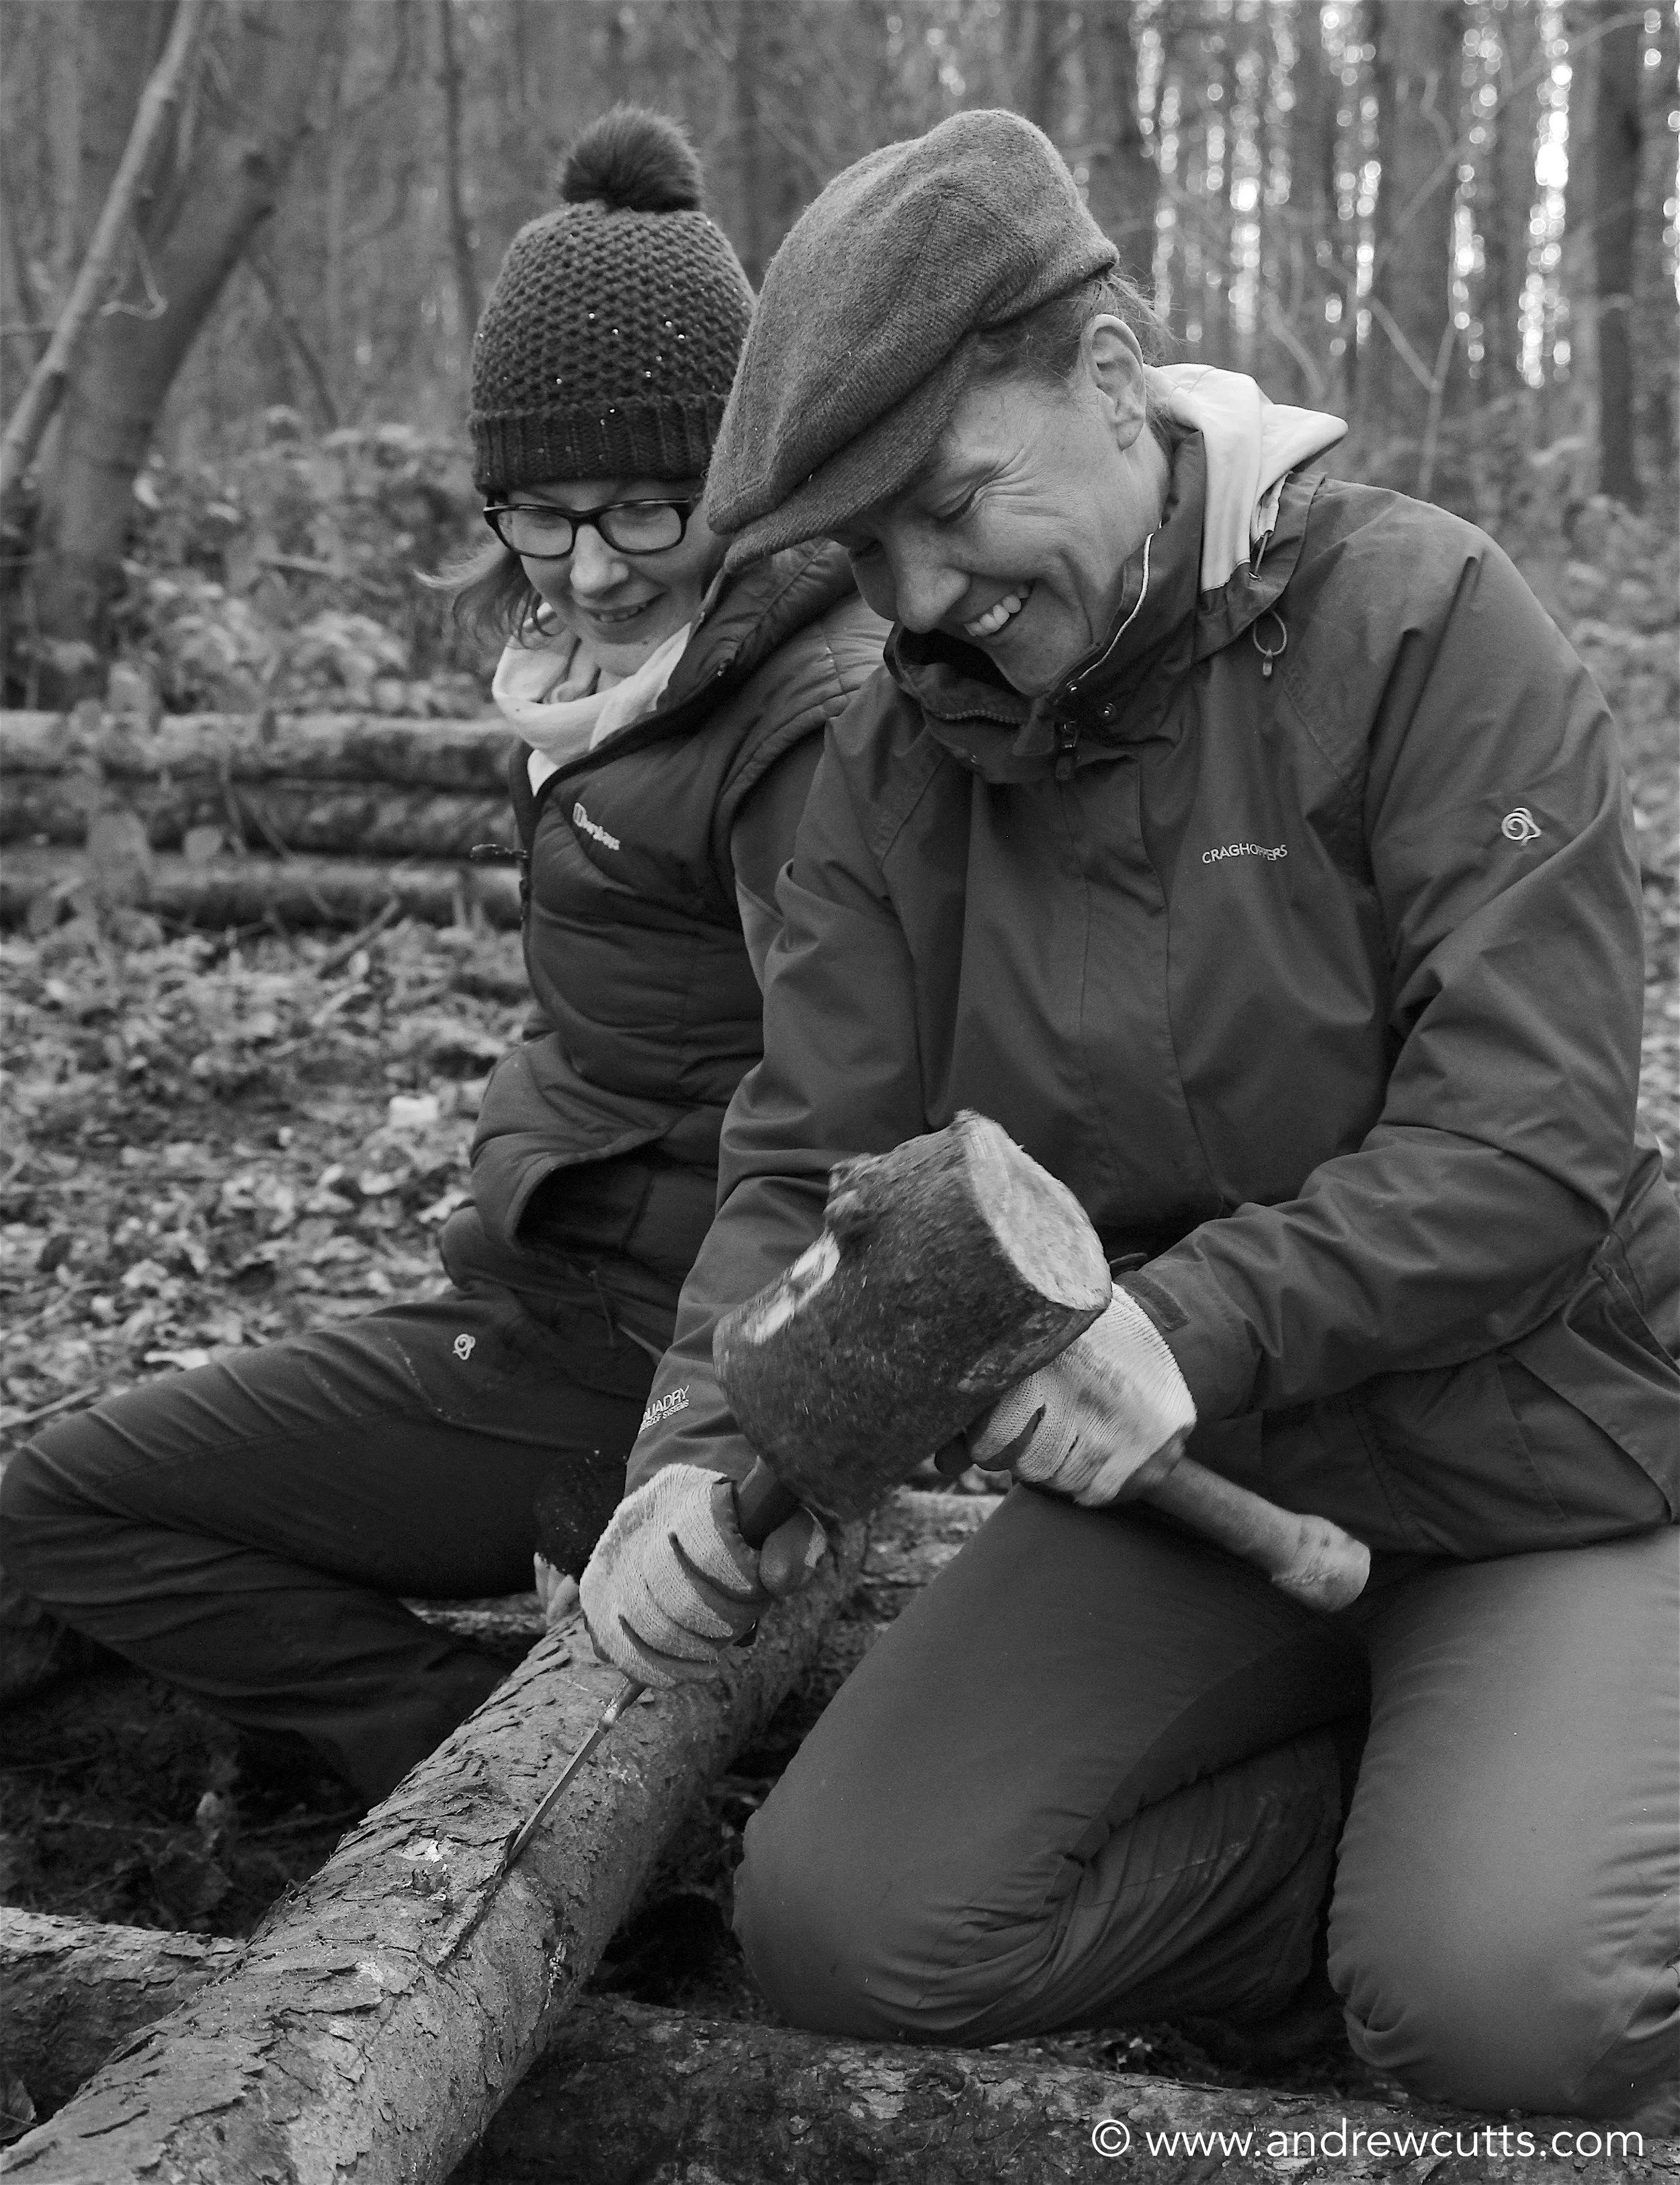
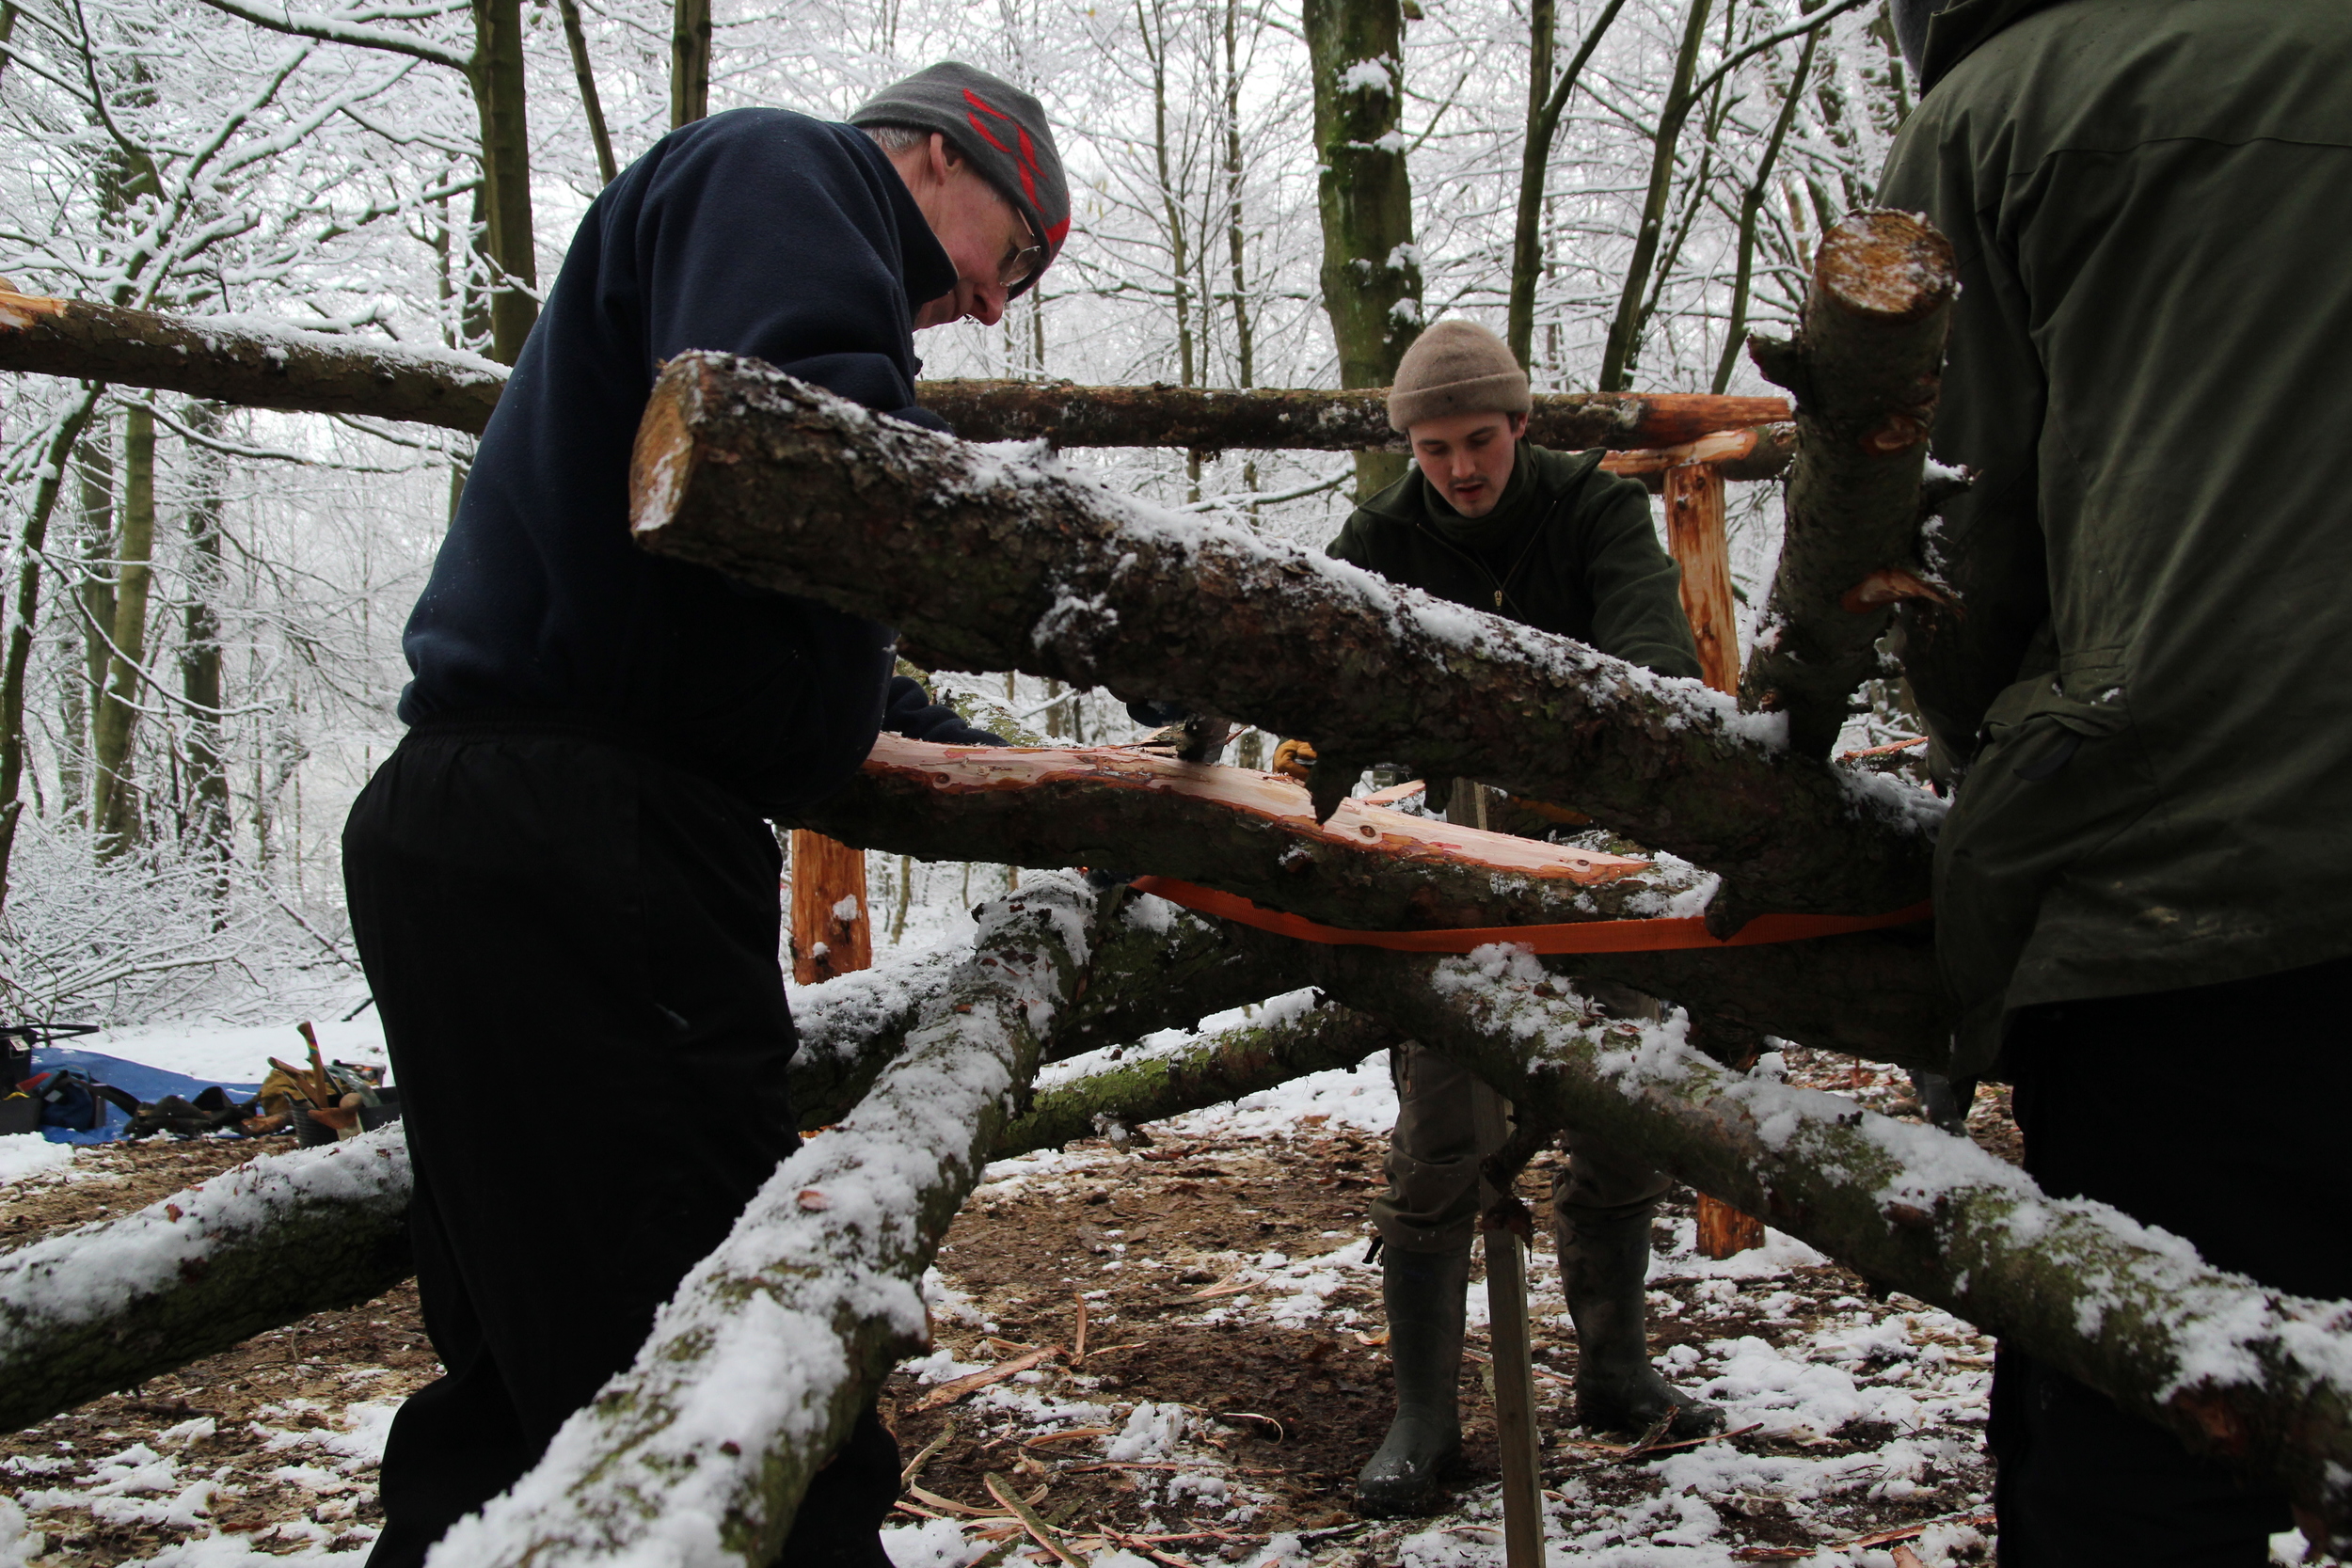
To maximise the information on the course and also give a varying level of difficulty to the woodwork we chose to escalate the complexity of the joints as we progressed. Starting with a simple half lap joint, split into from the end we moved onto a tighter chiseled half lap. The second set of cross members were secured with saddle joints. We pinned through both cross beams at the joint into the upright with a mix of cleft seasoned Oak and Hazel pegs.
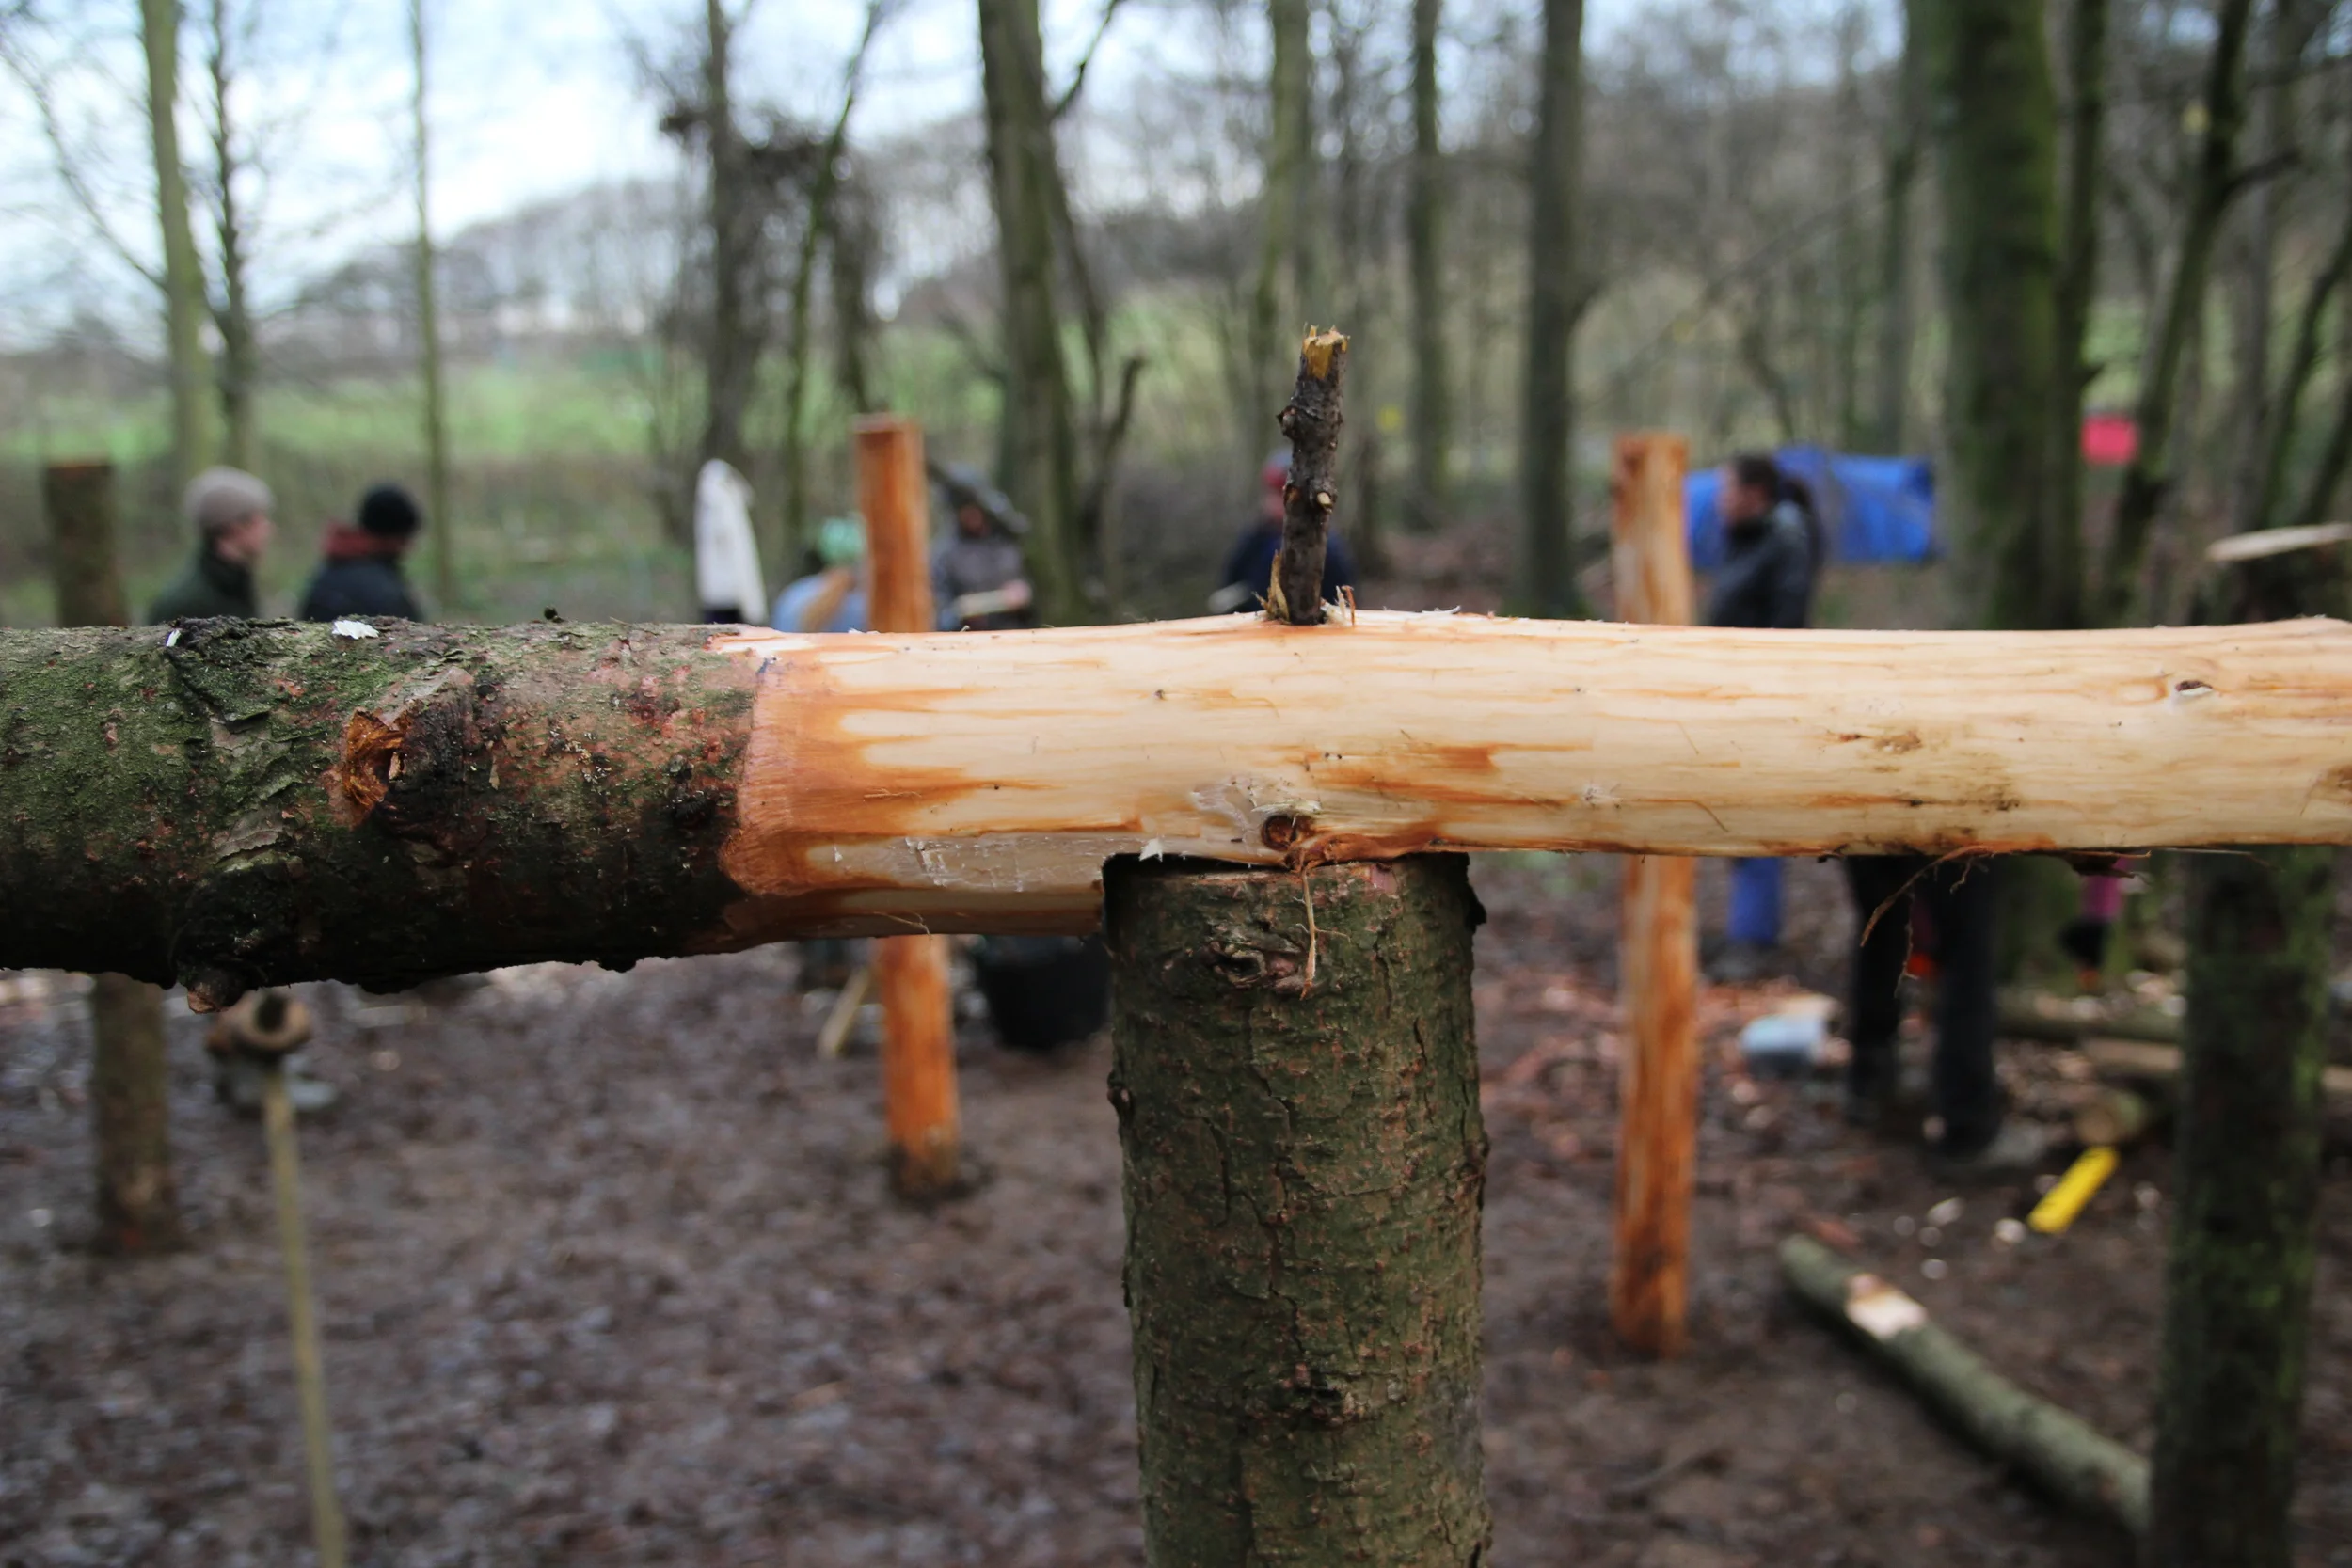
Split in half lap joint
Lining up to mark the saddle joints
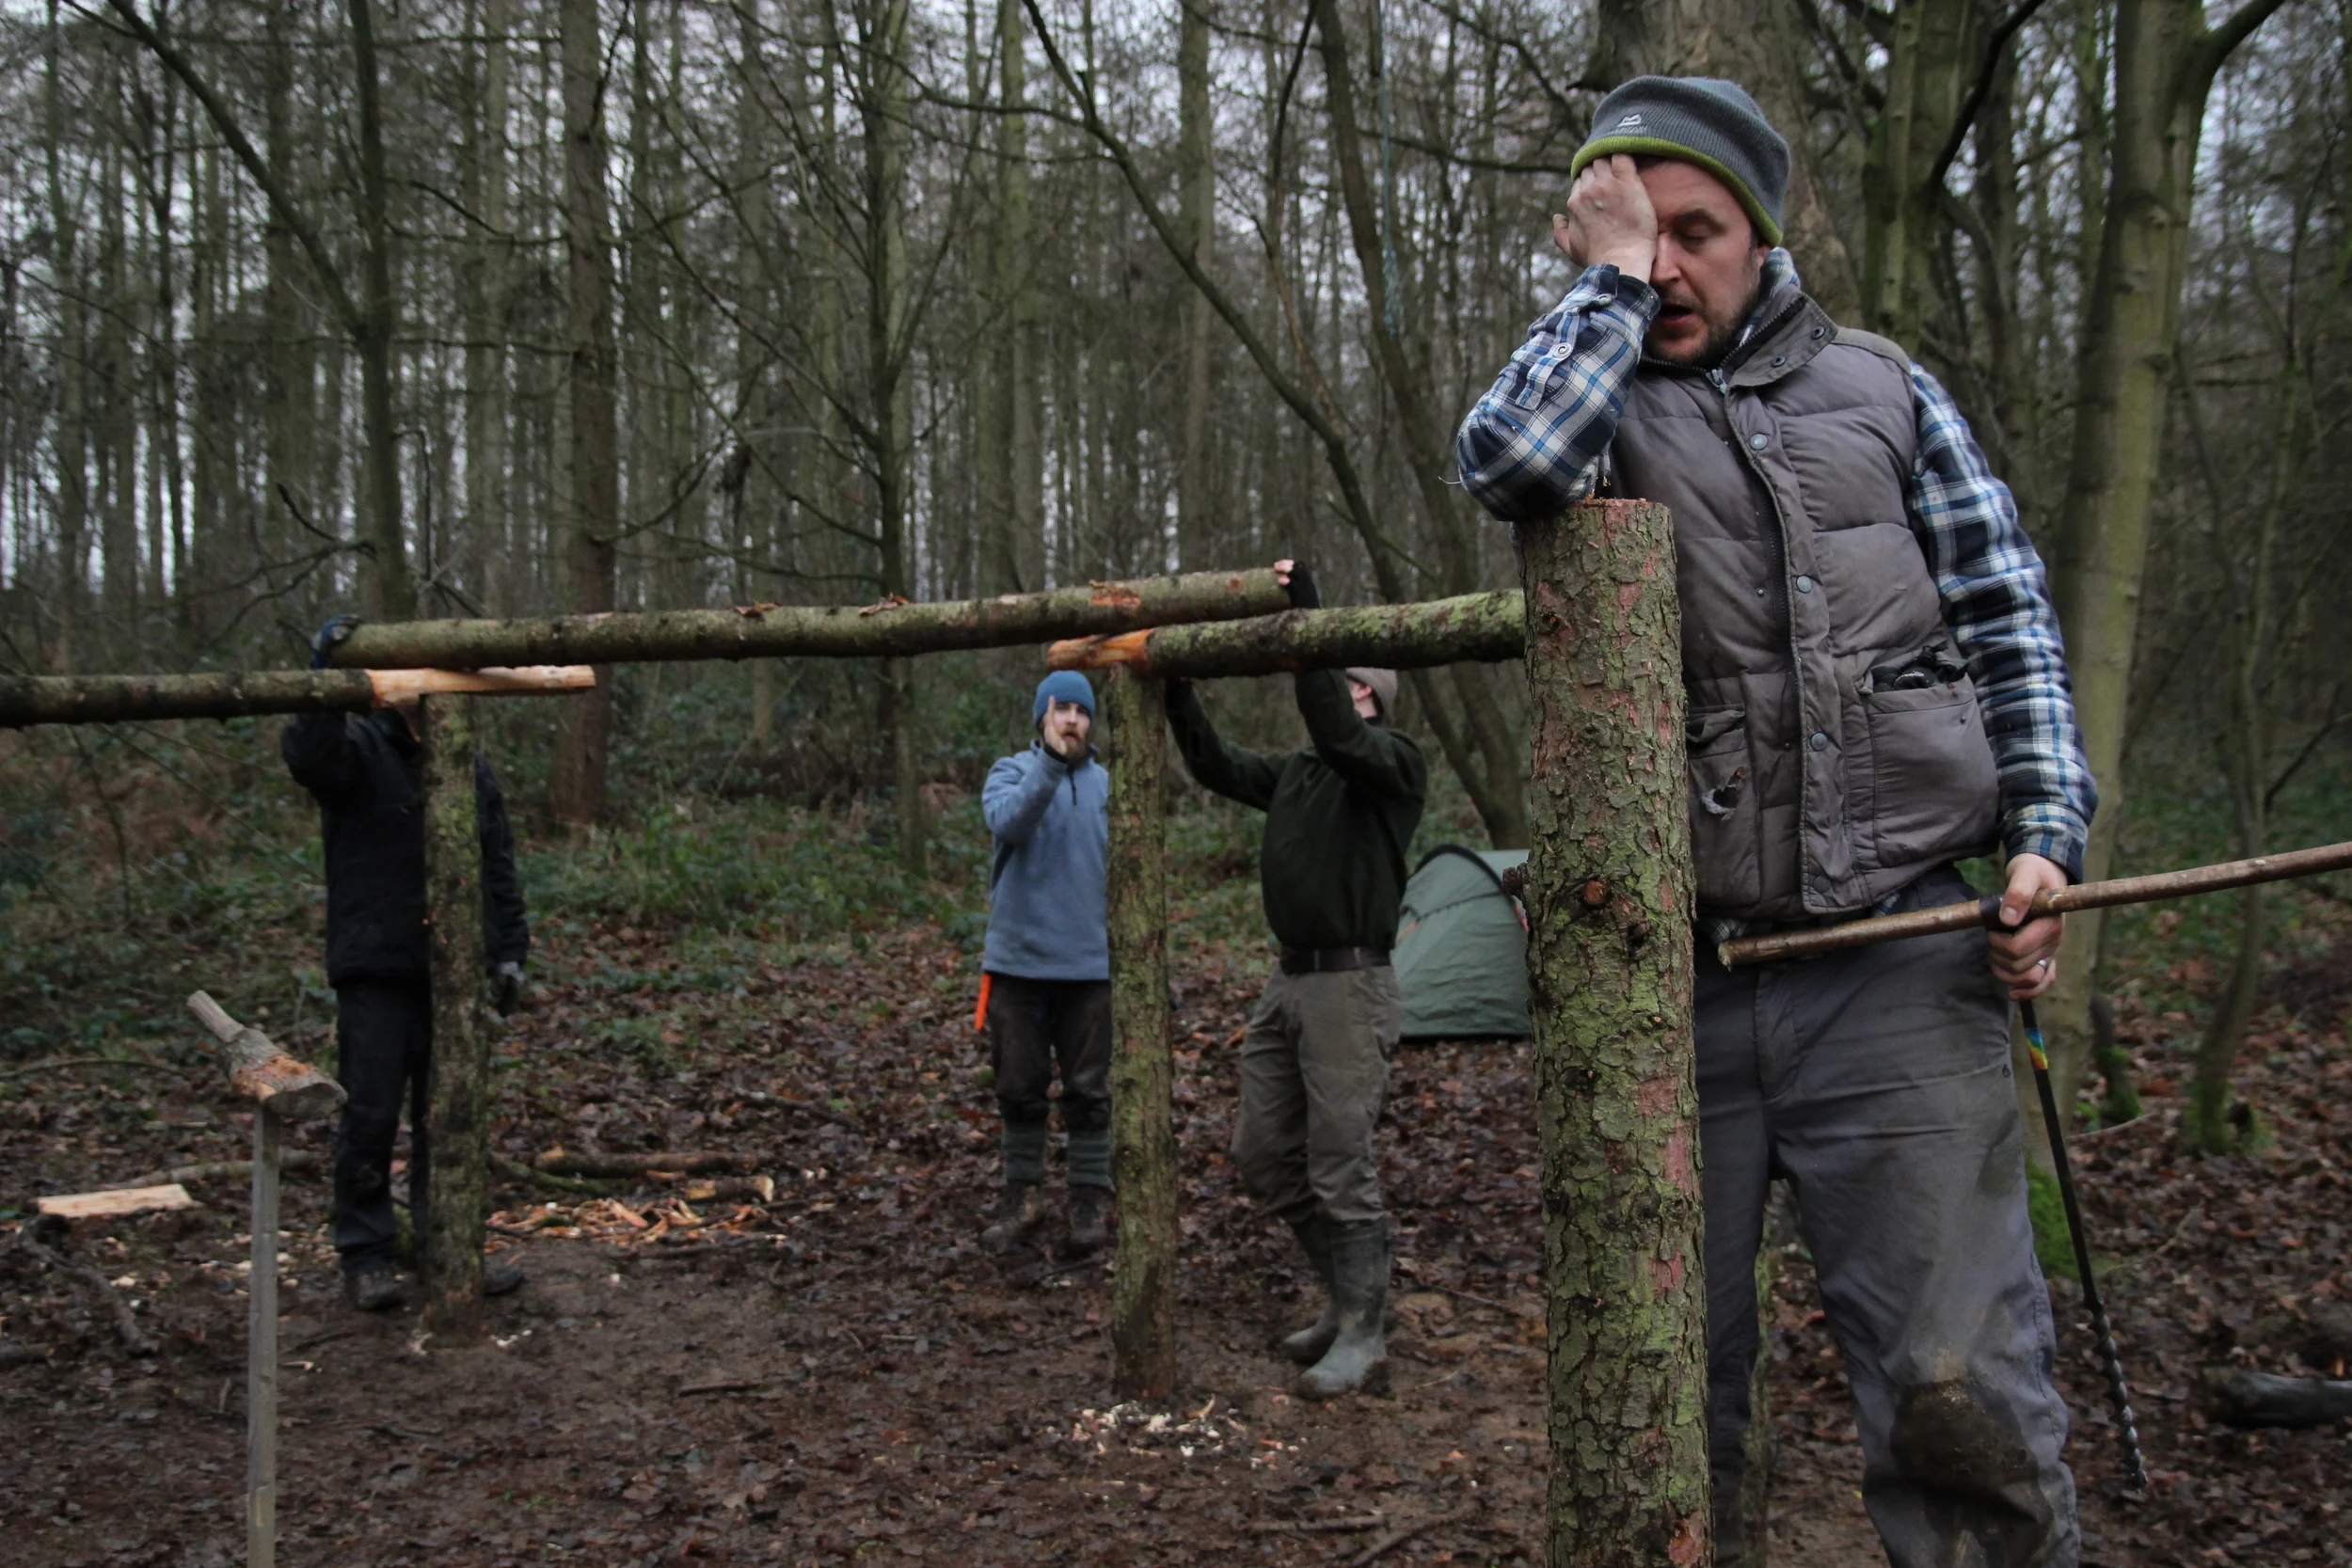
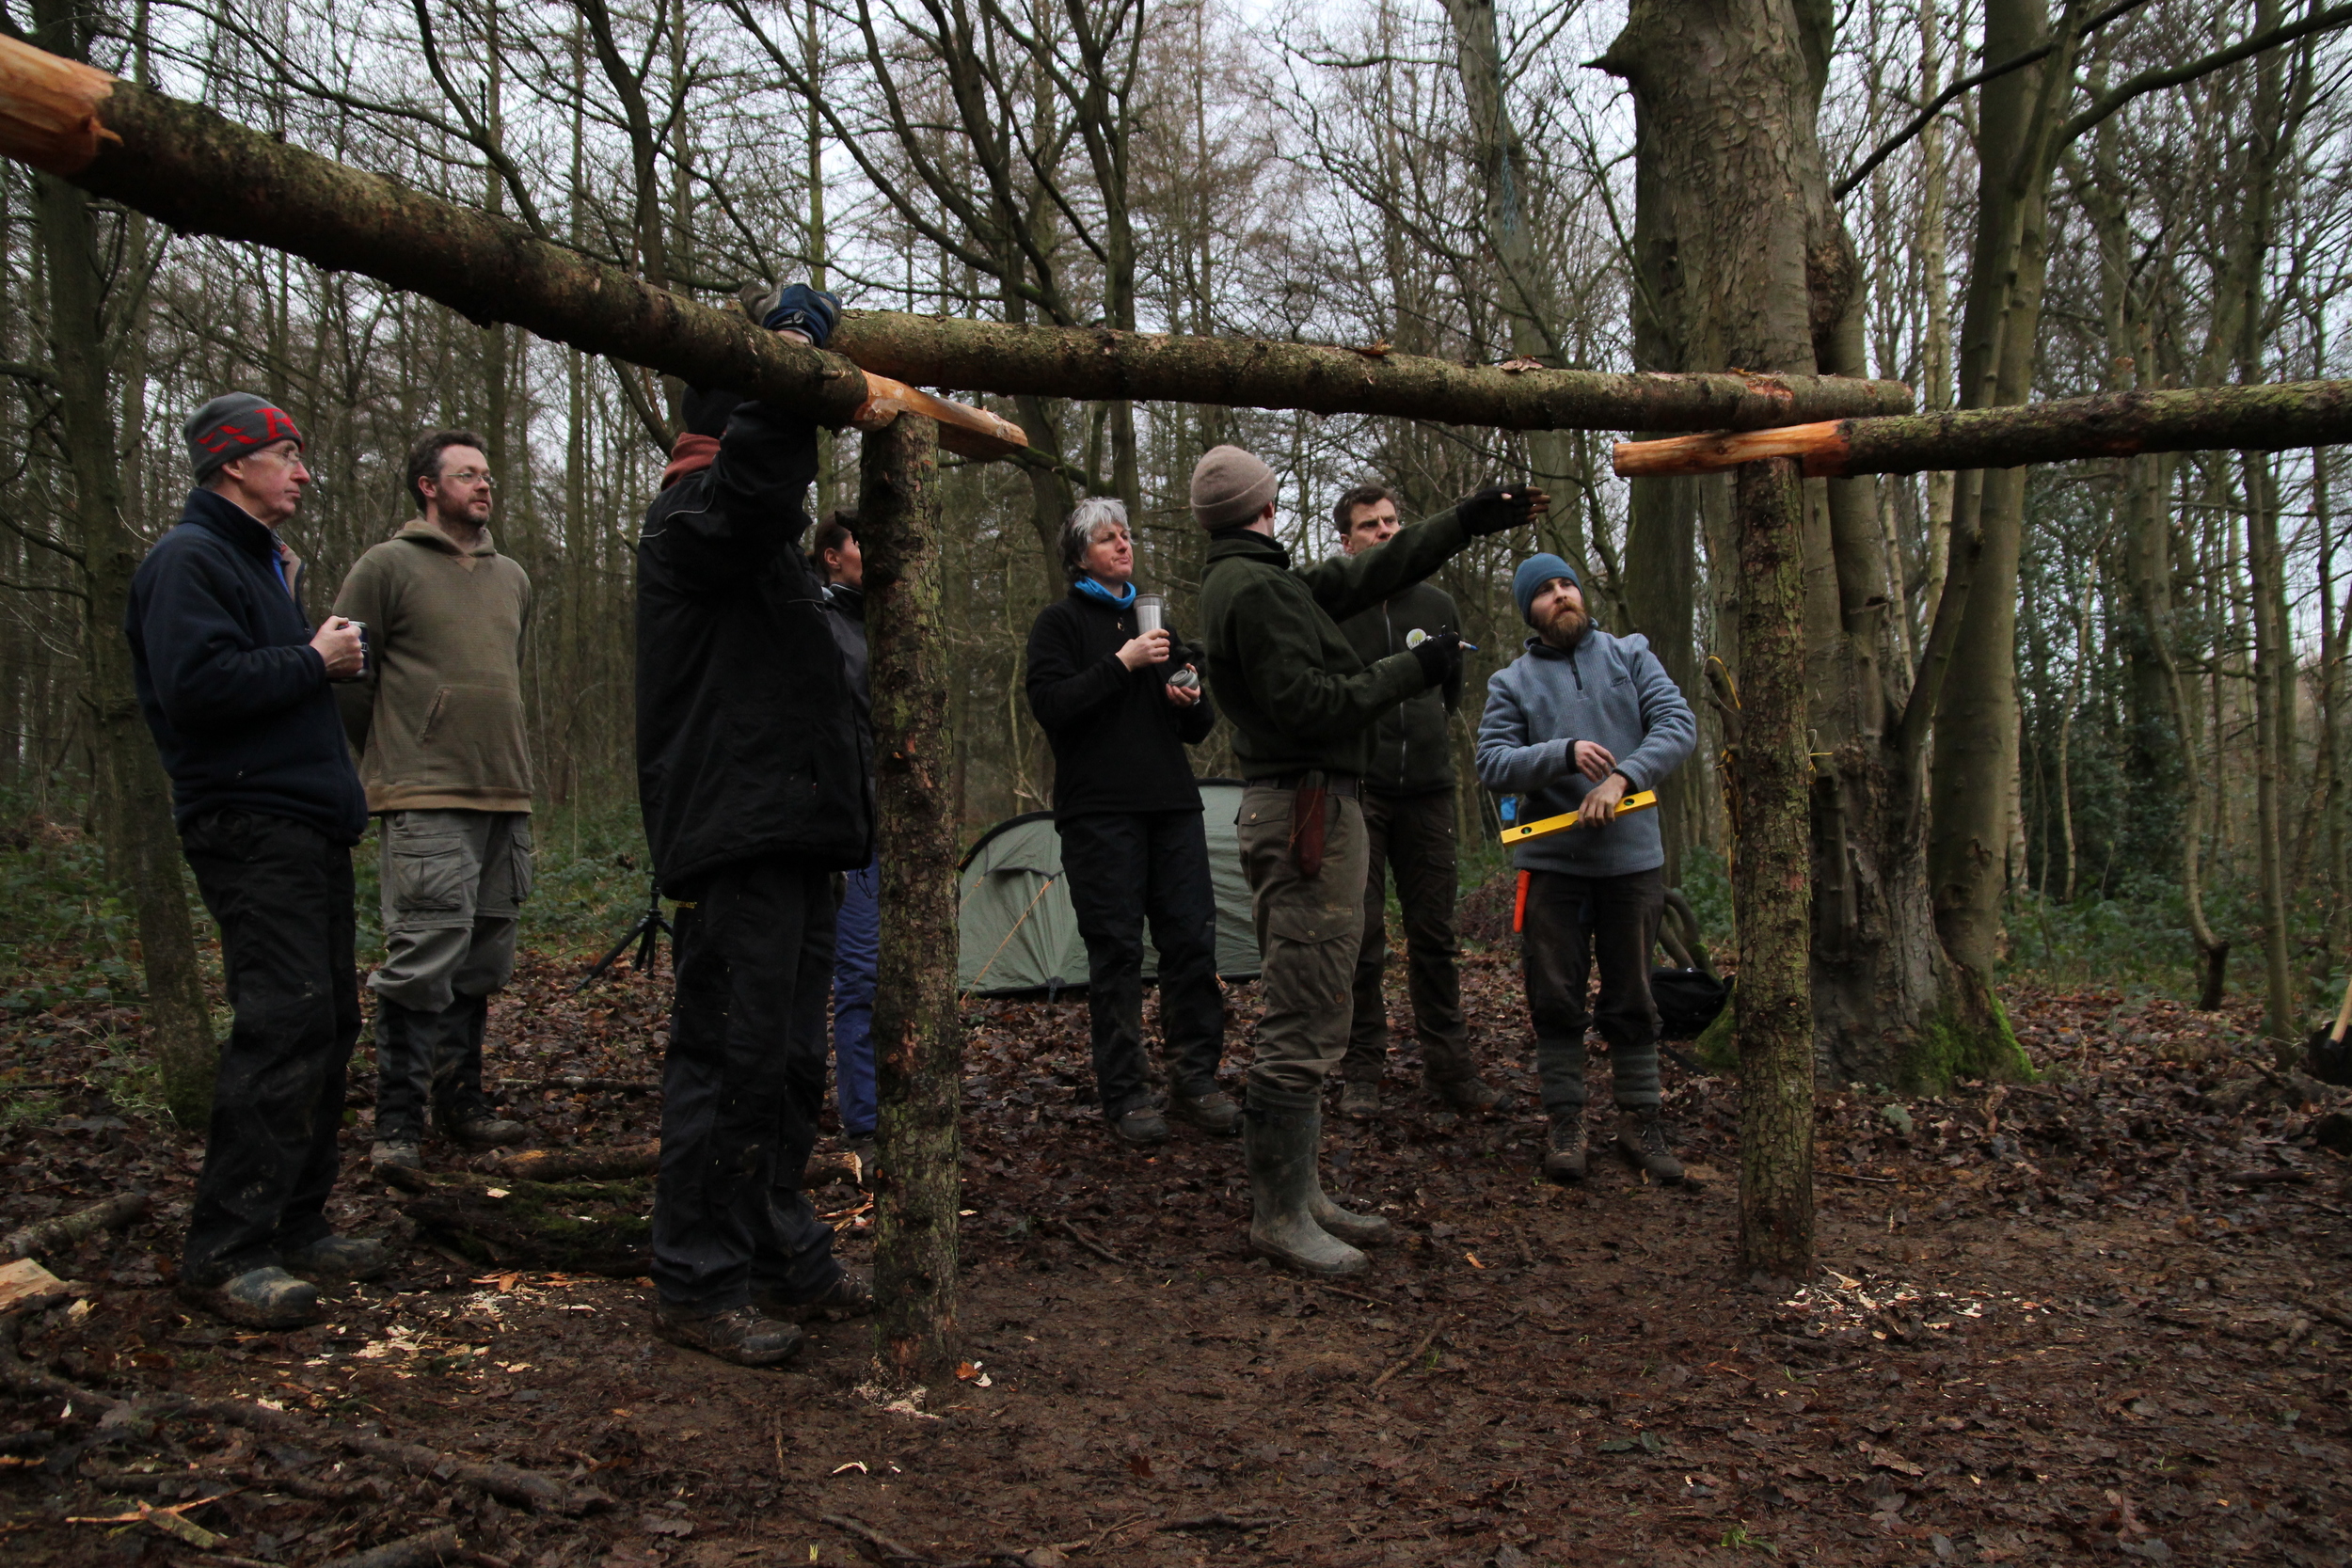
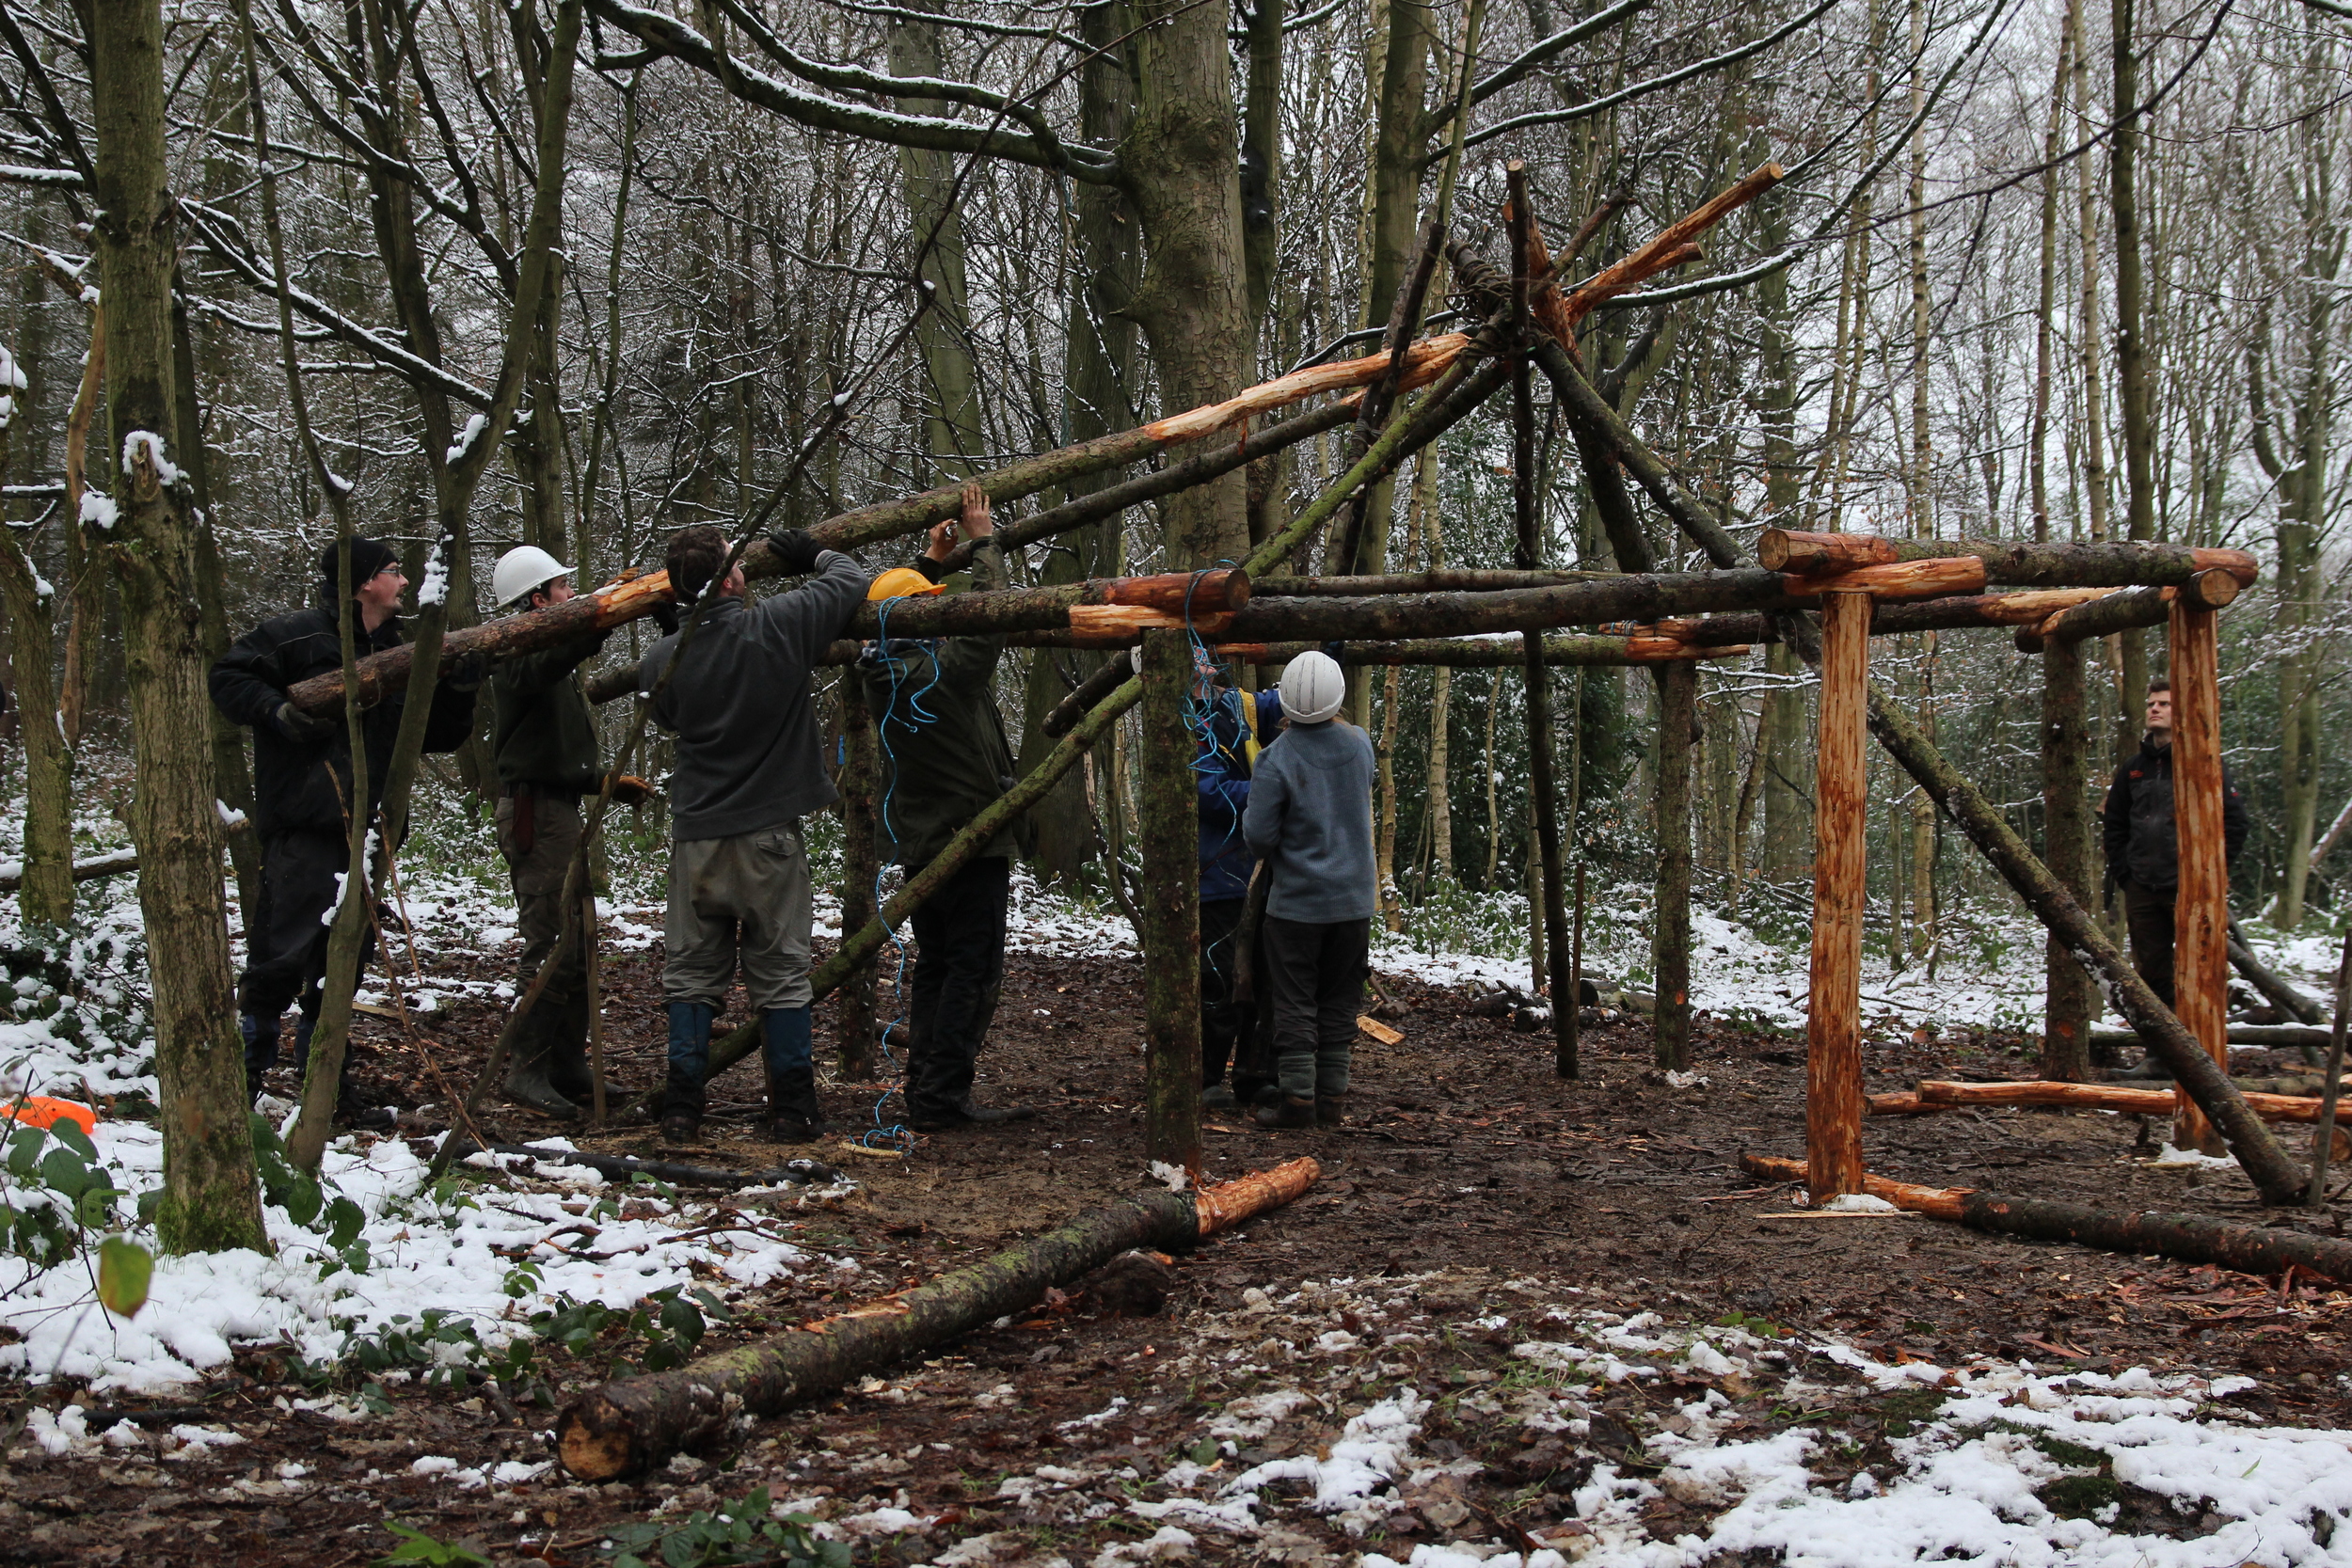
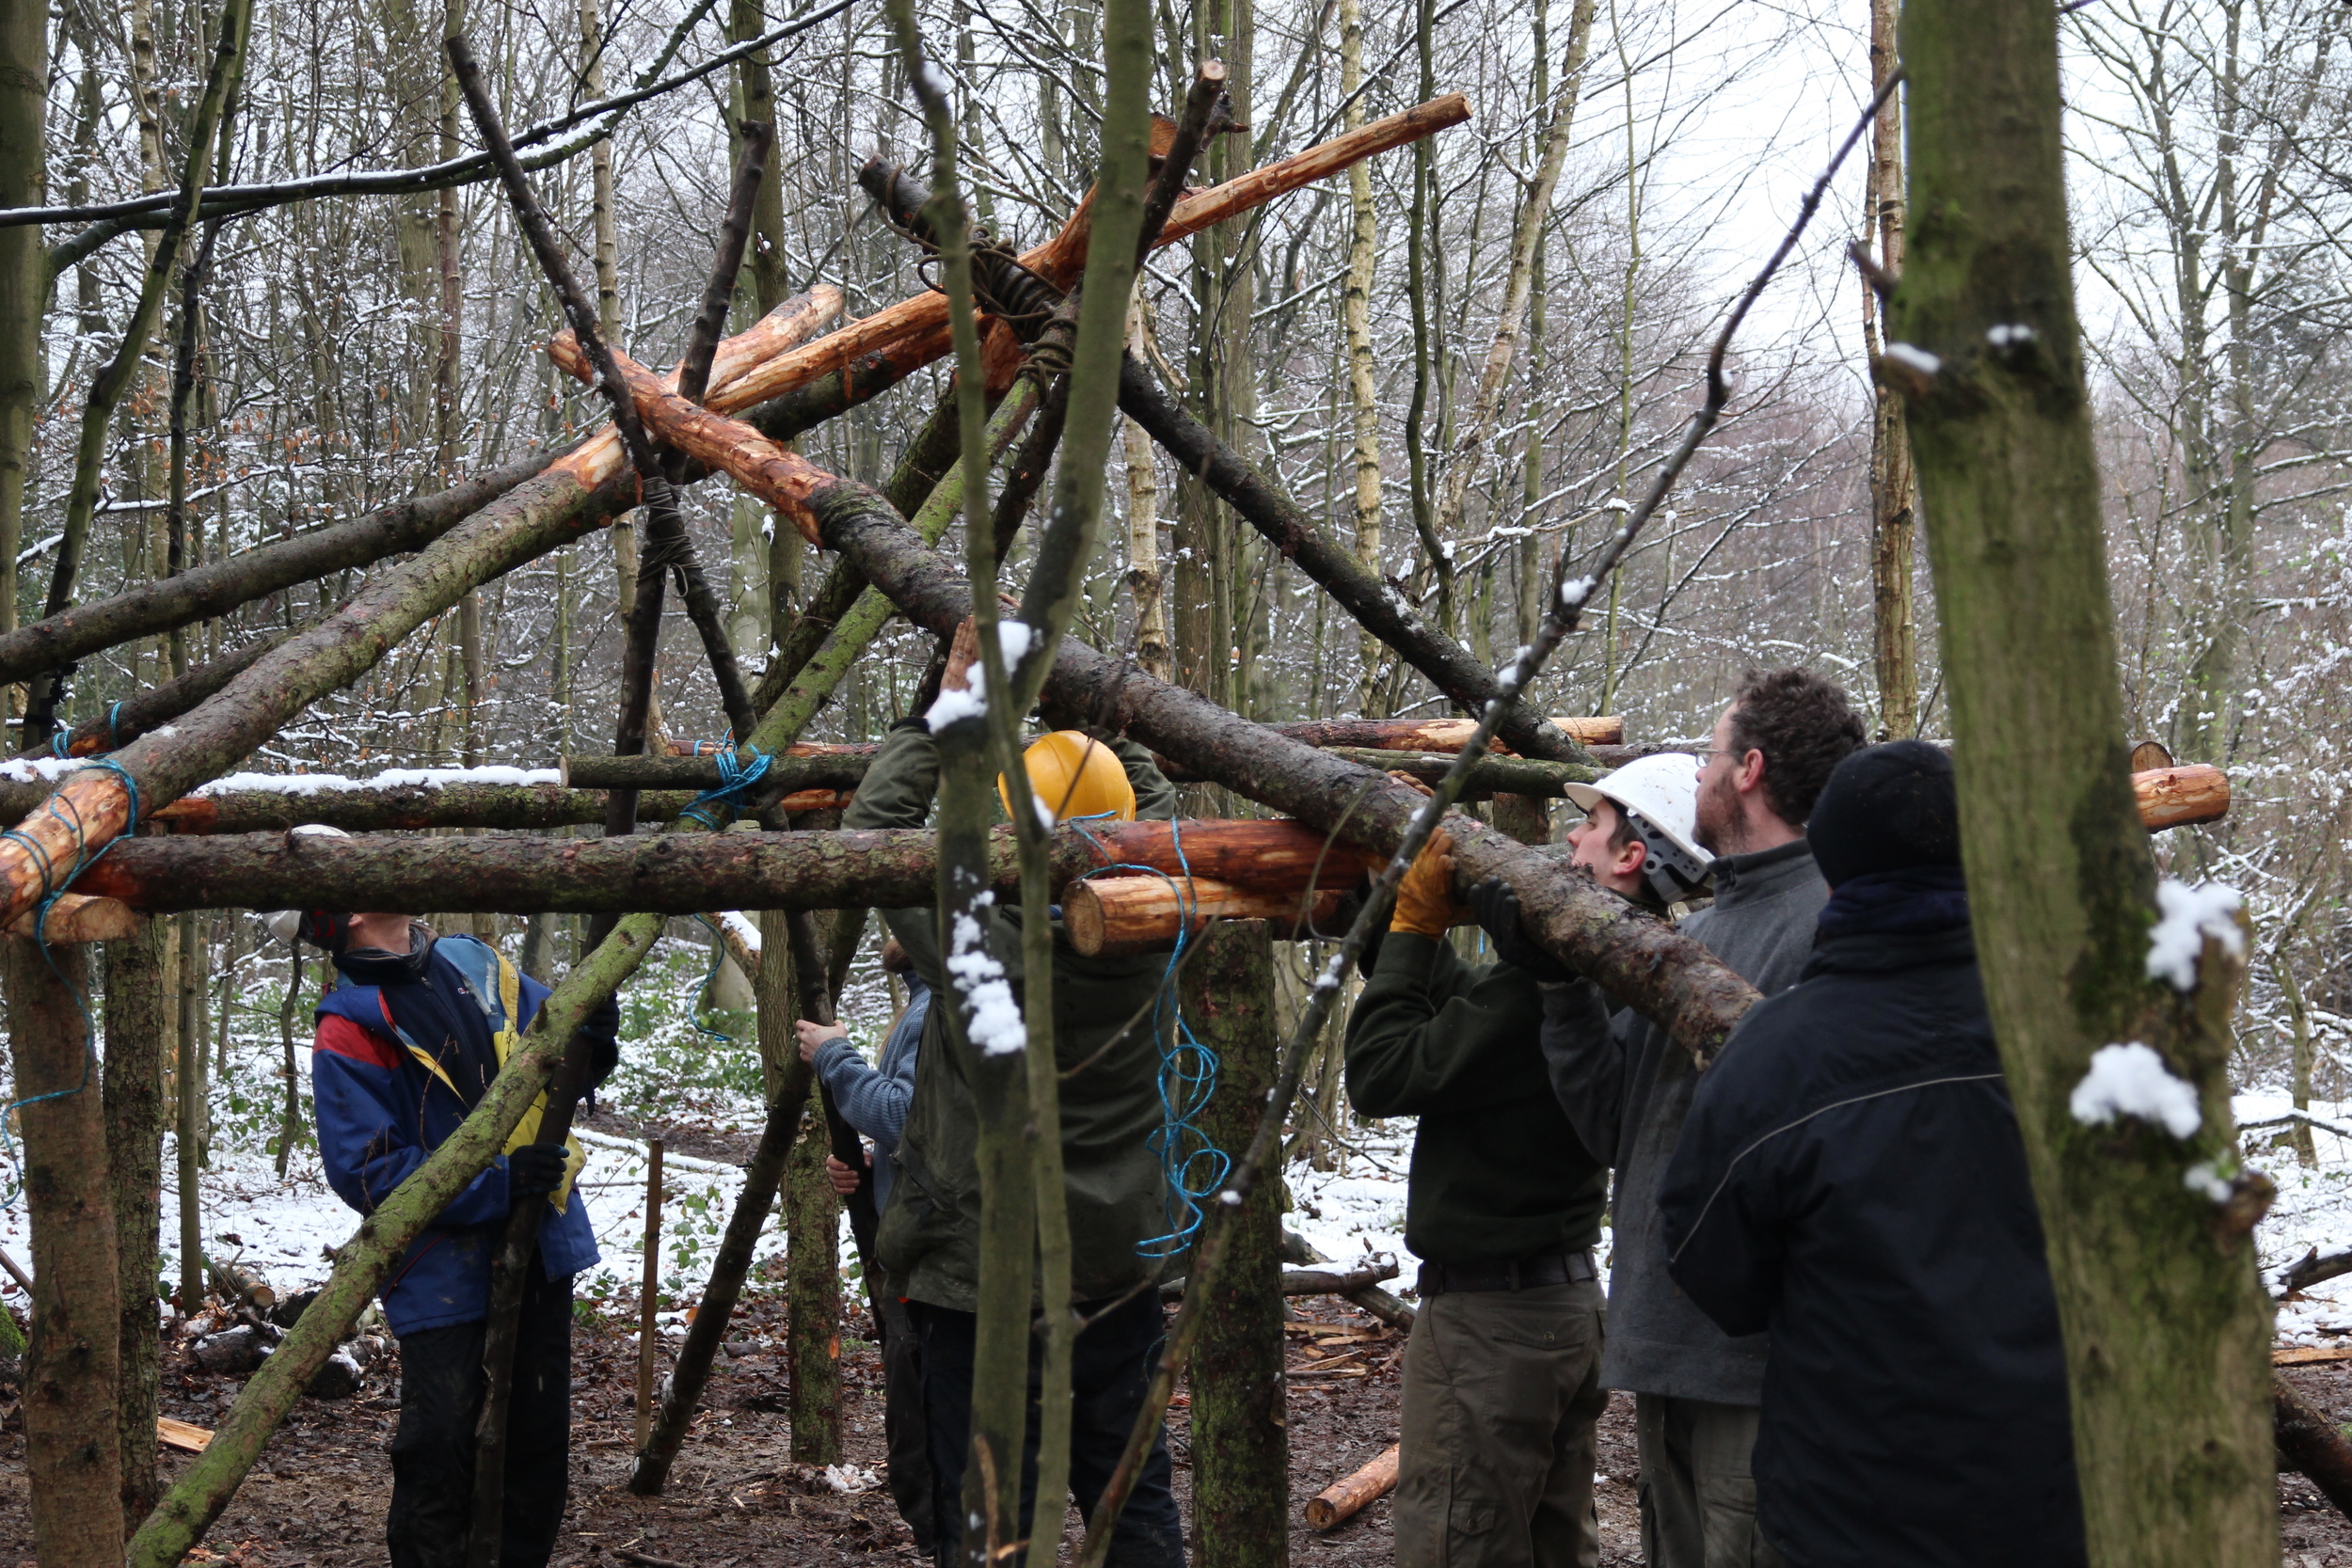
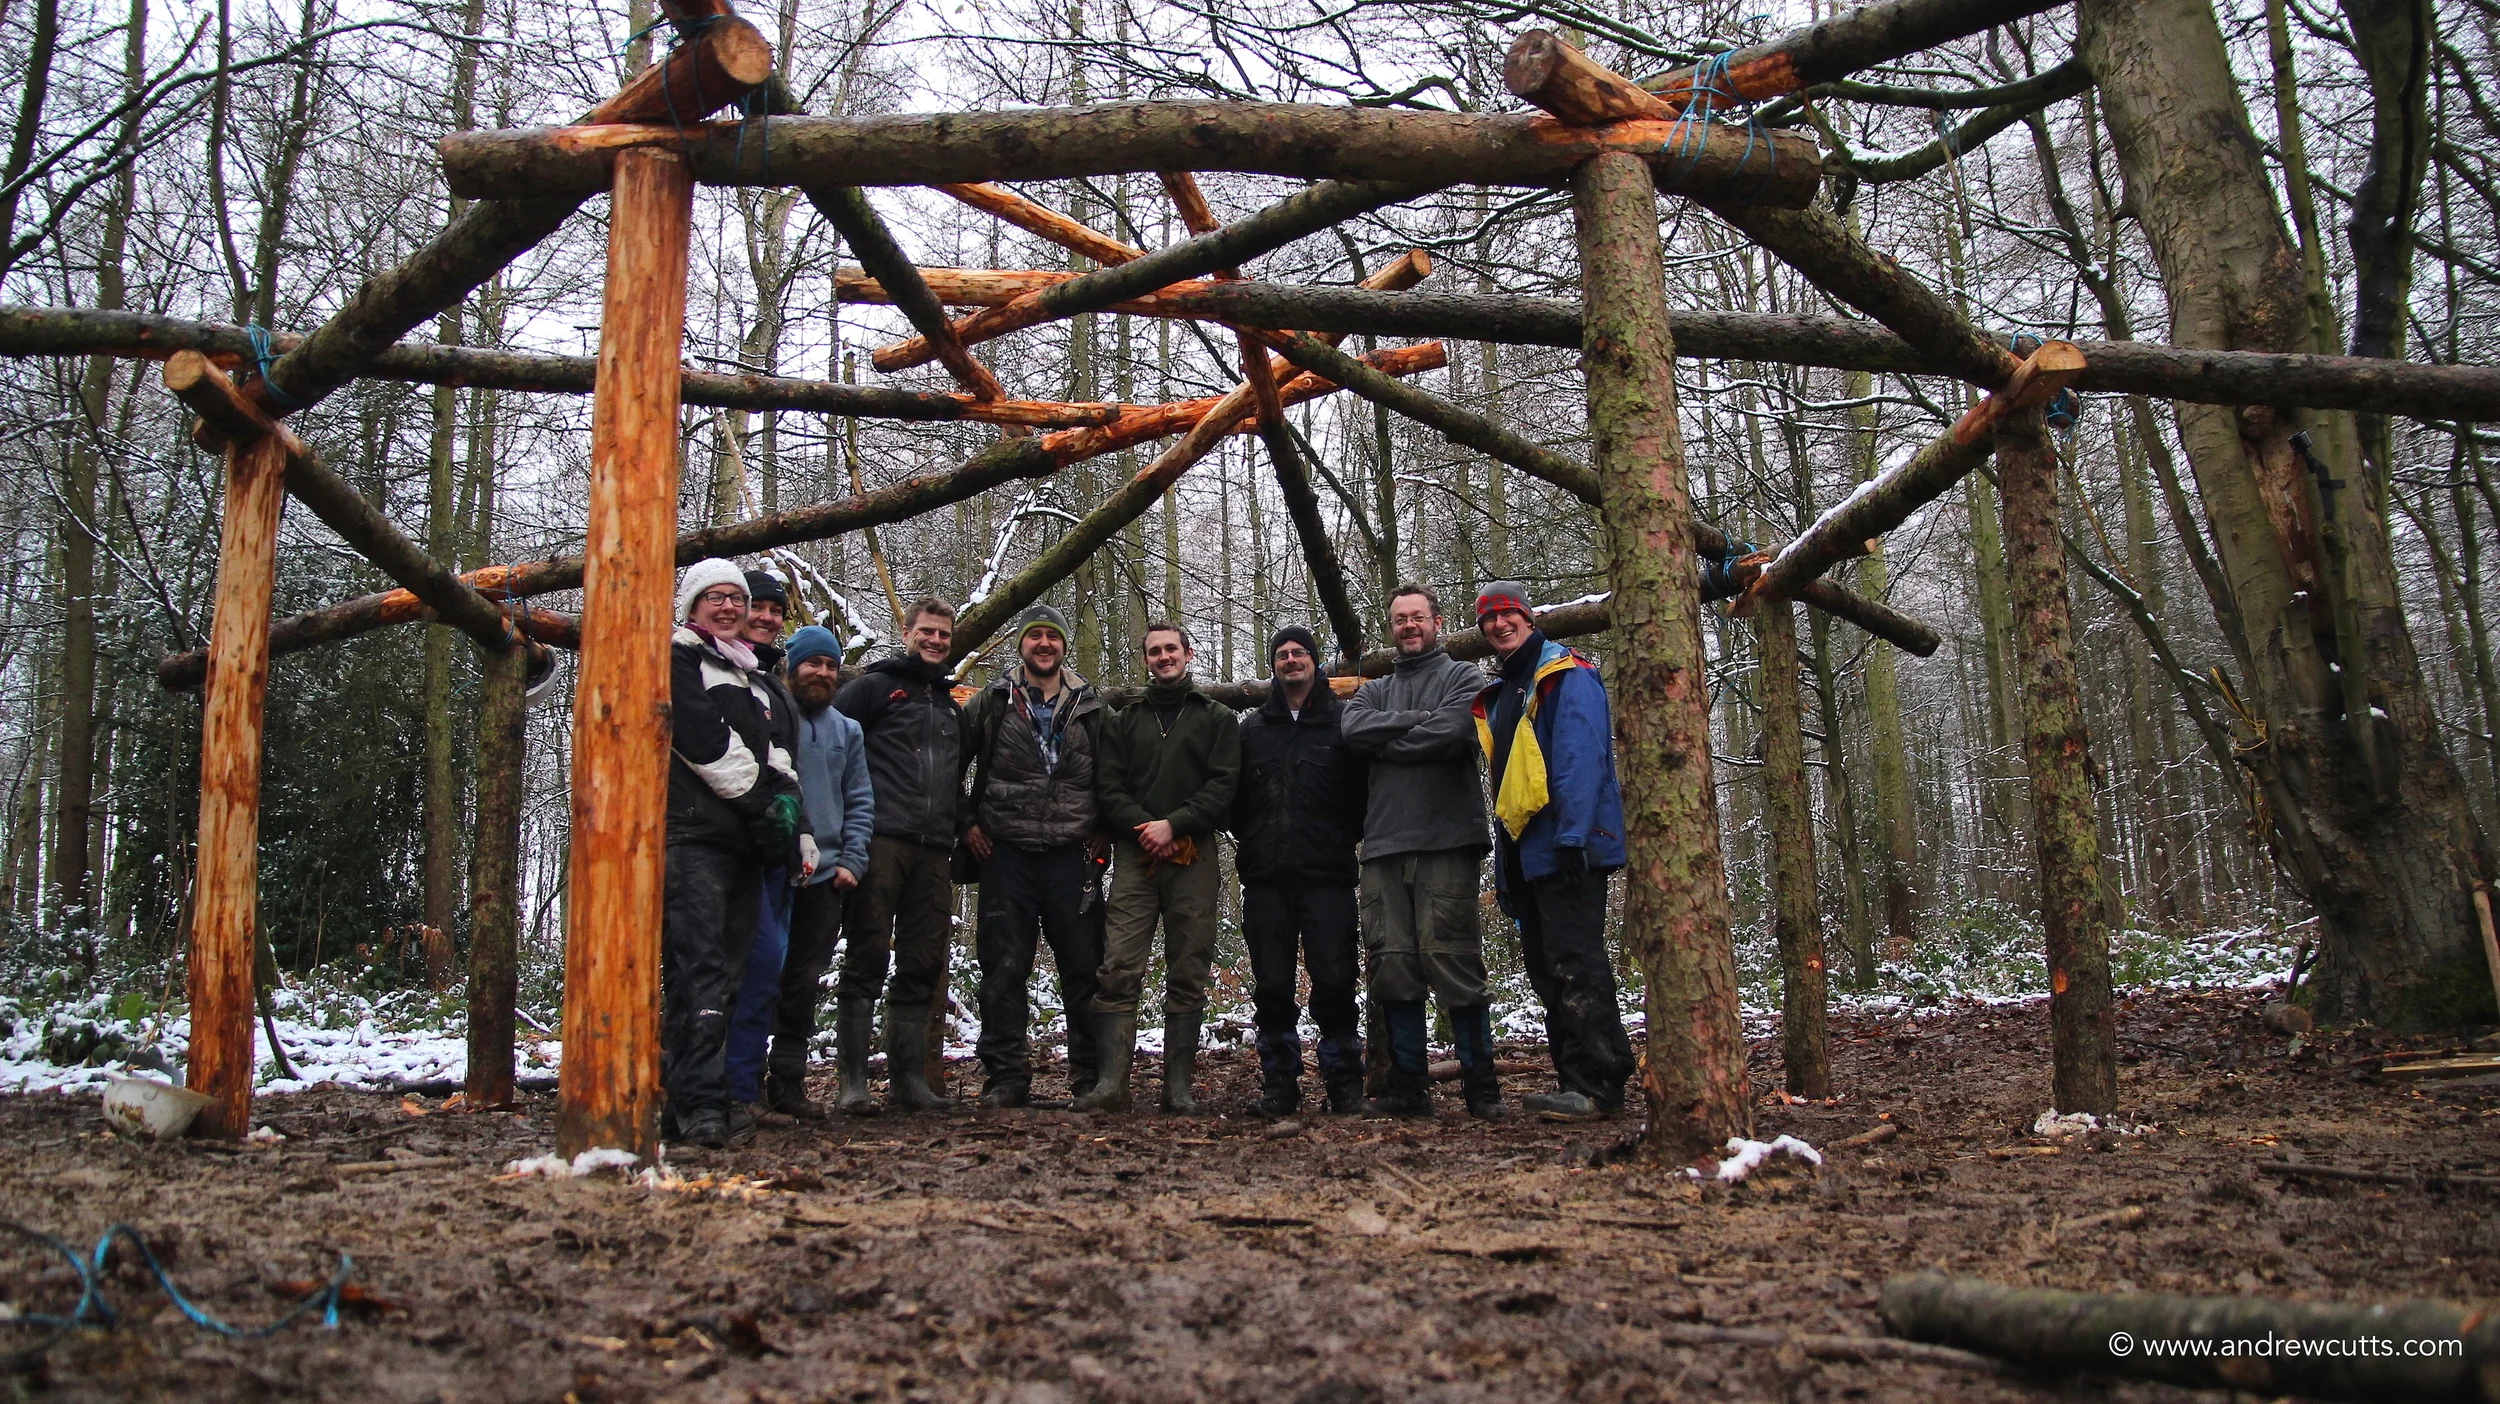
Towards the end of day one then, and the uprights and cross beams were pinned into place. The last job before settling in for the evening was to collect and assemble the rafters on the ground to give everyone a visual idea of what we'd be doing come morning.
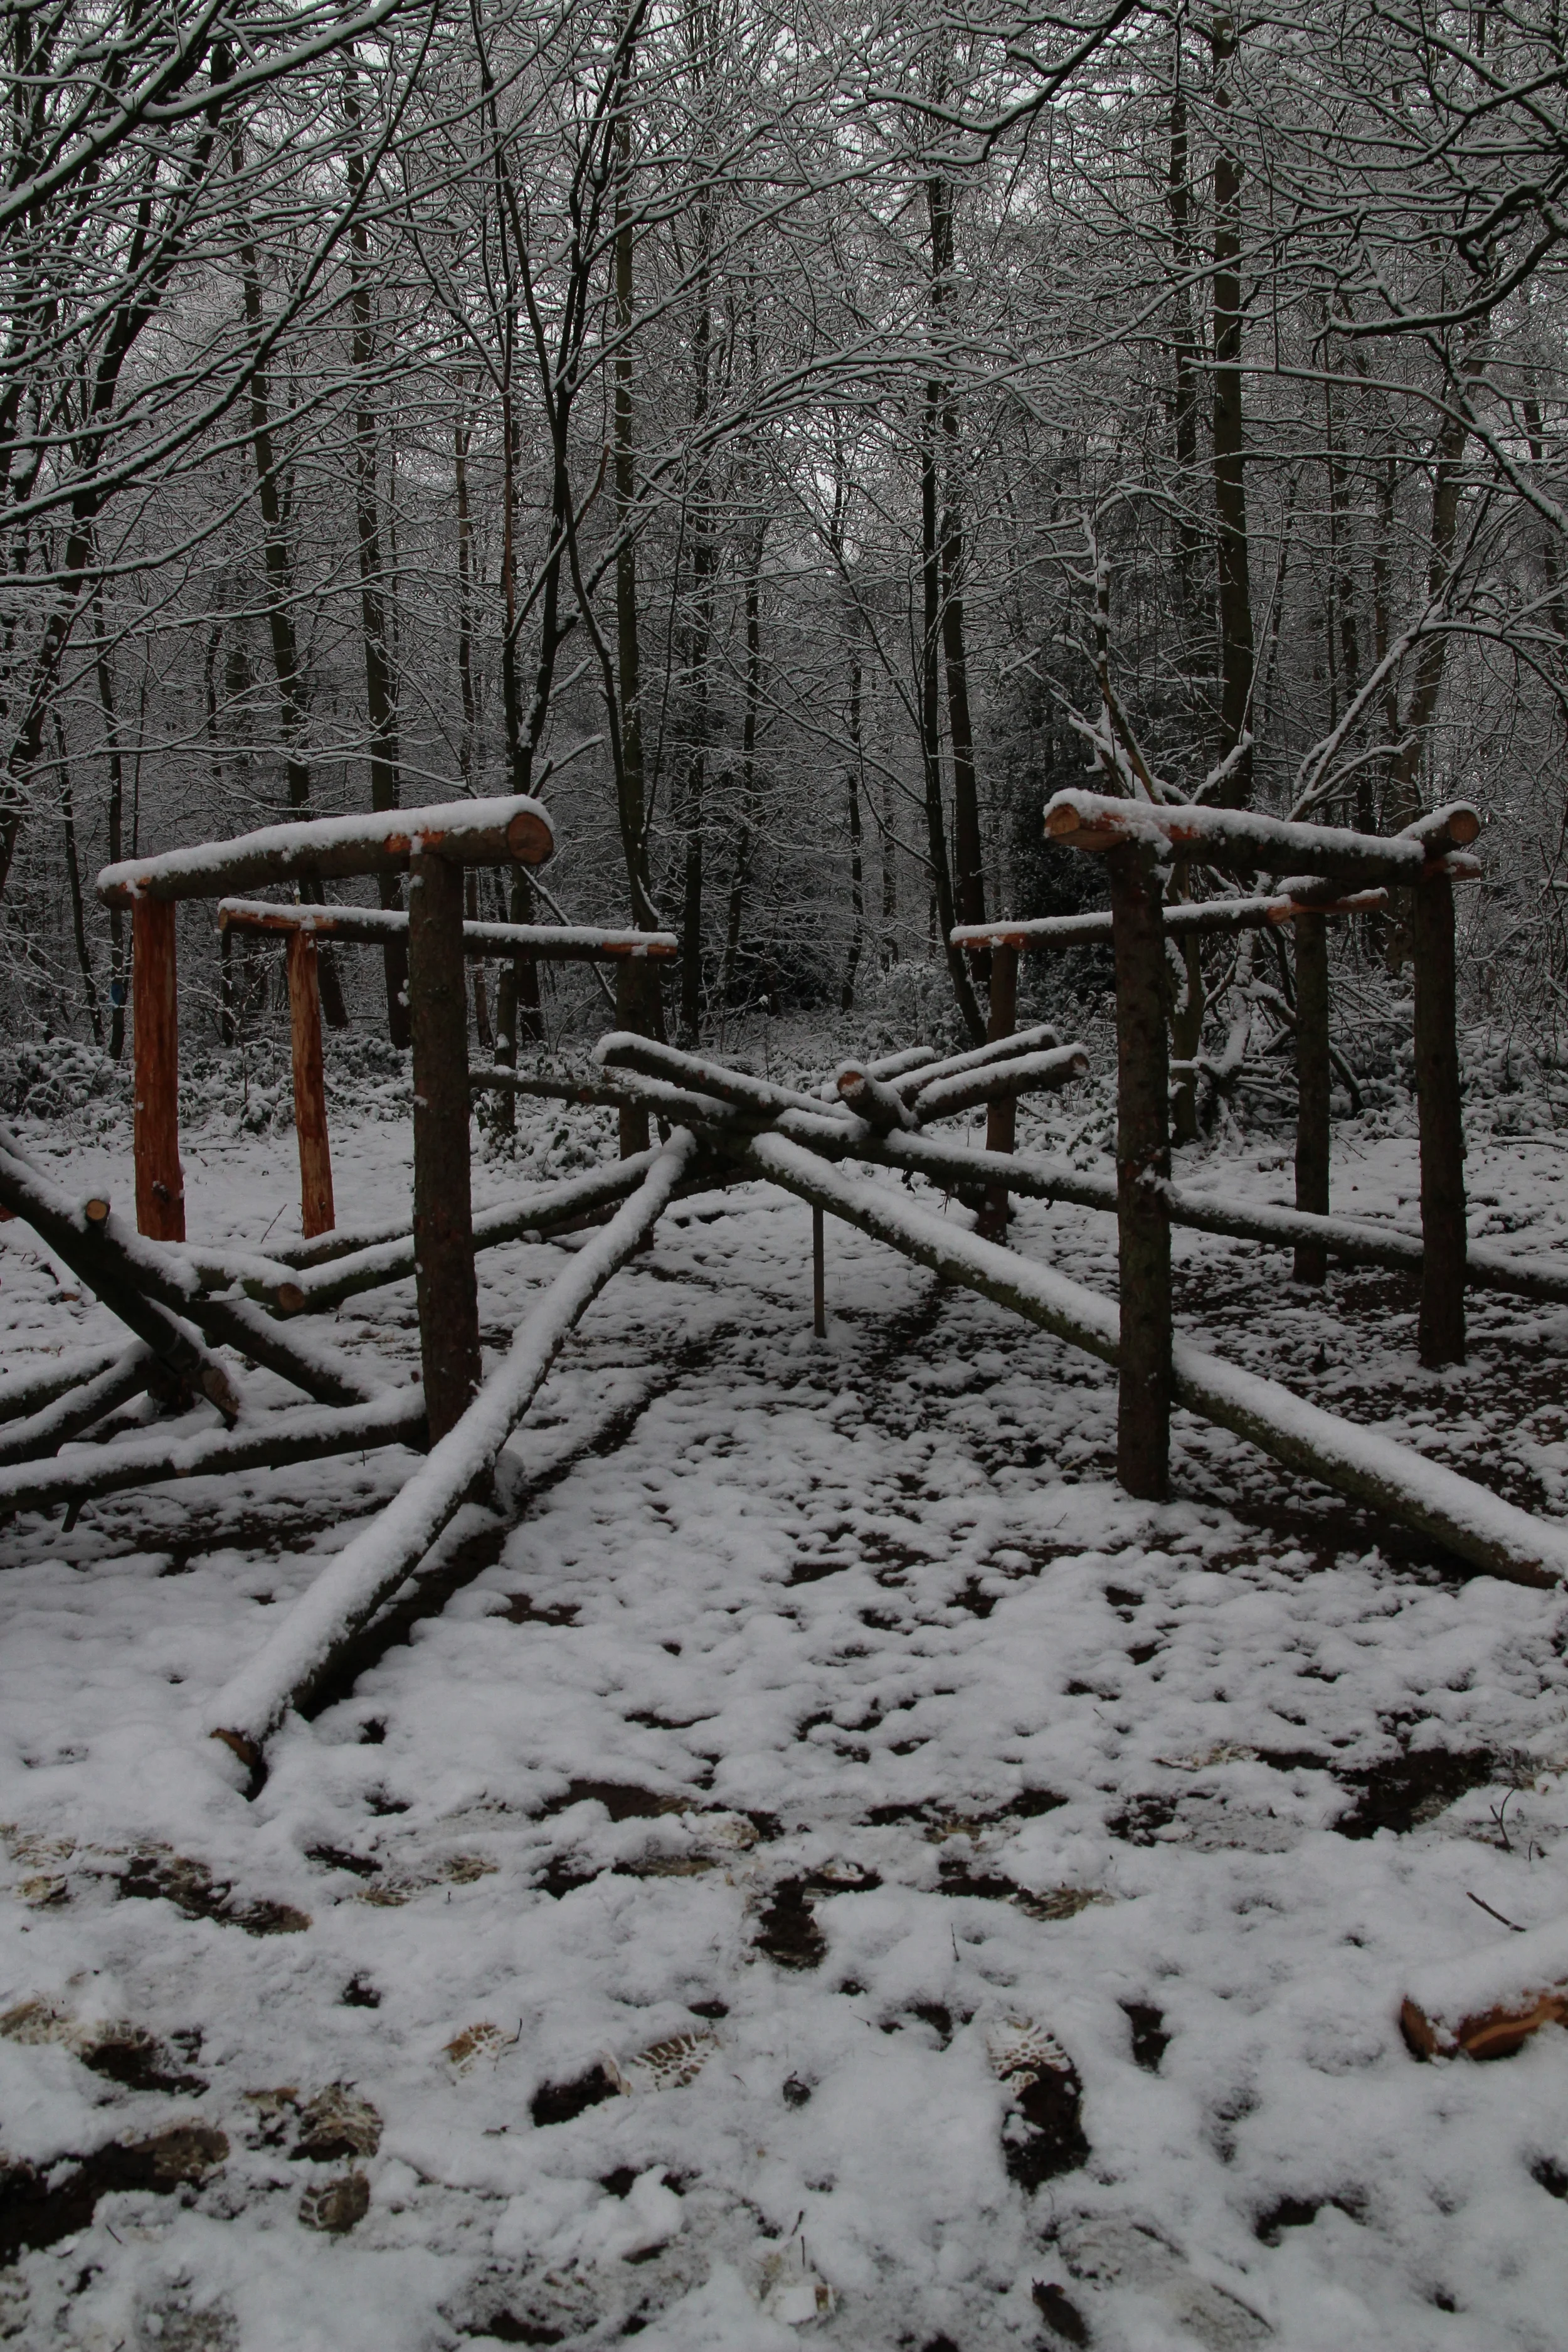
The Reciprocal Roof, a self supporting structure whereby each beam is held up by the one that proceeded in it in the circle. It's a fun trick to play with match-sticks if you have a spare five minutes. We'd elected to use 8 rafters, each paired to an upright post and sitting atop the higher cross beams. They need to be at a minimum two thirds the length of the octagons diameter, but we'd cut ours at 4.5meters to give plenty of room to play with. Construction on the ground with the use of a Charlie (a tripod to hold the weight until the last rafter is inserted) we can assess which beam sits comfortably with its neighbours and mark them where we'll cut in the notches to help the beams hold together.
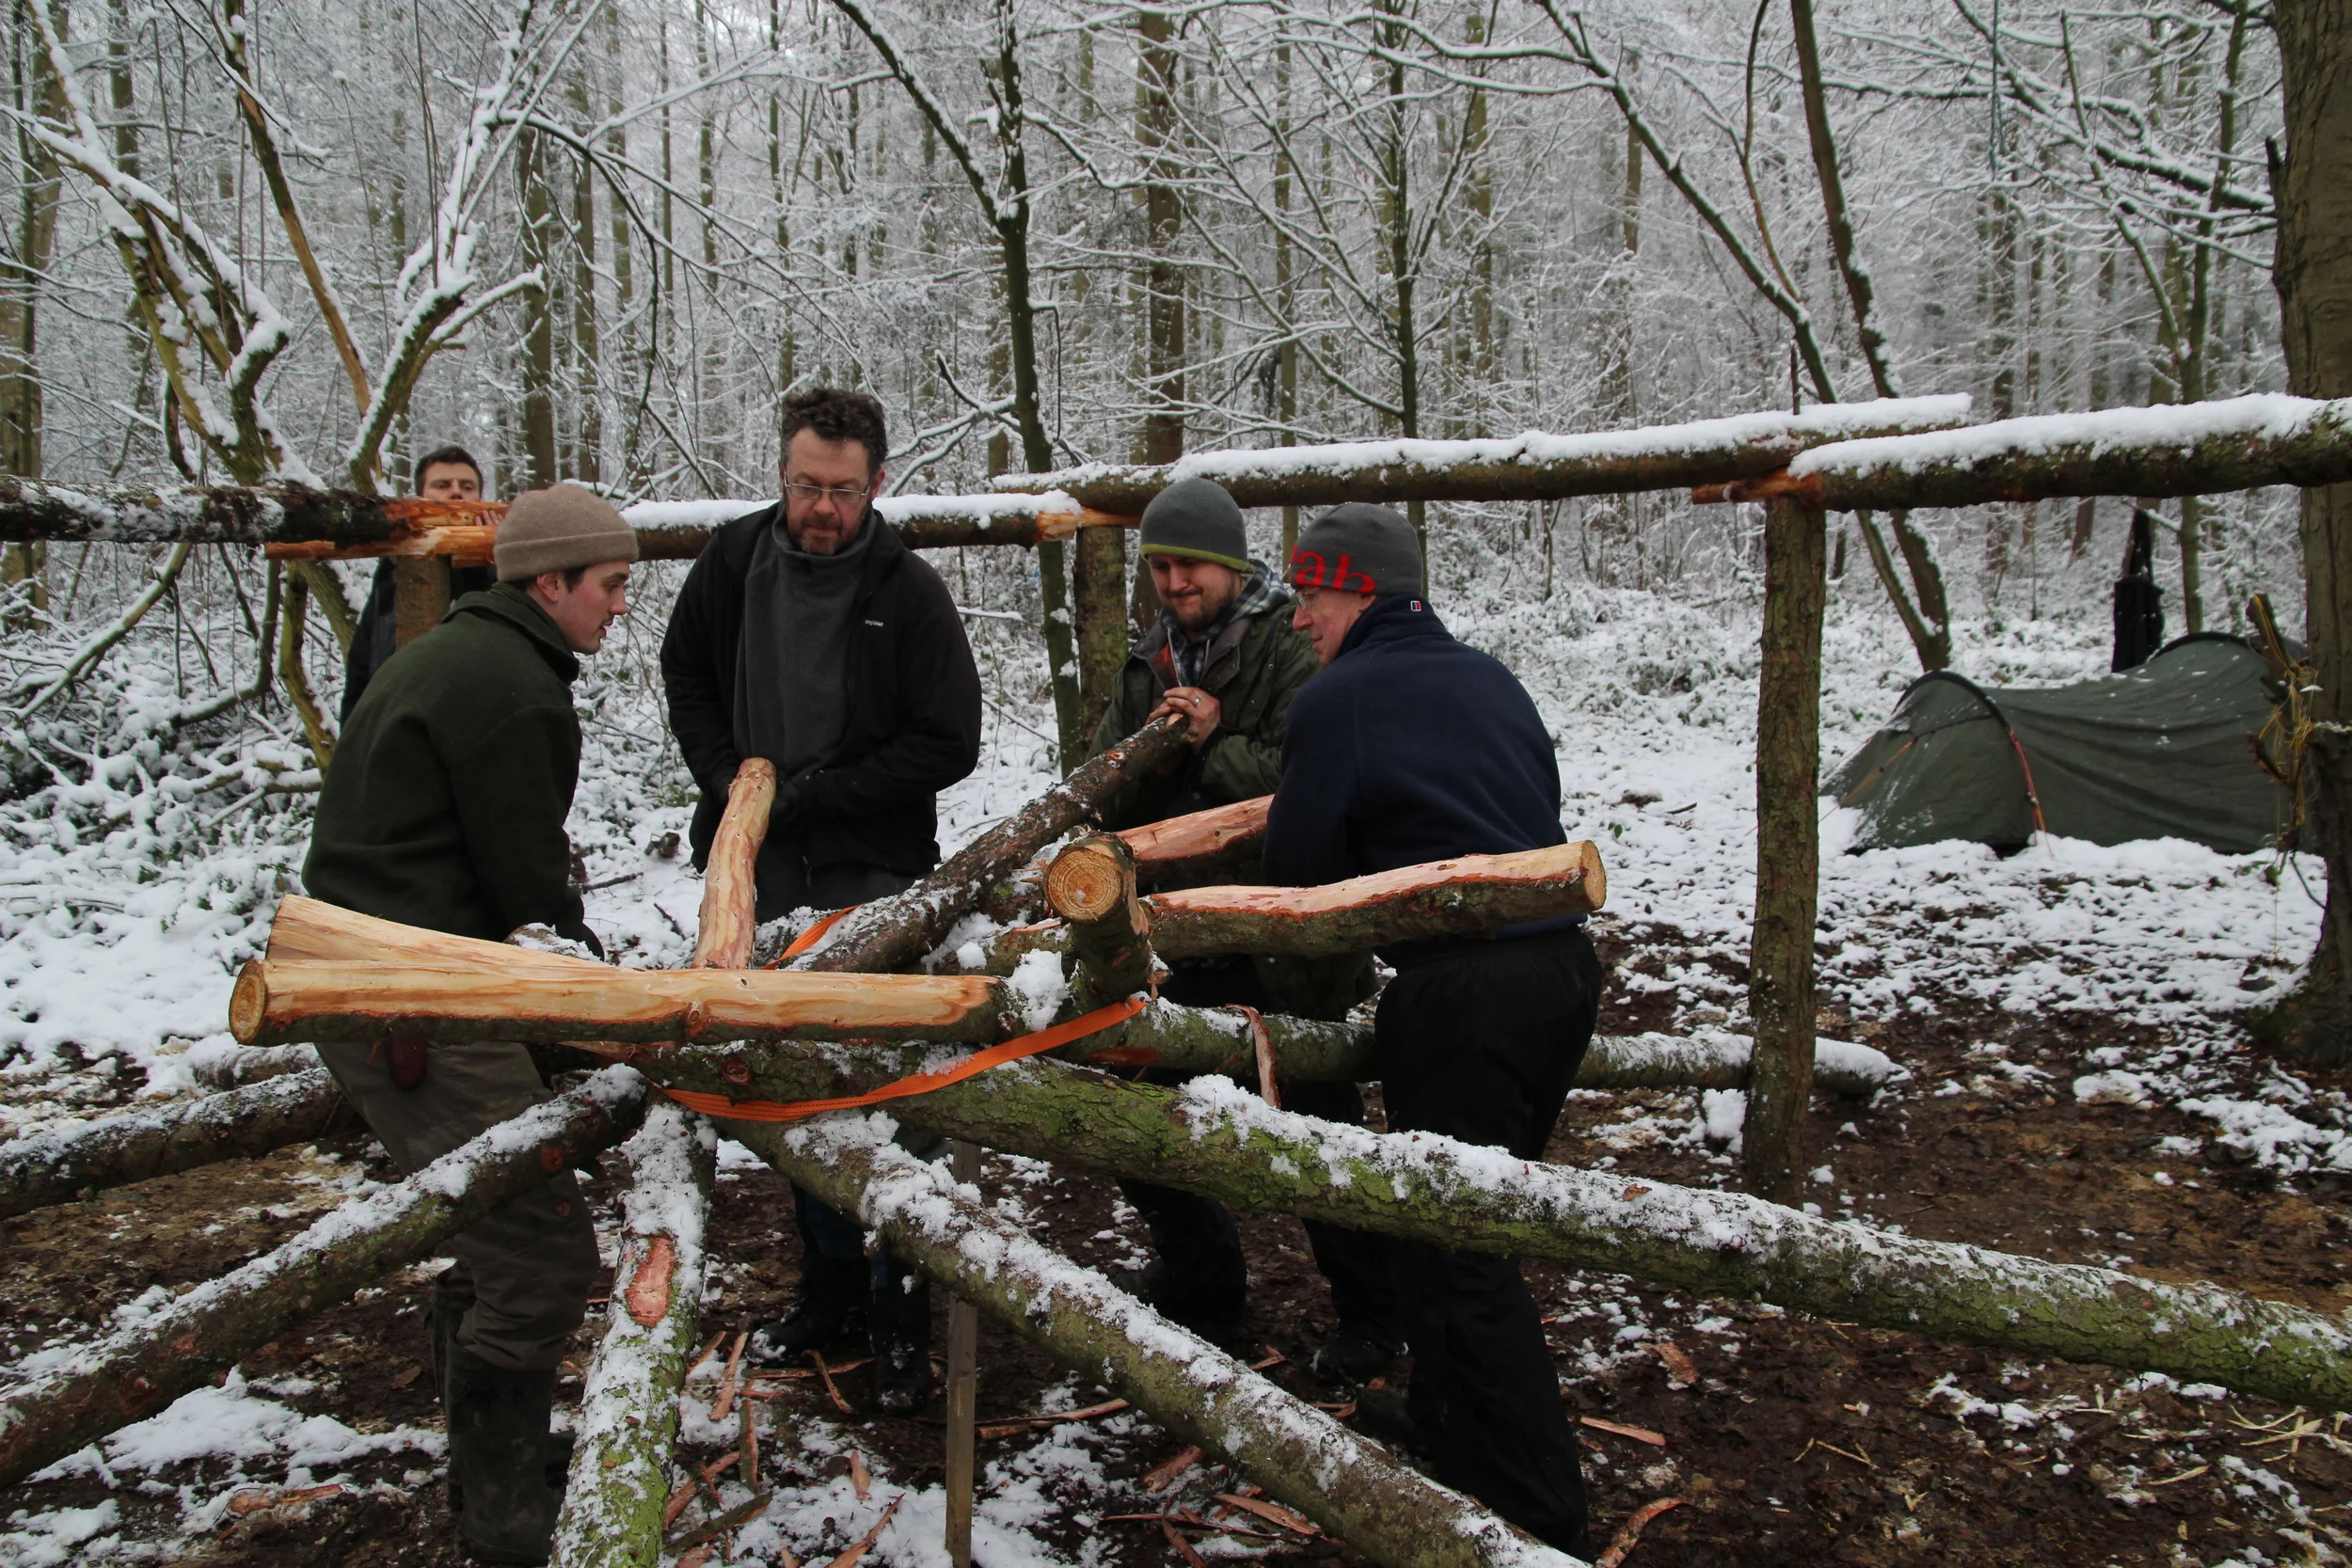
A ratchet strap is very useful a this scale for hold things from falling apart unpredictably whilst still allowing flexibility to make adjustments.
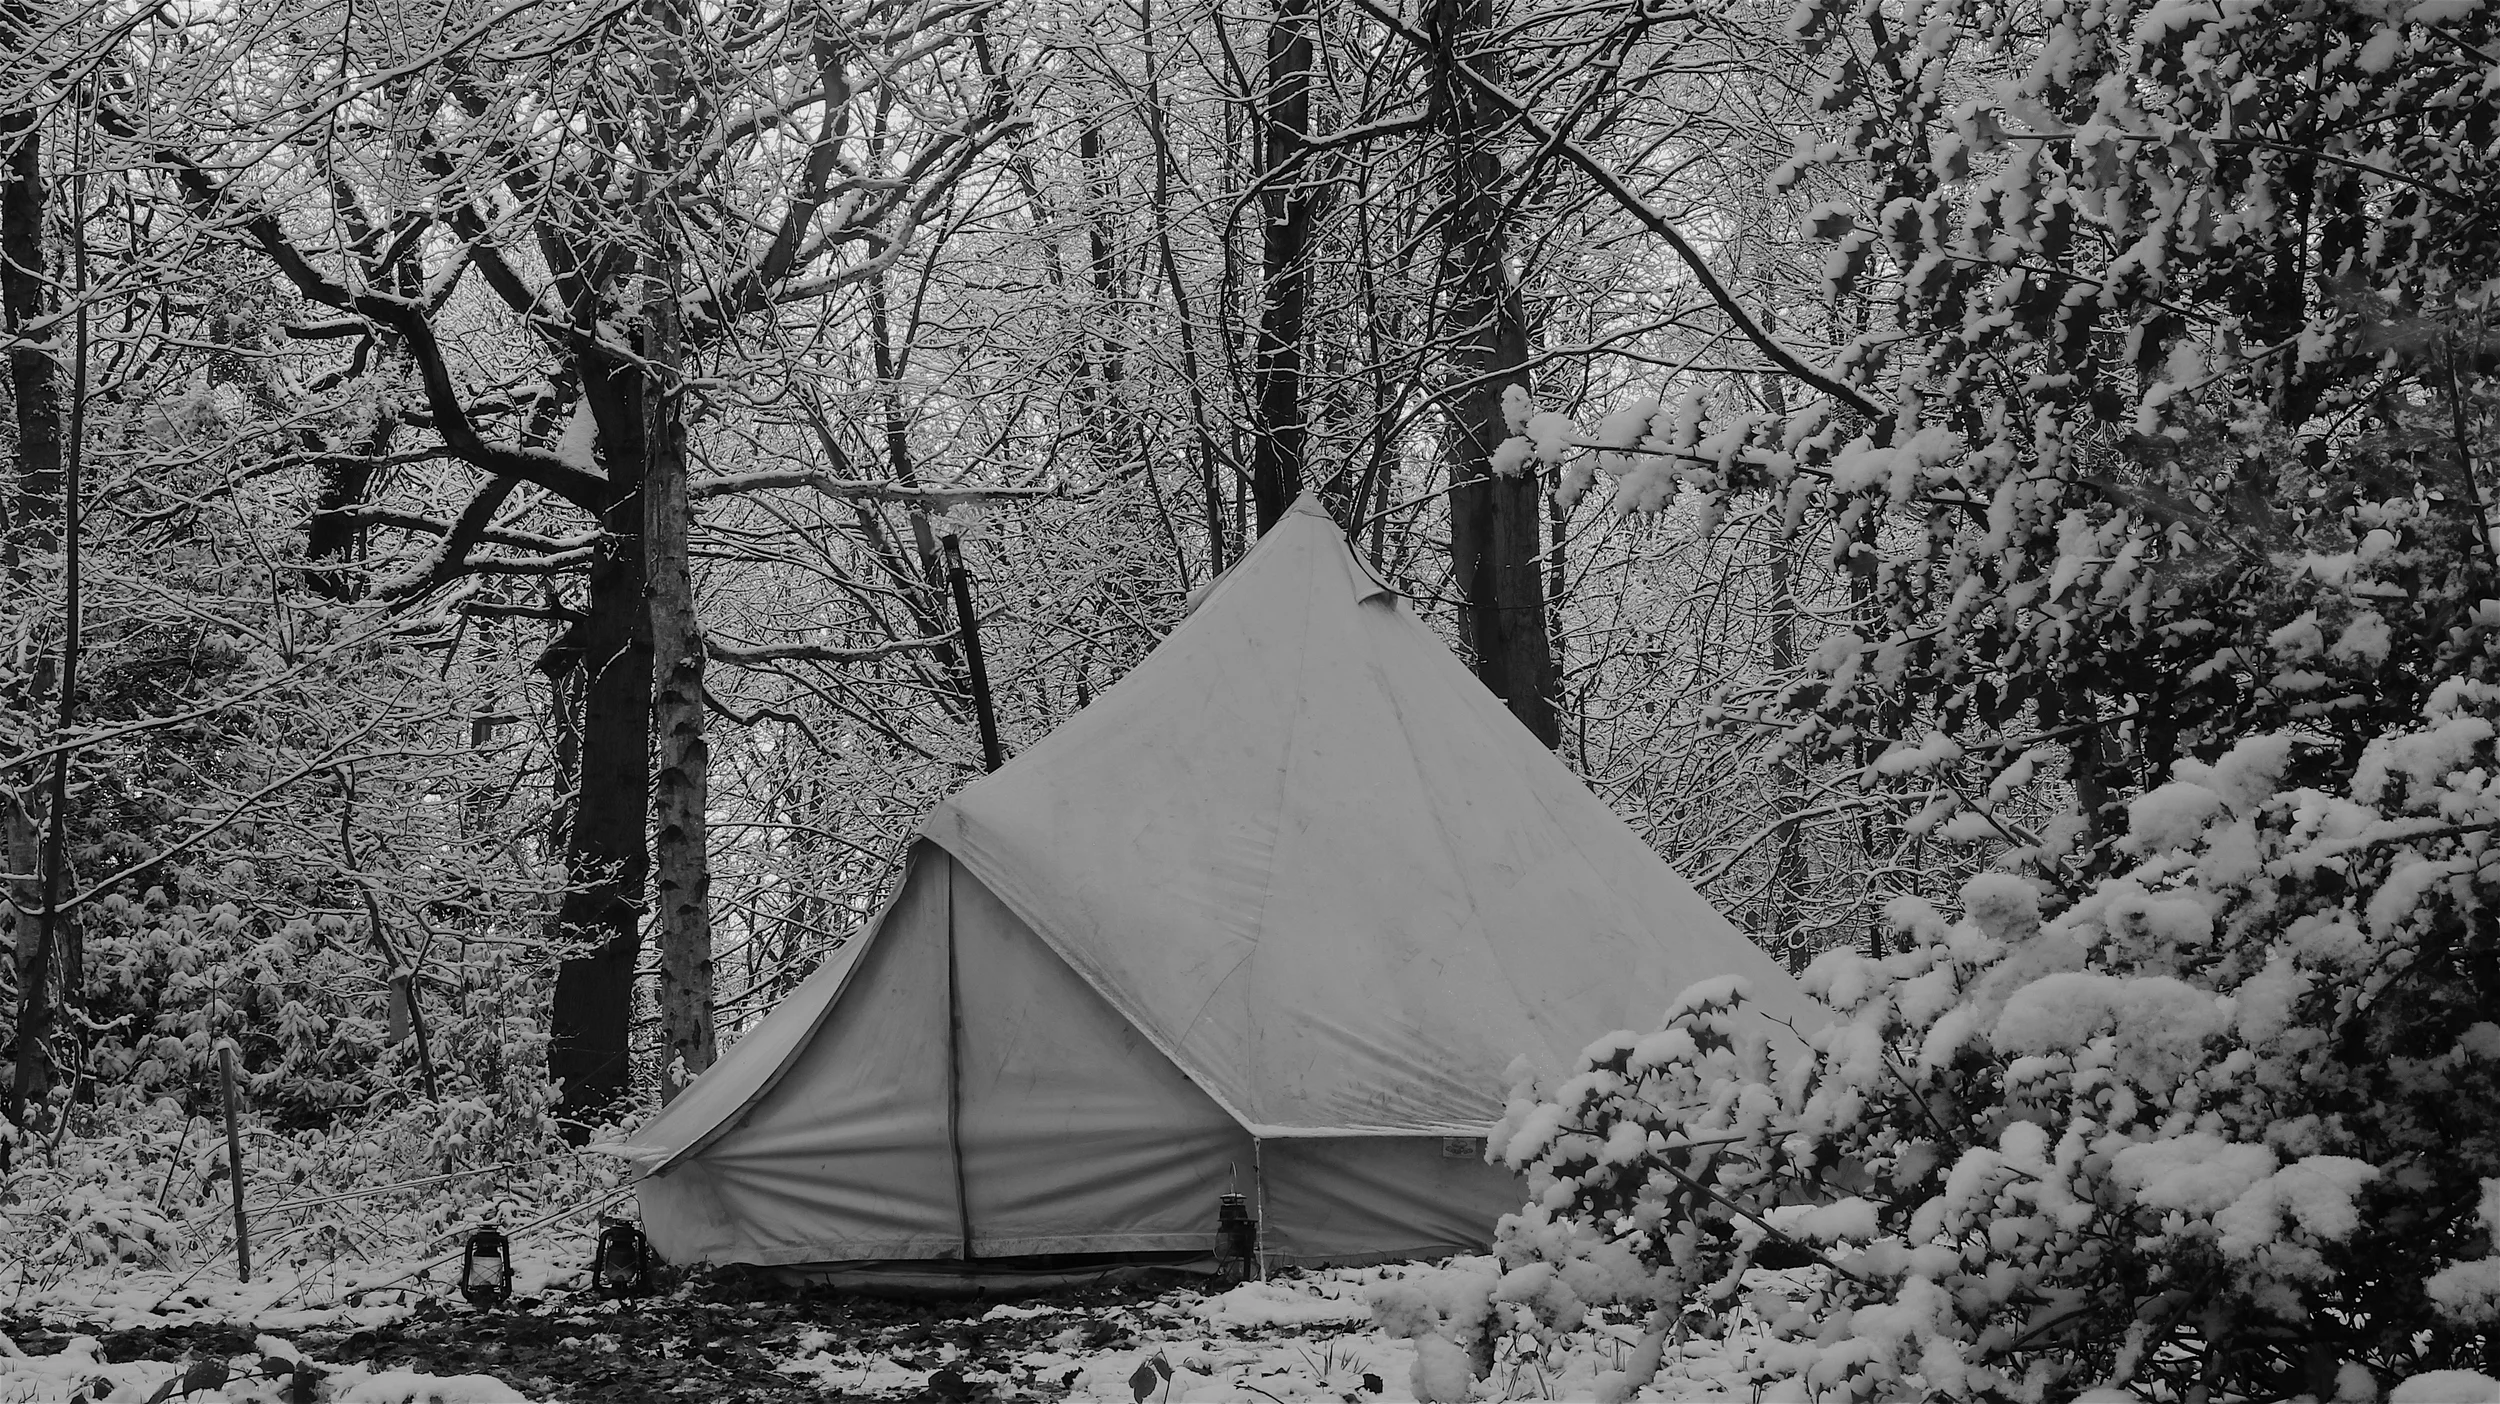
We'd stopped for the evening to spend the night camping in the woods, and I'd like to mention here a huge a thank you to Andrew Cutts and Jen Scott for their help in logistics. They'd got the evening meal cooking for us when we finished work and kept everyone fed and watered during the weekend. Andrew's photos have documented the weekend perfectly and his impromptu night walk for us all in the snow to track deer and sniff badger holes really finished the day off fantastically.
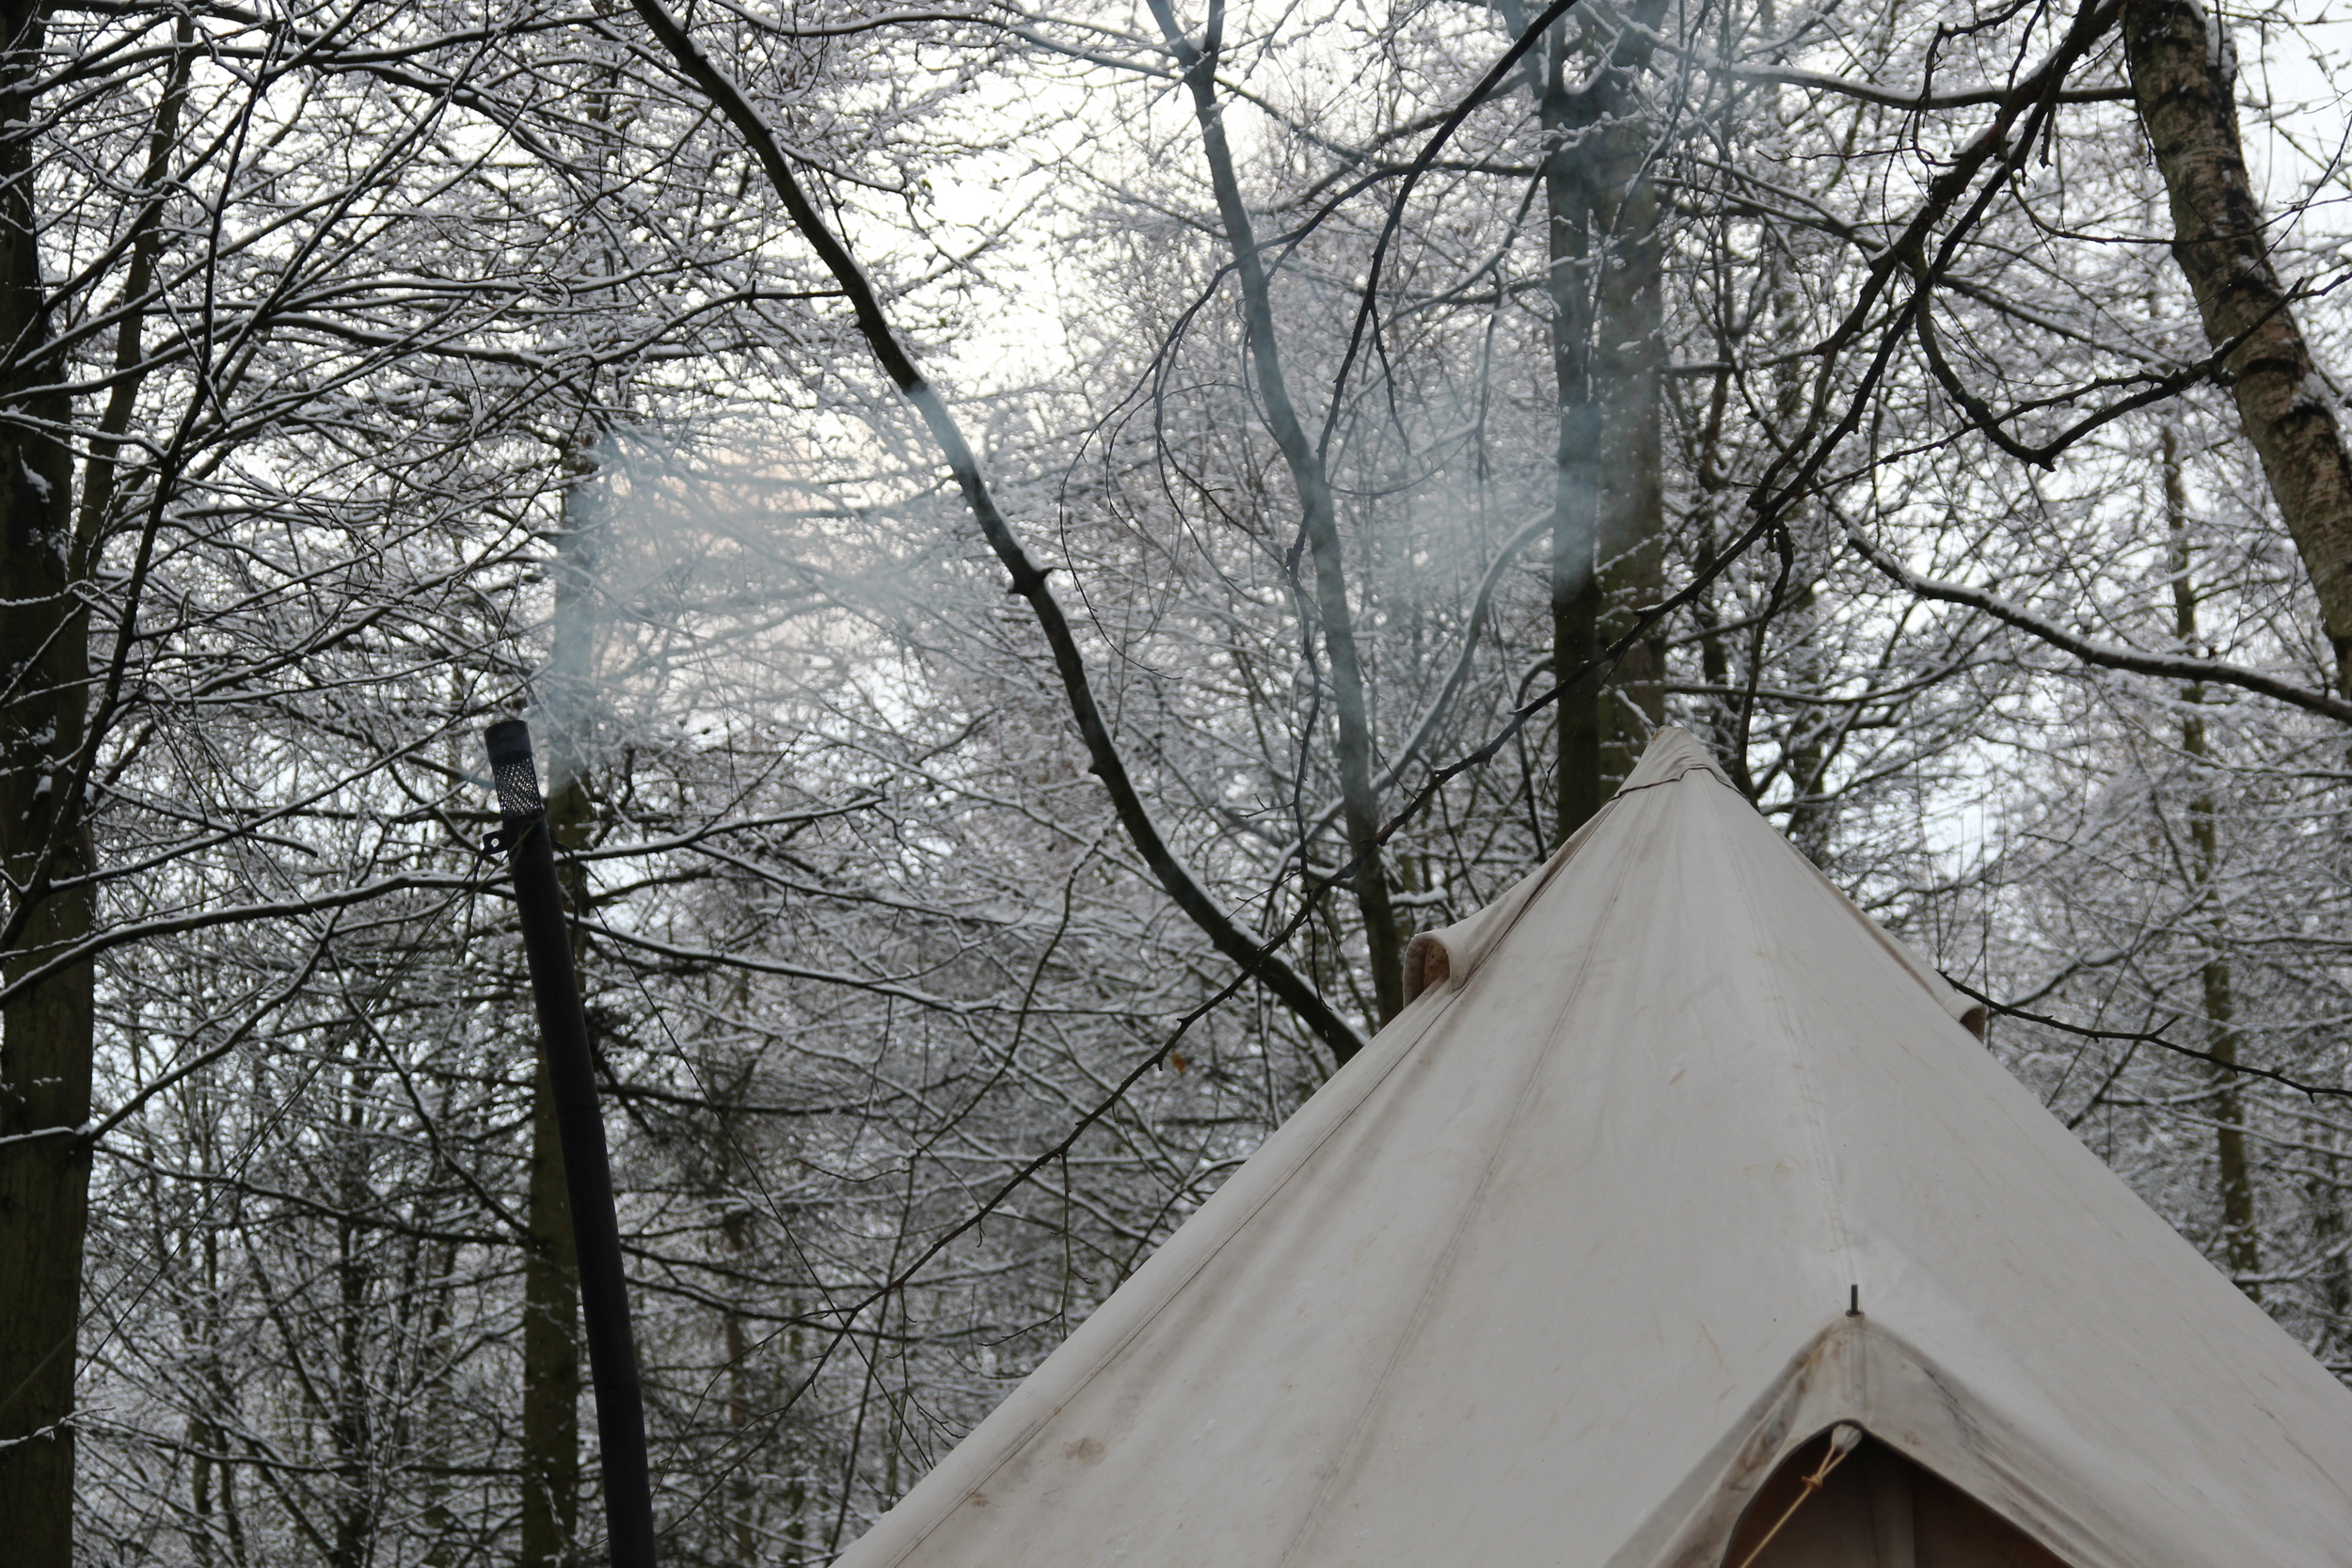
Everyone retired to bed after chatting around the fire to their respective tents, we'd set up the heated bell tent as a retreat for our guests should they get cold and need a rest bite (it also gave us a comfortable base, allowing us to be well positioned to look after everything). Morning started early for me as I got the wood burning stove lit and breakfast prepared for everyone, good hot food to start the day. The snow had stopped sometime in the night, and the temperature was mild. Our second day then was to be slightly warmer, if a little wetter. Everyone performed brilliantly given the weather and we flew through the roof assembly, this process being informed by the ground level construction the day the before.
The rafter joints (half lap joints) at the apex where carved in situ on the ground, we found a gouge and adze the best tools for this. Once we'd settle the apex into its final configuration we marked up and carved the saddle joints into the rafters where they'd eventually meet the cross beams. This proved to be the most difficult aspect of the build given the angle involved, but done in this way it means Tom and I can finesse the joints later on.
We then moved to height, follow the same system as on the ground we erected a much larger Charlie to support and one by one secured the rafters with lashings.
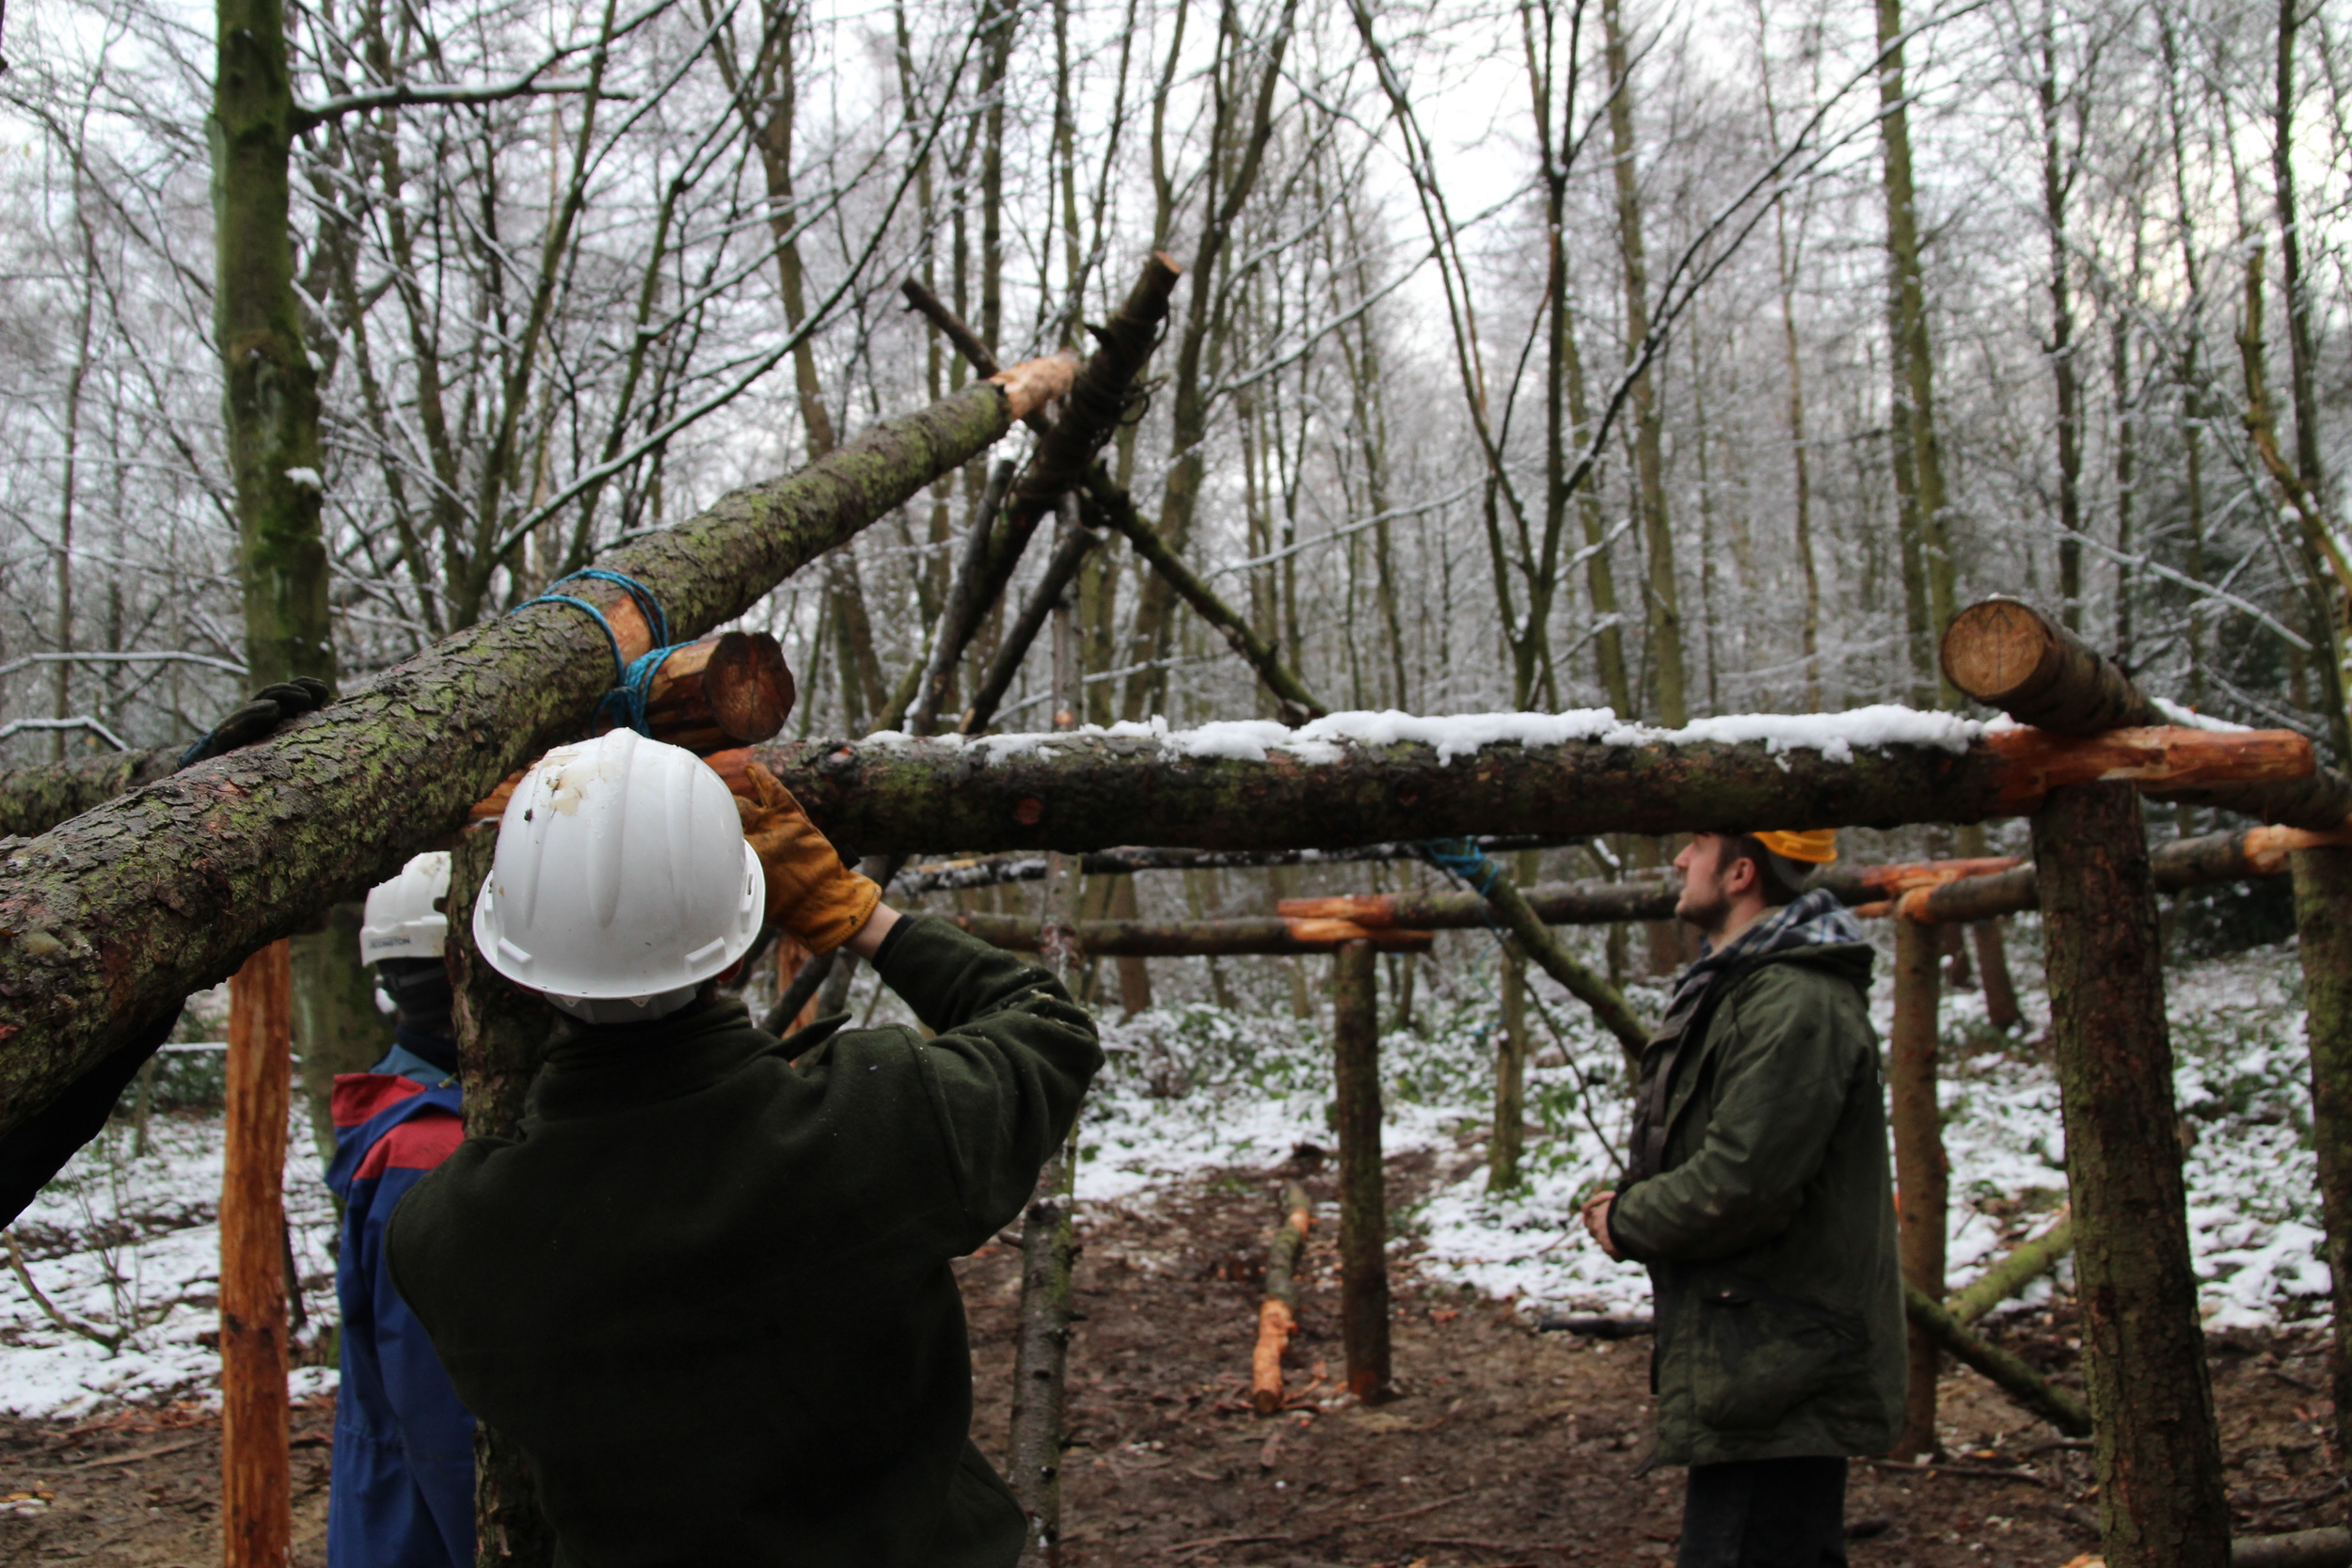
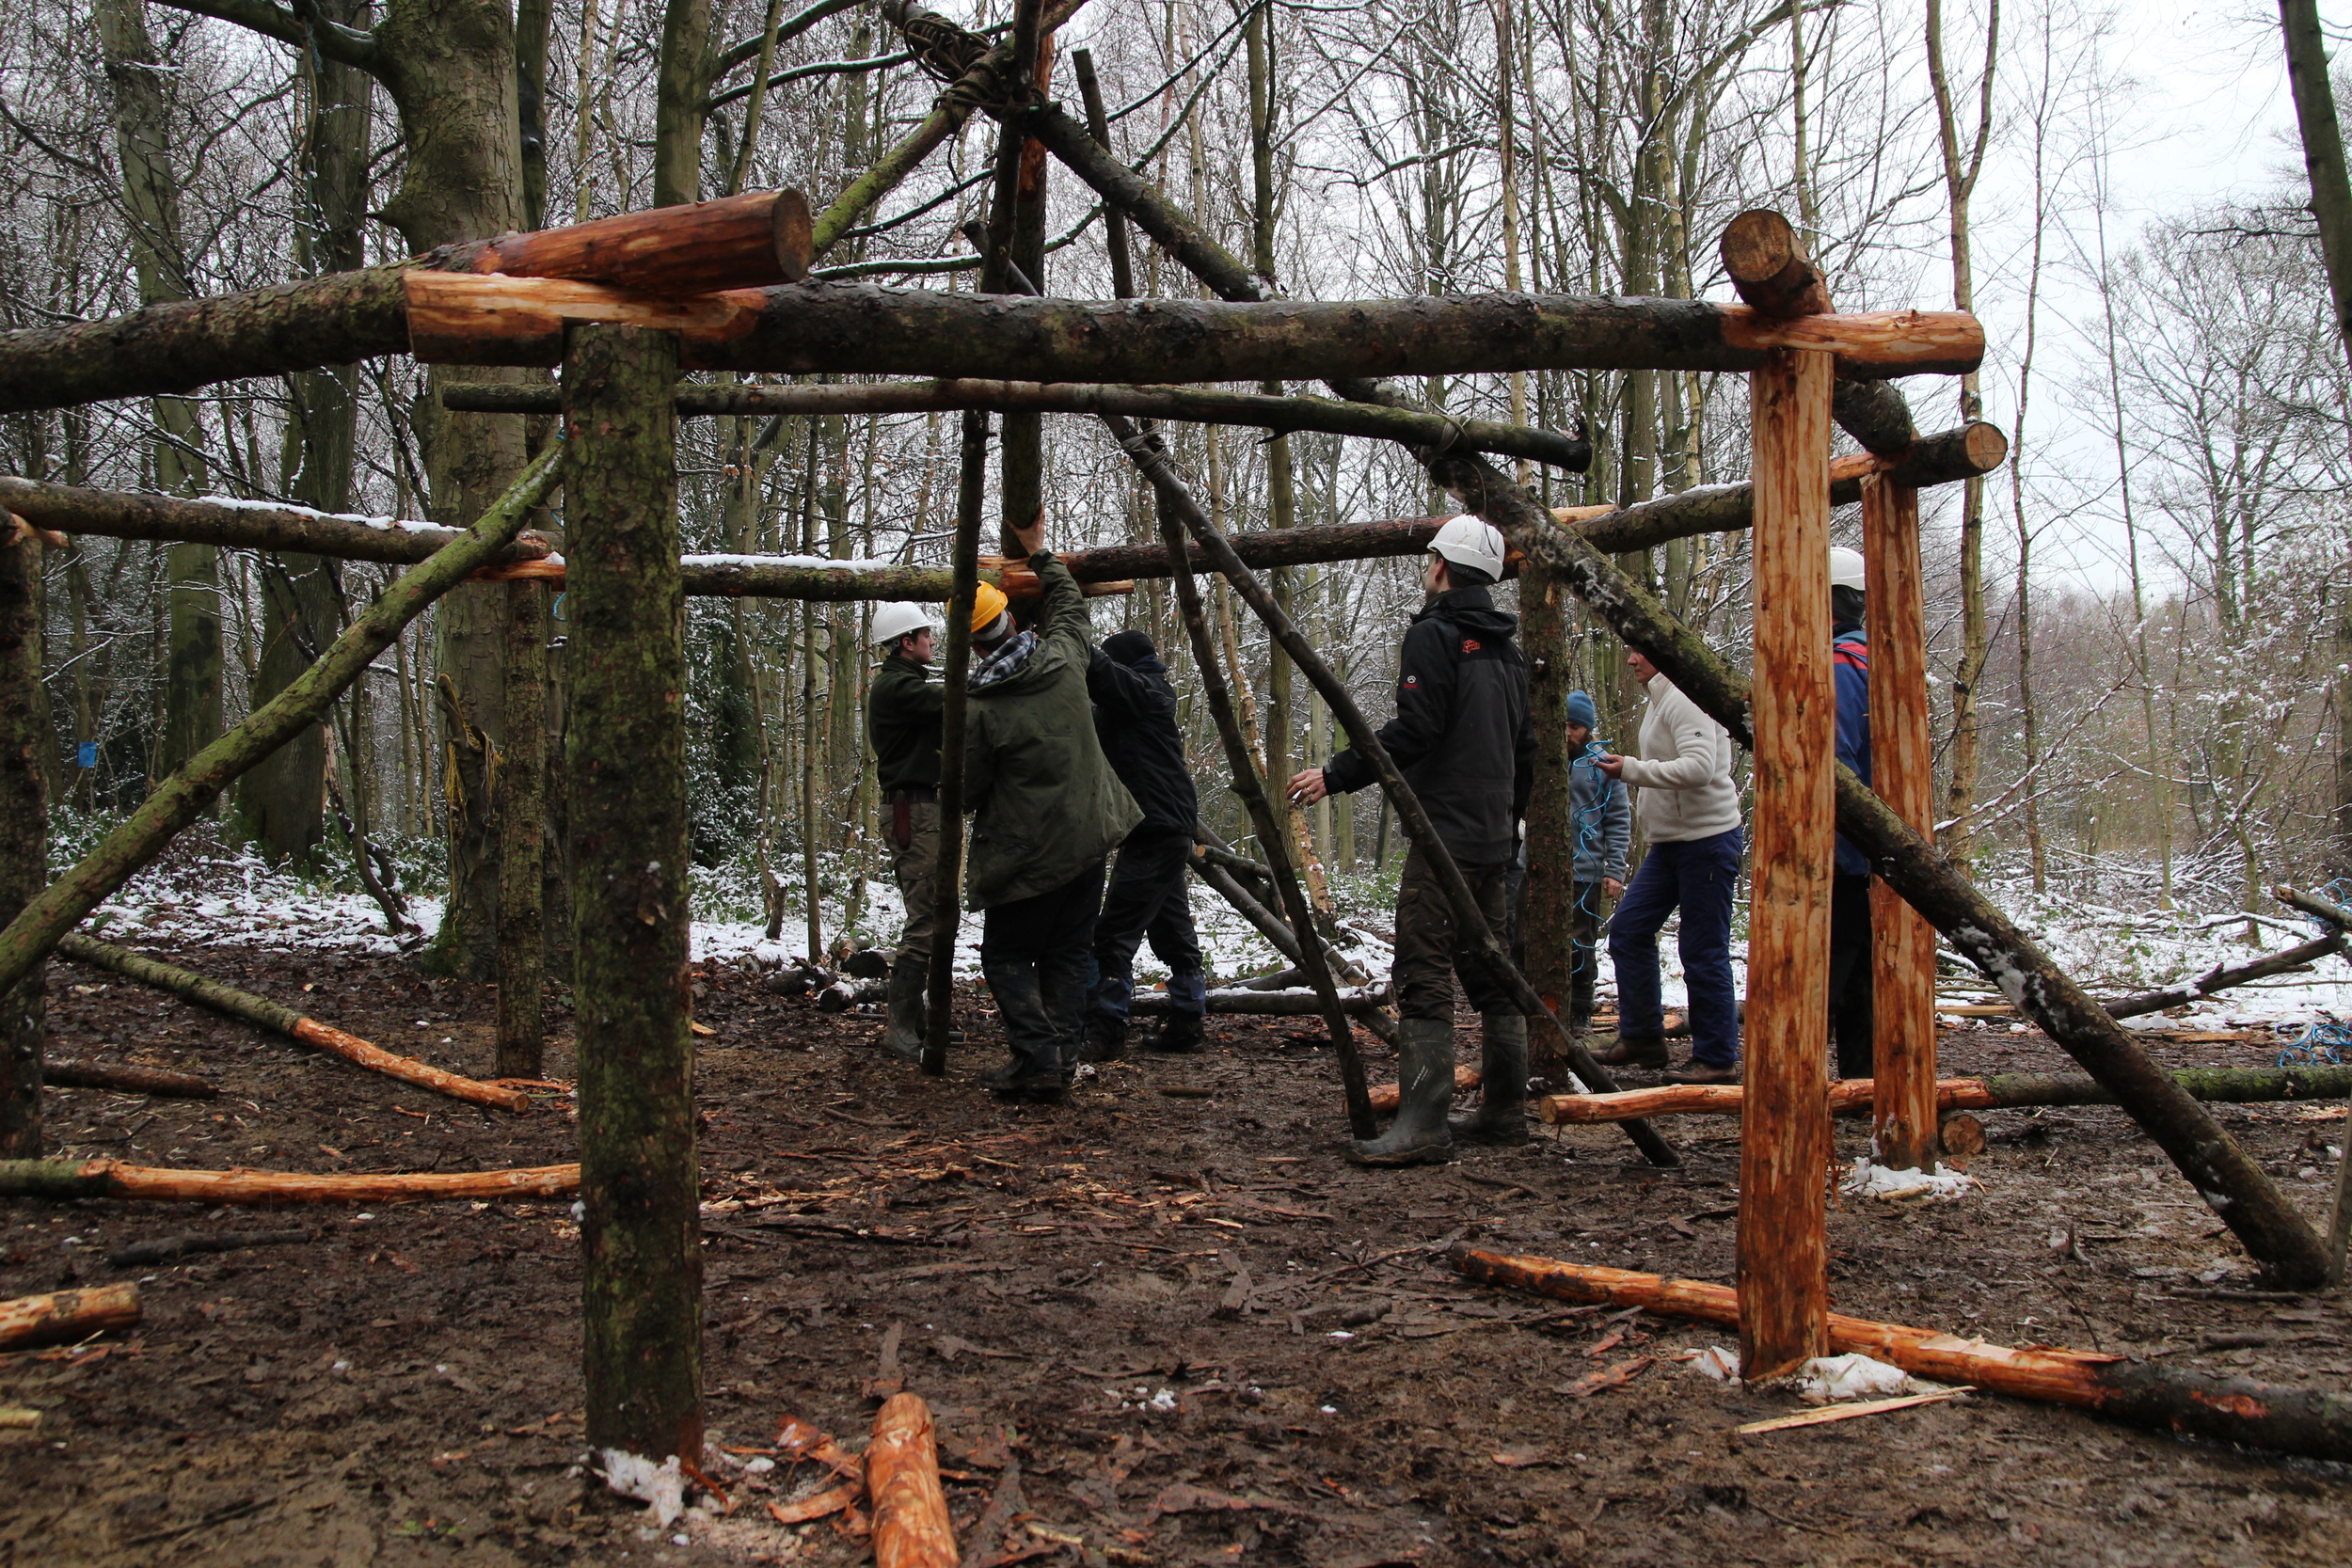
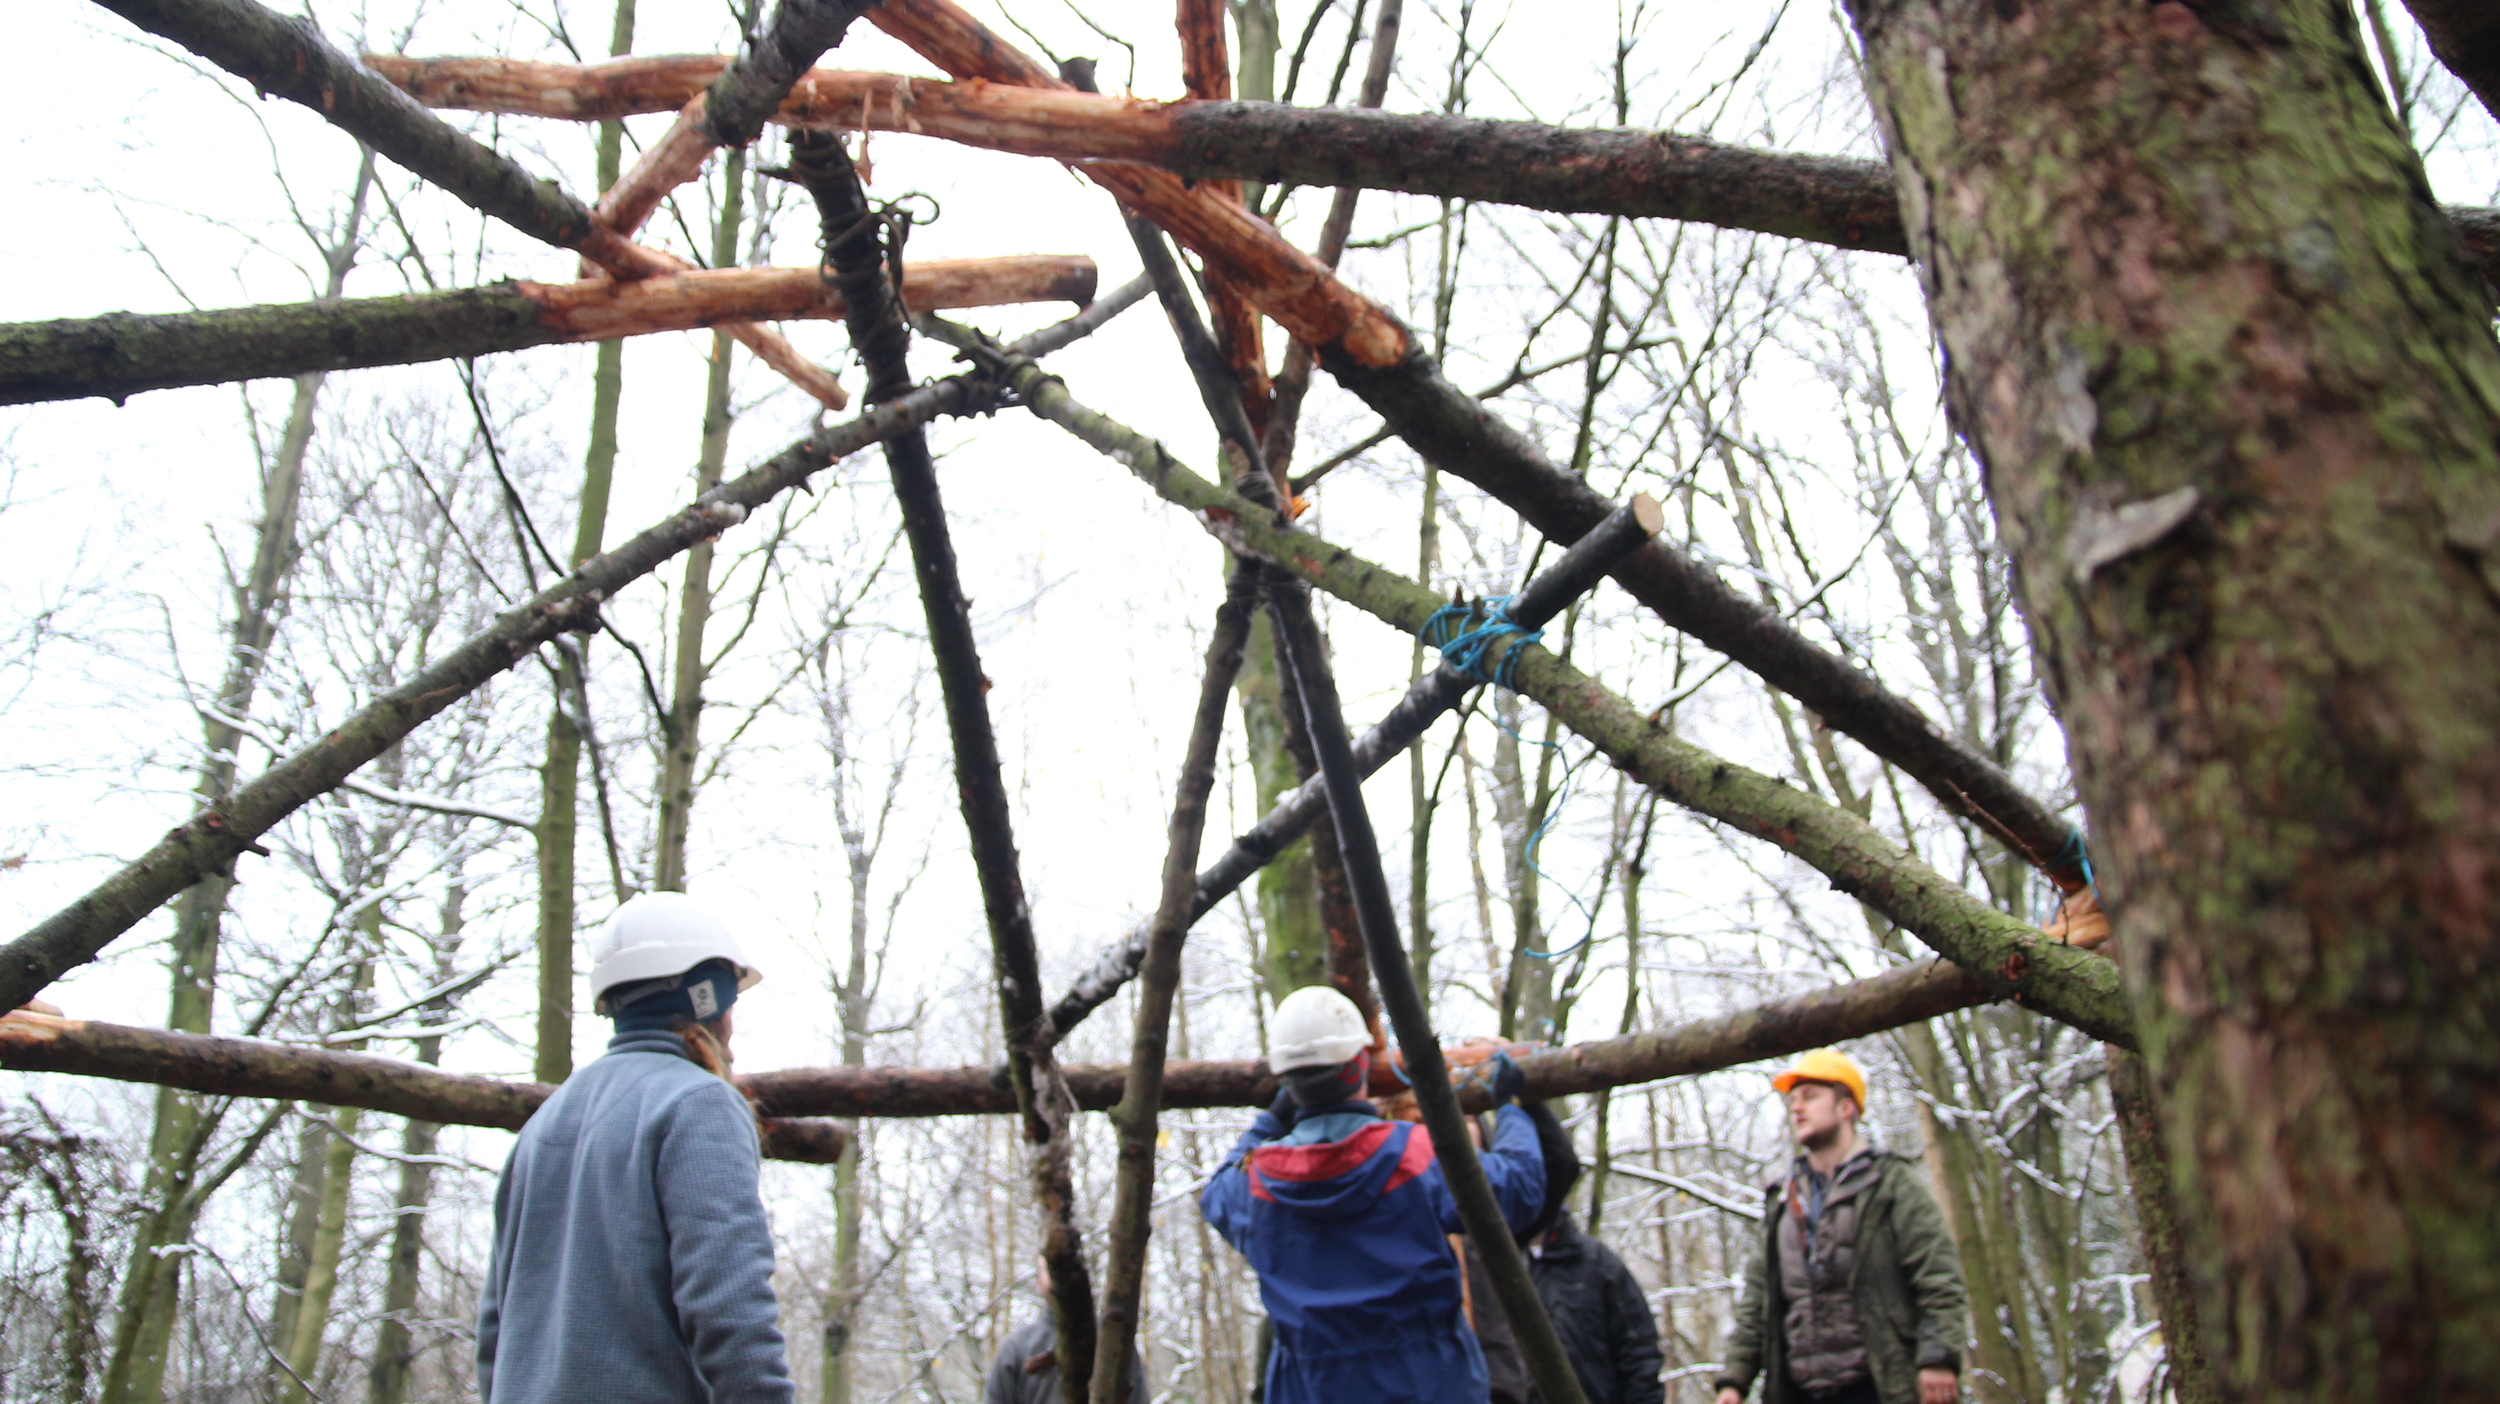
We'd done it! The roof went up perfectly, all hands on deck and hard hatted up we finished the project exactly on time.
The Future
As Tom and I continue to finished the build we'll make any final adjustment to the pitch of the roof and trim up the joinery a little where the rafters meet the cross beams. More pegs will hold everything together (remember the roof is self supporting so the pegs really are only to prevents knocks and bumps moving the rafters out of place) at the joints. We've every intention of finishing the roof with a moss and wild flower green topping, which we'll sit onto top of milled local flat timber. The walls we'll make a mix of hurdles, dead hedging and perhaps some waddle and daub.
The Next Weekend Course
Join us for weekend of green woodworking in the woods where we'll split, cleave, saw, chop and bend wood into all sorts of useful structures. Our principle goals will be to teach you to build an elegant split wood bridge, along with some exceptional base camp structures like wash stations and picnic benches. If you work delivering outdoor sessions using tools, this is a fantastic opportunity to get some detailed tuition and create something beautiful too.
Click Here
Thank you for reading, I look forward to hearing from you.
Jamie Dakota