
How to Make: A Wild Camping Hammock
Jamie Dakota
During some time at Howl HQ I finally managed to get around to making my own hammock for bushcraft and wilderness trips. A project I’ve been meaning to do for years, ever since I sold my old and now discontinued Woodlore Eco-sleep system hammock. That hammock was excellent in my opinion, and having tried loads since from budget to high end, I haven’t found any I liked better. So I decided with this time on my hands during lockdown 2020 I’d put one together based on my now 10 year old memory of the Woodlore hammock…but with some modifications of my own.
Fabrics:
I used a ripstop nylon for the hammock, with a basic silicone coating mostly to assist wind-proofing . The fabric weight I used was 65gsm, with a roll width of 150cm (perfect width for the hammock). I ordered 3 metres of this.
The insect net I made using a fine midge net fabric in black, dark so as not to be bright and attractive to bugs in the sun. I ordered 9 metres of this, as I wanted extra for another project. I used approx. 7 metres for the build.
To build the skirt of the insect net I used a super-light ripstop nylon, which acts as a partial ground sheet when using the insect net on the ground with a bivi. I used 4 metres for the build.
Accessories:
To construct the system, I needed a few more bits.
This included around 10m of 10mm polyprop webbing to suspend the hammock and building loops.
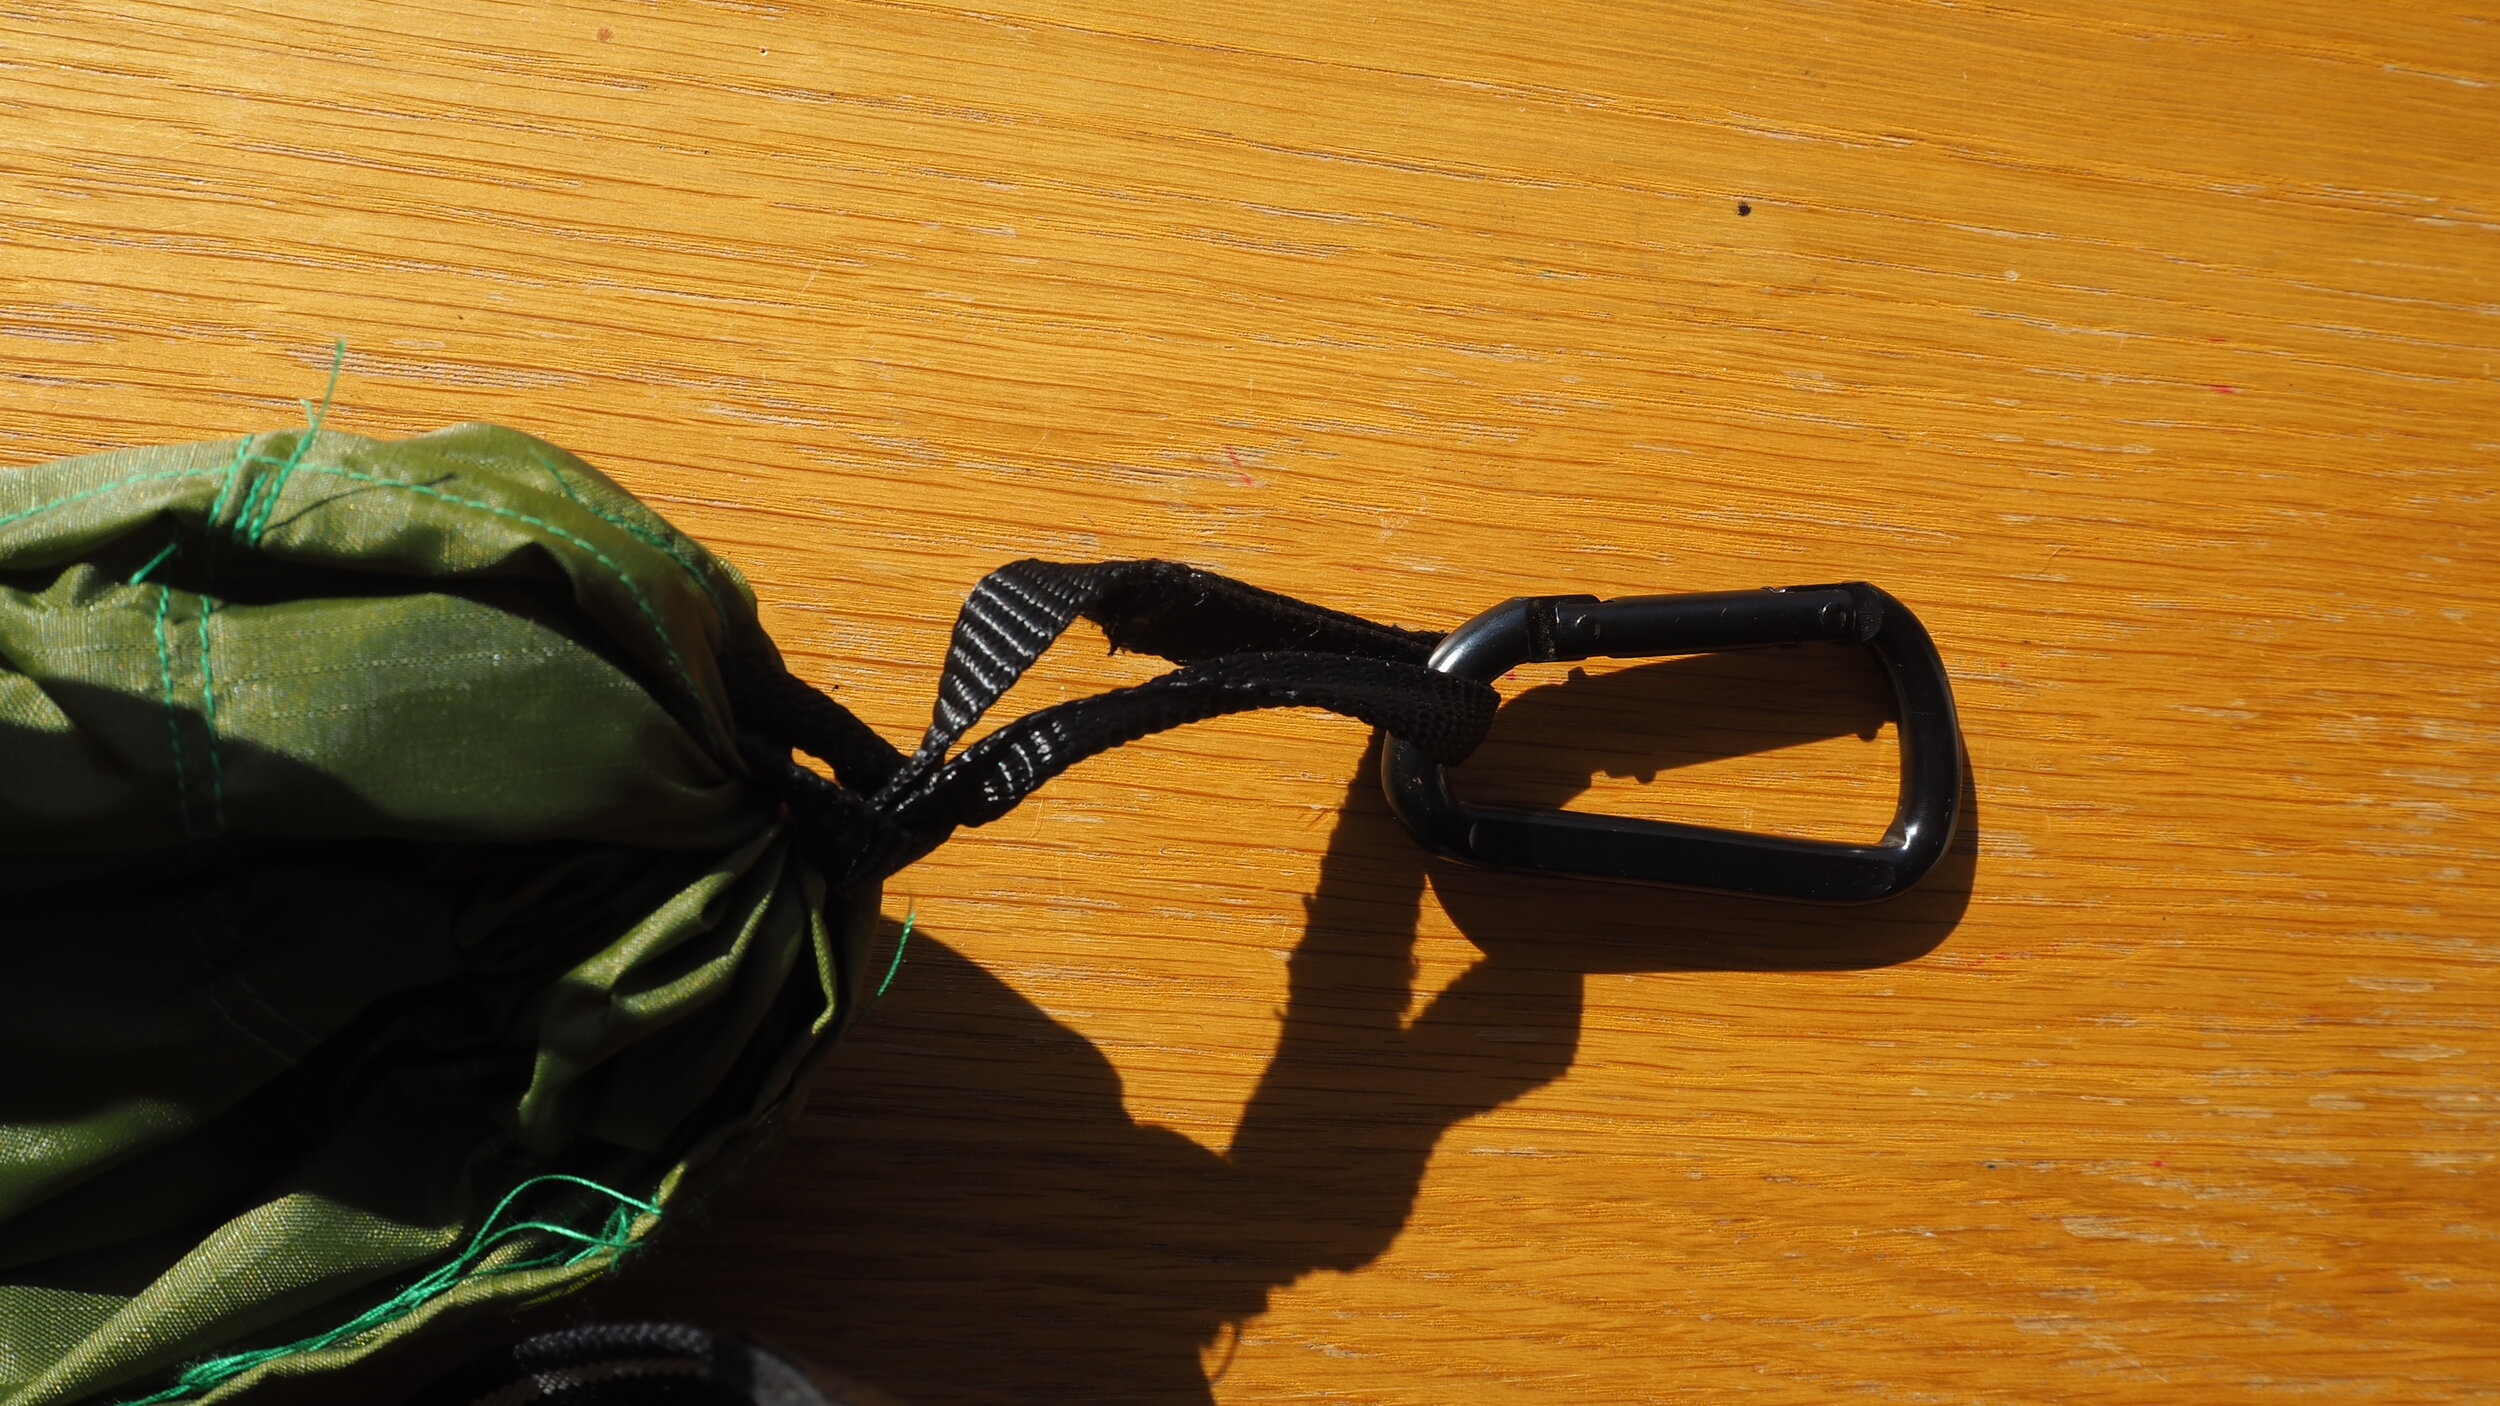
2x small carabiners which are rated for rock climbing so will easily take my weight and then some.
8 press stud poppers to close the bottom of the insect netting under the hammock
A length of our 4mm guy-line cord to create a tensioning ridge-line for the hammock and net.
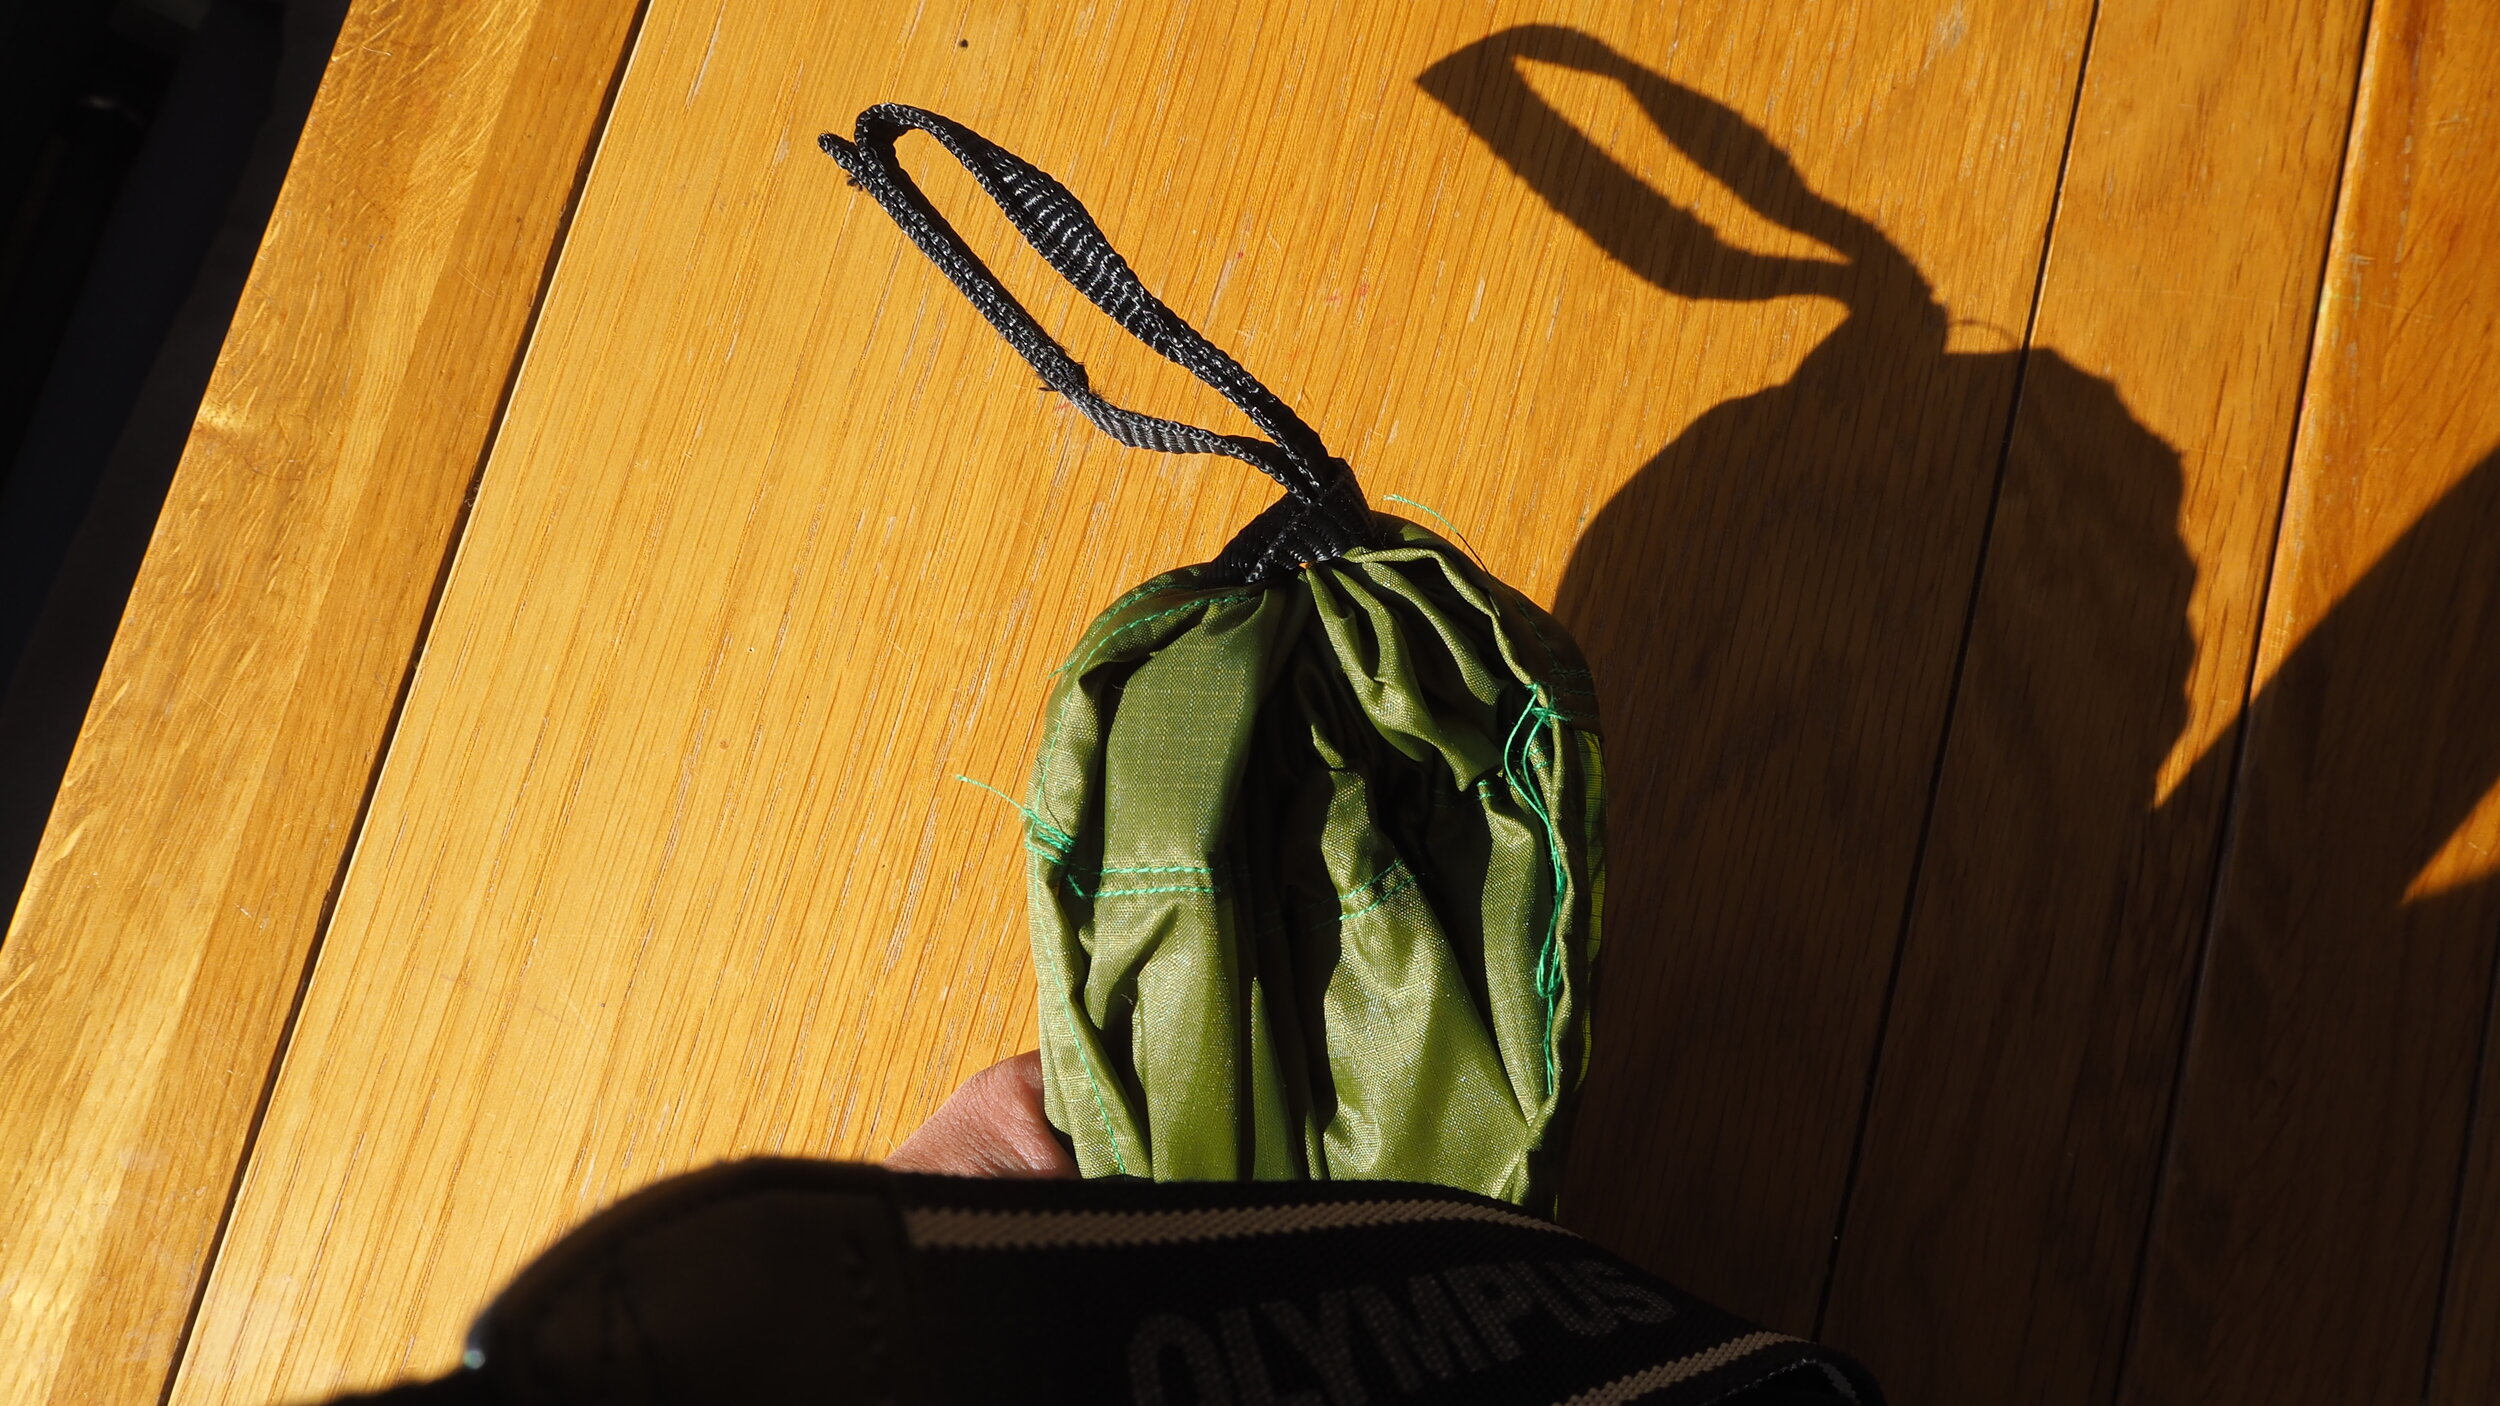
A 5 litre dry bag to pack the system into.
About a metre of tailors ribbon to make tie offs for the net and to pegging it to the ground.
The Build:
Hammock:
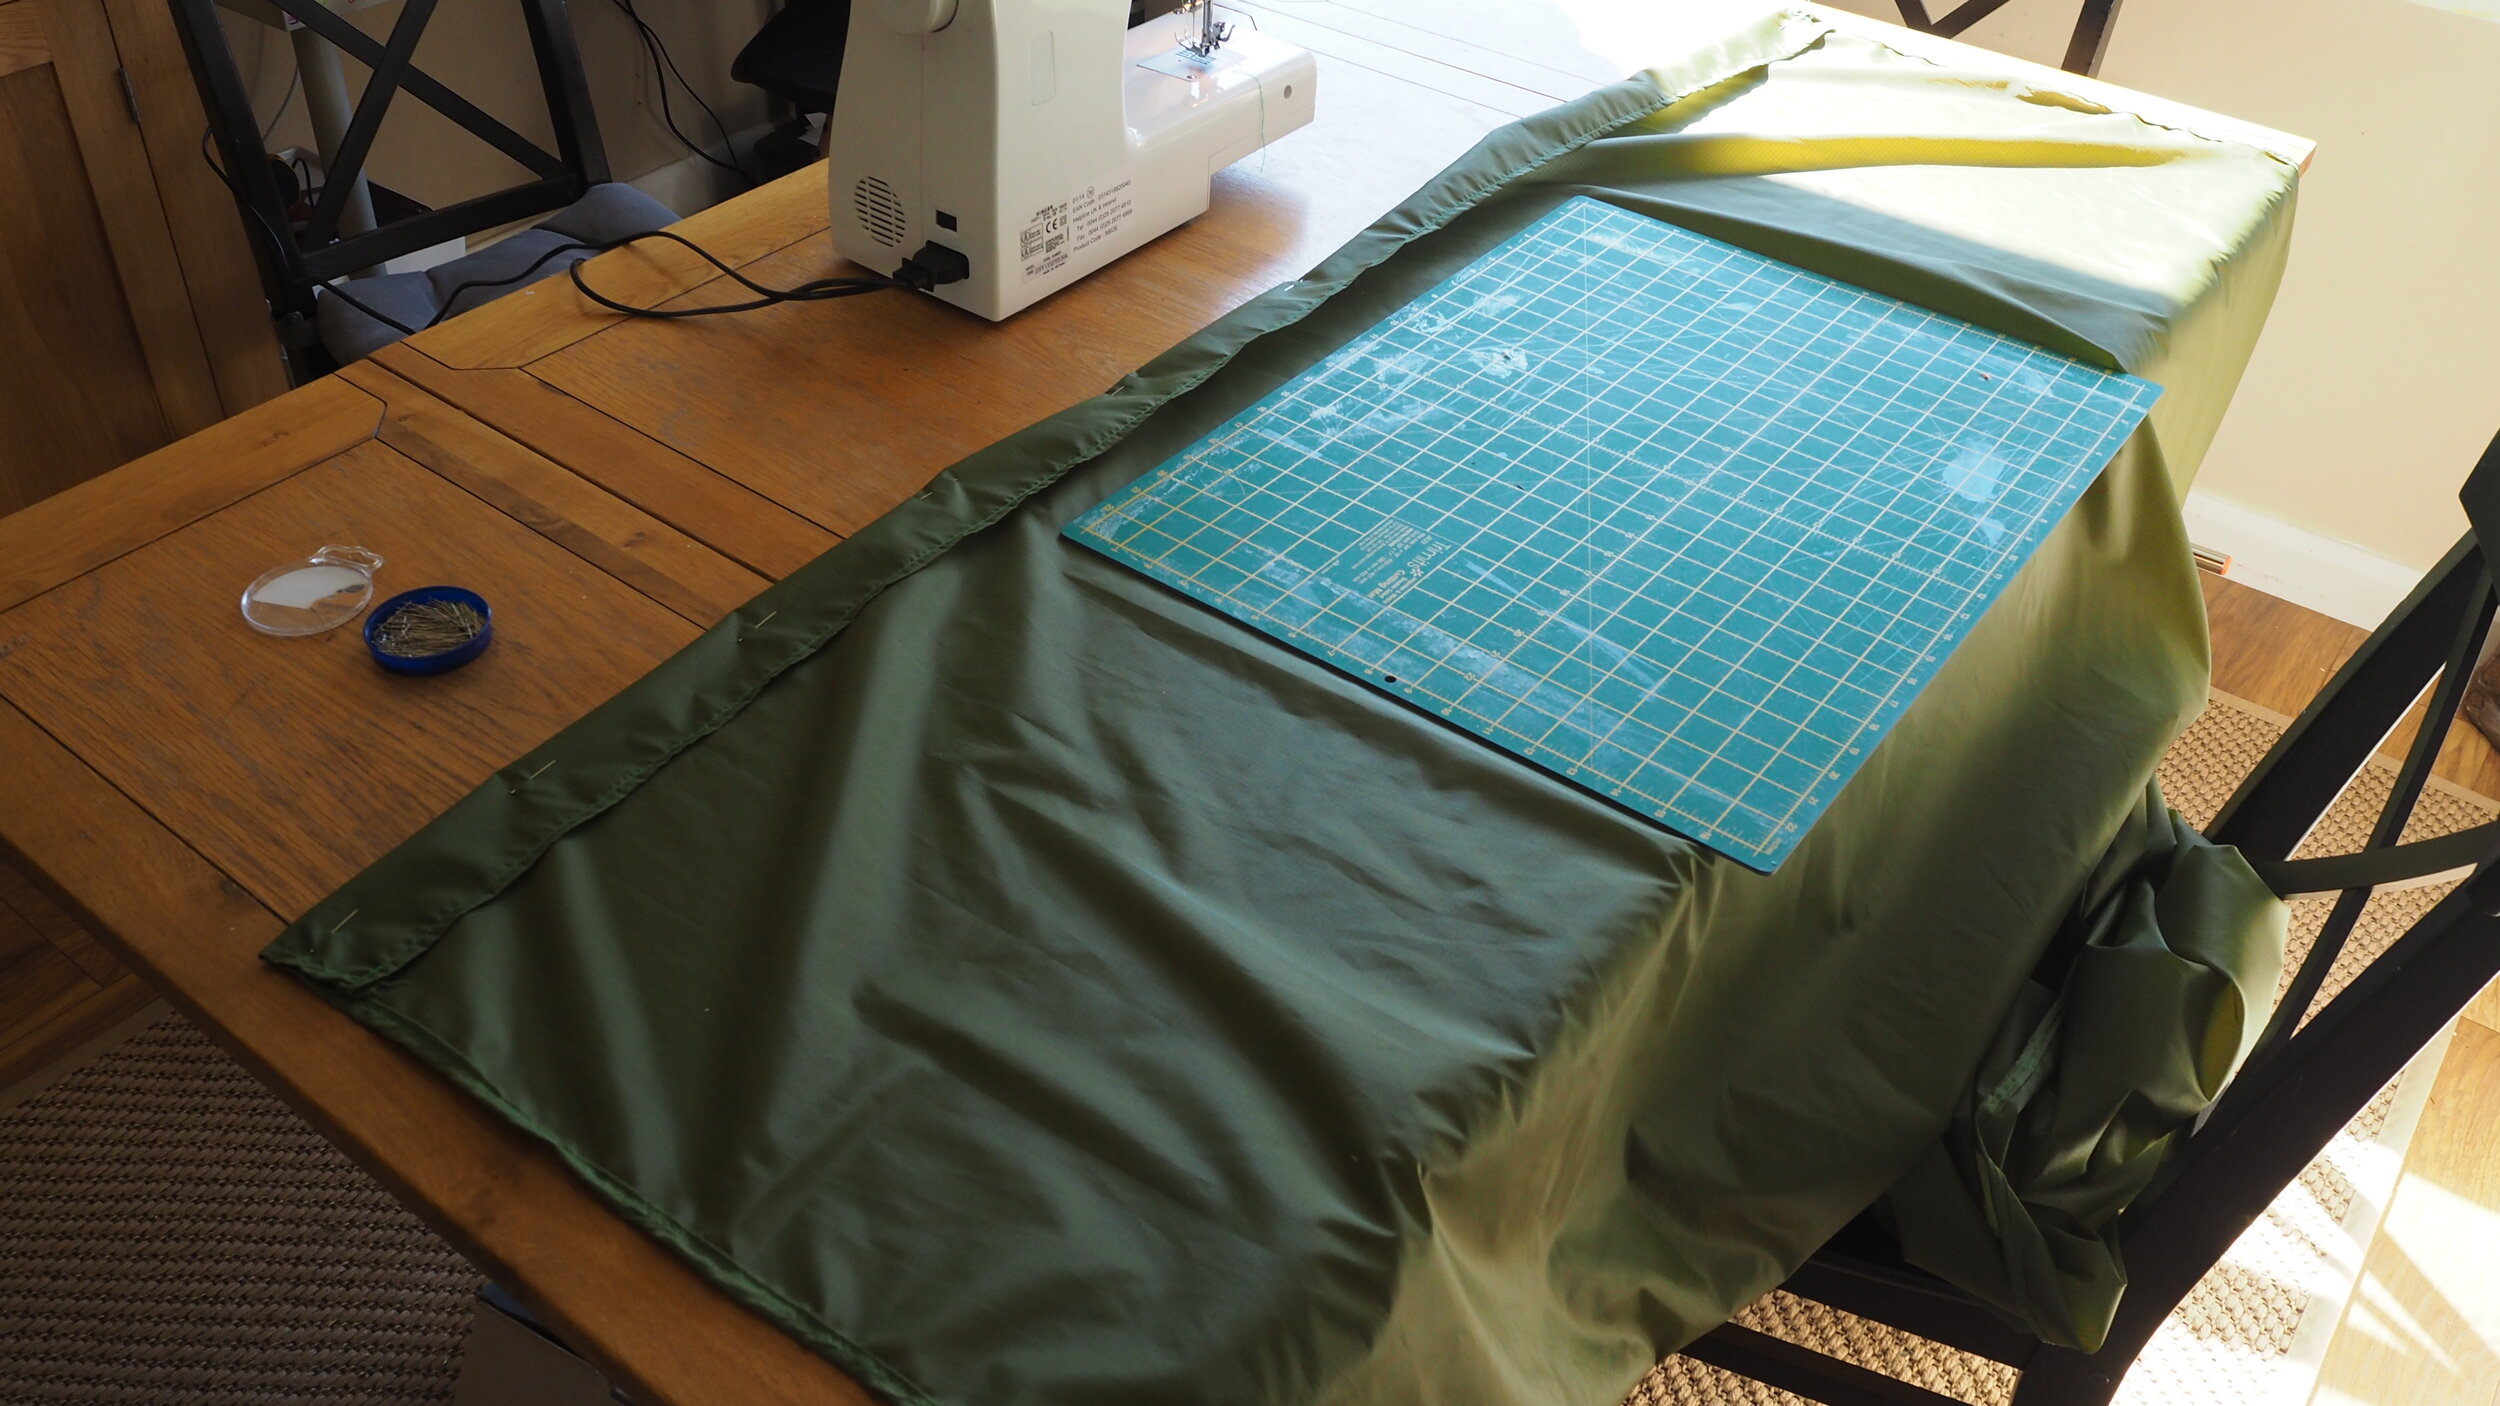
Making the hammock is very…very simple. I’m no tailor and my skills with the sewing machine are based on bare minimum essentials! So with the machine set to a medium stitch length, and a mid-tension, I constructed the whole hammock in an hour with strong poly-cotton thread and a straight forward running stitch.
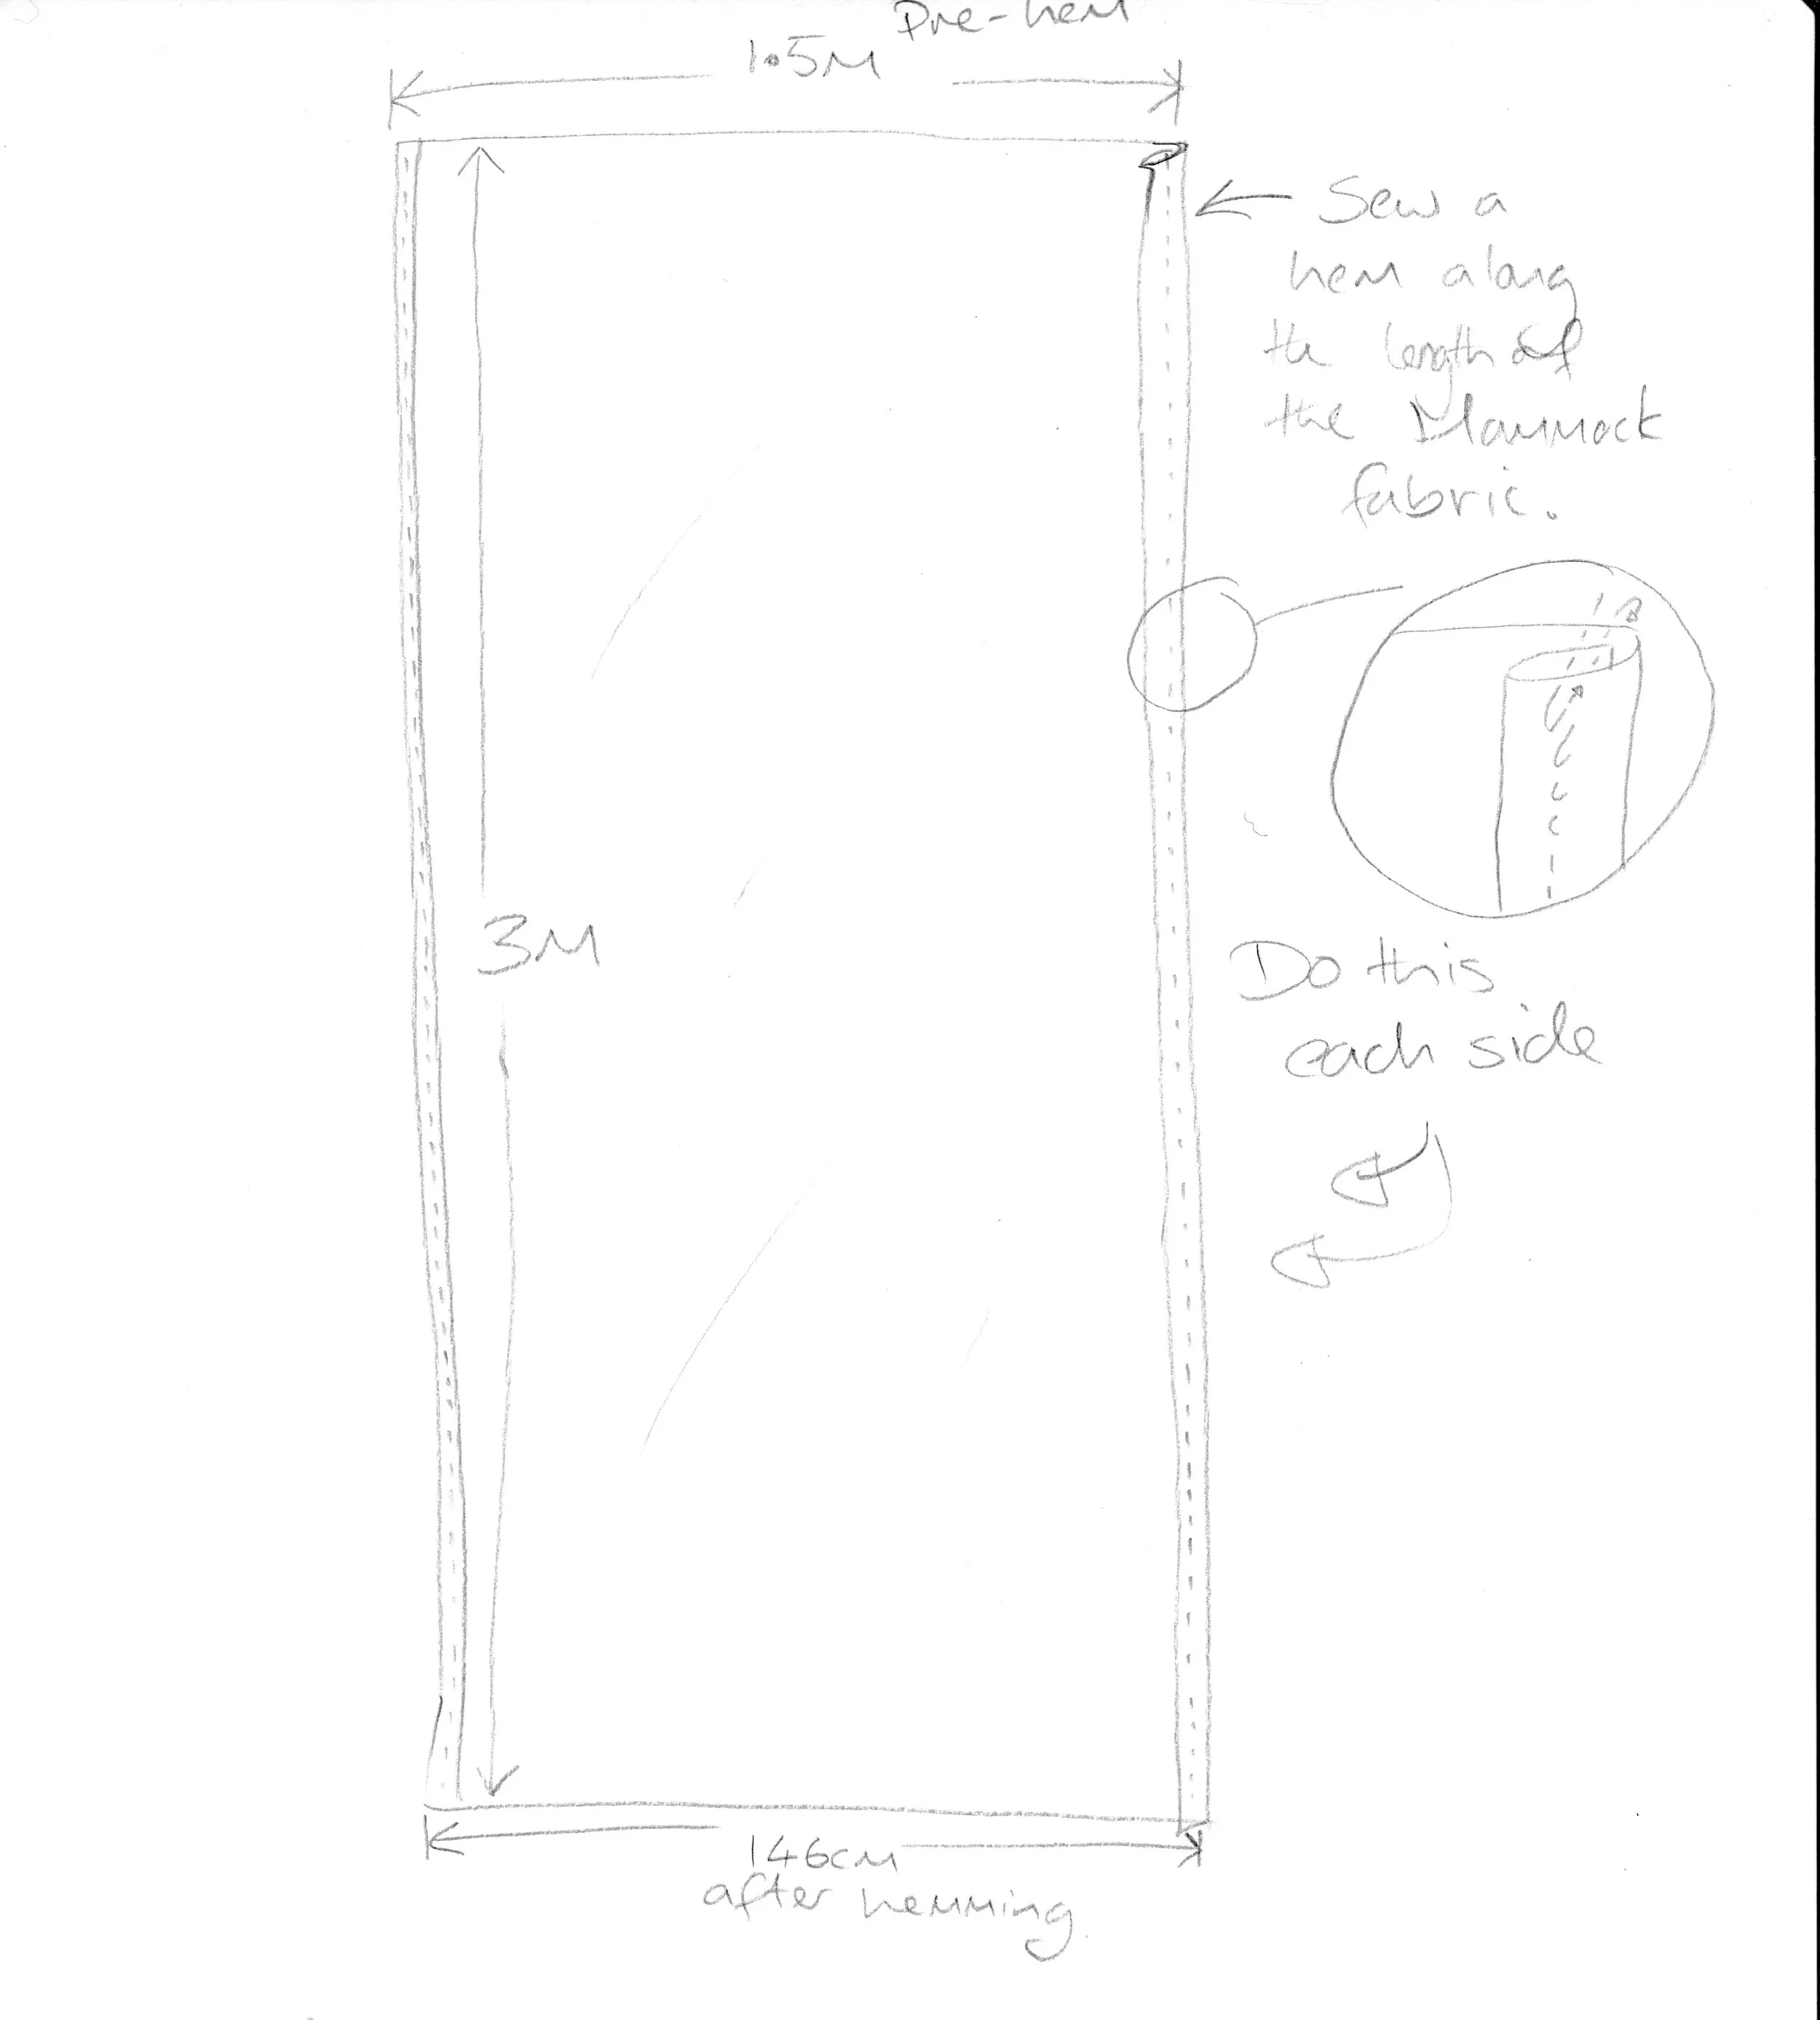
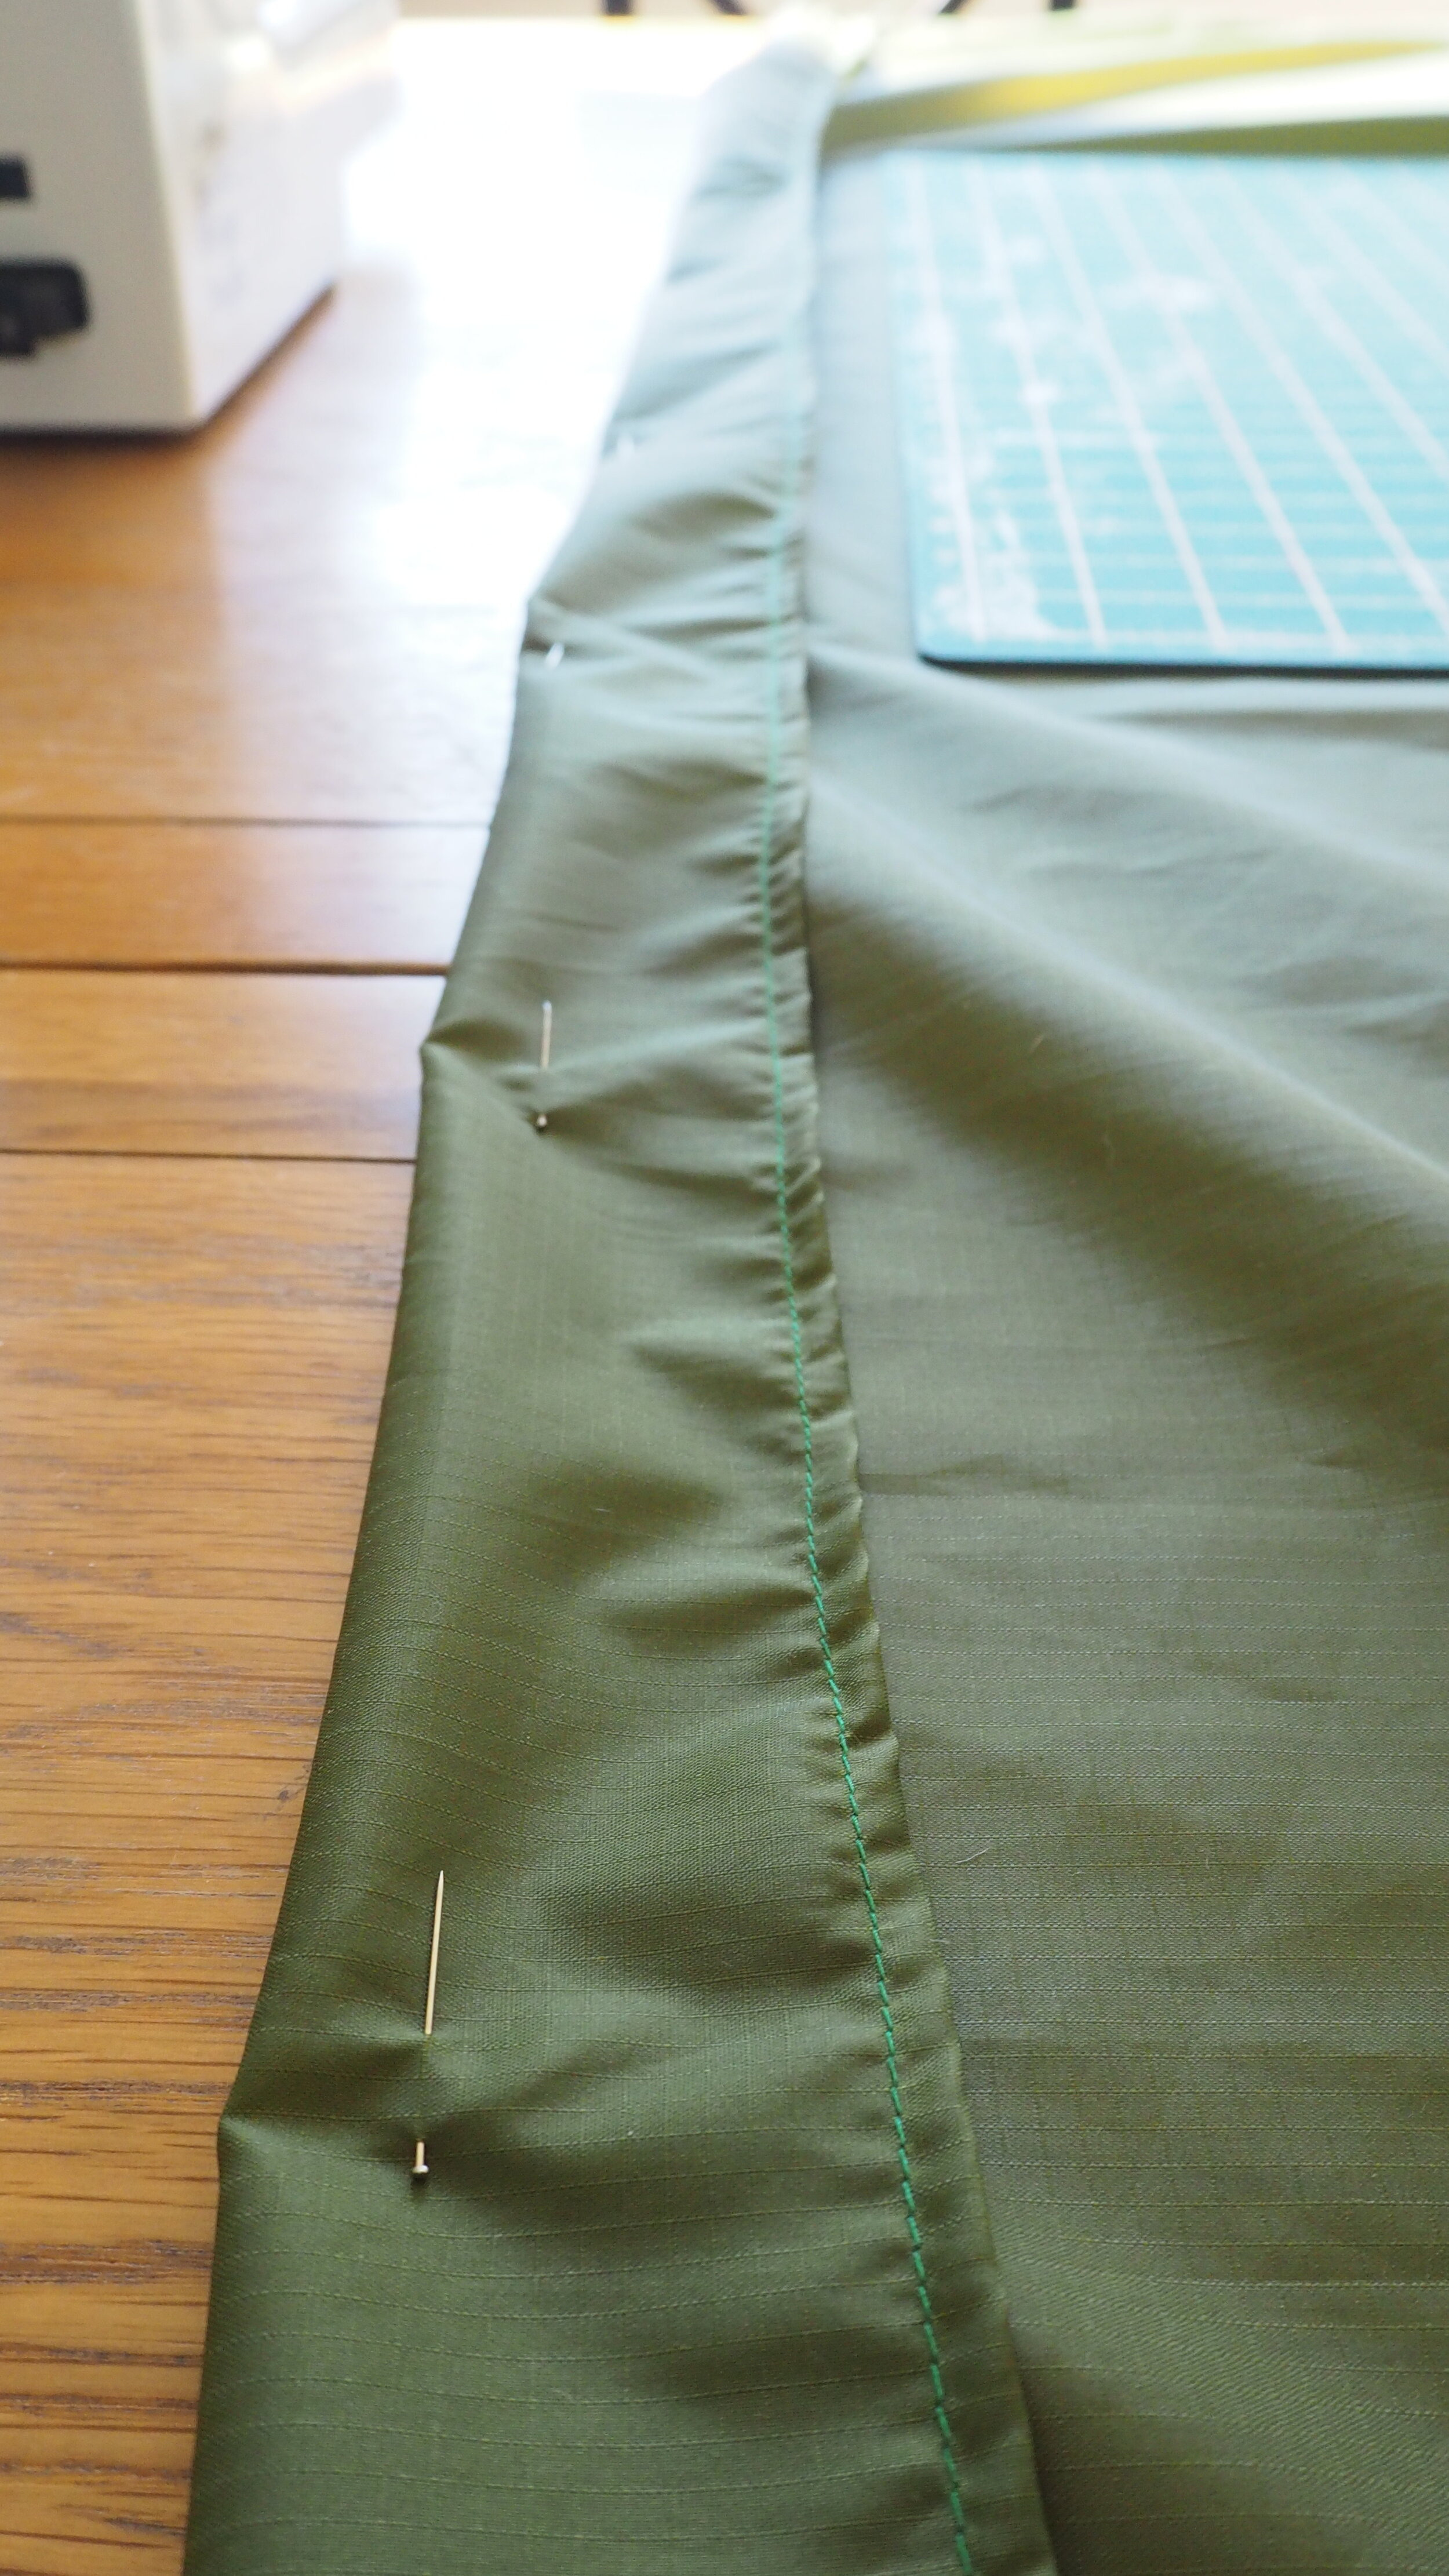
First thing is to hem the long edges of the fabric. Though not essential as most ripstop nylon edges at the roll width are fine, doing this adds a certain border to the hammock.
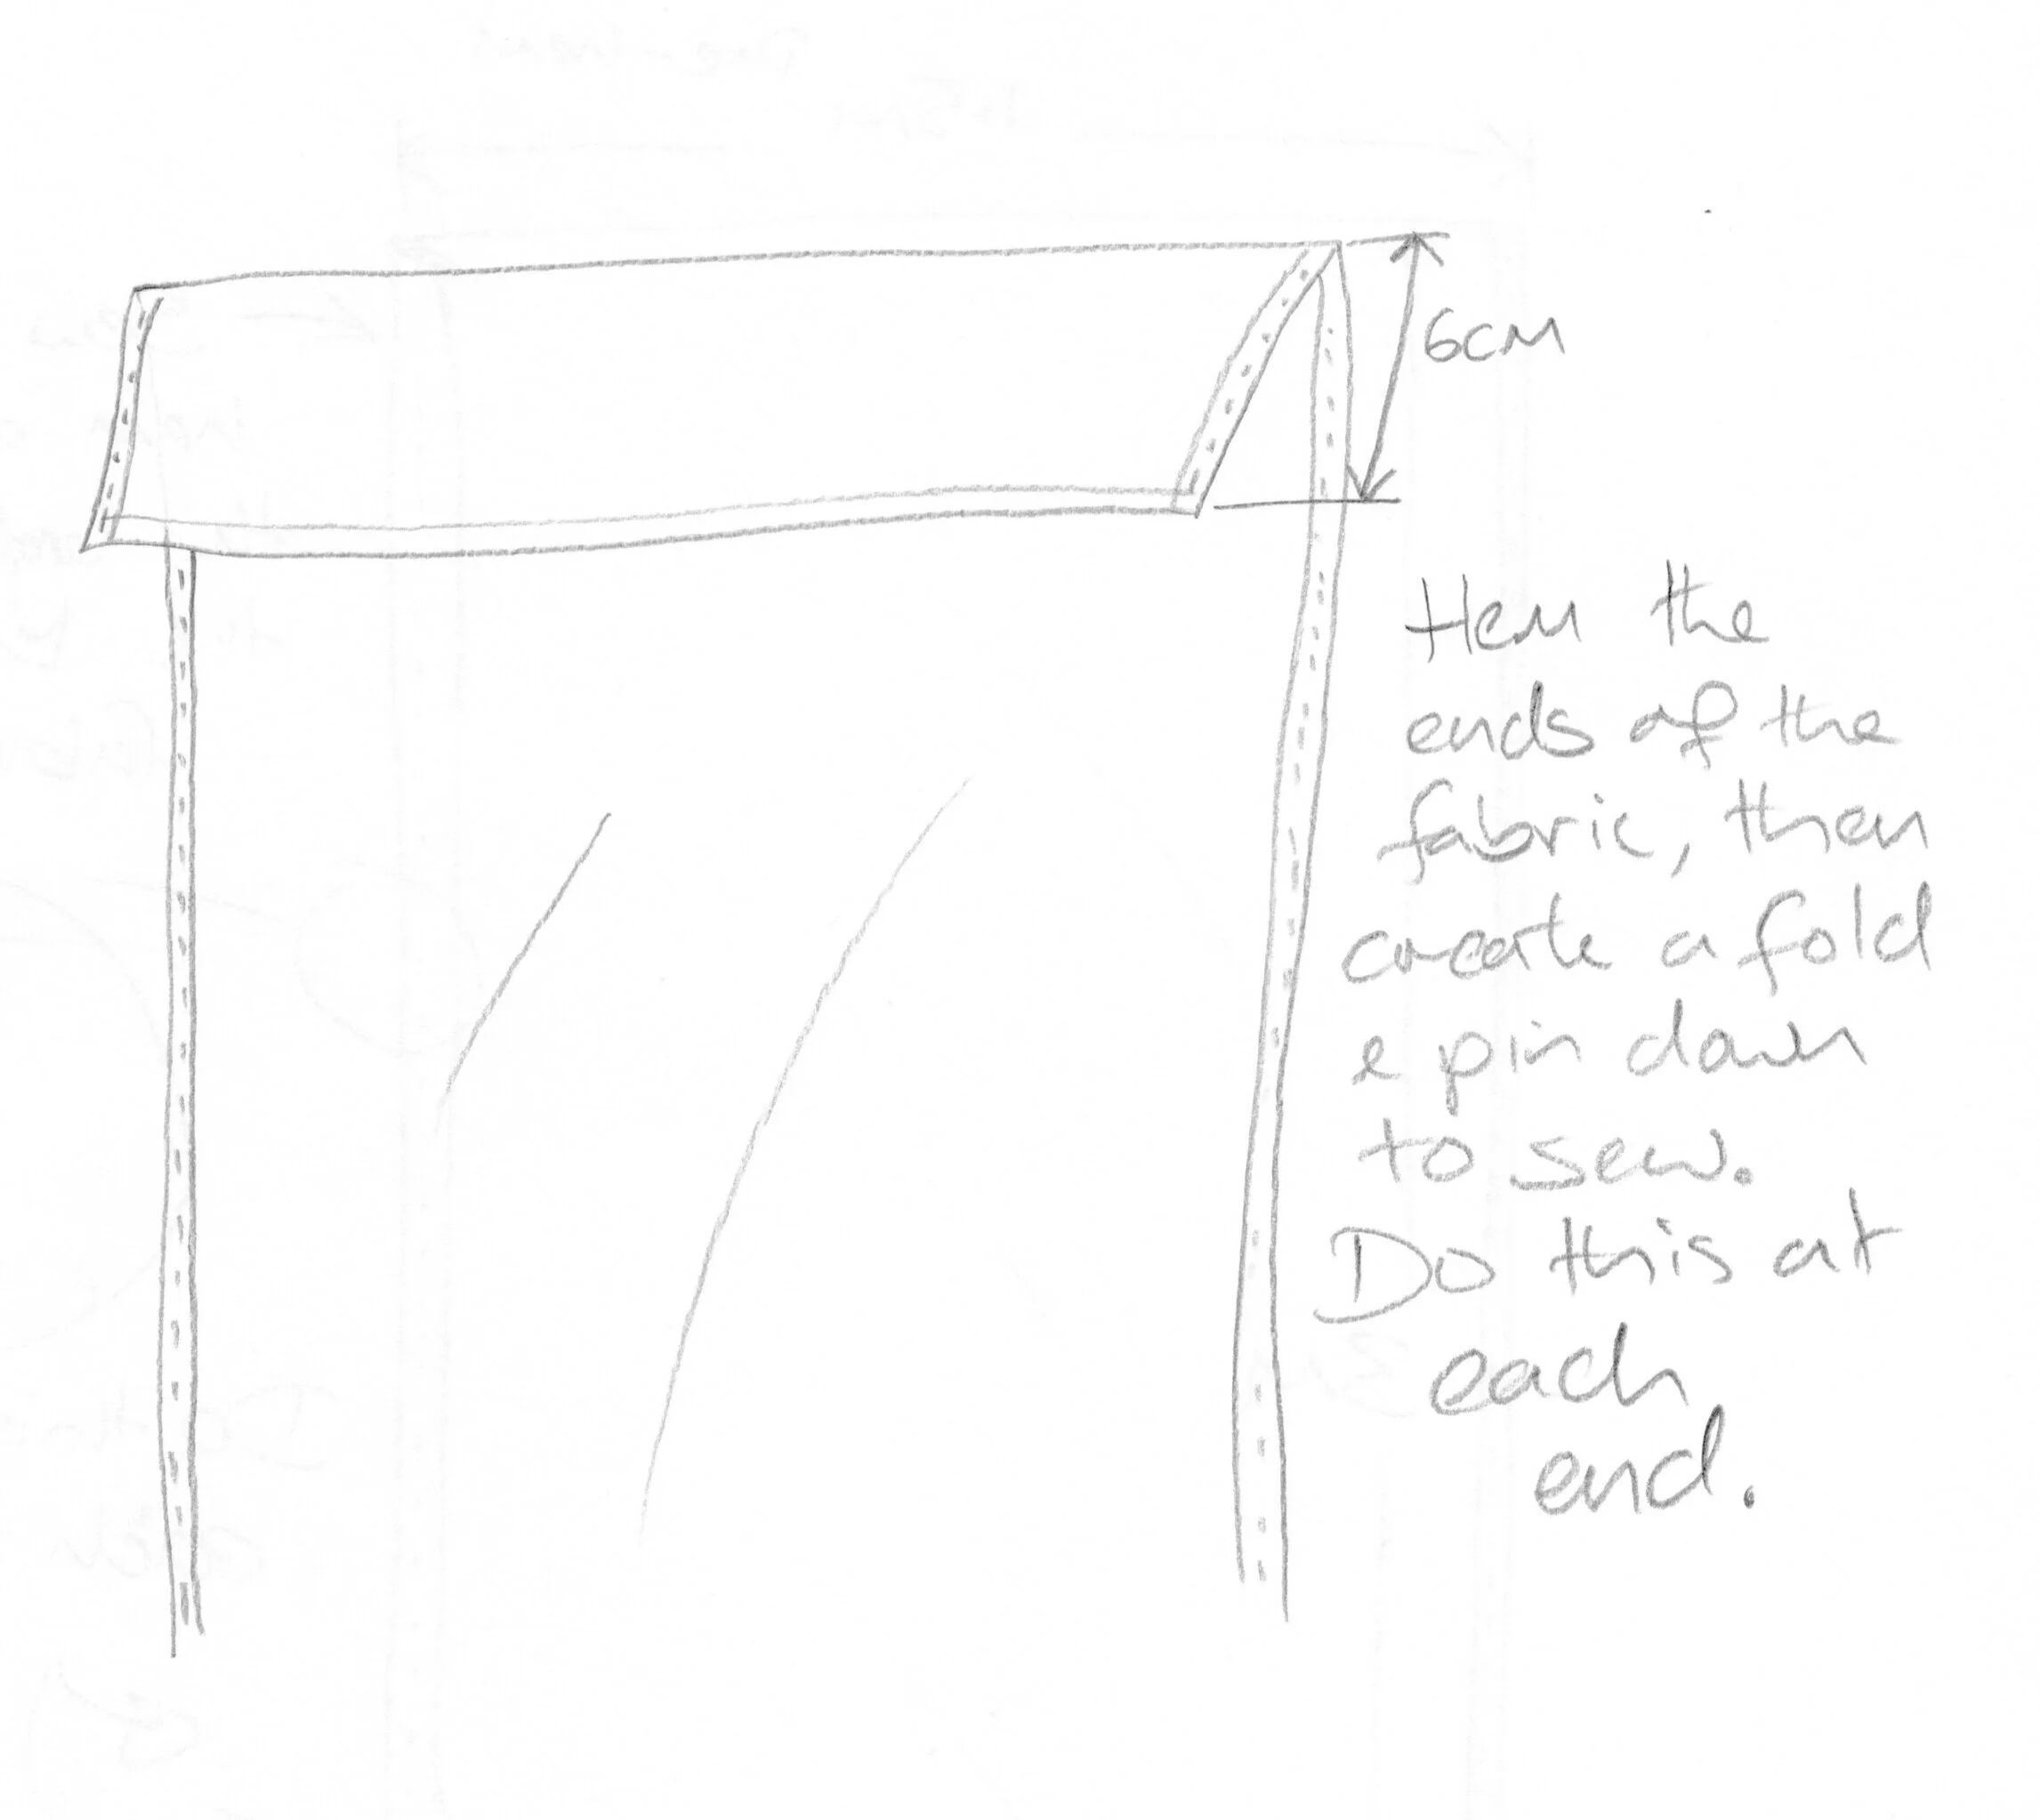
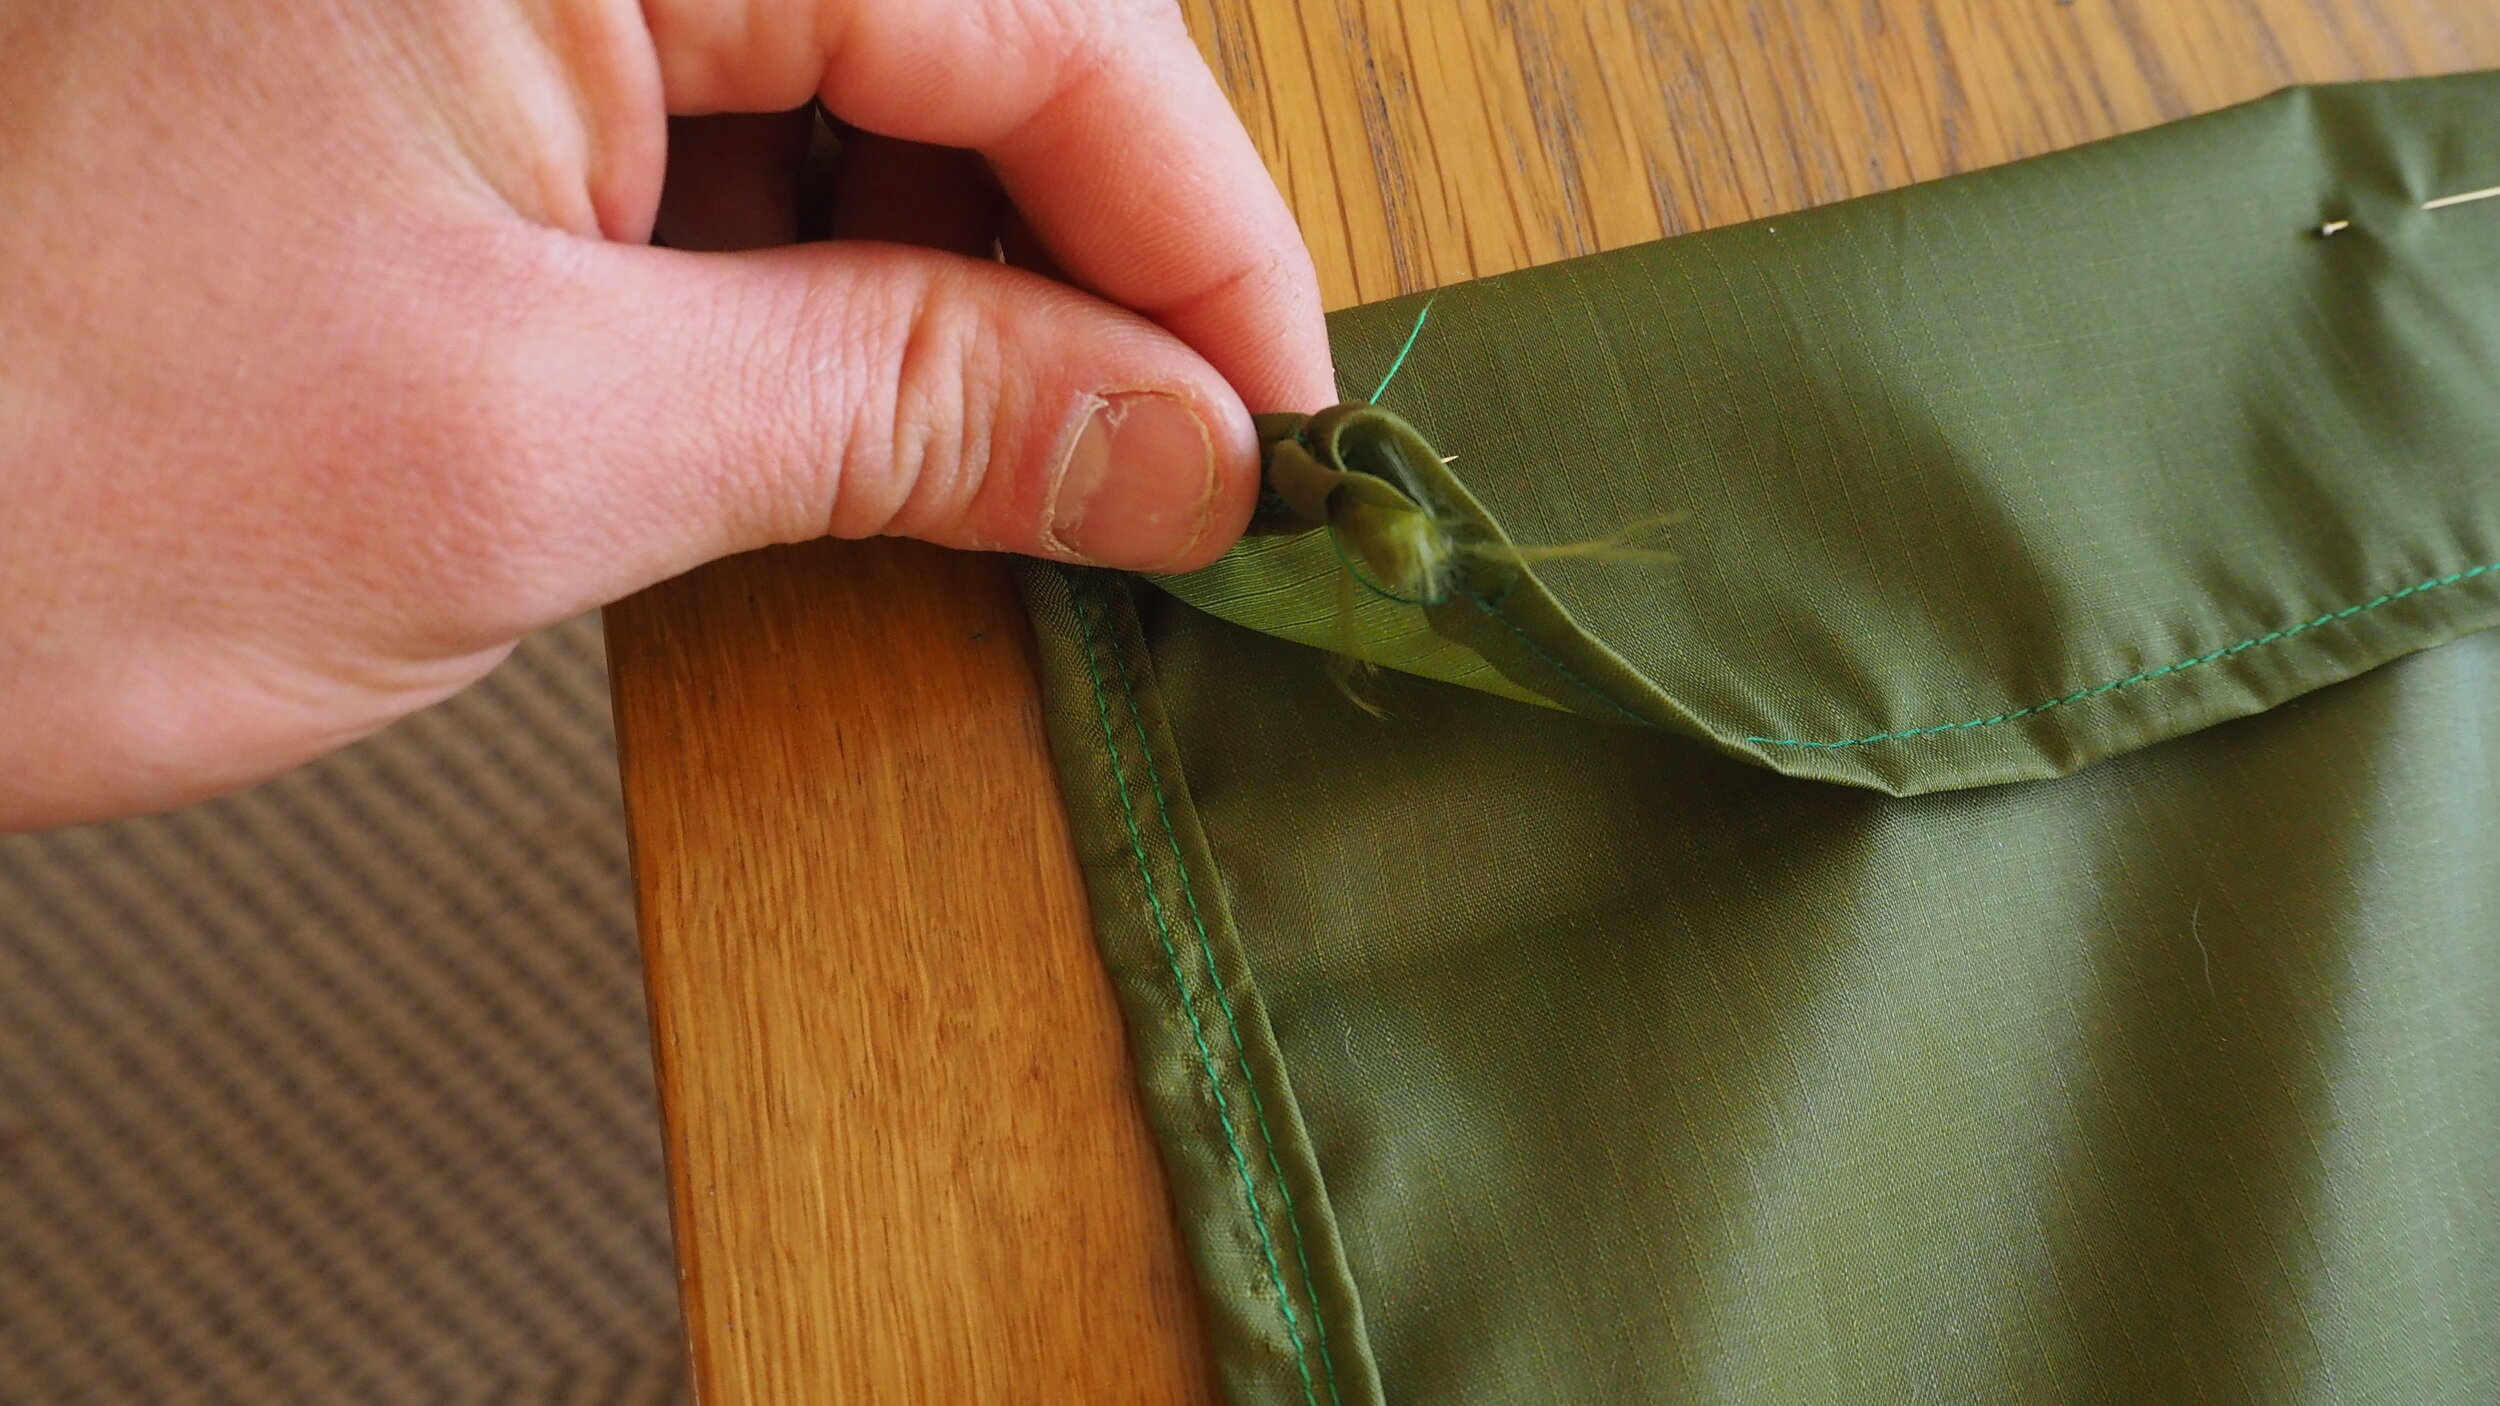
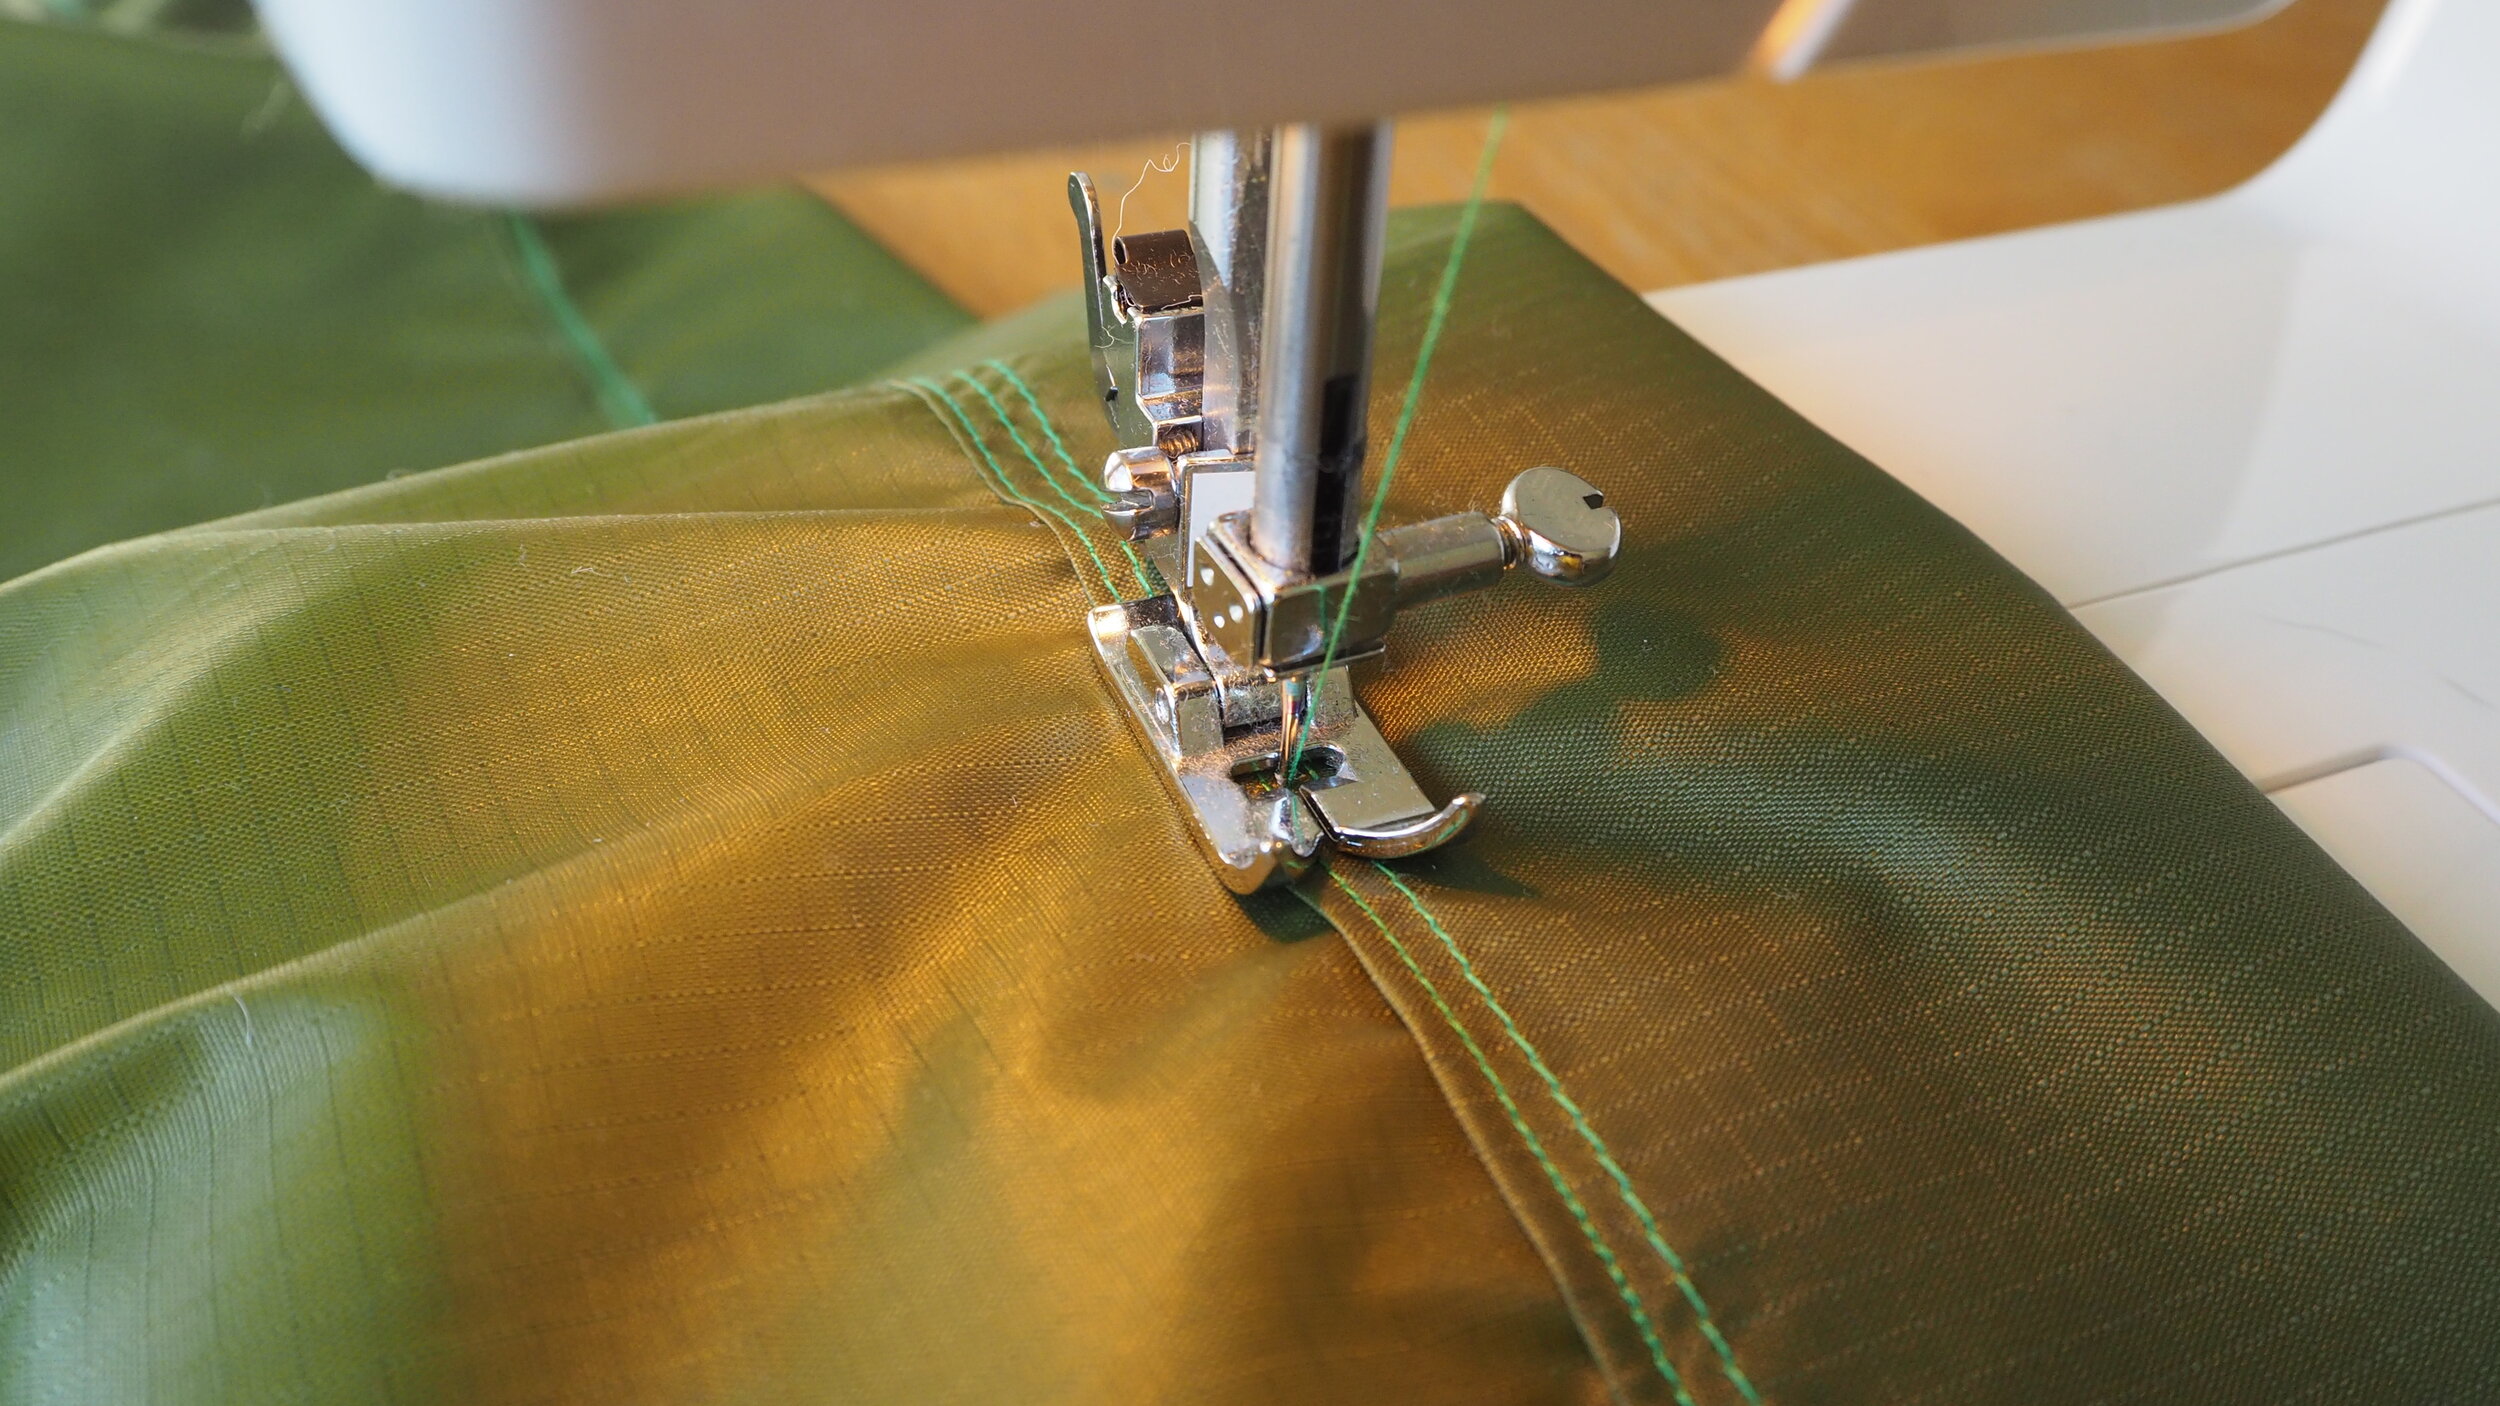
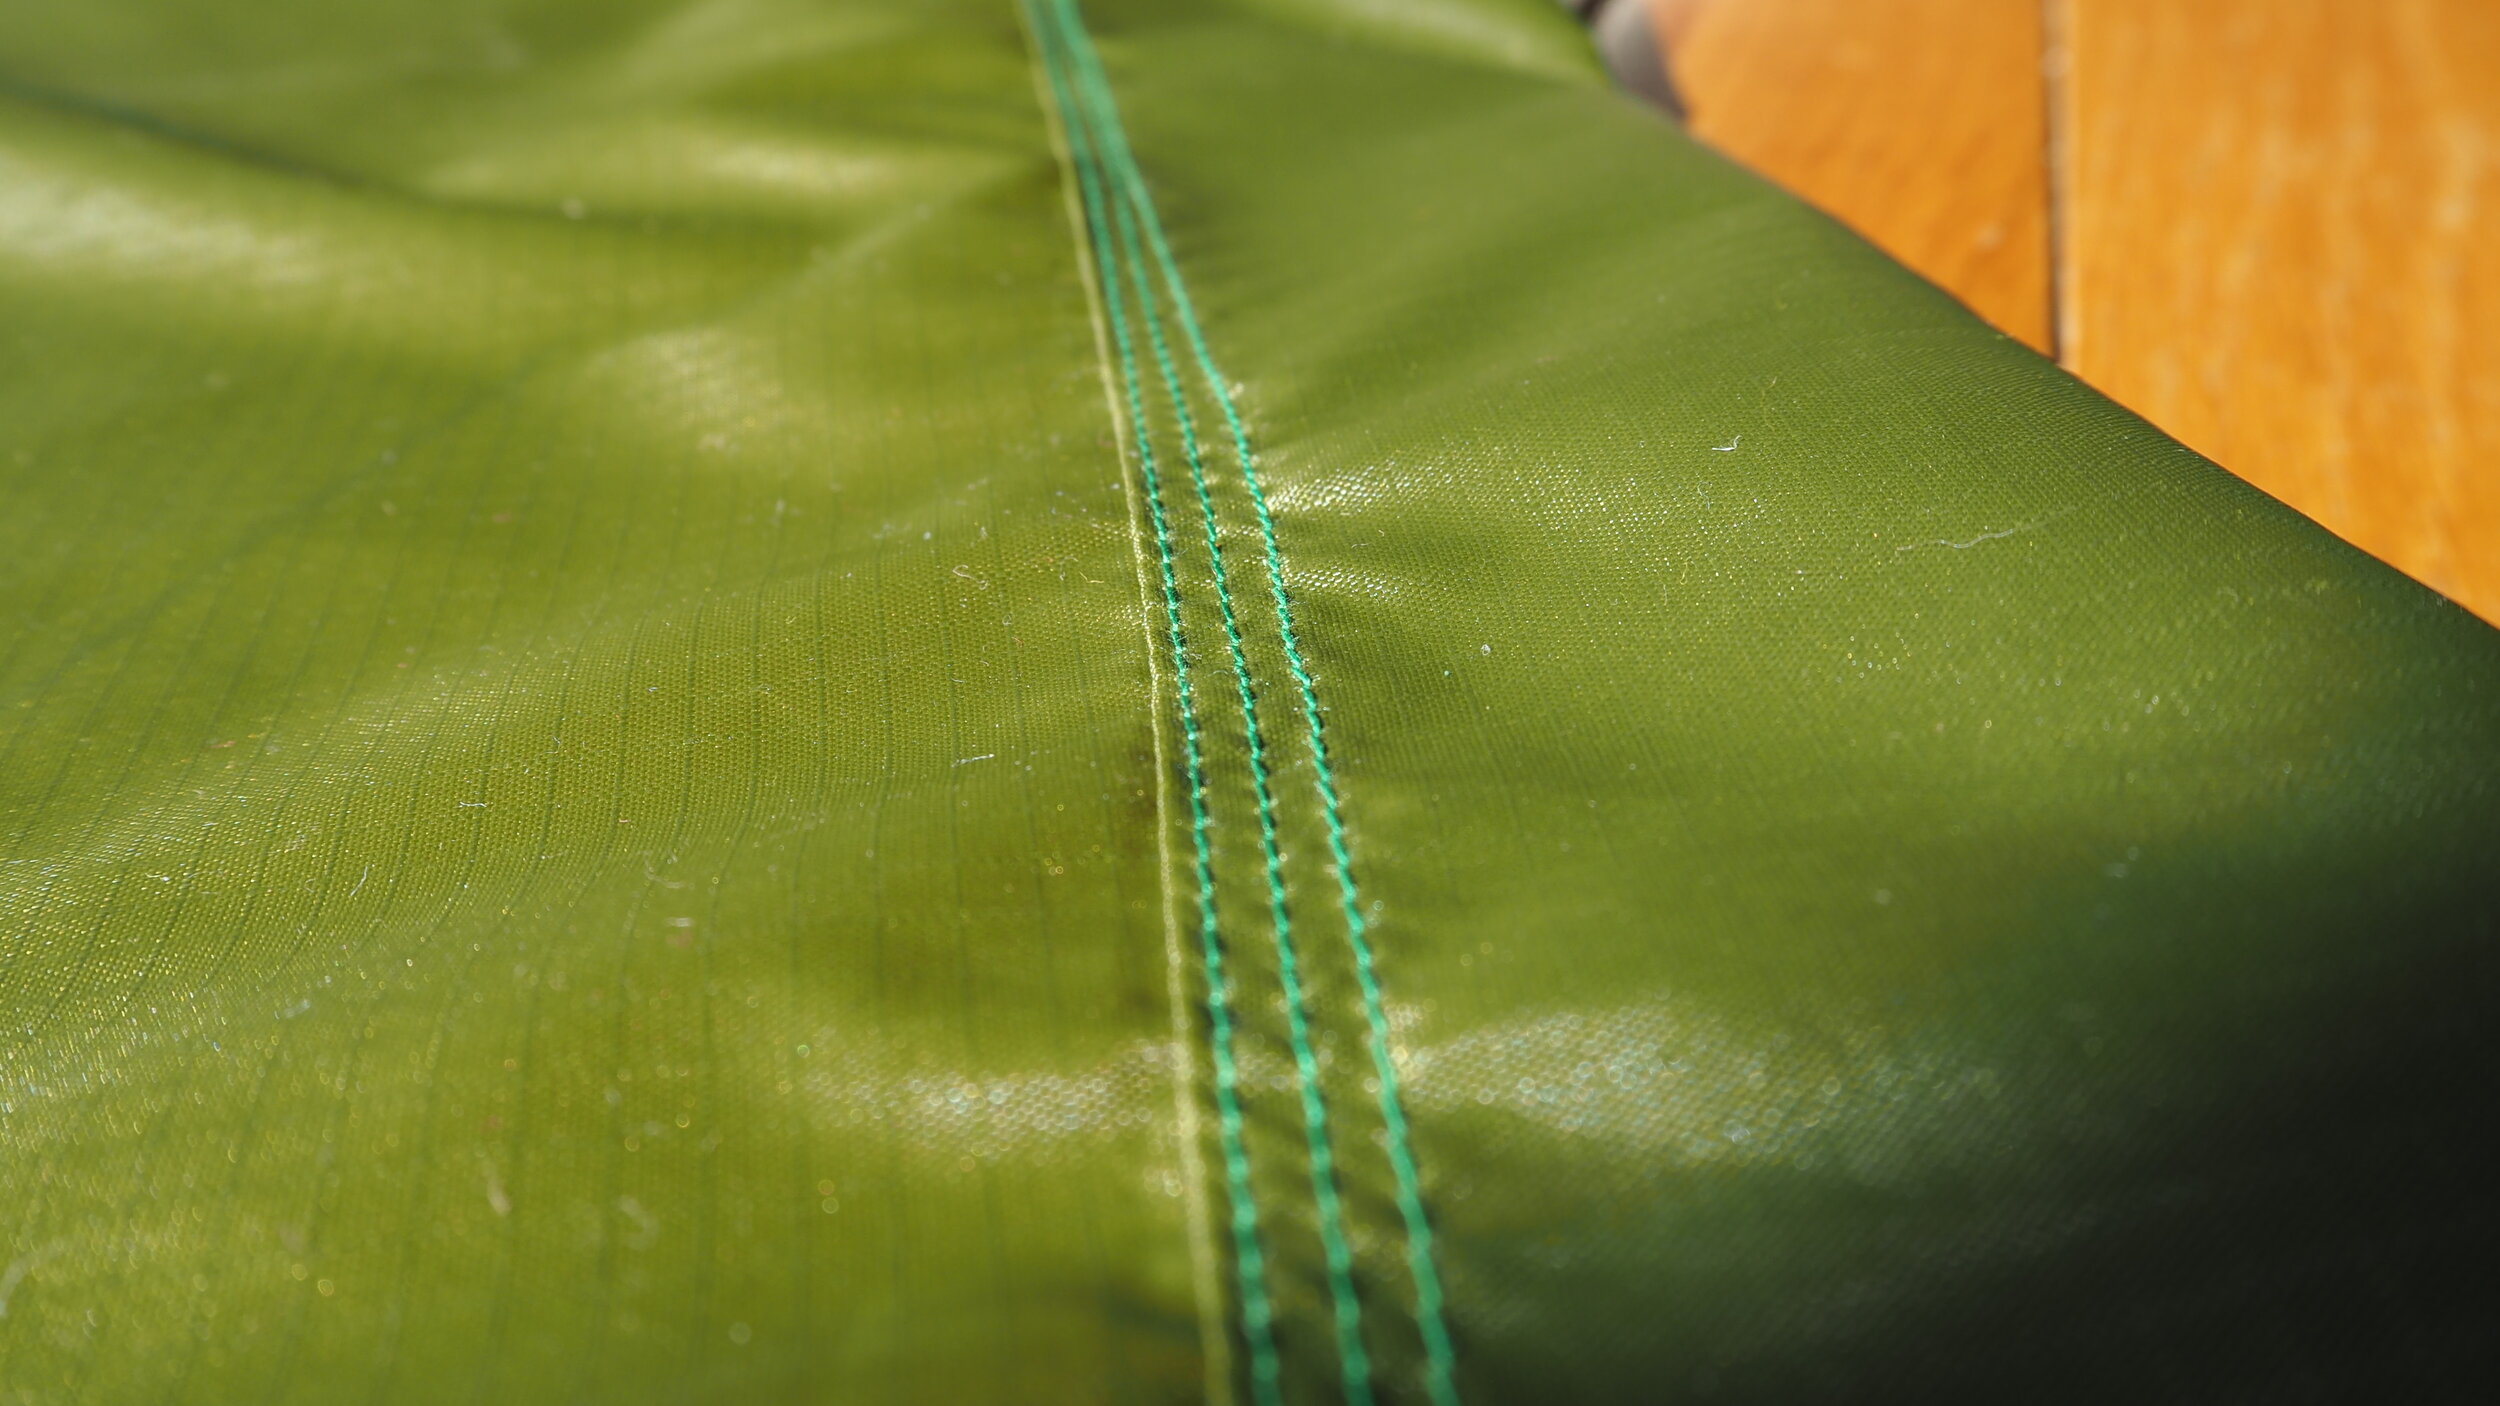
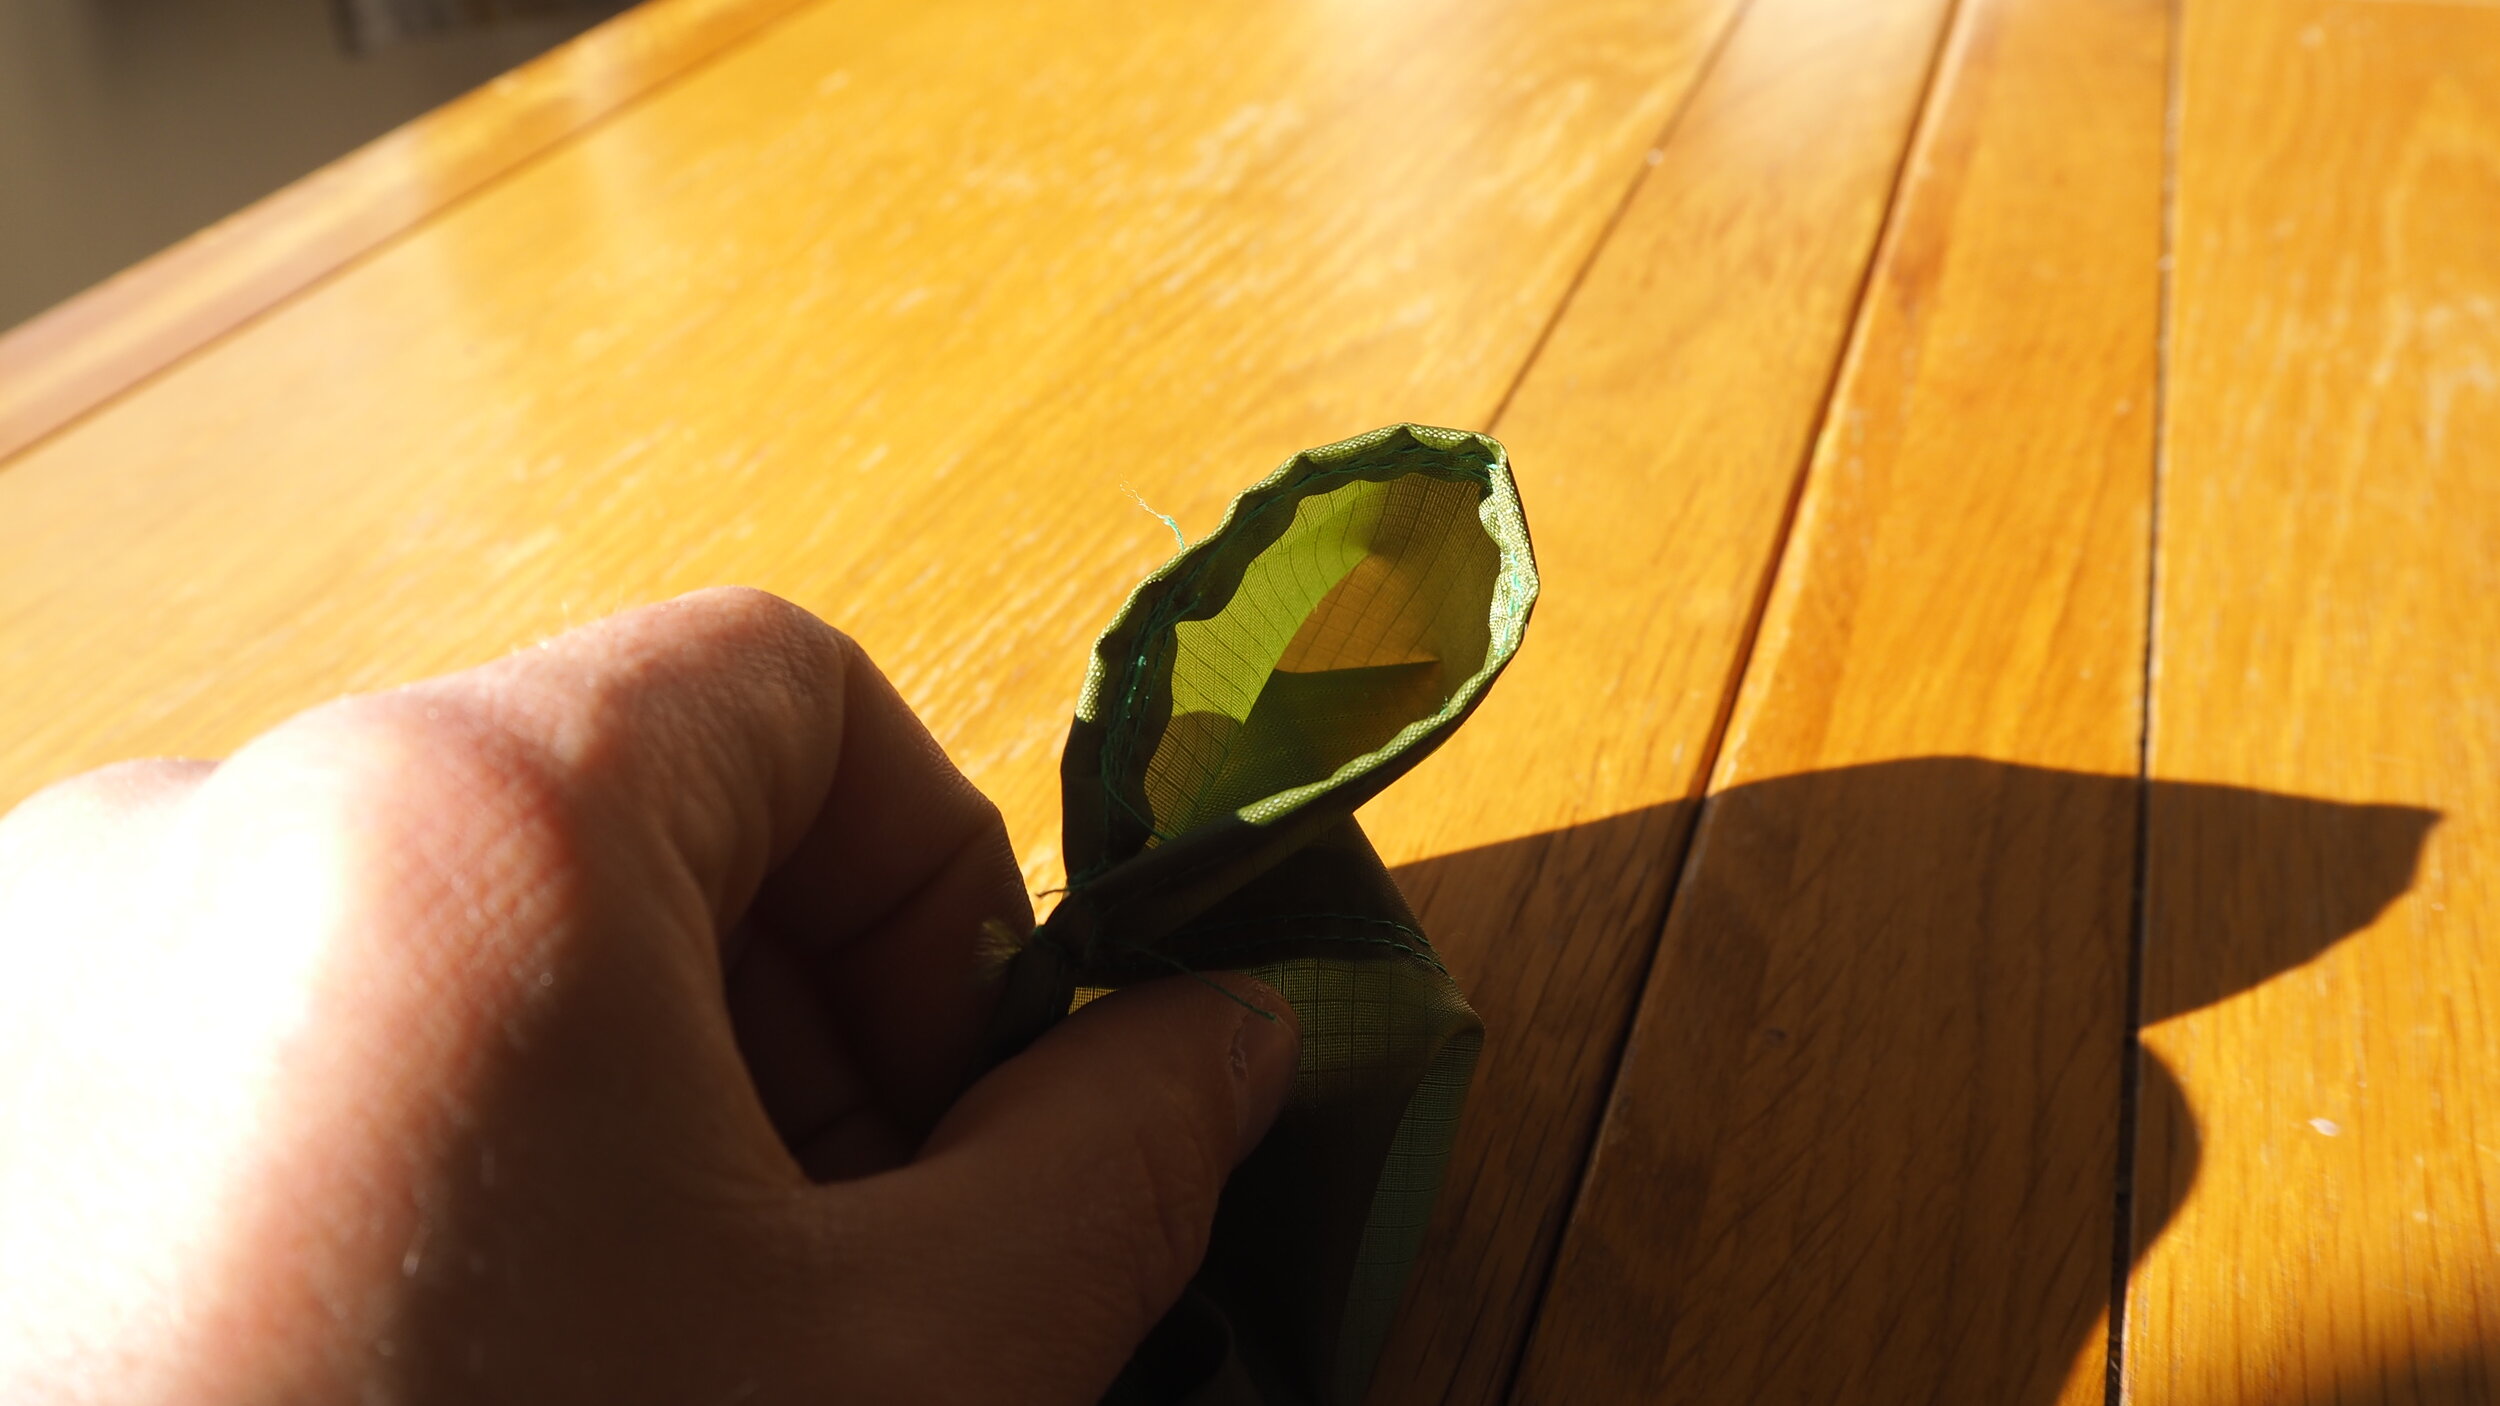
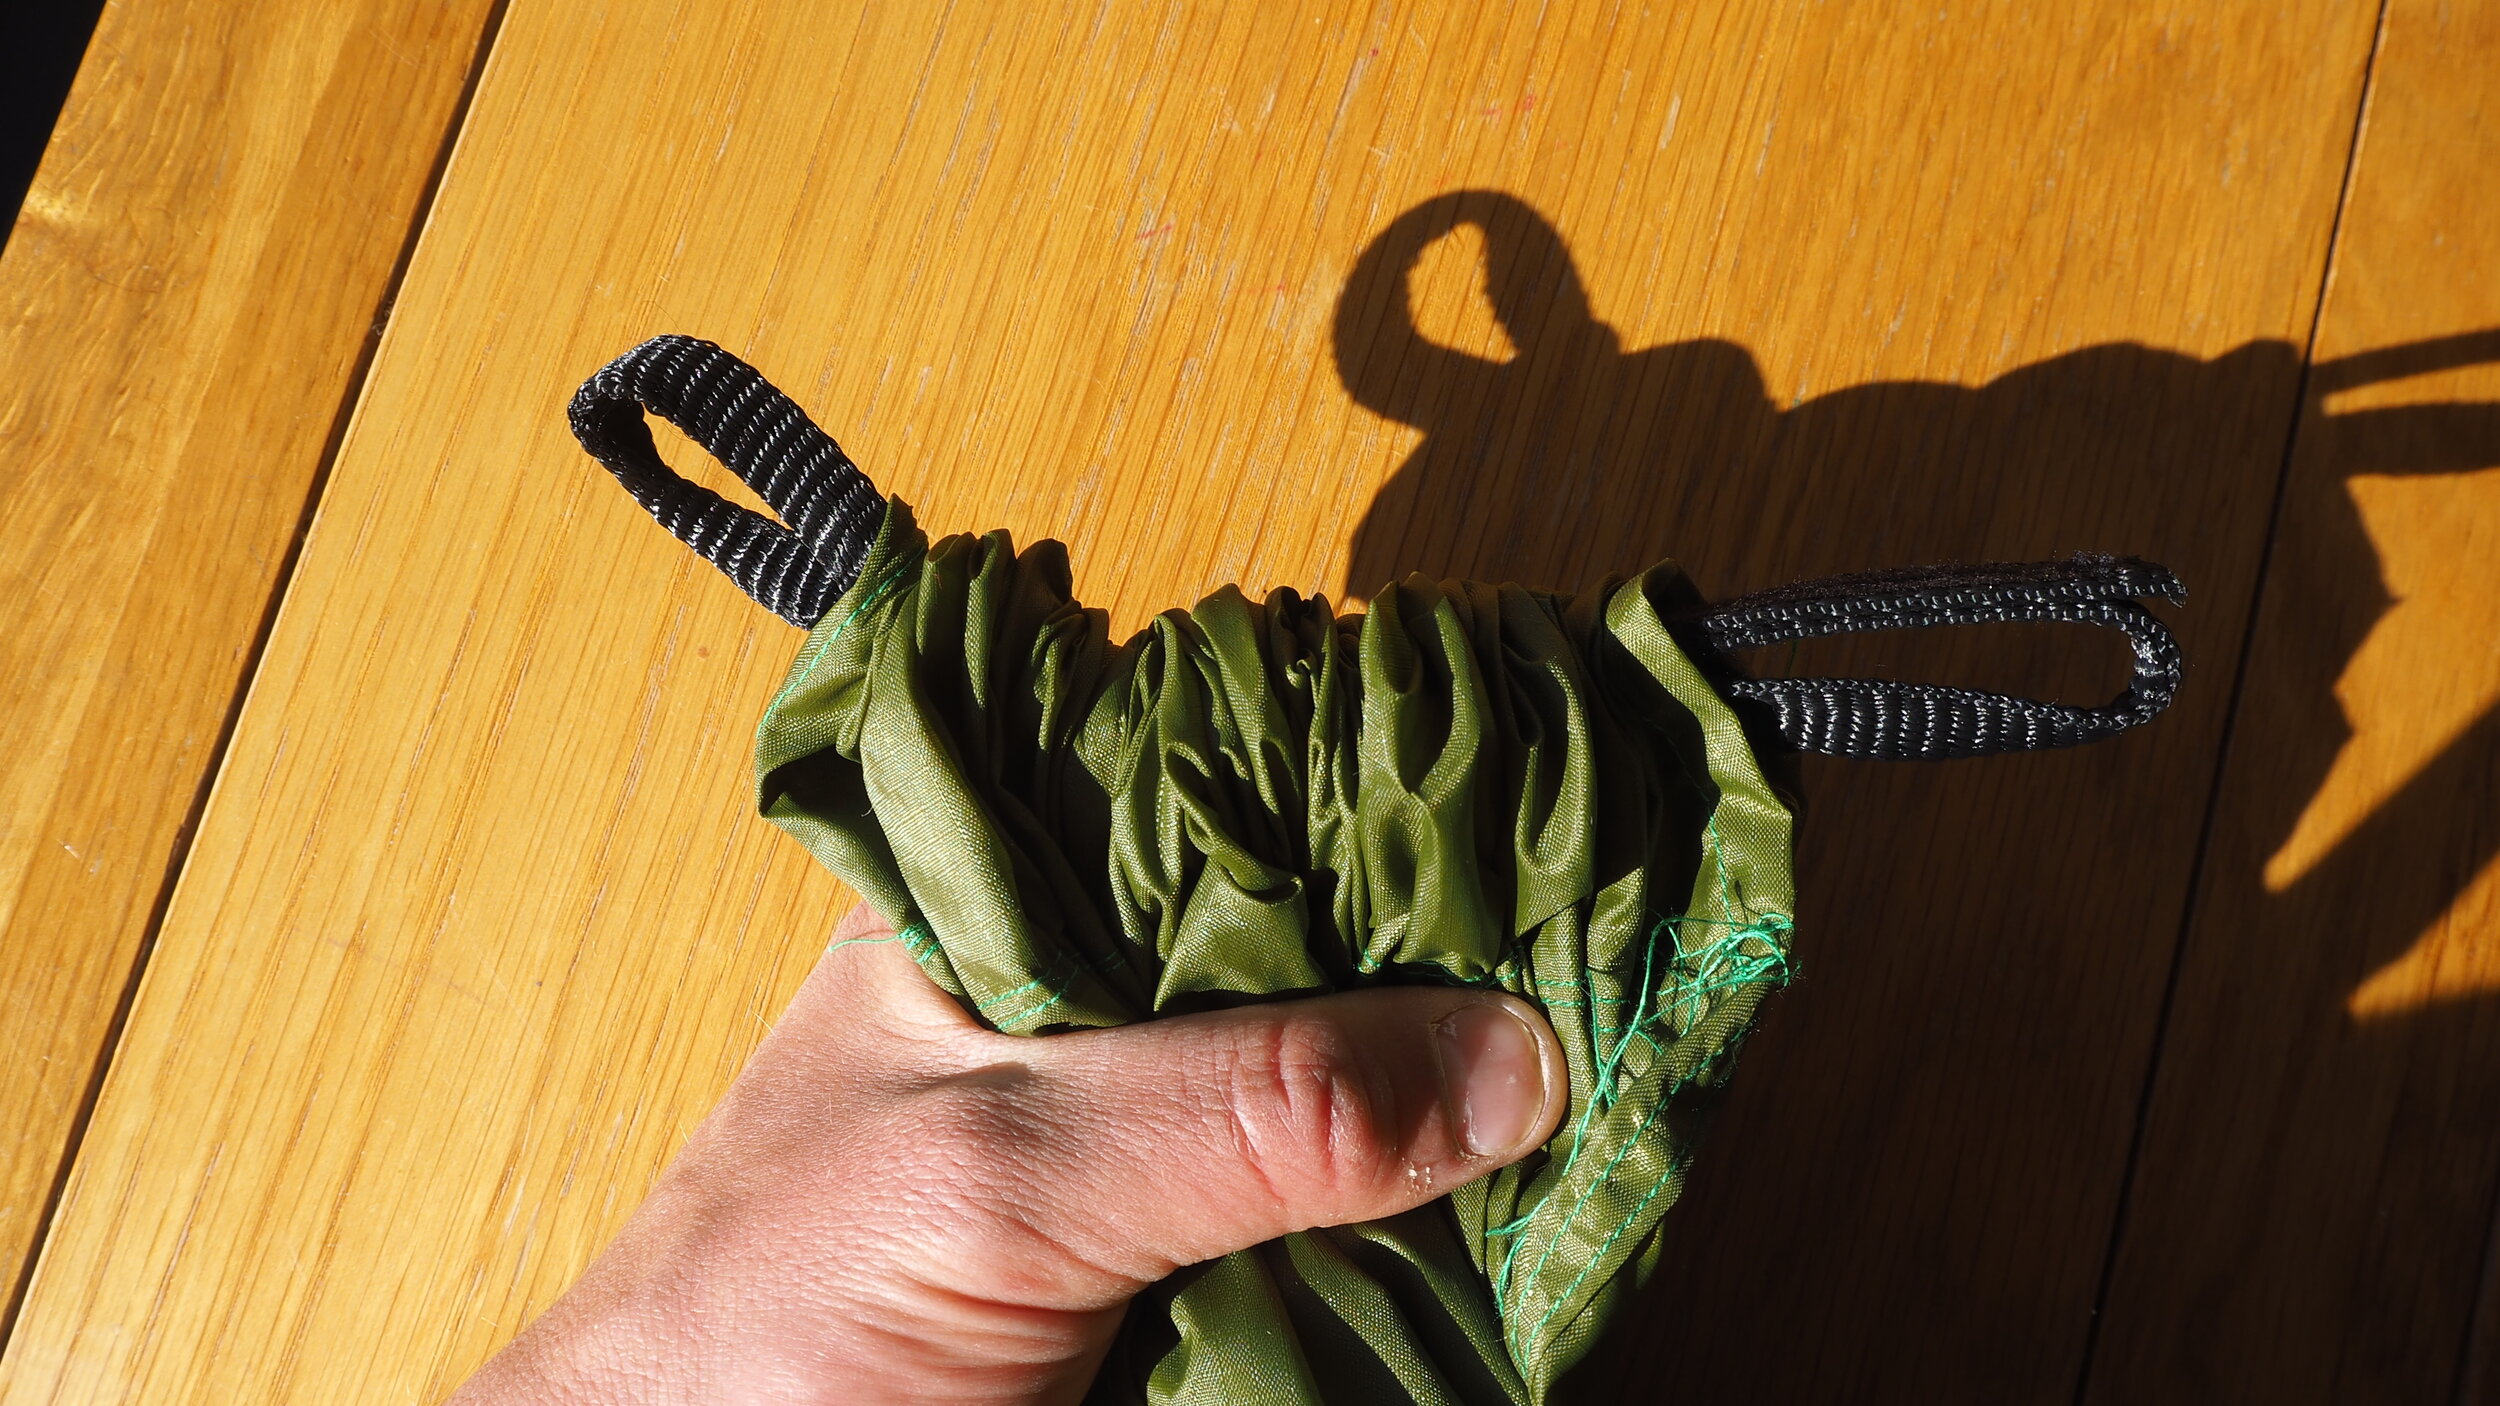
Next, we need to create a simple sleeve along each end through which we can thread a loop of cord or accessory tape to pinch the hammock ends together and provide an attachment point for the carabiners. This simple but robust method means we can at any point disassemble the hammock in the field to utilise the fabric if needed for an emergency tarp etc. I triple stitched this sleeve with 3 rows of sewing, with quite a long stitch length.
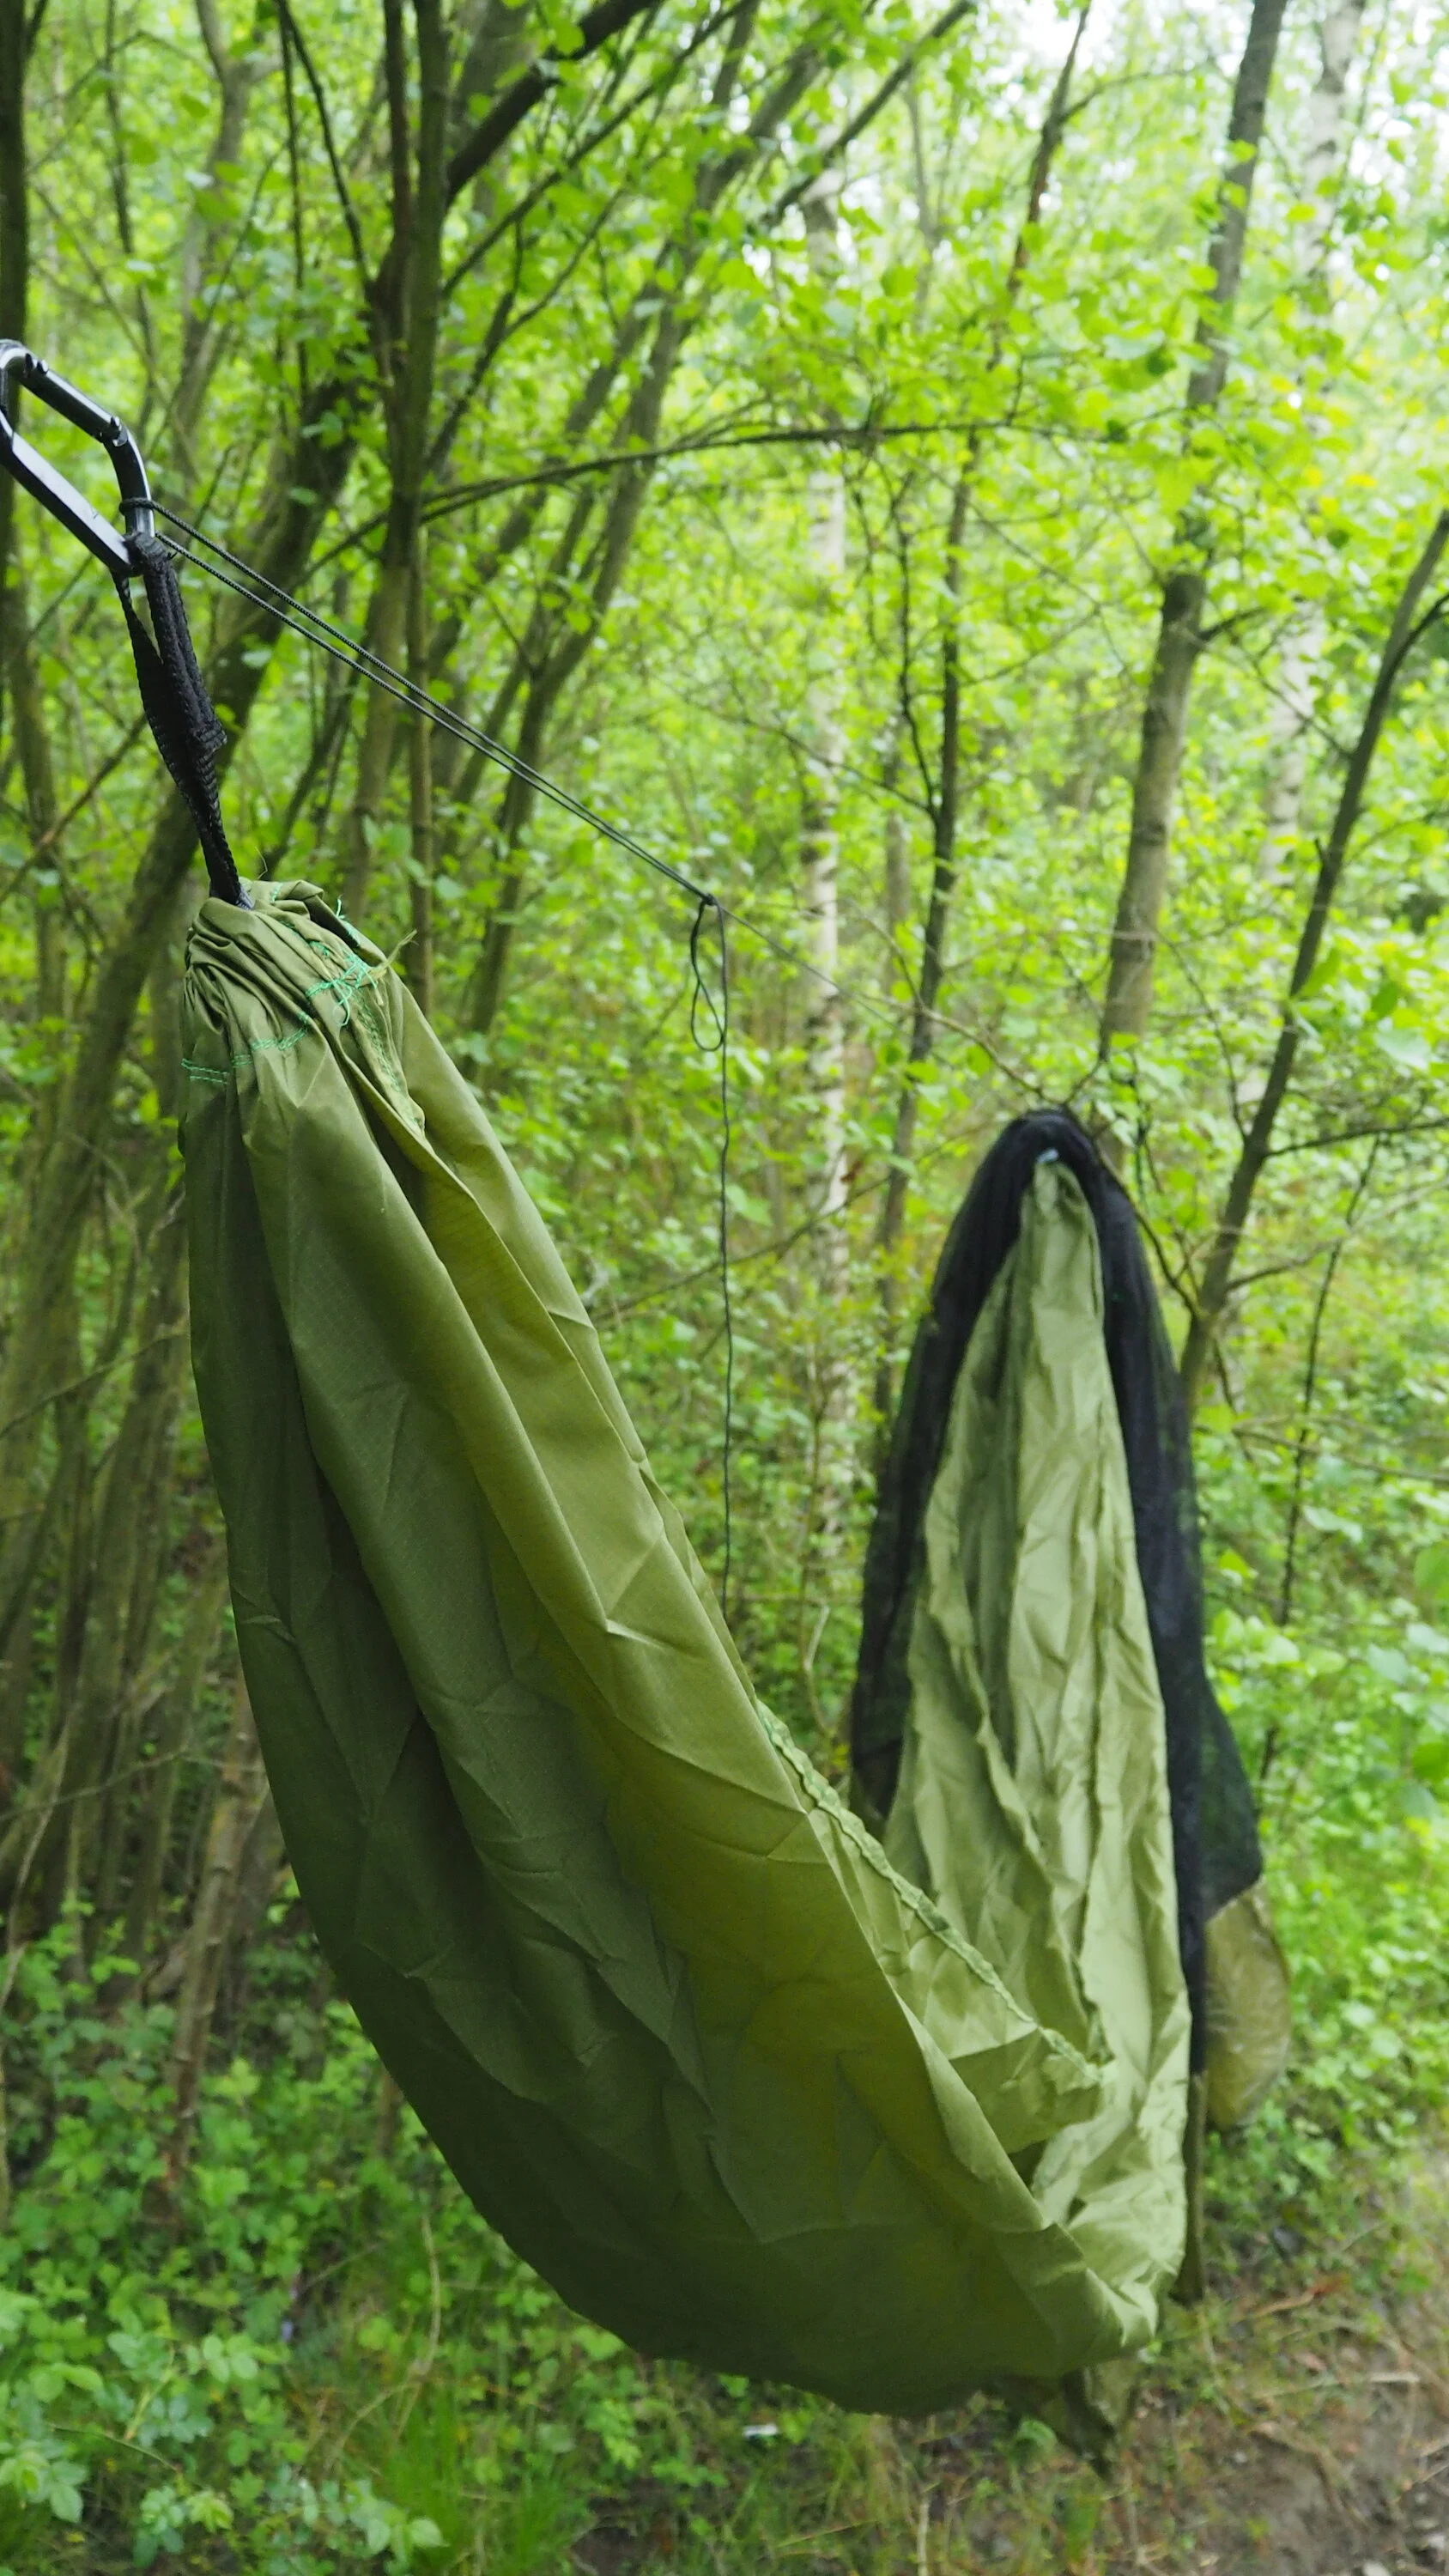
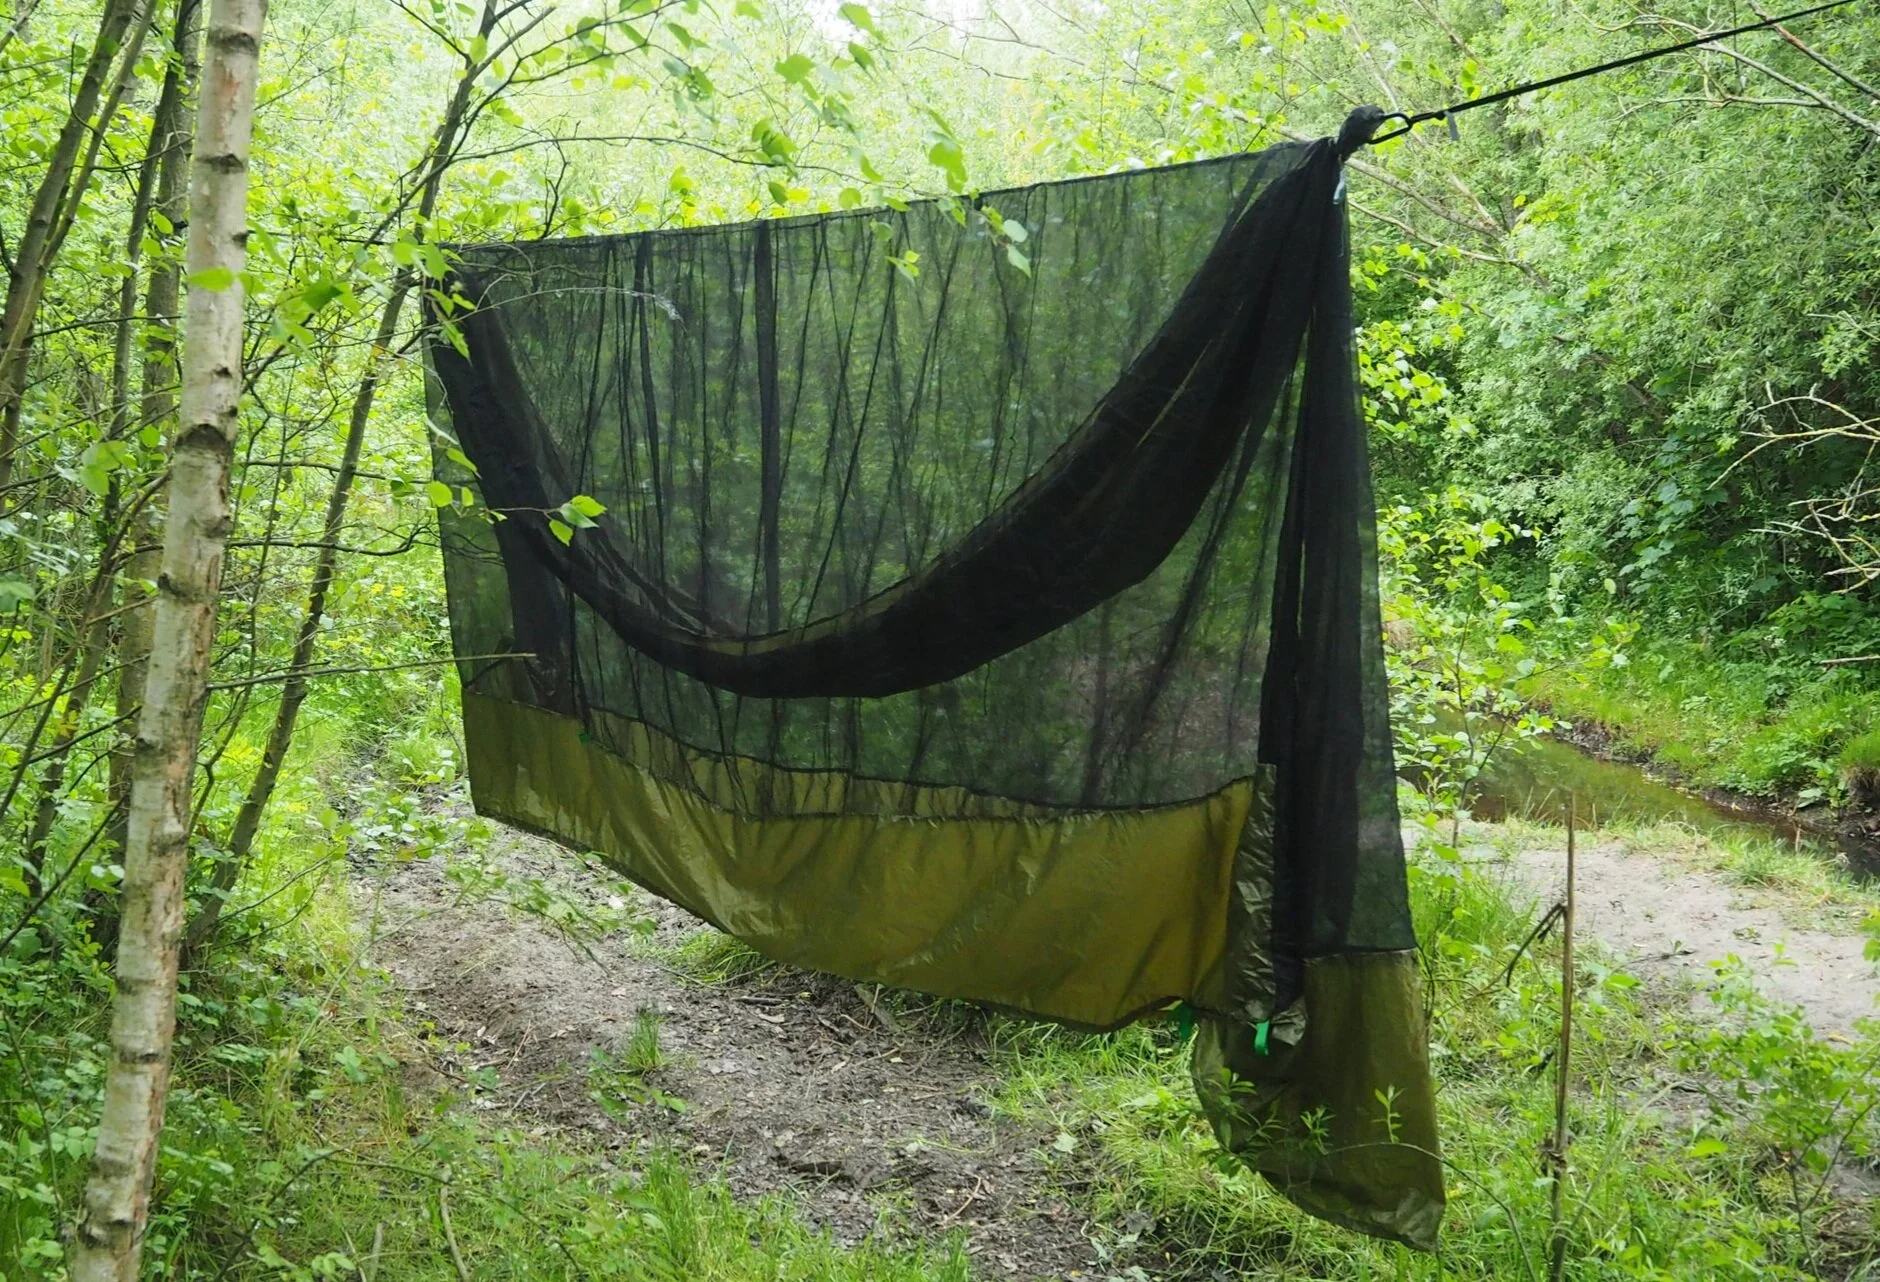
You can see here that I use a guy-line cord to tension between the ends of the hammock, adjusting the curvature of the hammock to suit my needs. This also acts at the ridge-line for the insect netting.
The Insect Net
This again is very simple (although a mistake on my part meant some extra work as you can see from the sewing line about a third of the way down! so I’ll outline here what I did minus my draft mistake).

All we do is take the full 6 metres of netting fabric and fold it in half so that you have a 3m long envelope. You could simply sew along the top edge and the left side, leaving those 10cm gaps for the hammock anchors to pass through and you’d have a perfectly serviceable net.
However, to full seal yourself off from the bugs you’ll need to add a skirt which you can shut with poppers. So…
I cut my net to make it 6m x 1.3m before sewing it, and added a 30cm skirt along the bottom with the superlight fabric. Then sewed up the top of the netting with included loops for tie-offs. The open end you could just sew up now, but I want to use my net on the ground with a bivi so….

I made a triangle of netting material 150cm long on the upright sides, and 120cm on the bottom. I cut a 10cm peak off the top of the triangle to allow a gap for the hammock anchor, and sewed this panel onto the end with the ribbon tie offs. Finally I added a panel of superlight fabric to create a flat micro-ground sheet when pitched to the floor, acting as a panel to lay my pocket contents onto when I get into the sleeping bag to sleep.
I also added some ribbon loops on the superlight fabric skirt to allow me to peg the net to the ground.

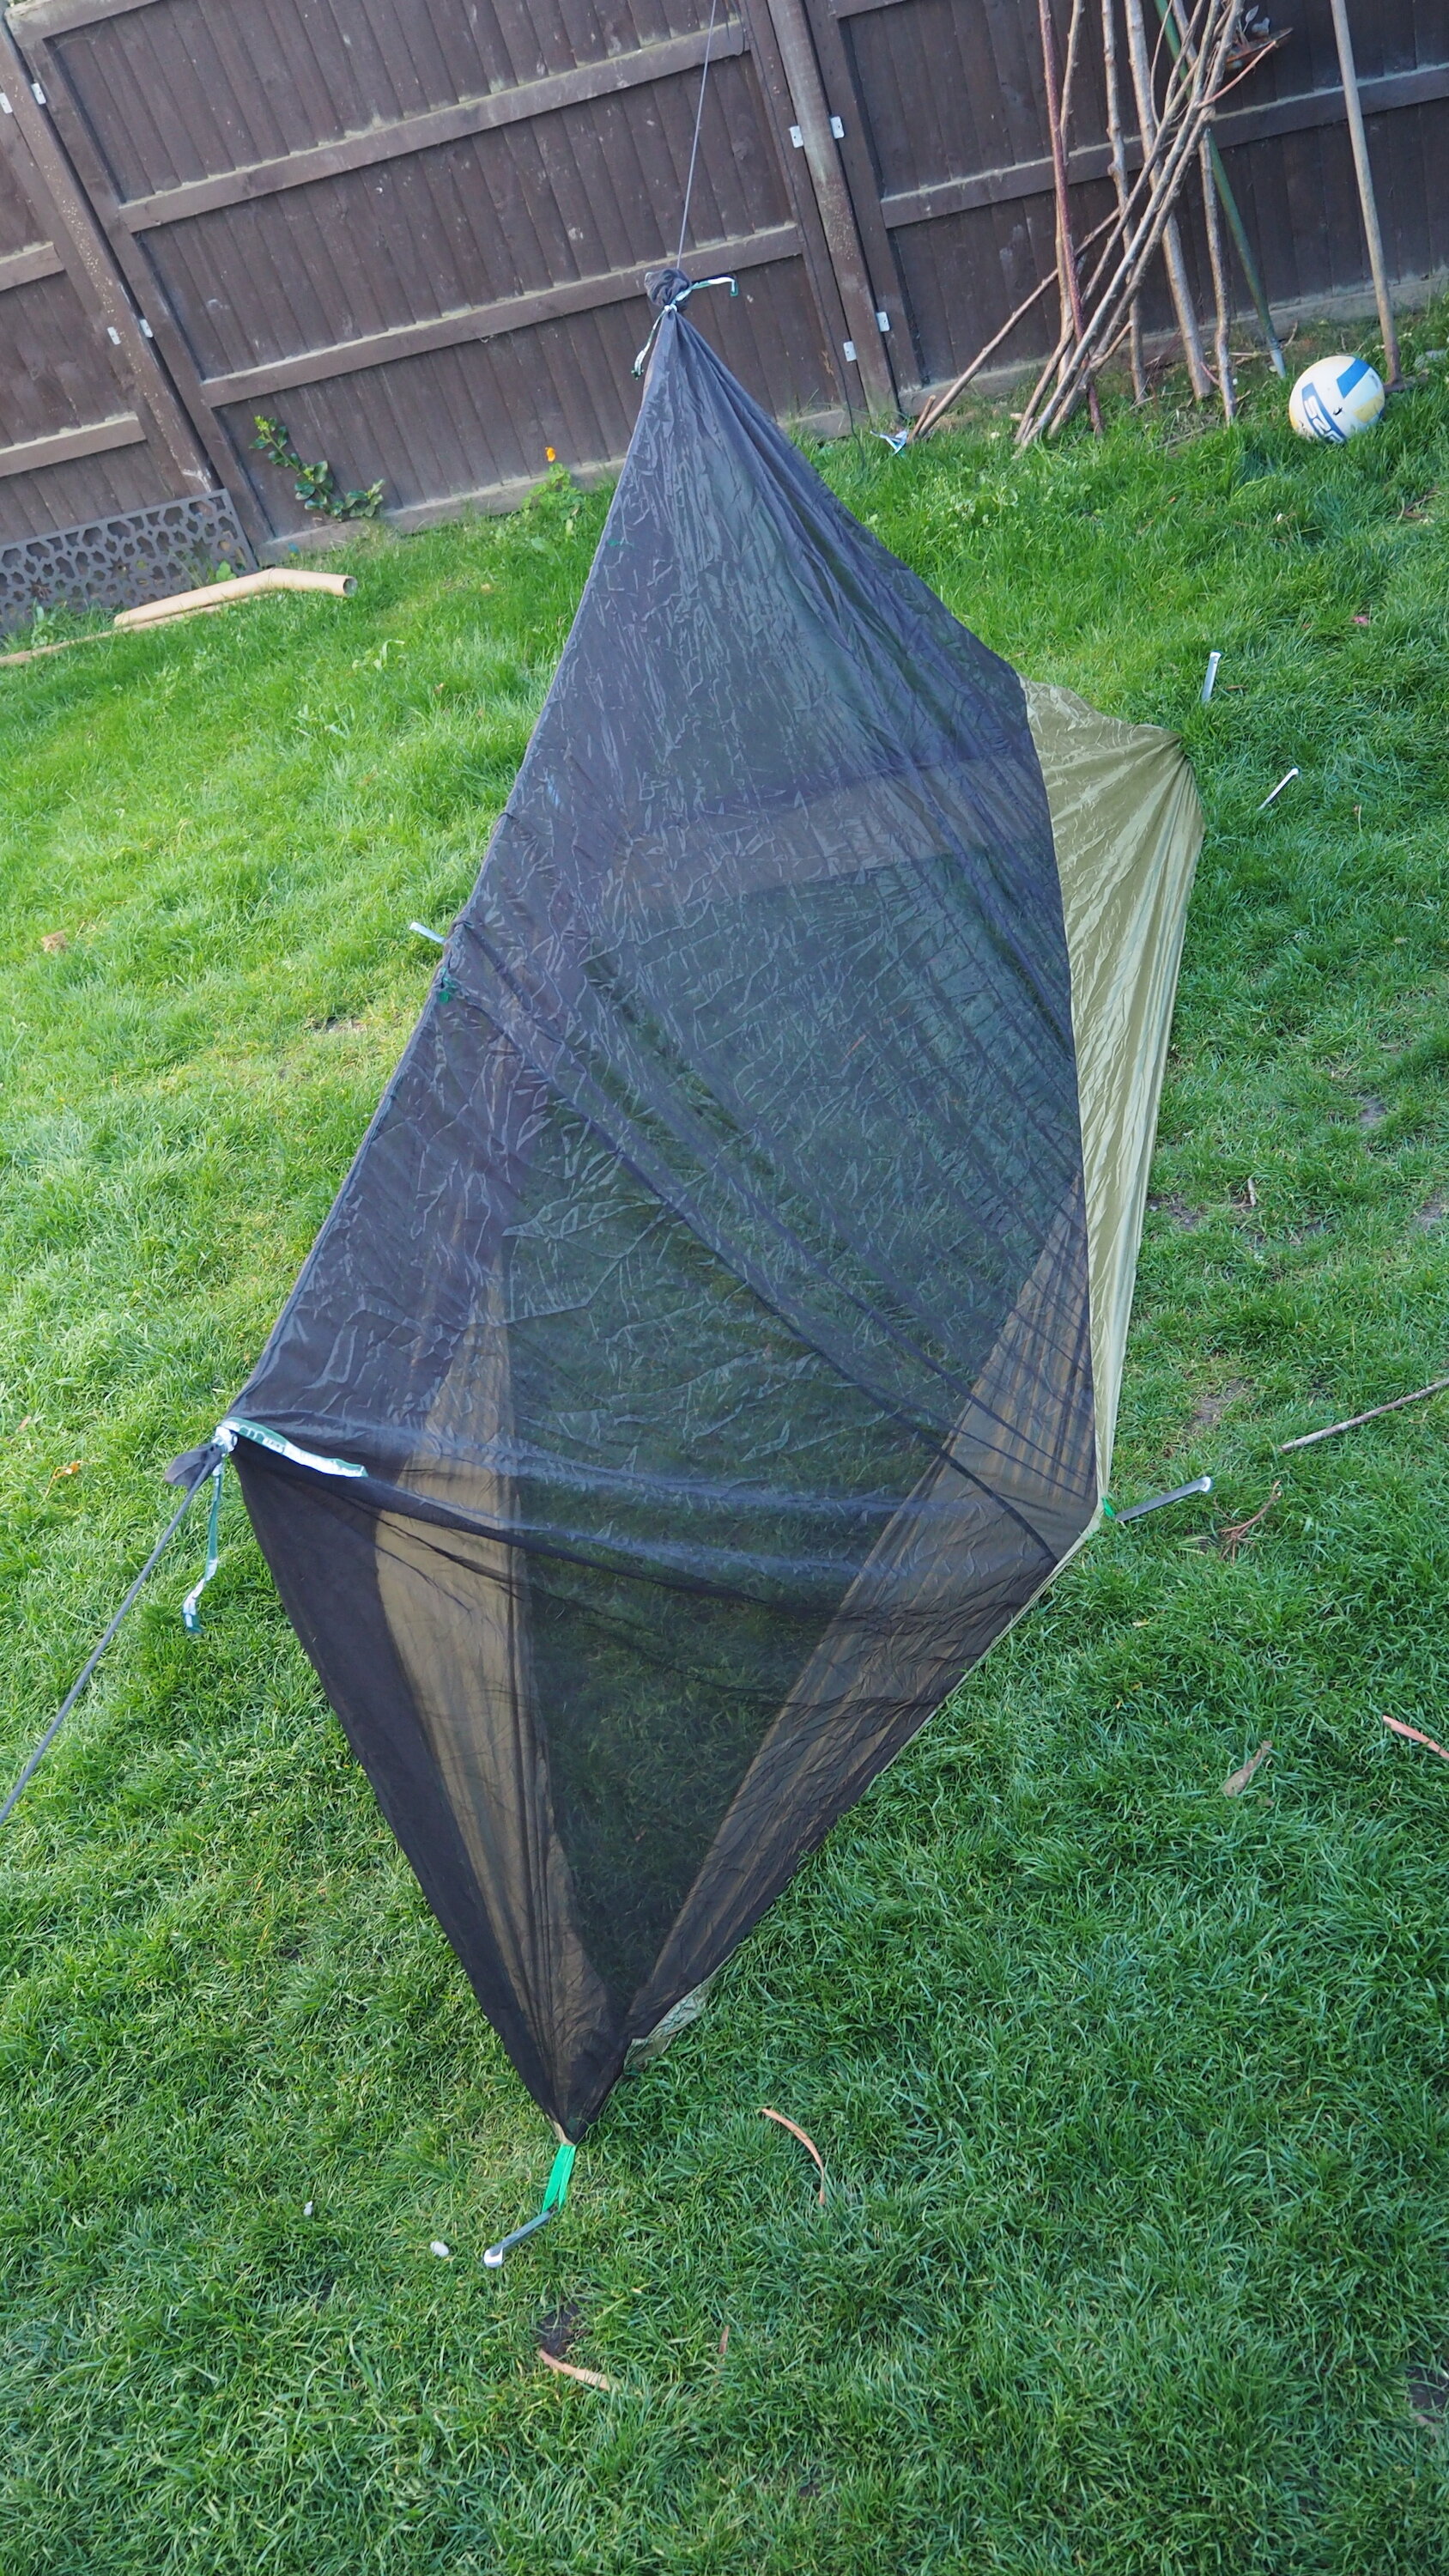


just waiting for the final touch of adding the poppers along the bottom.

And there you are, an afternoons work on the sewing machine and less than £30 of fabric. The whole thing fits inside a 5 litre dry bag and weighs 1kg.
I hope this may be useful to you, do let me know what you think or if you have any questions in the comments below.
All the best
JD