How to Make: Braided Willow Strapping
Jamie Dakota
There’s a true sense of excitement when you discover a new way of using of old resource, for me that happened with willow bark a couple of year back when I was working with the legend that is Adam Logan (check him out on instagram @a.woodsman).
I’ve used willow bark for many years in the classic way, by separating out the inner bark from the outer and then slicing it into thin strips in several ways, processing it to produce fine twisted cordage. But here I’d like to share the method I learnt from Adam about how to get the bark off into strips easily, and then to make a simple and functional cordage which works especially well in a braided strap.
It is by now means a replacement for the wonderful fine cord you can produce from willow bark, but rather a field expedient way of making sturdy straps for baskets, weaving, and making impromptu lashings.
Harvesting the bark
This is truly a joy in the Spring, just as the leaves are bursting onto the branches and the warmth returns to the sun. The sap get rising in the tree, pumped up through the inner bark (the cambium layer) and it’s this extra liquid and the growth coming with it that allows the bark to be peeled from the wood so easily.
You will need to harvest from a living tree, and as such due consideration should be paid to whether you can do this with a sensitivity to the natural environment: Are there lots are willows growing in that area? Is there a fallen tree with lots of secondary growth? Are you in a beauty-spot where your actions will diminish the enjoyment of others? Can you find a crowed tree that most likely won’t grow to maturity? All things to think about, Willow does however flourish when coppiced so by making clean cuts close to the main trunk you’ll most likely be encouraging further growth in years to come.
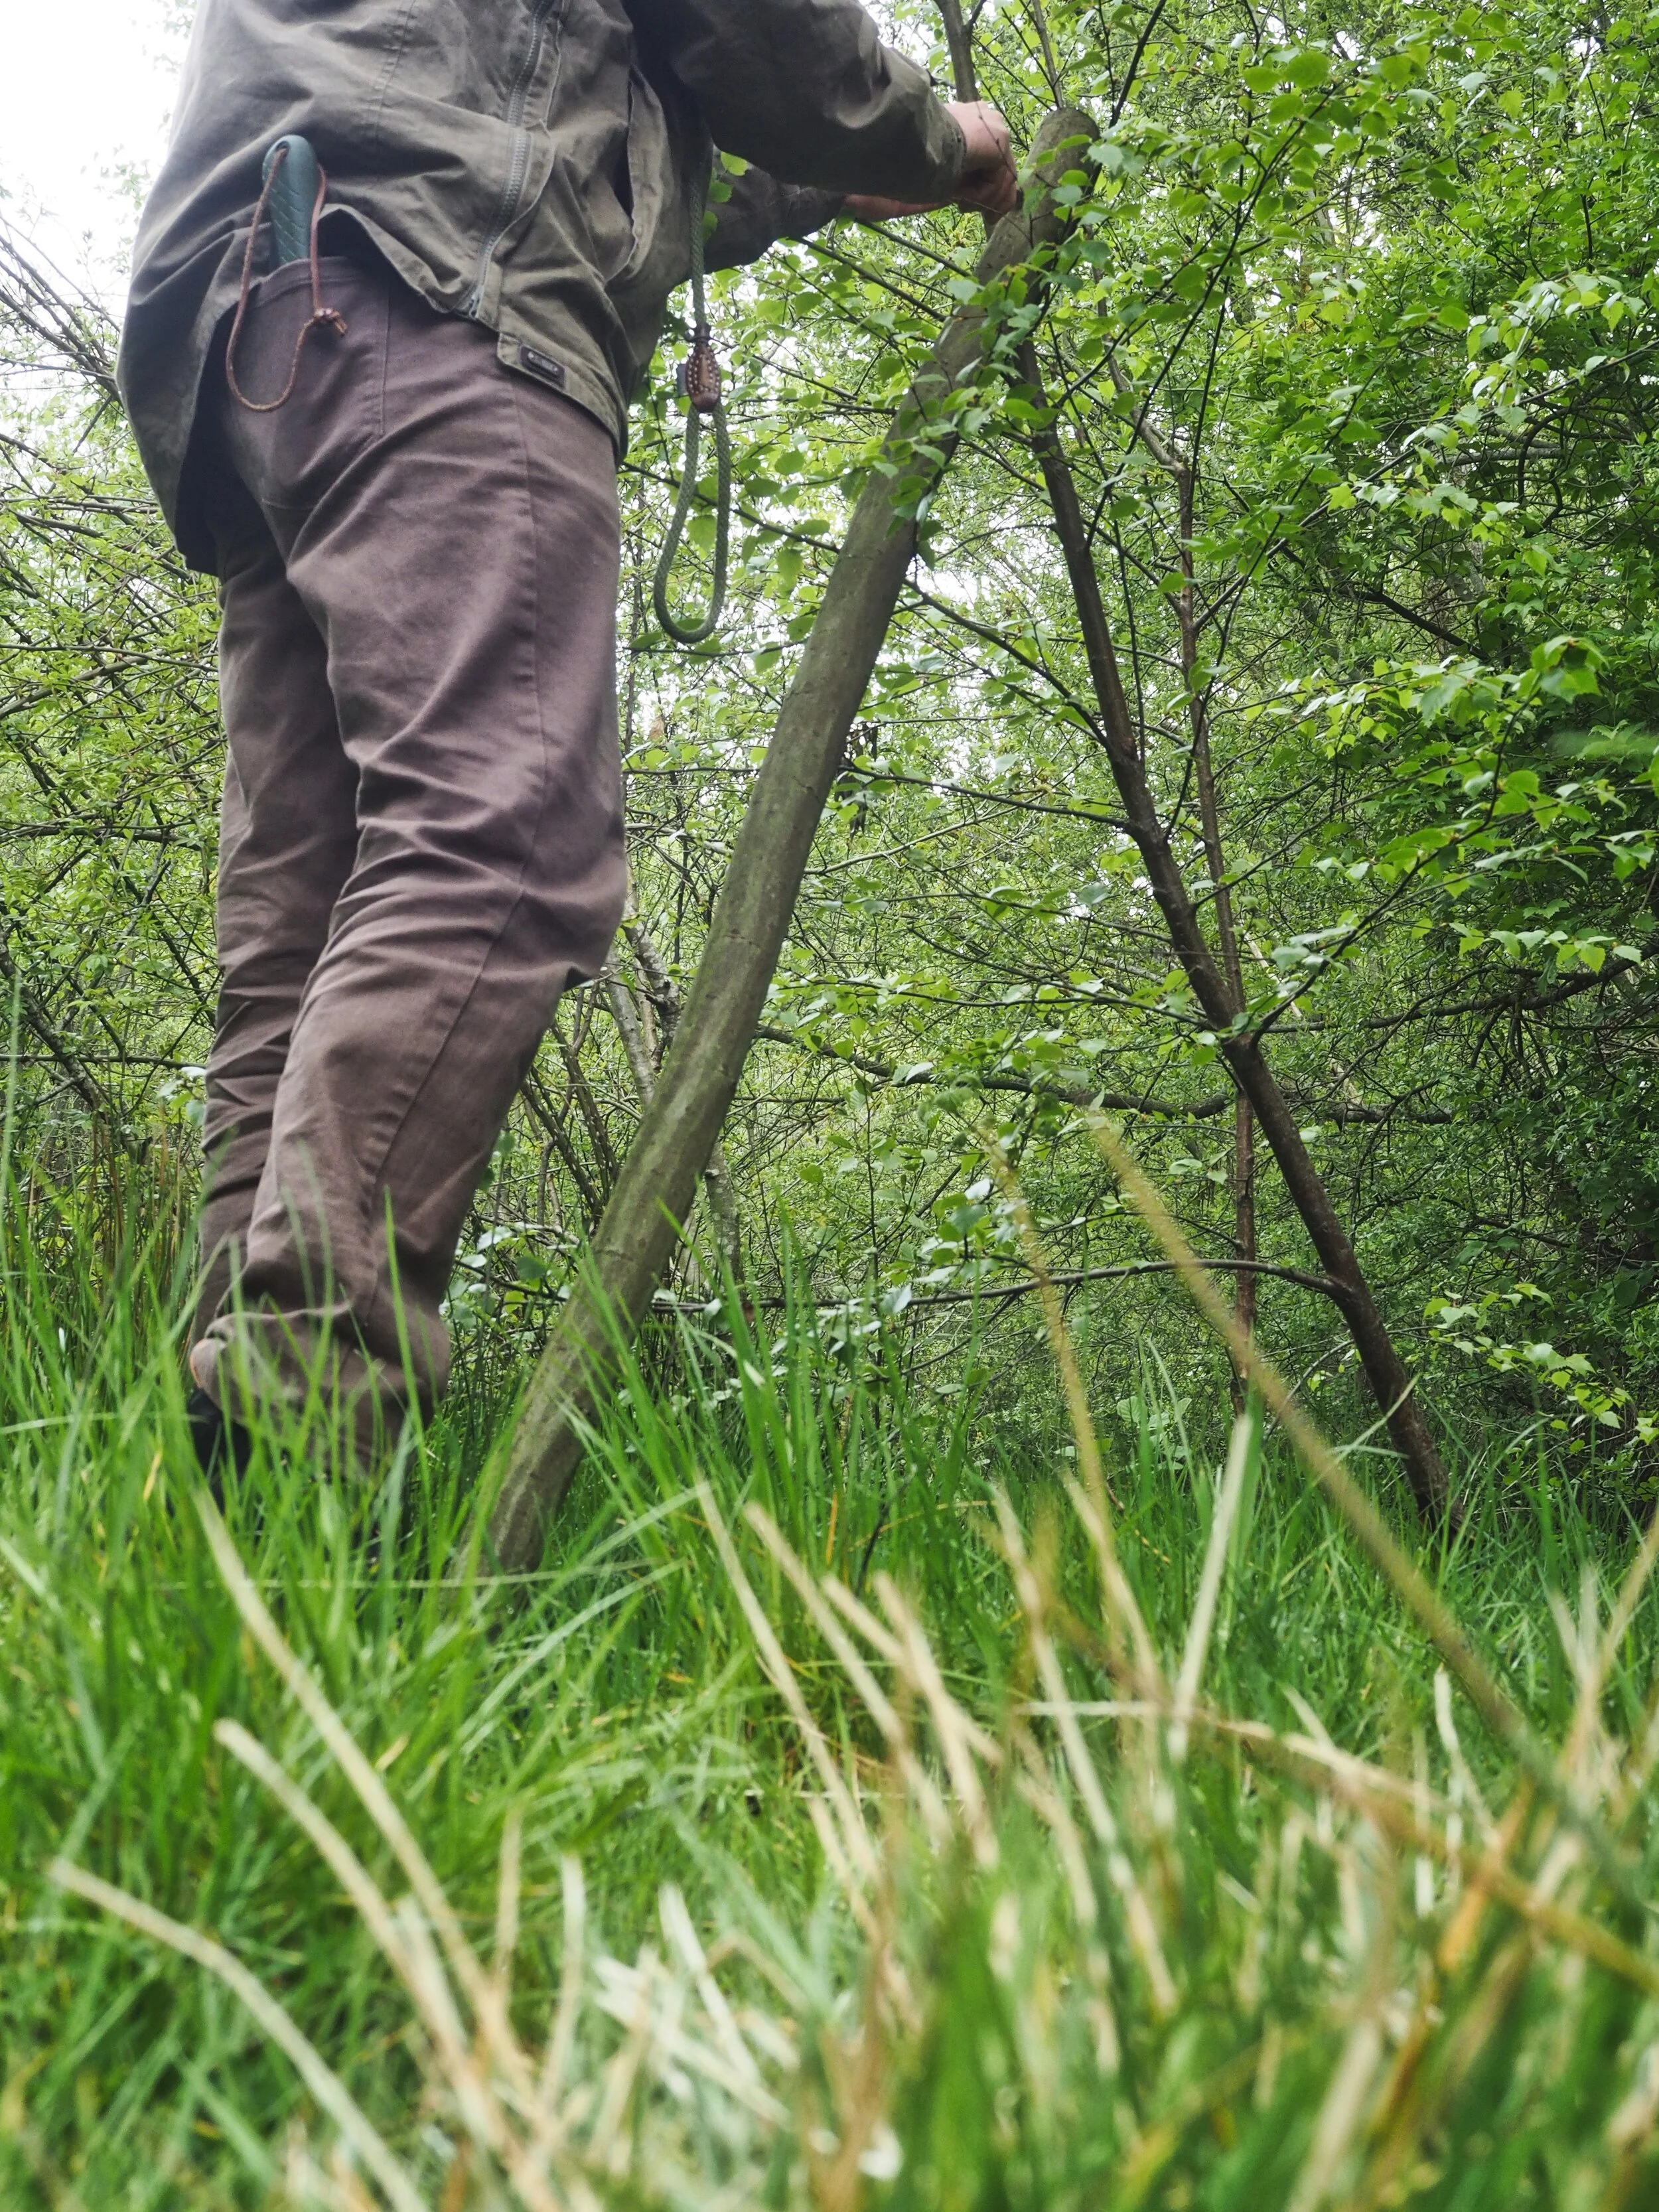
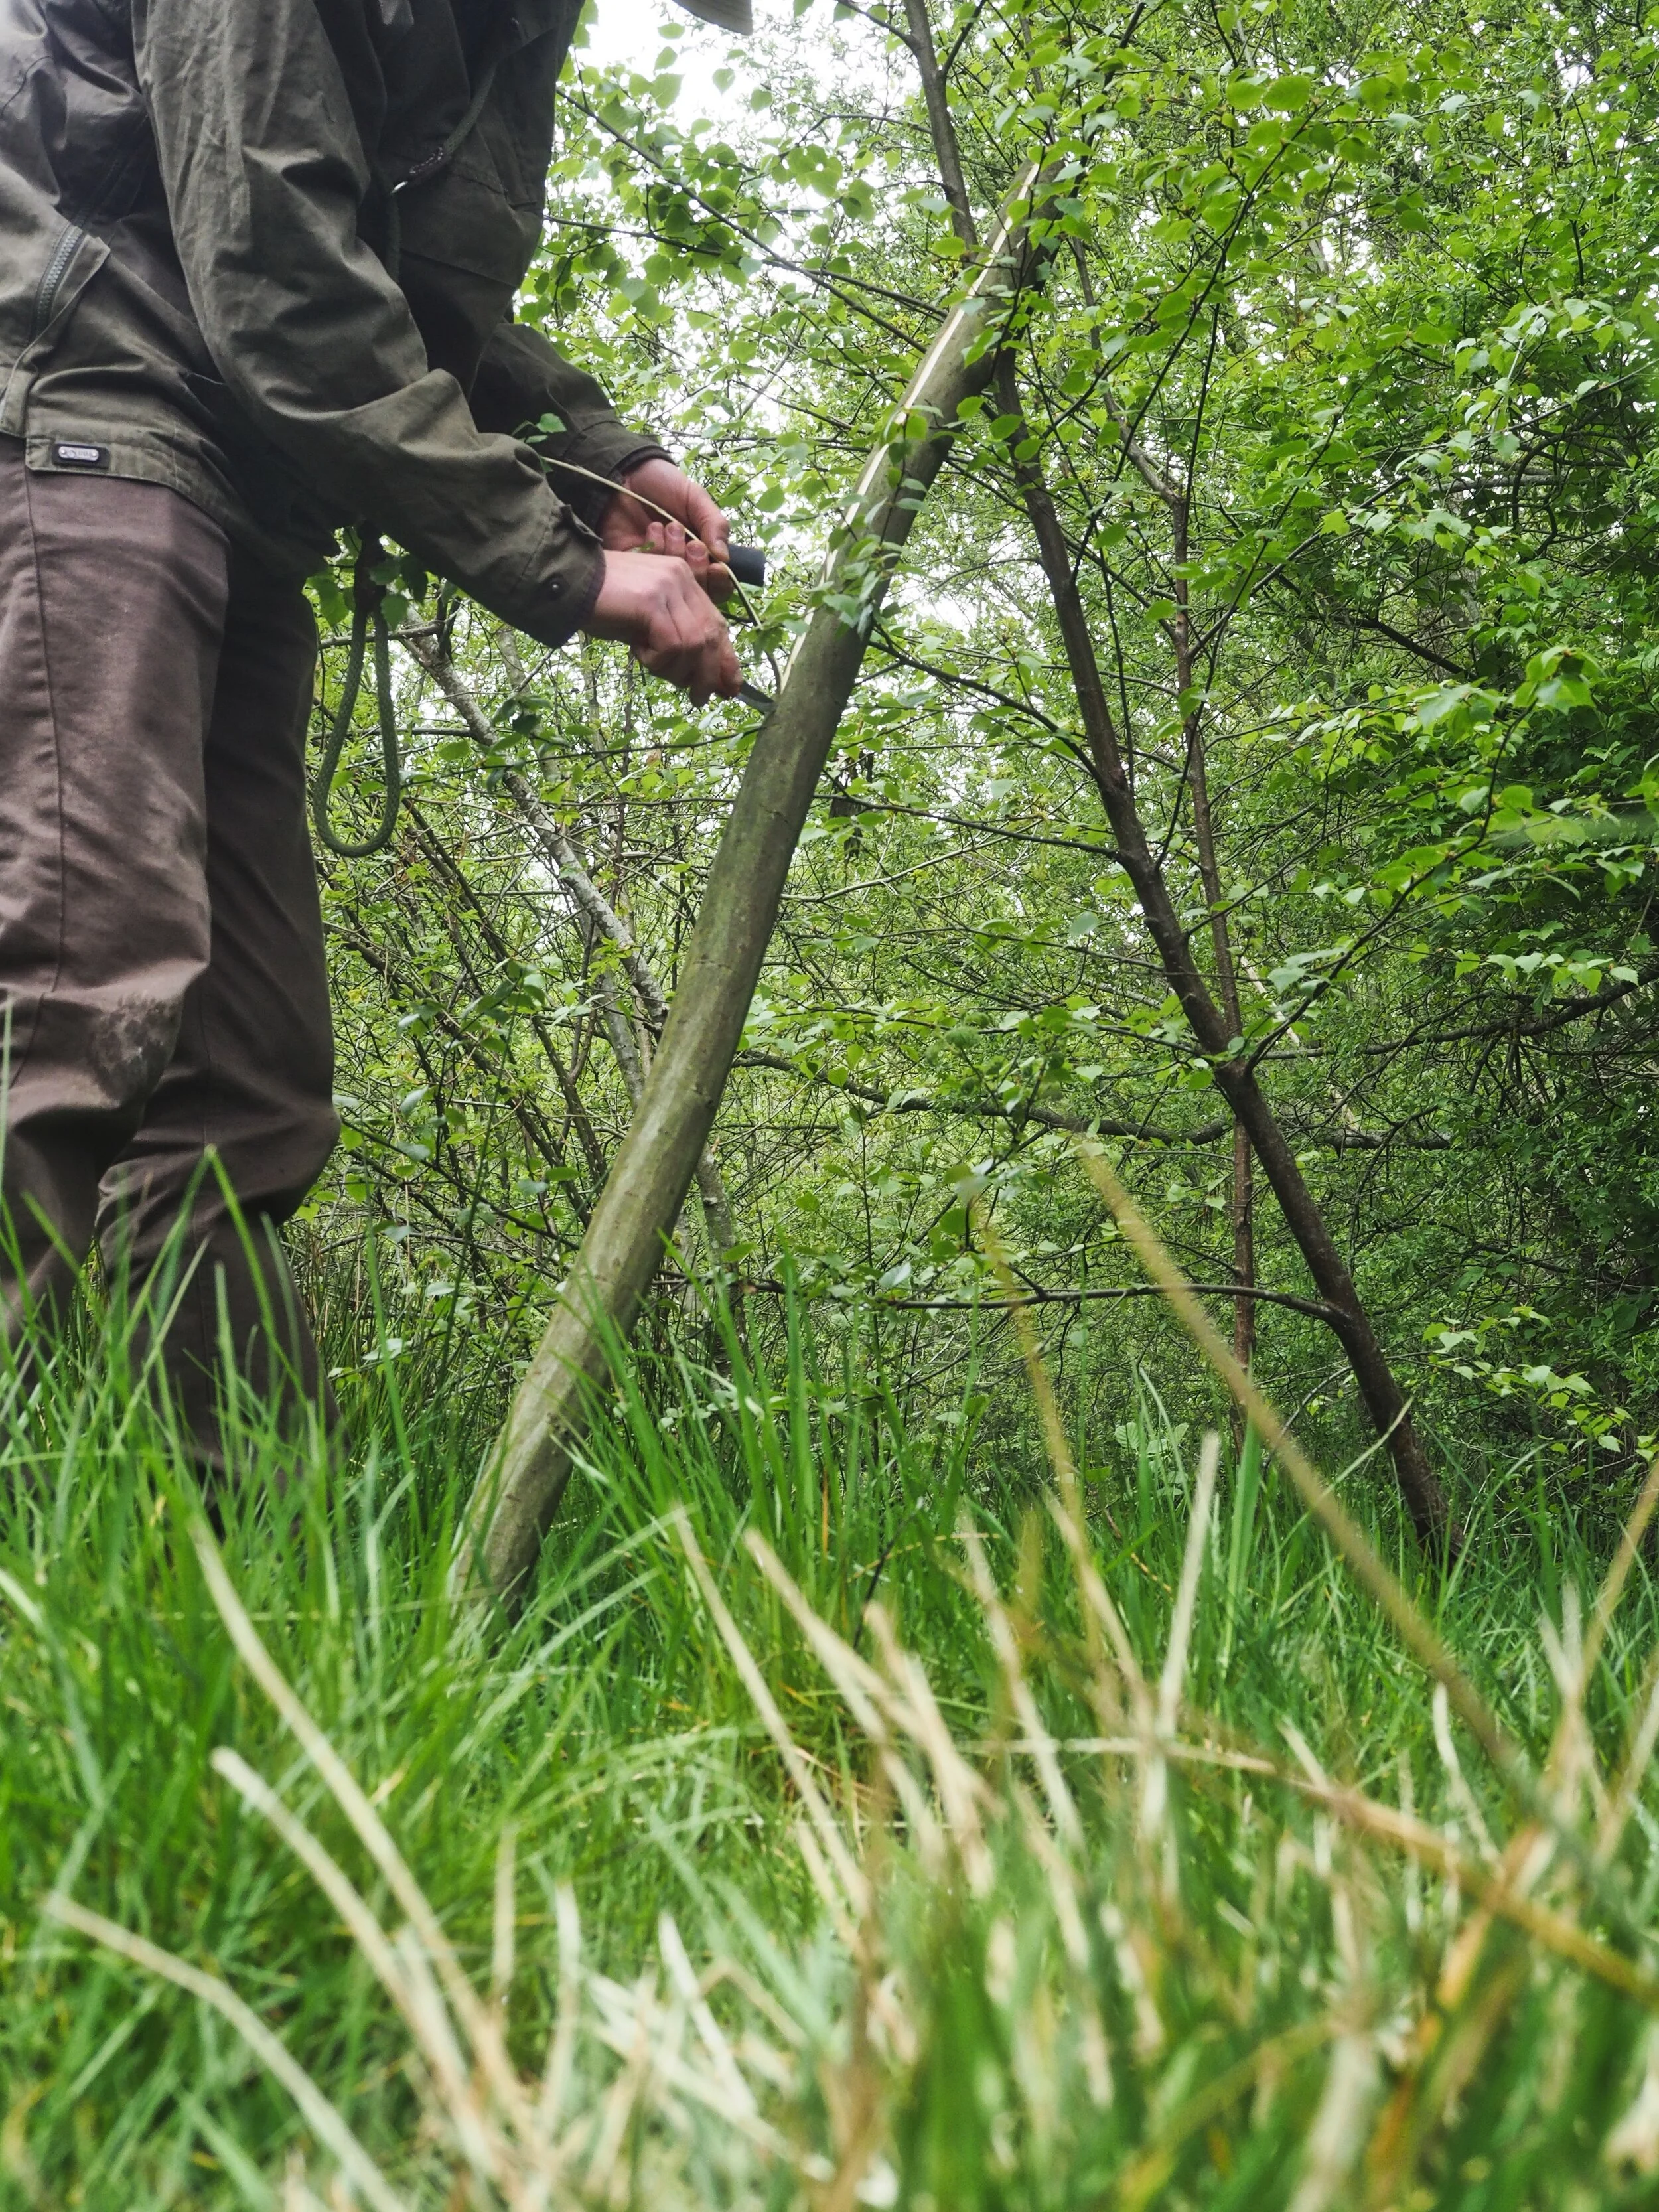
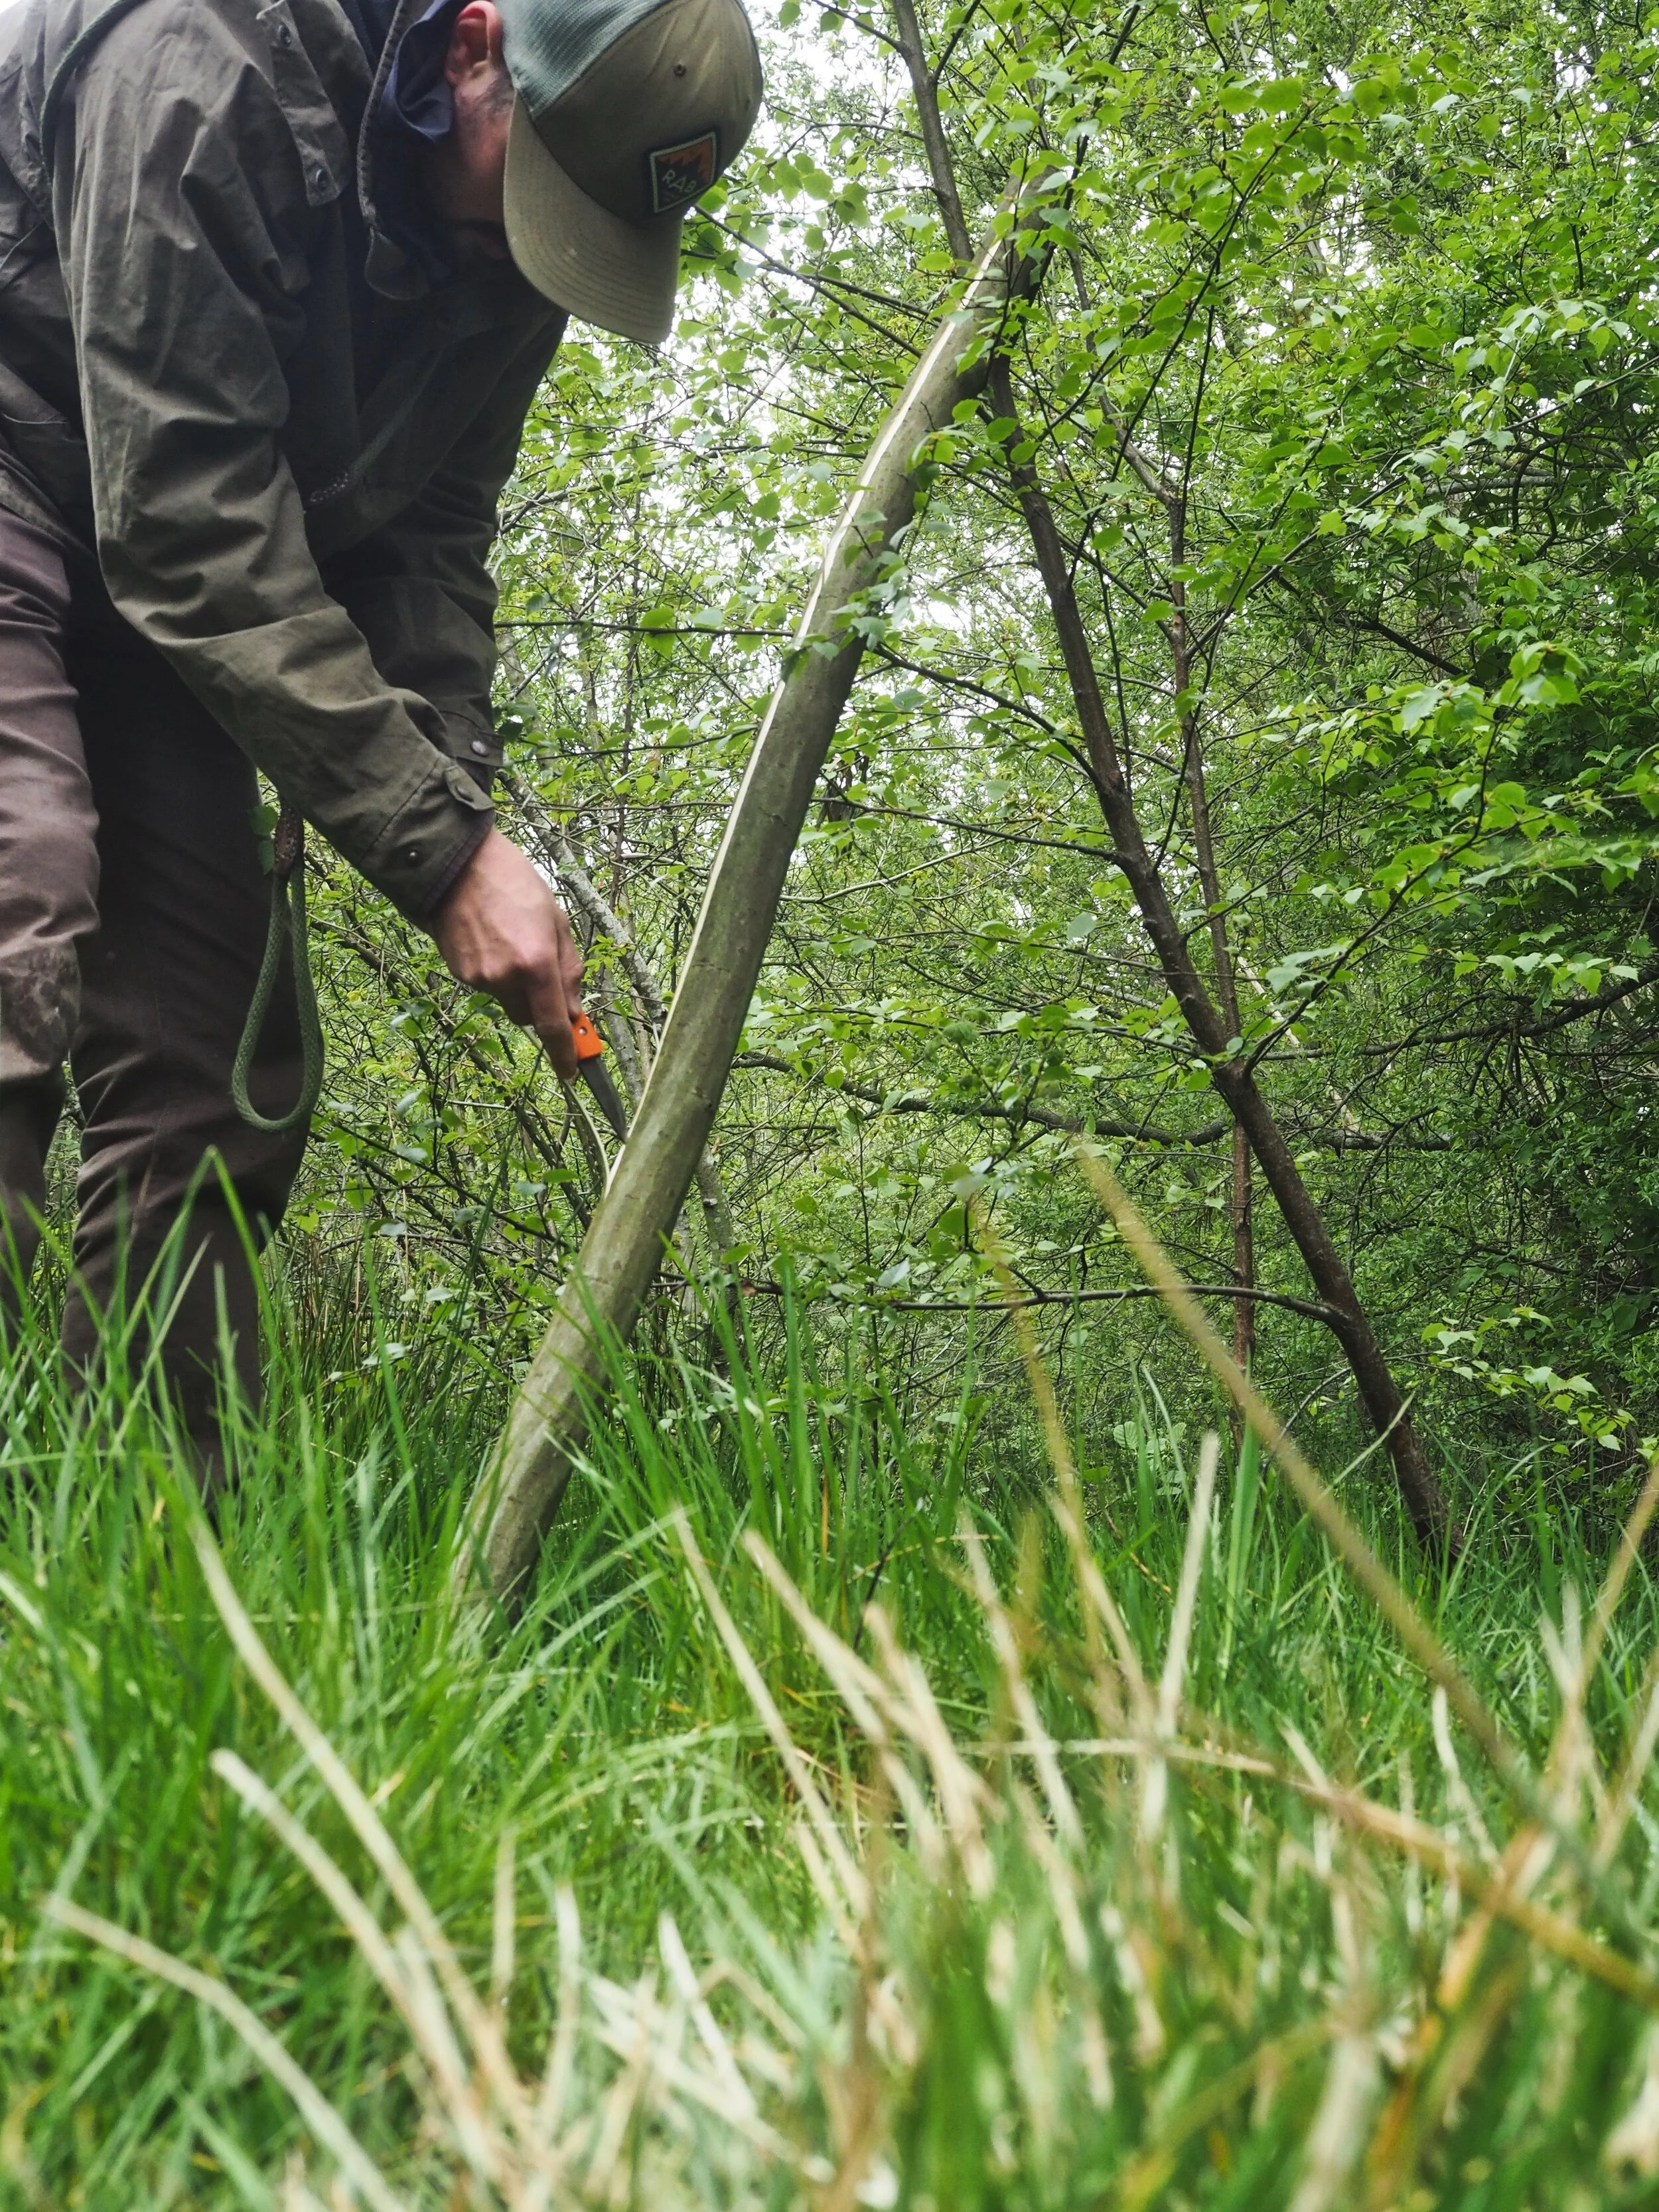


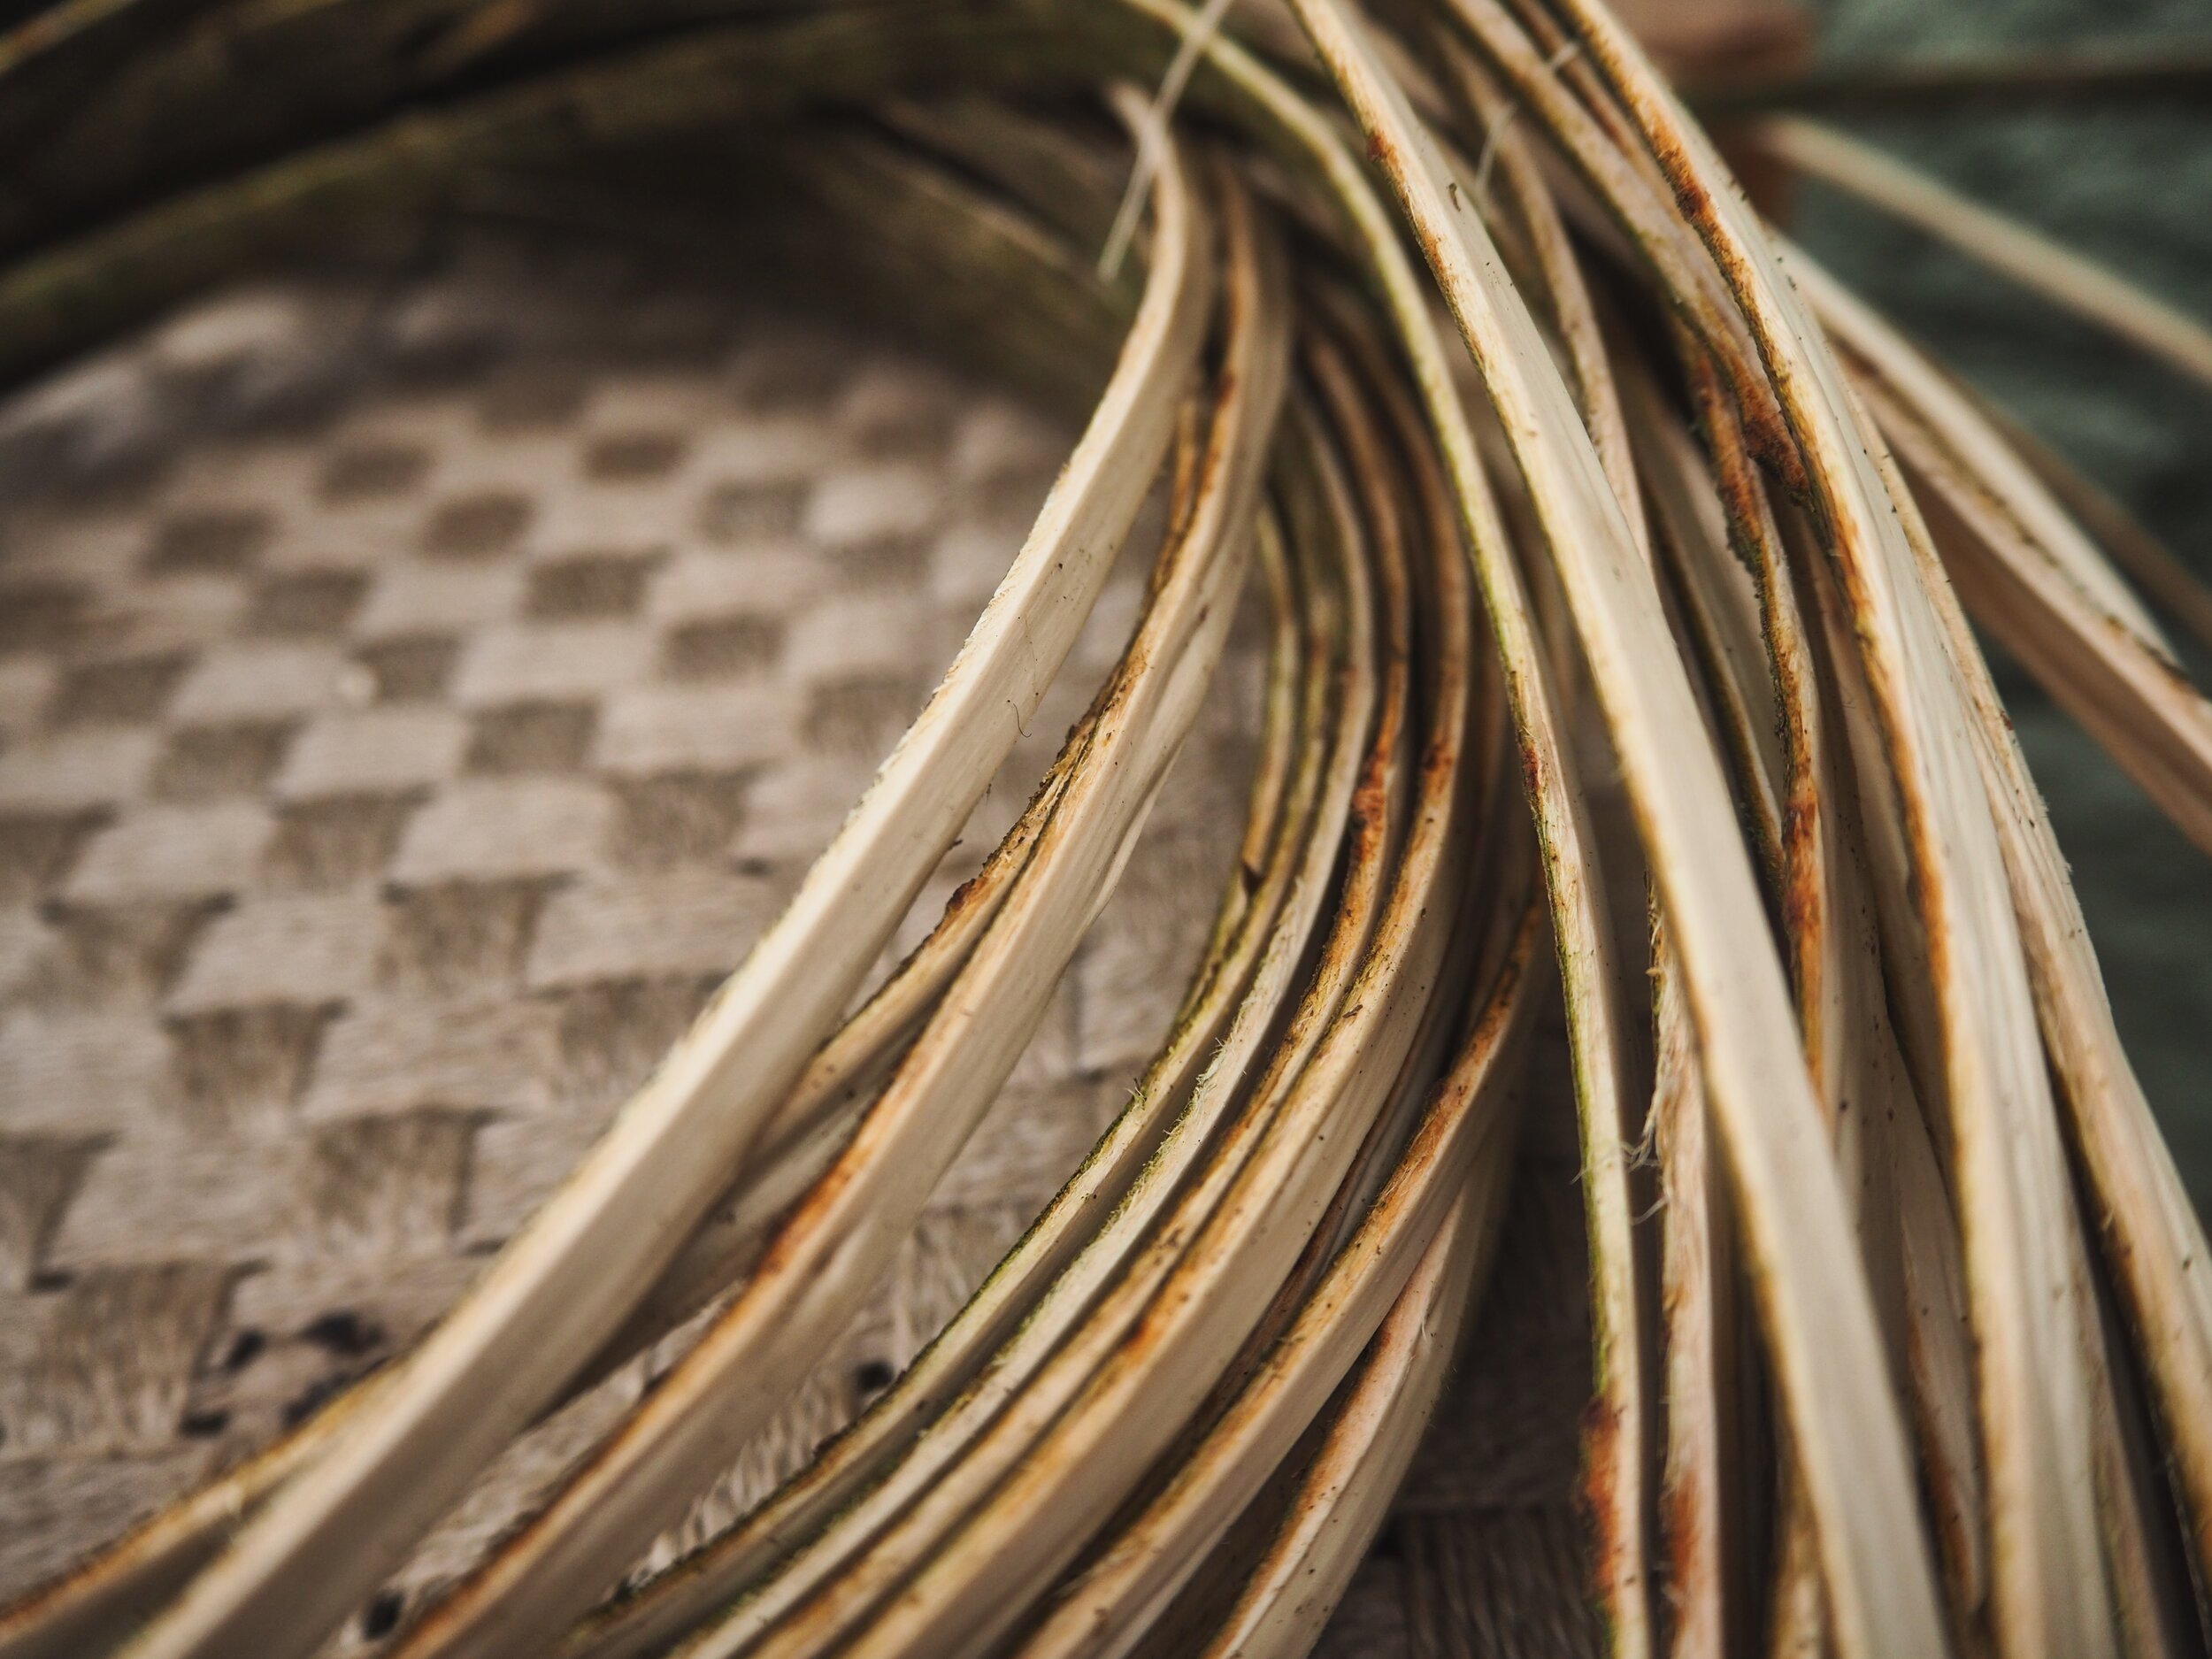
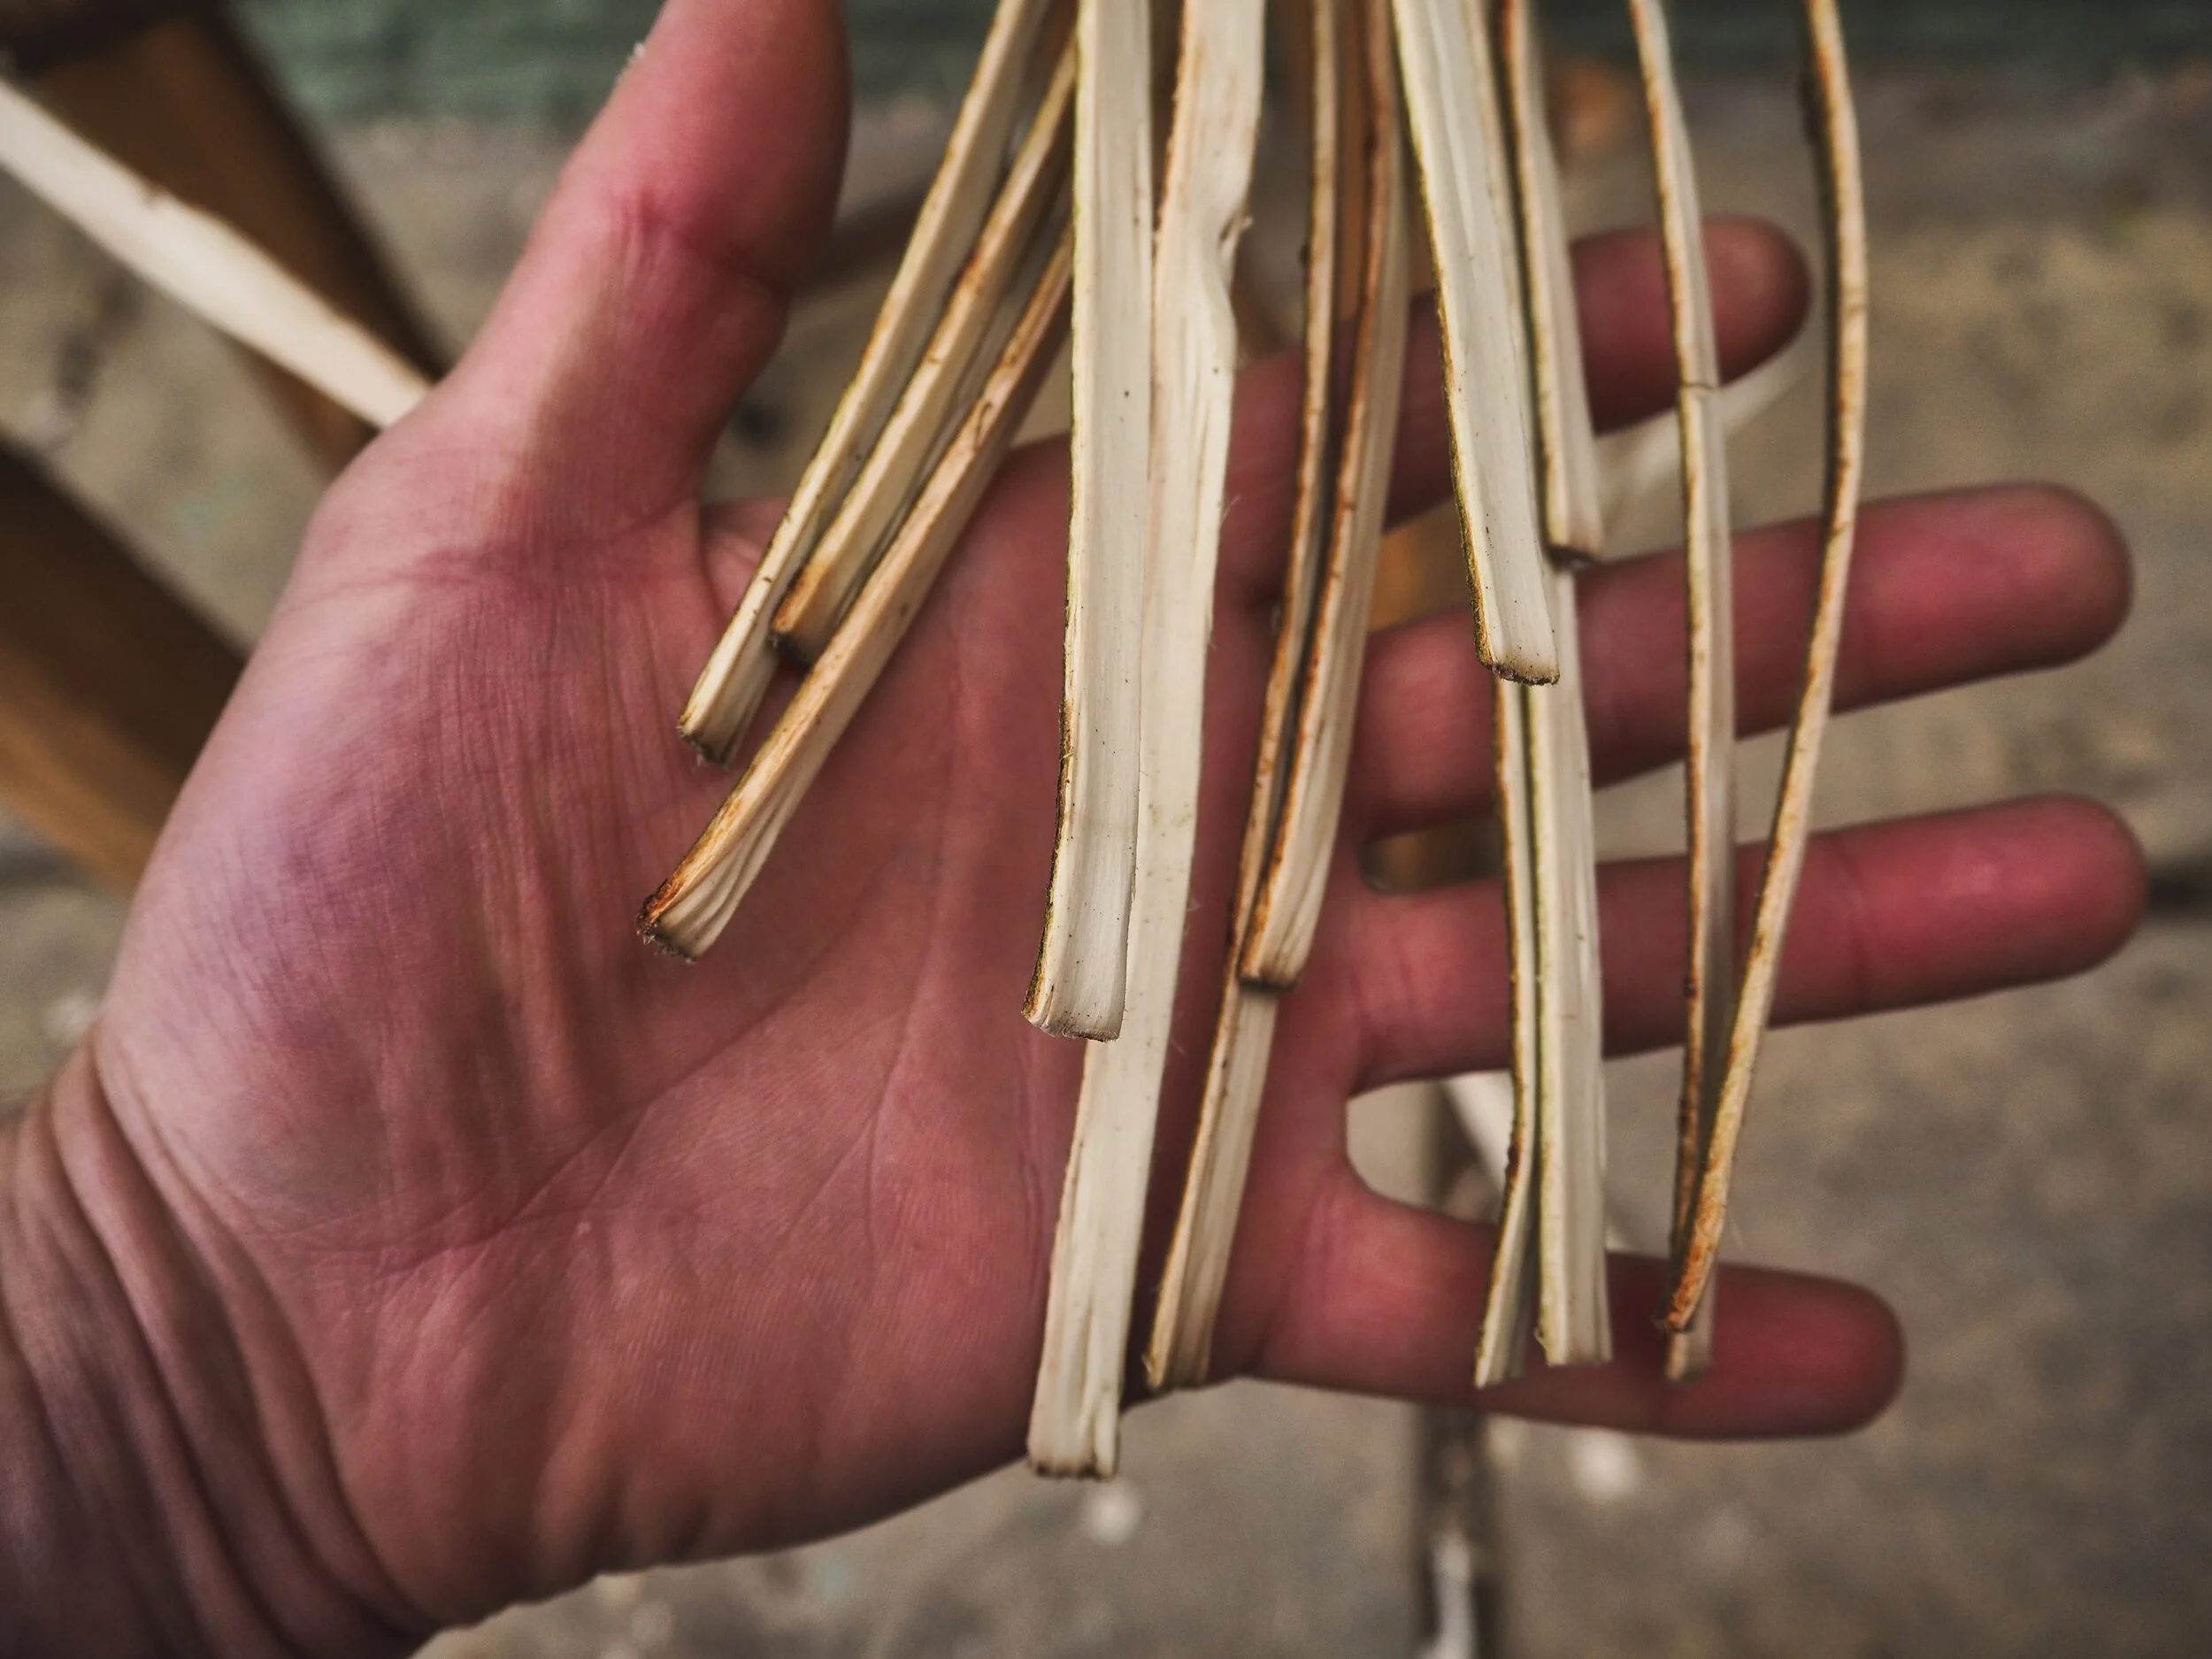
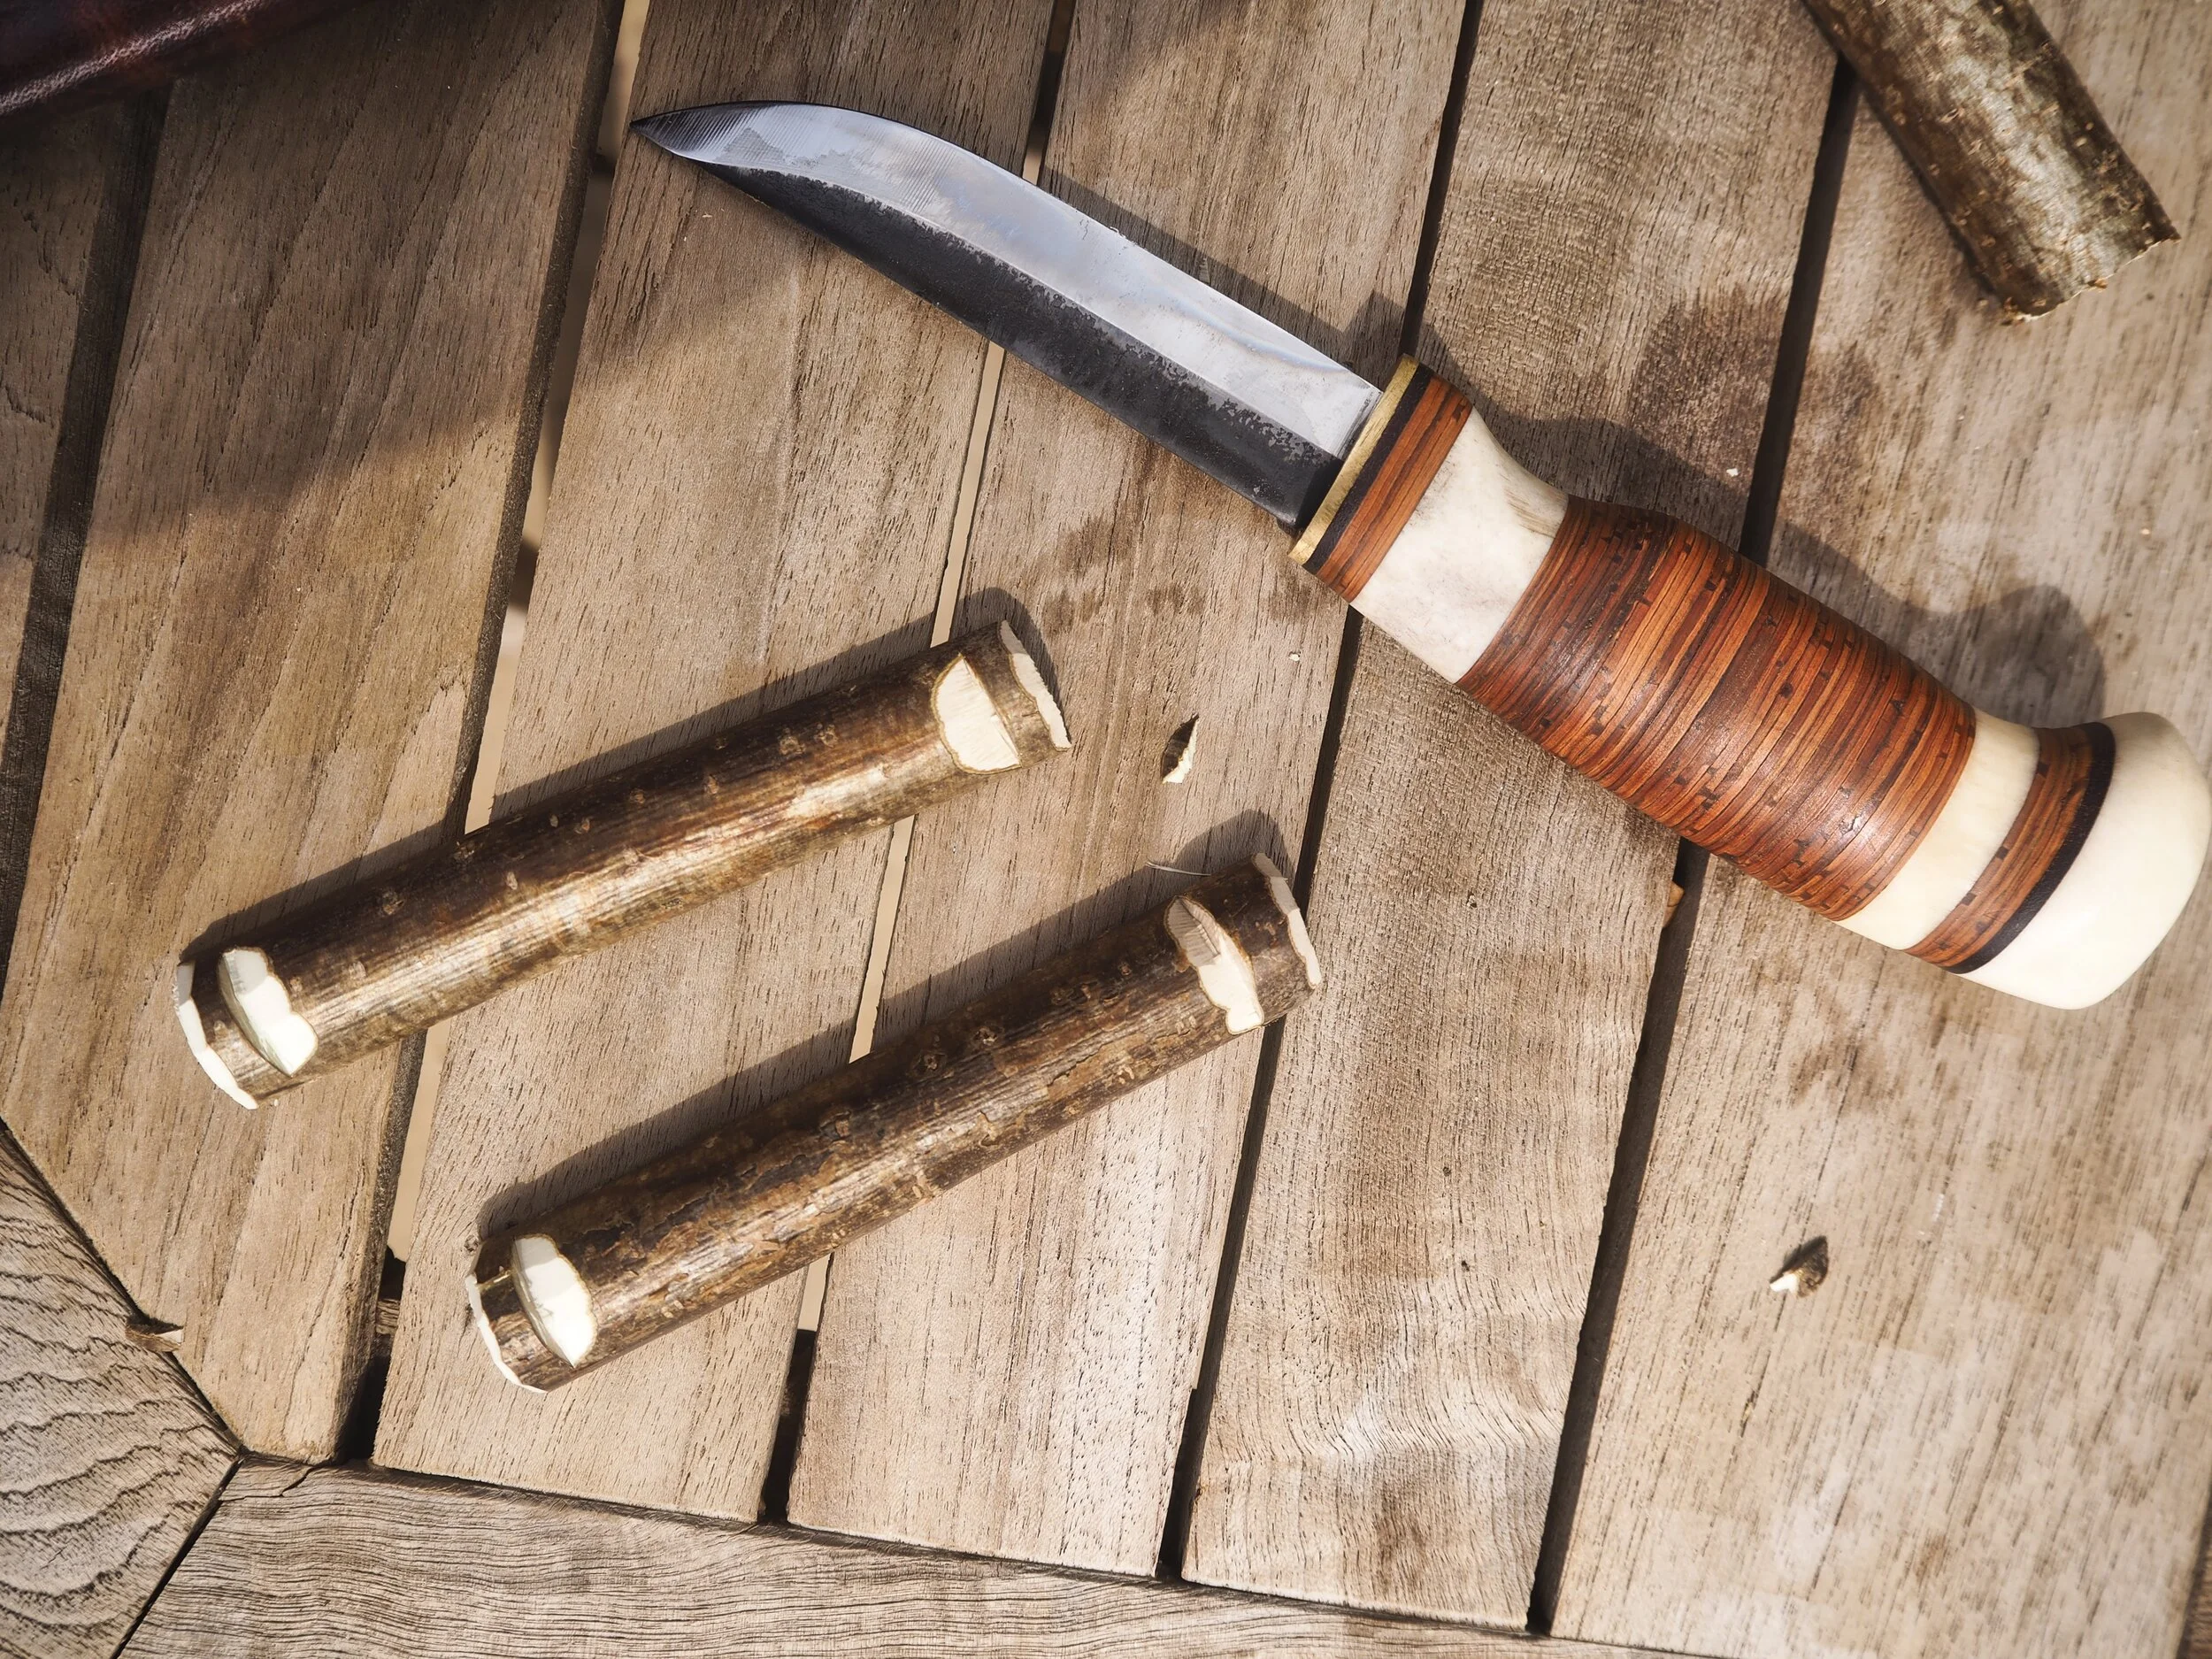
Depending on your need, you may take several shoots of maybe an inch in diameter or as I did just one wrist thick branch. What you’re looking for is a young branch which has a good section without too many side shoots, with clean smooth bark. Work slowly, your strapping will be massively improved if you start with neat even strips. The method above is how I learnt to harvest very neat strips, you can cut as many as you need and leave the rest of the bark on the stem until needed. It should last a few days in the shade in this way on the stem.


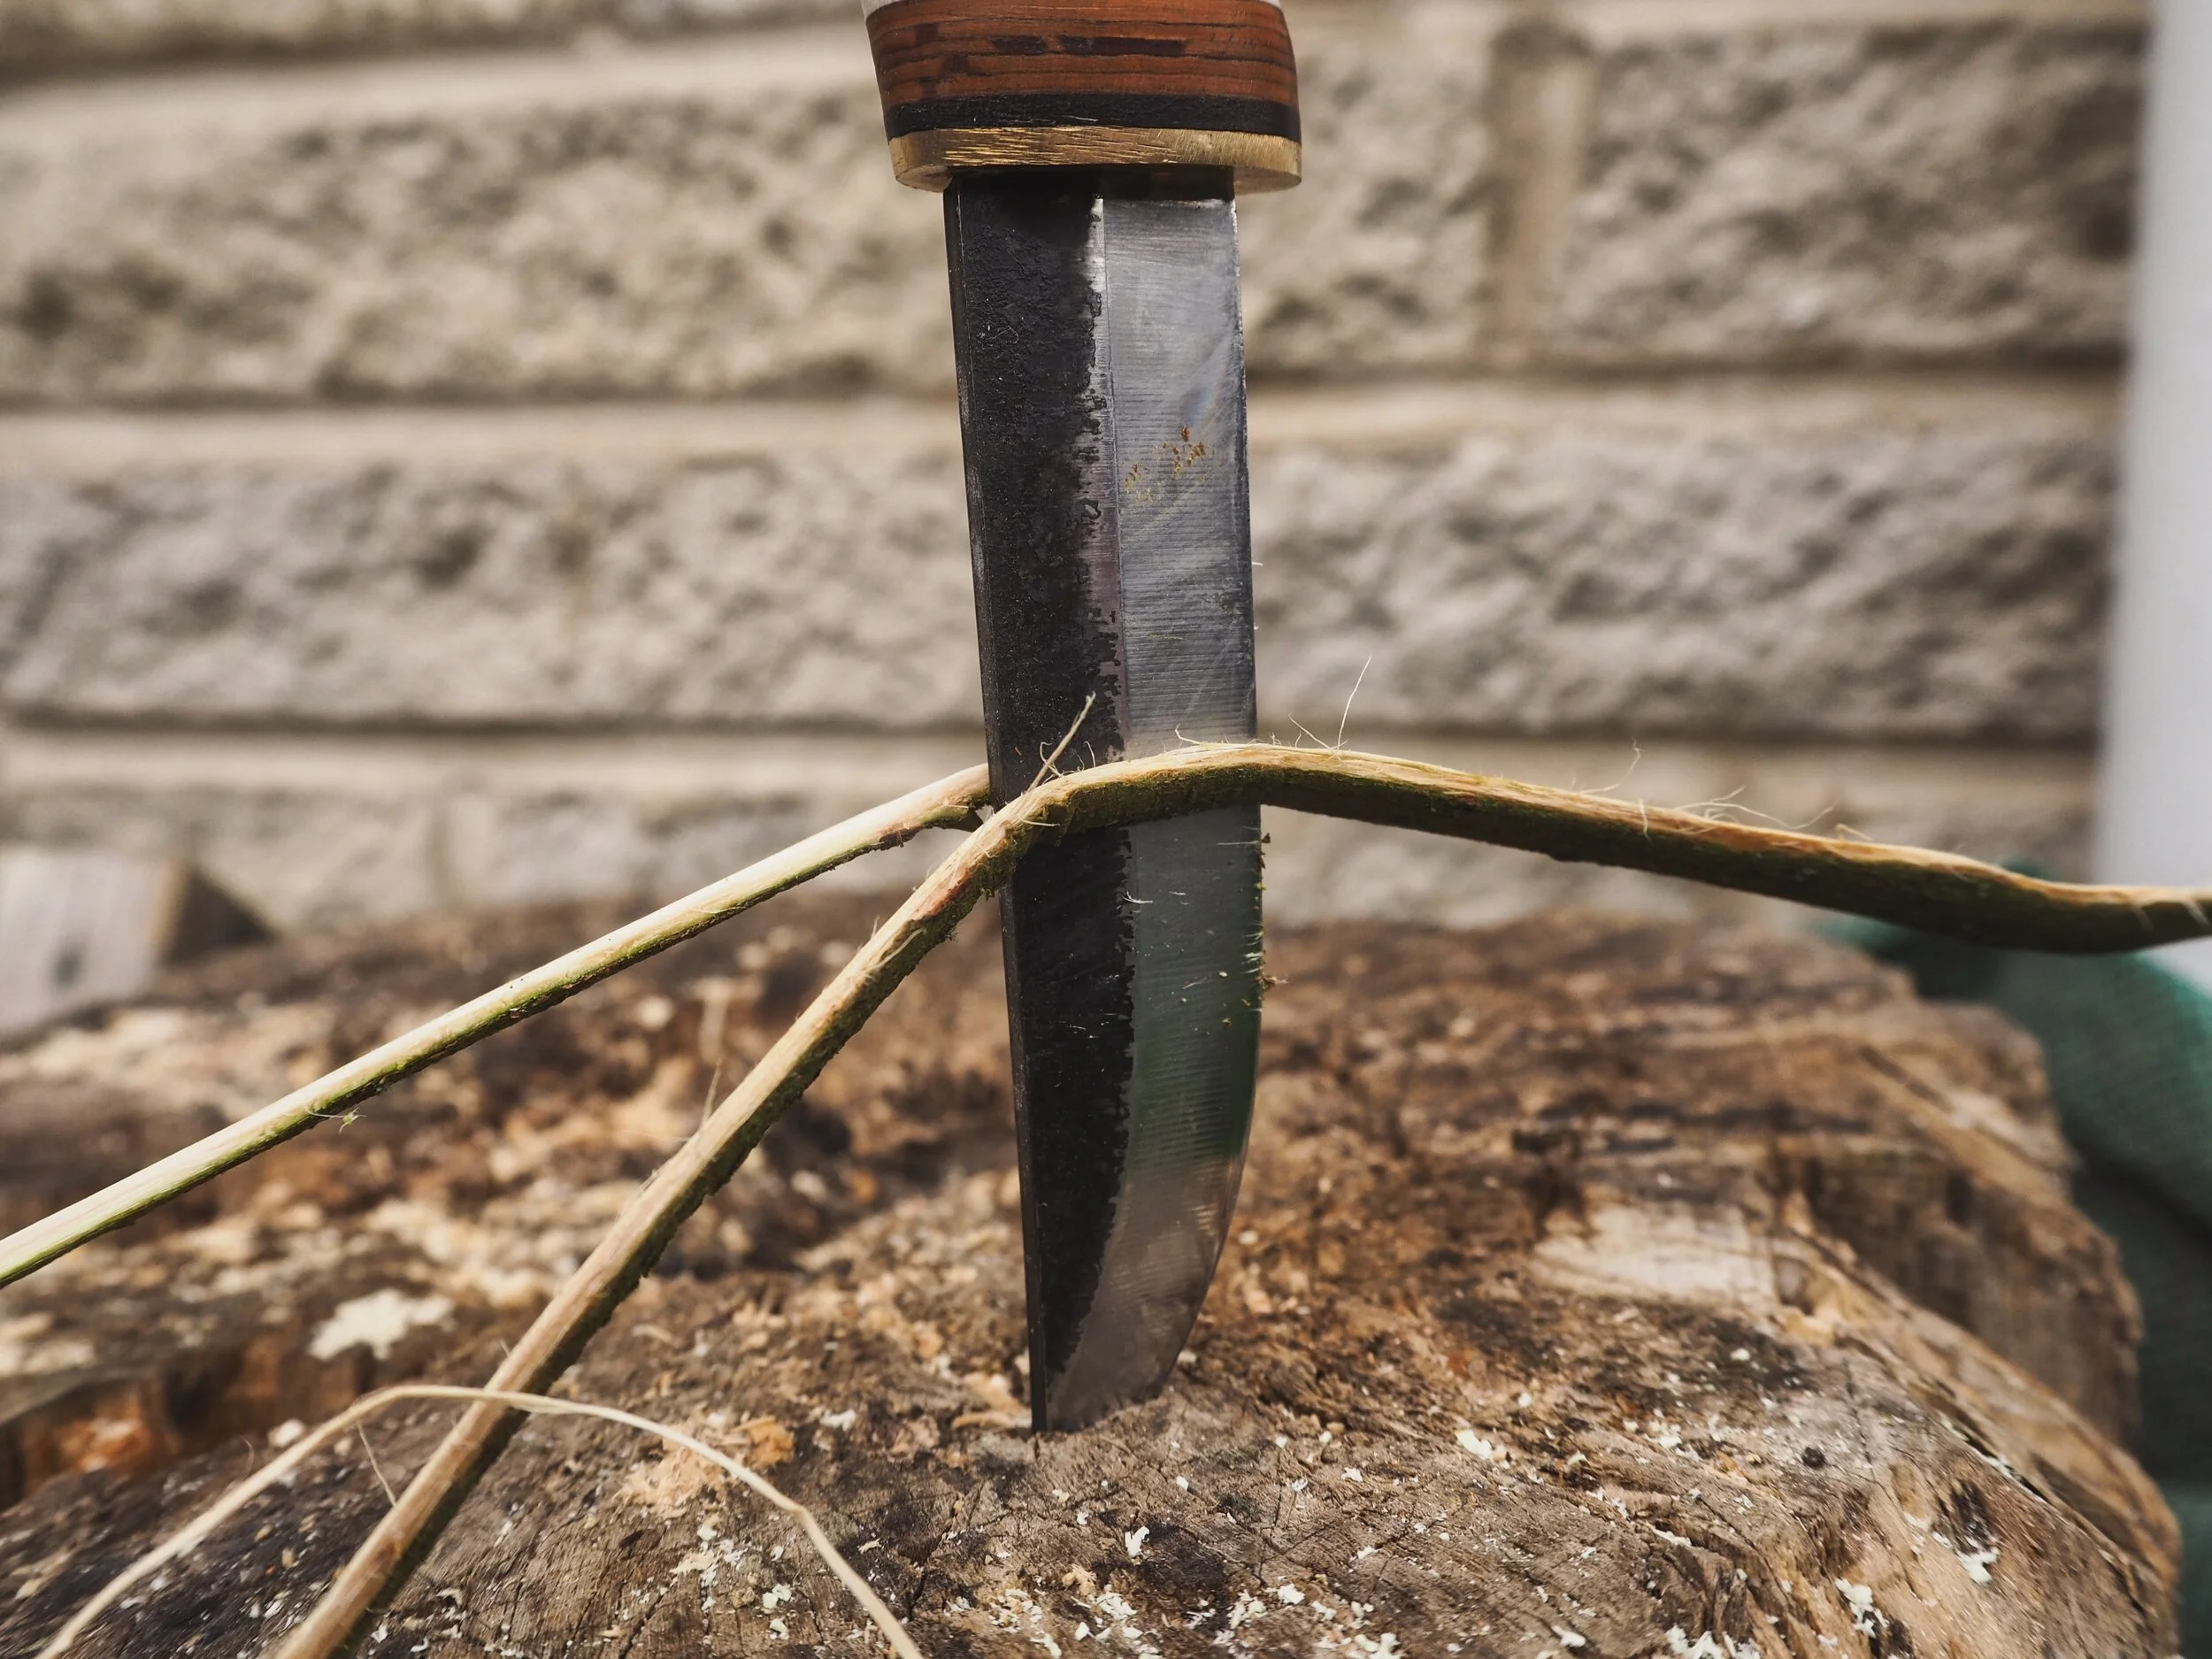
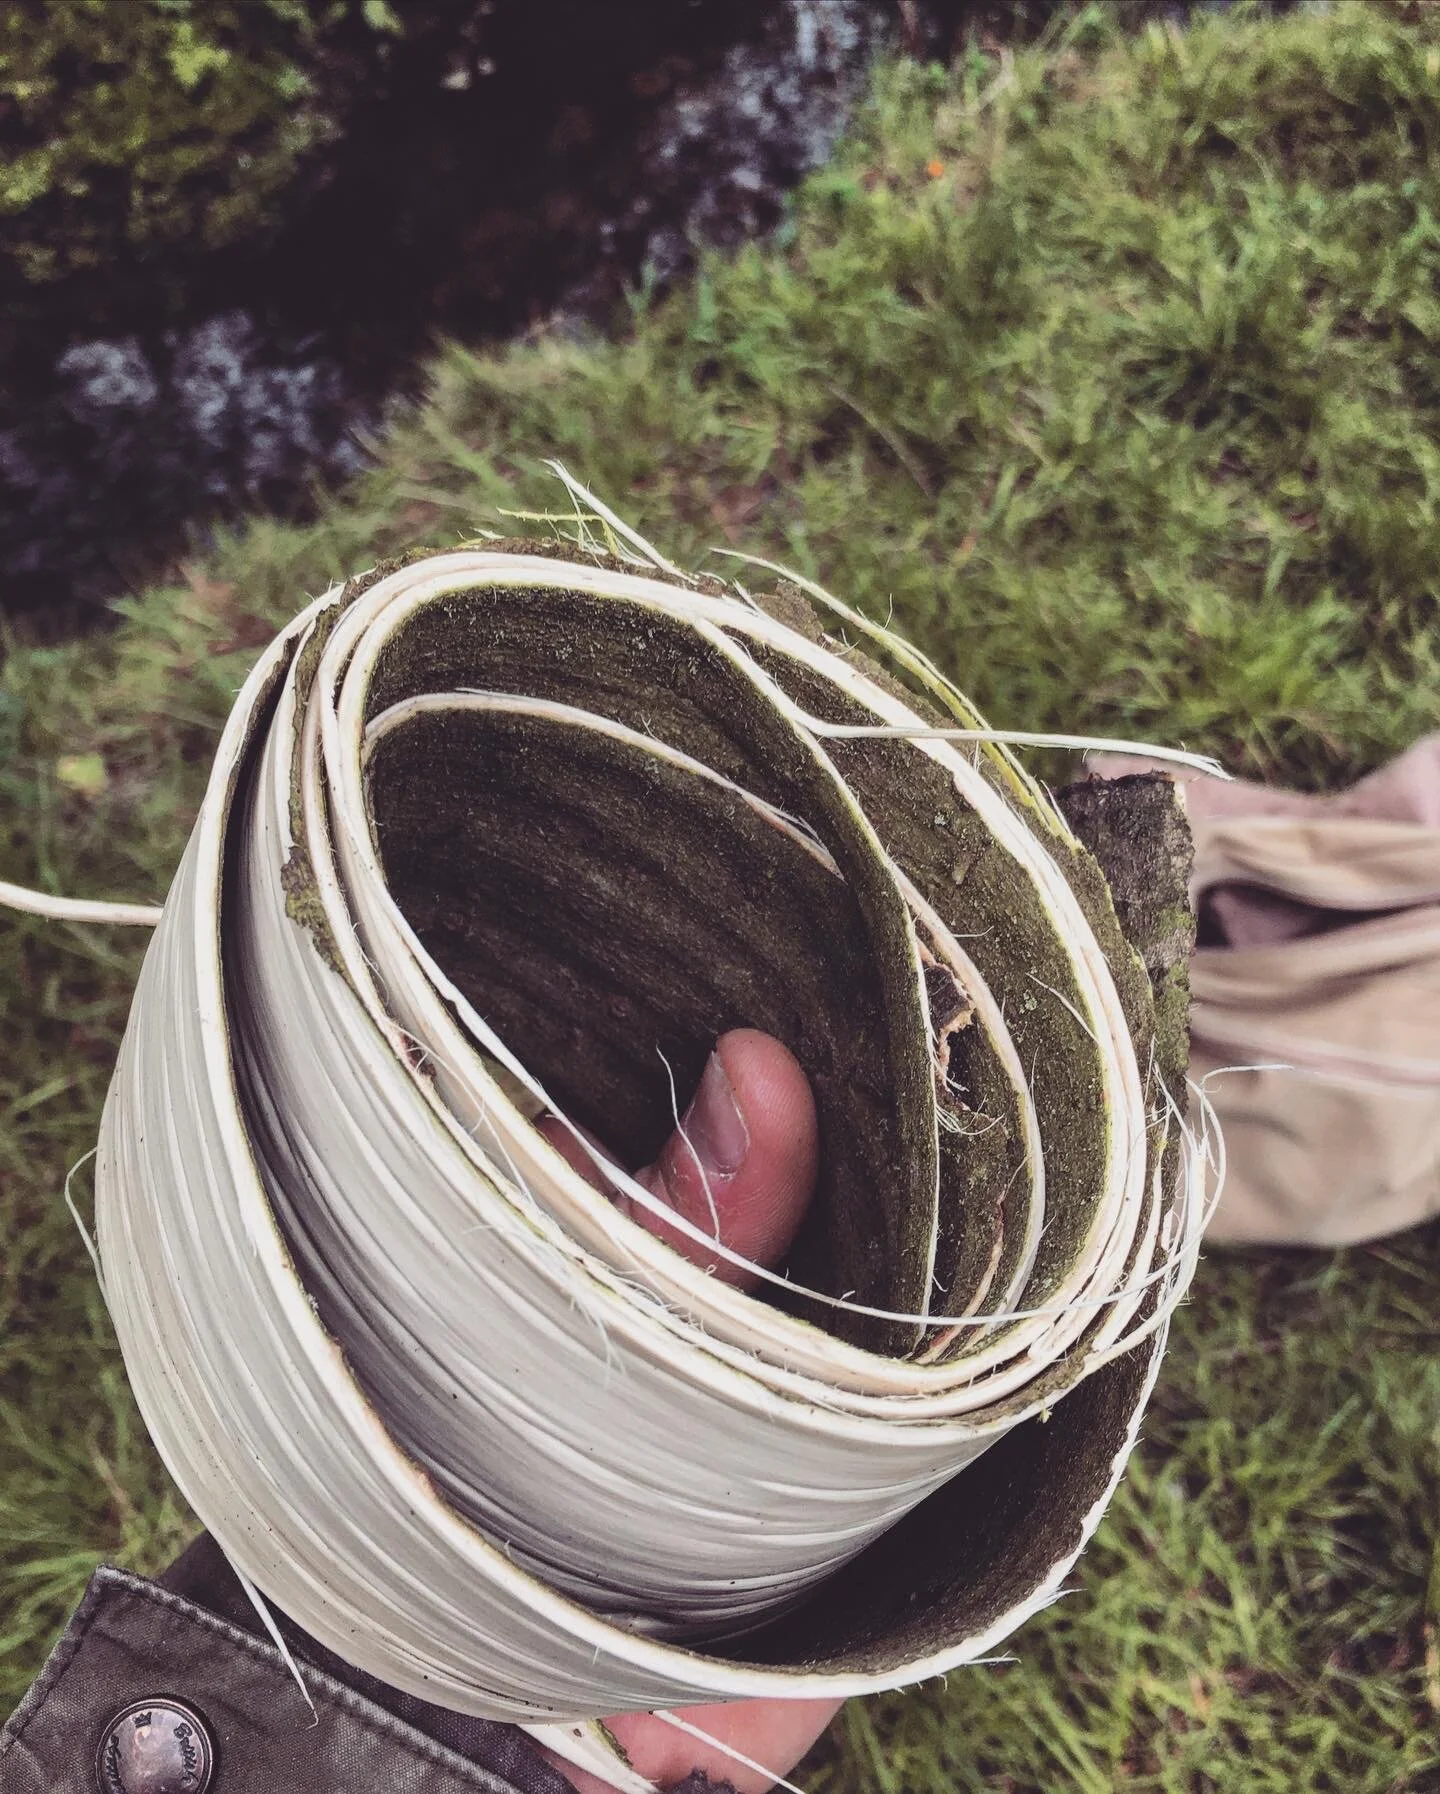
You can also remove the whole bark ‘sheet’ in one go after making the first cut, and then either pull it against a knife which is stuck into a block or even cut the strips with scissors if you’re at home.
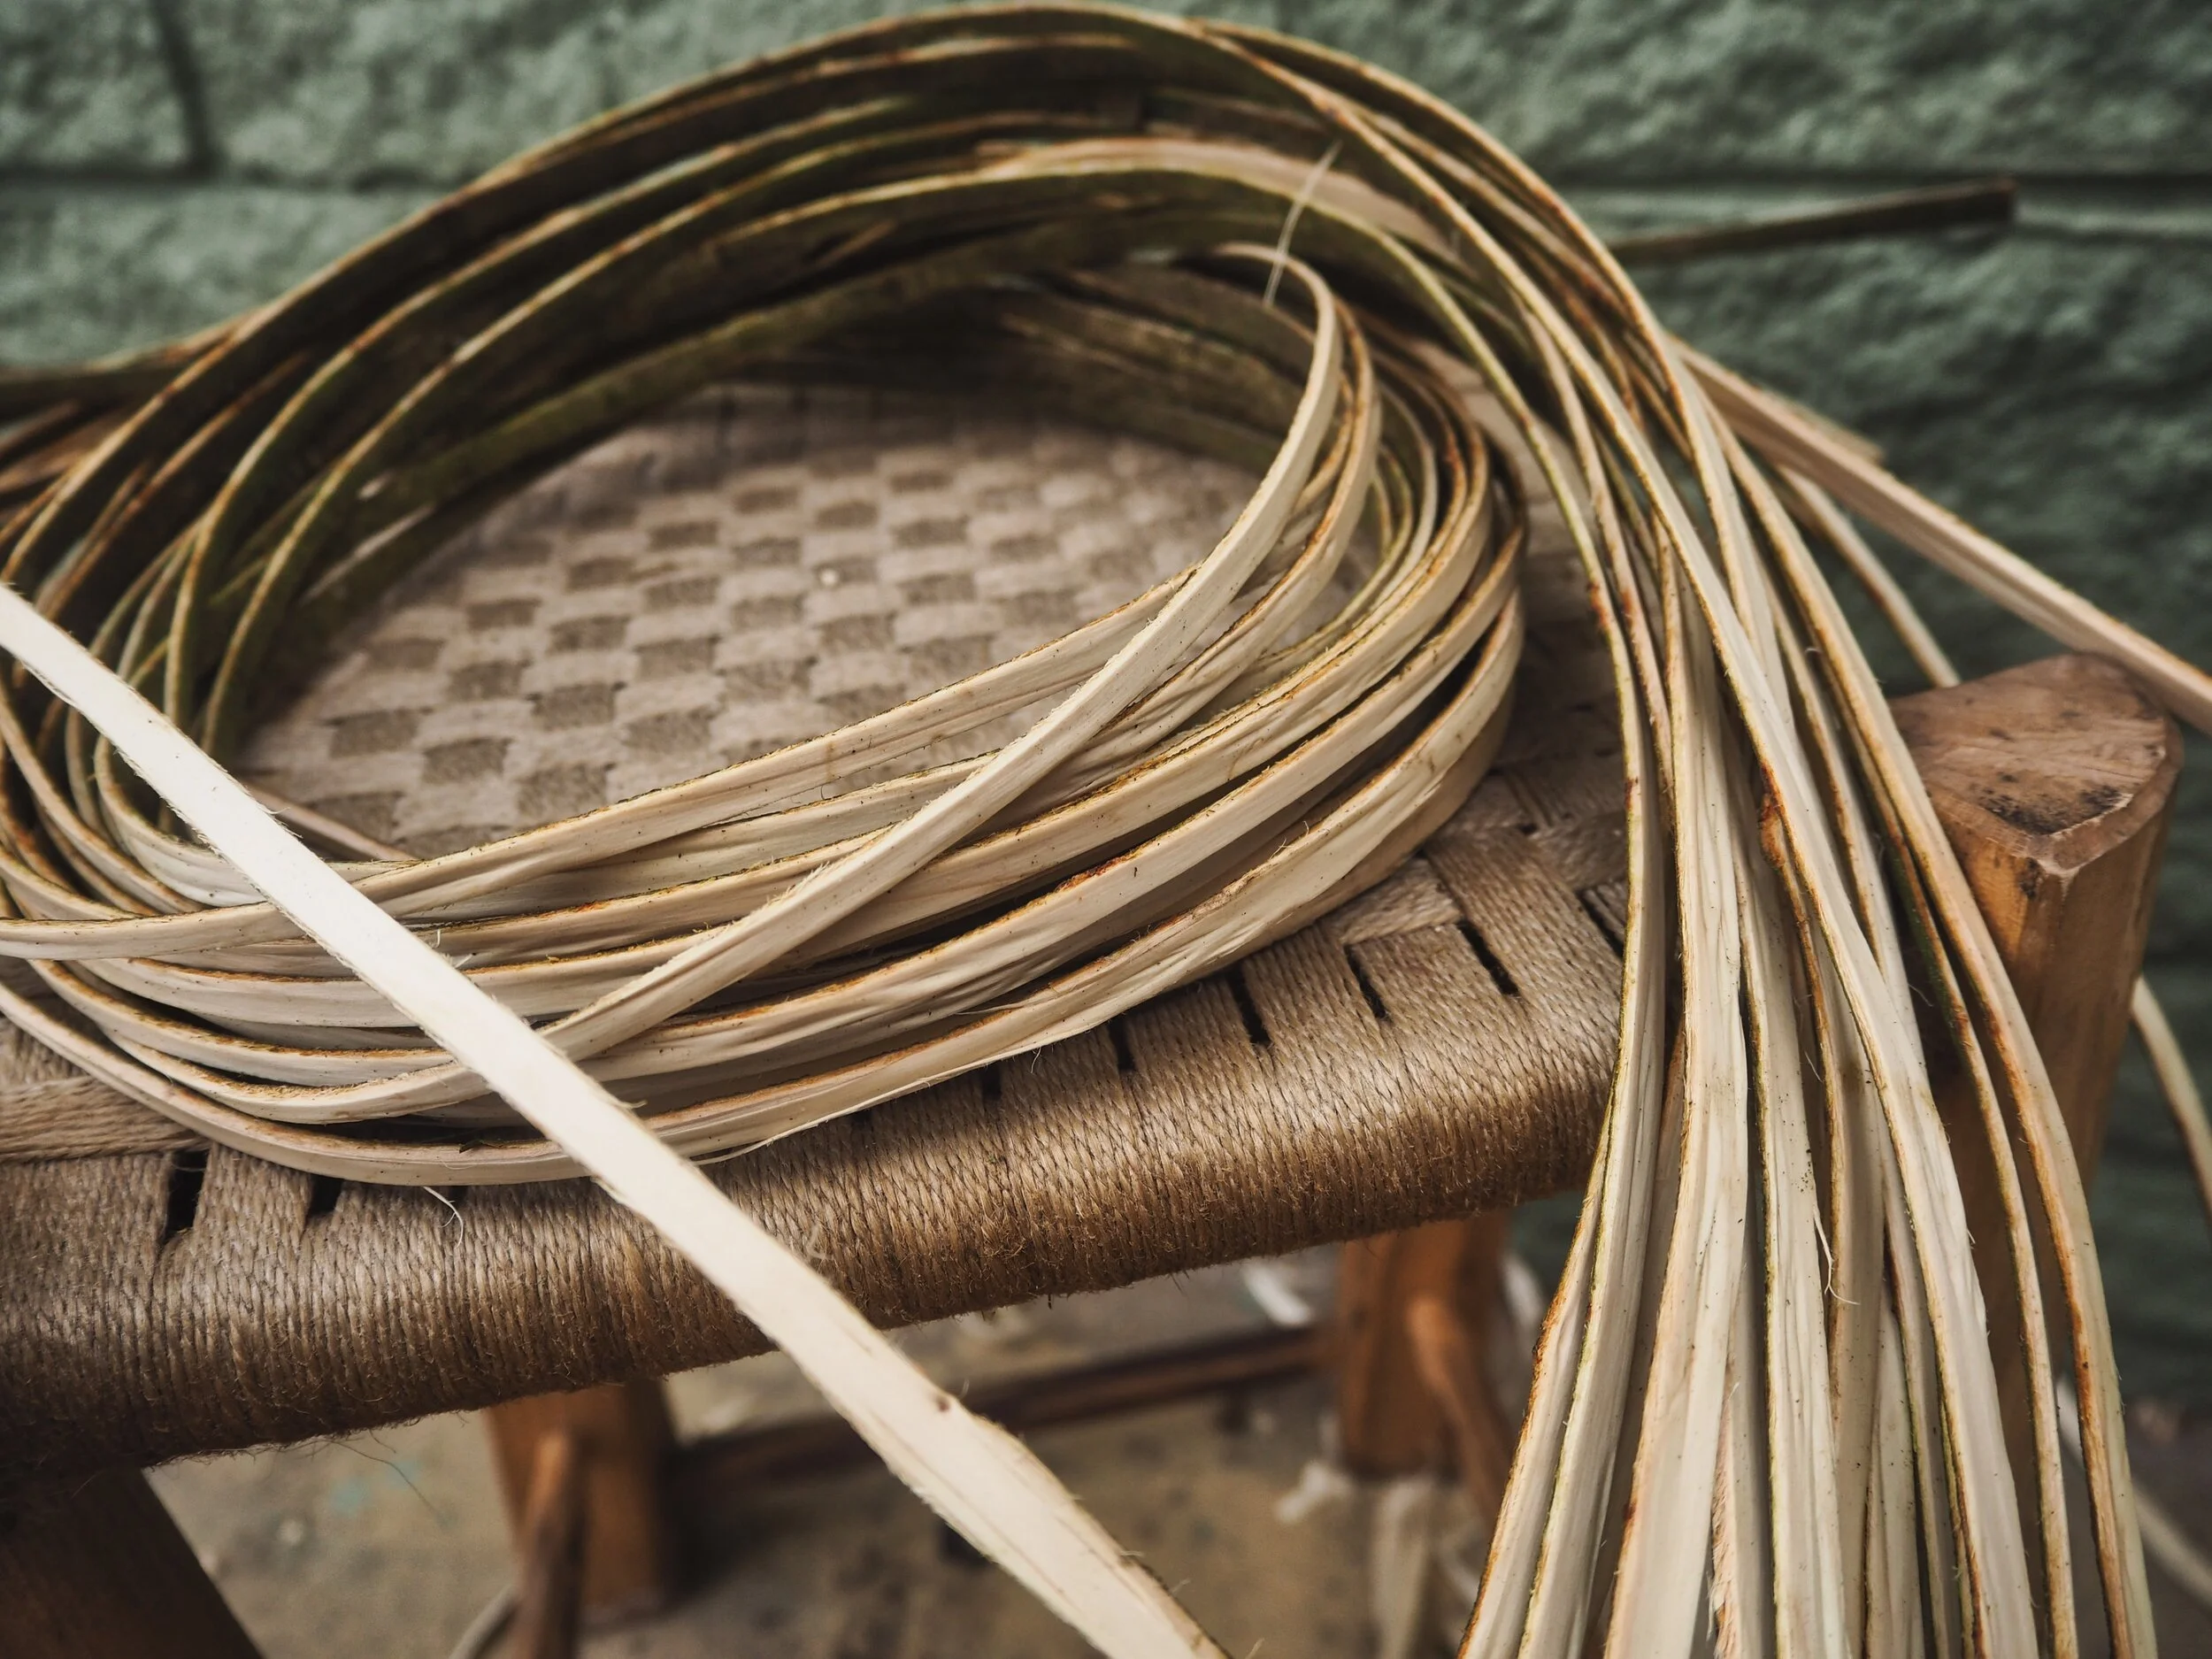
Working with the bark
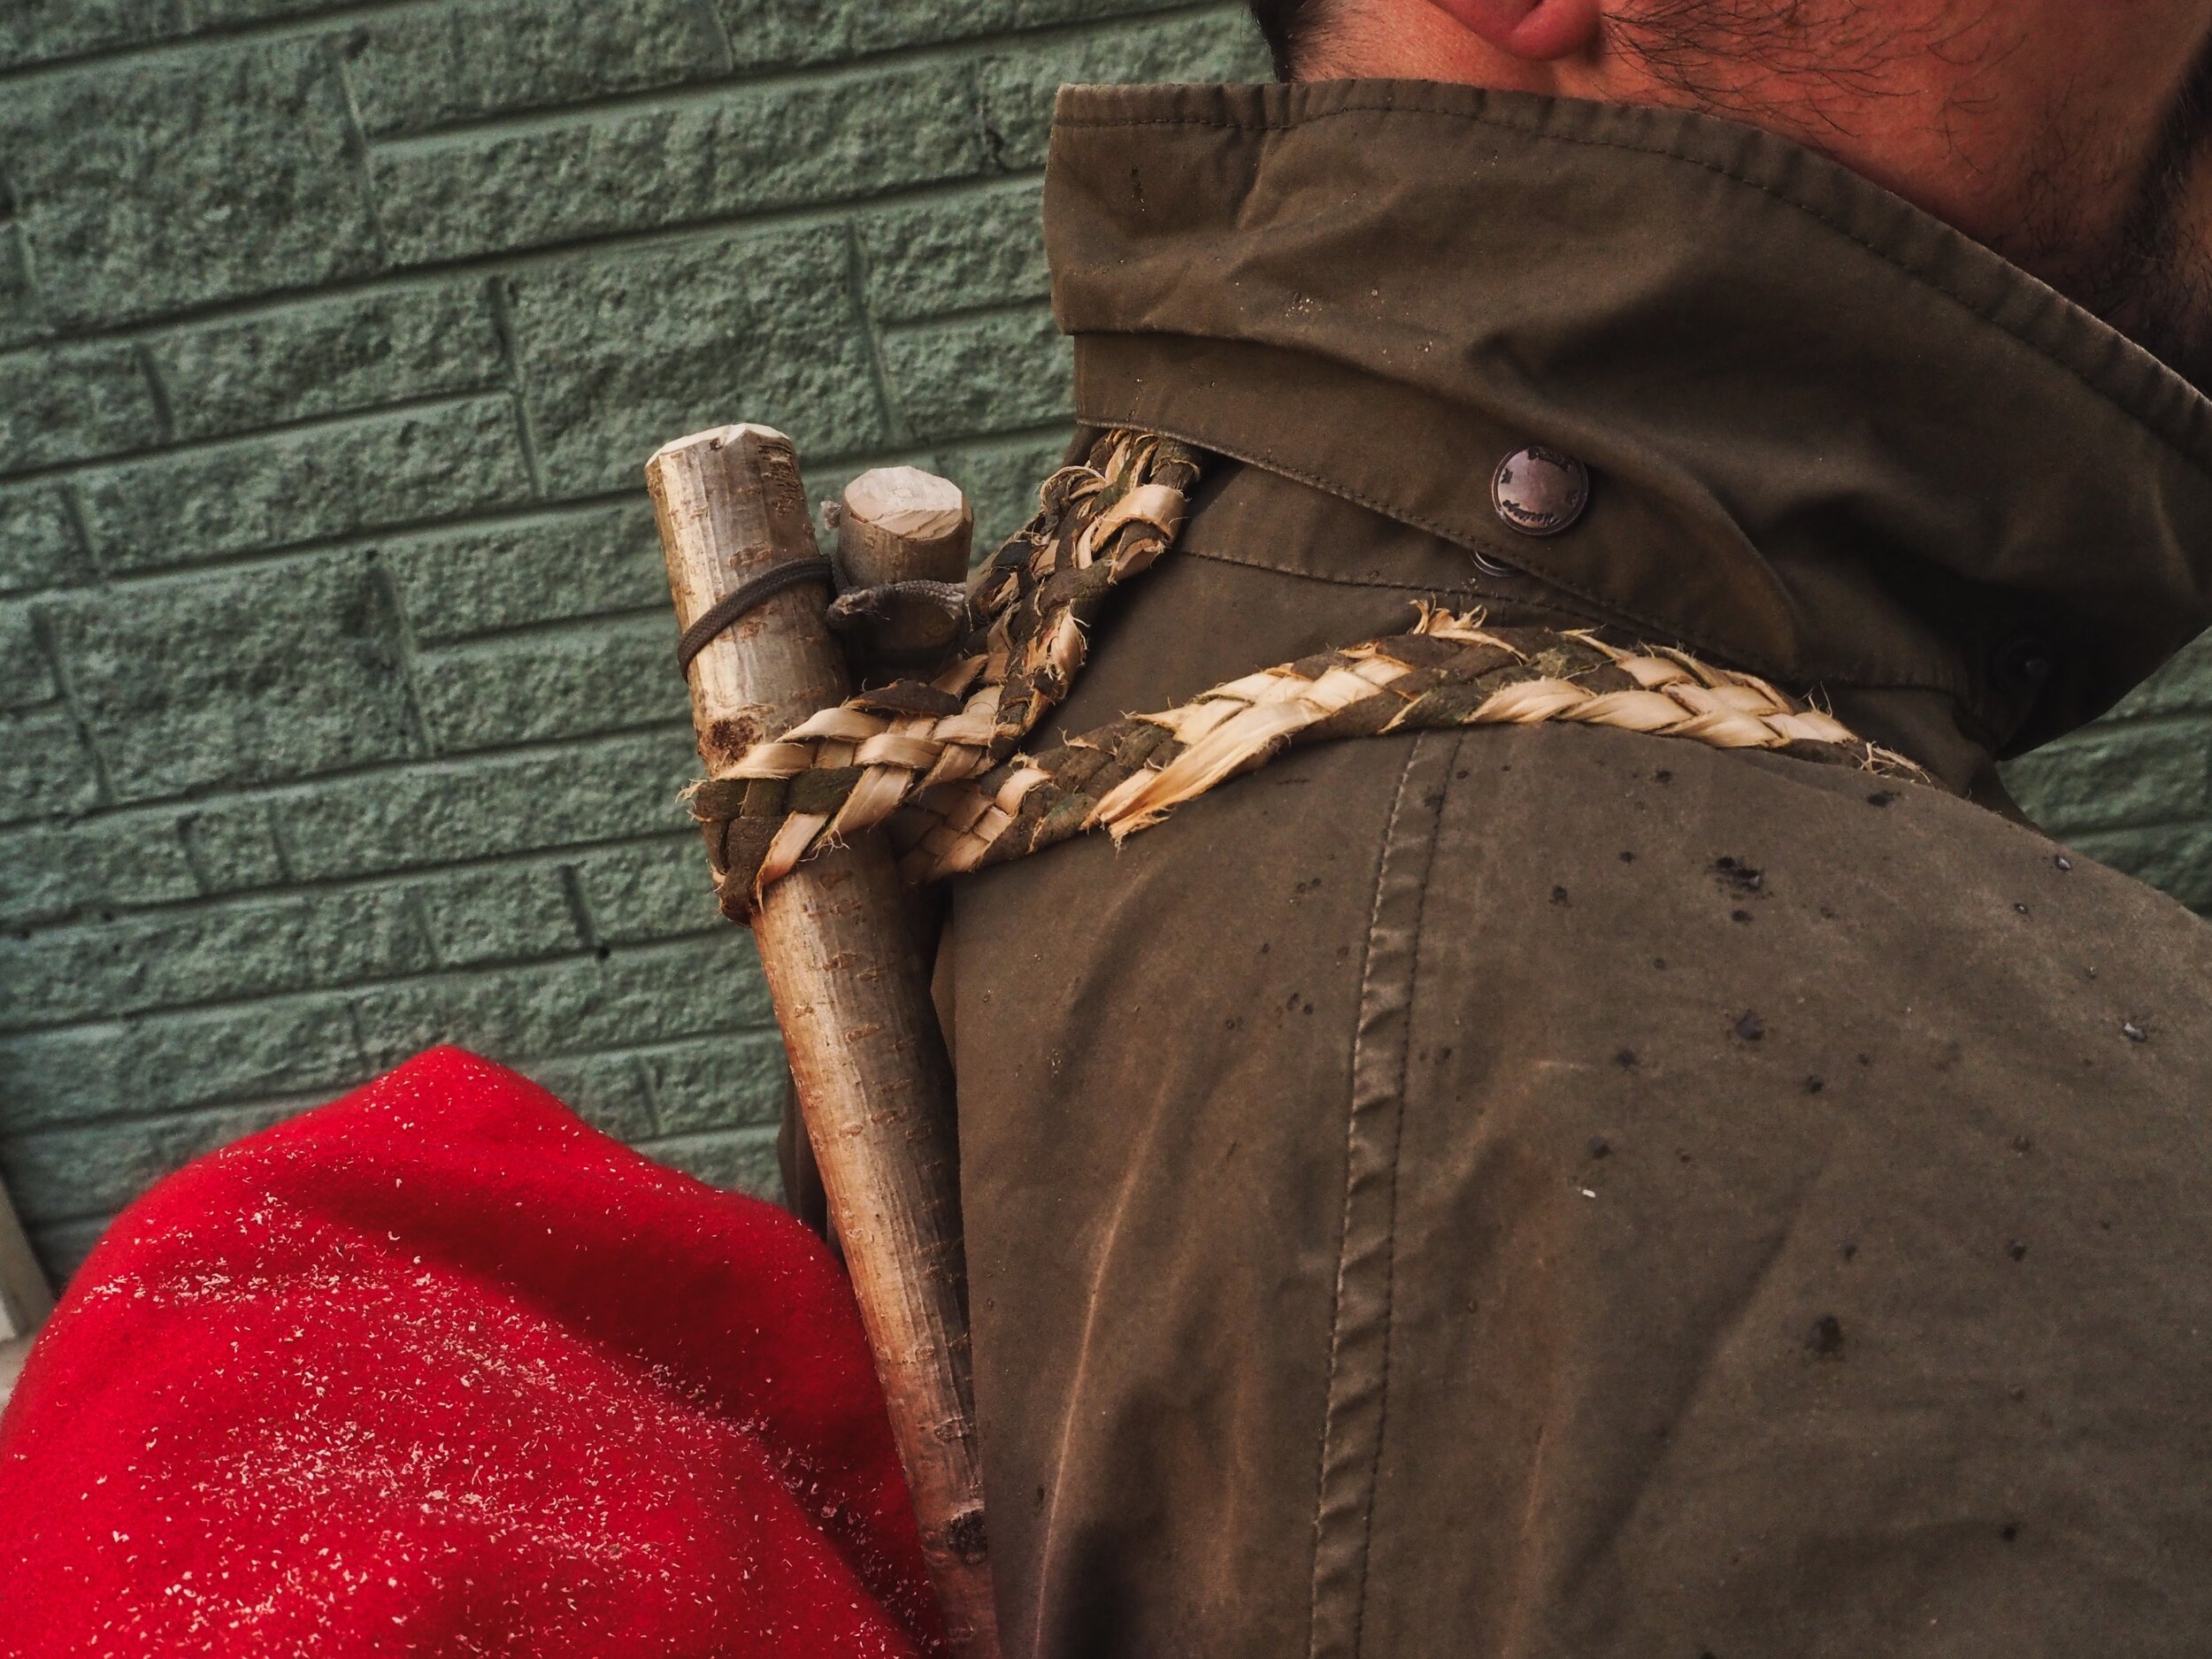
Using the bark green like this then, you’ll find it naturally bends better when you curve the outer bark on the inside so I use it in that orientation for lashings, clove hitch etc. You can also store the bark in cold water if you’re working with it all day in hot weather, or even rehydrate it after a several days by soaking it in cold water, but I’ve had the best results personally by making the straps straight away and harvesting the bark as I need it. Cut stem generally stay fresh and peel-able for a week or so if kept in a cool spot out of sunlight.
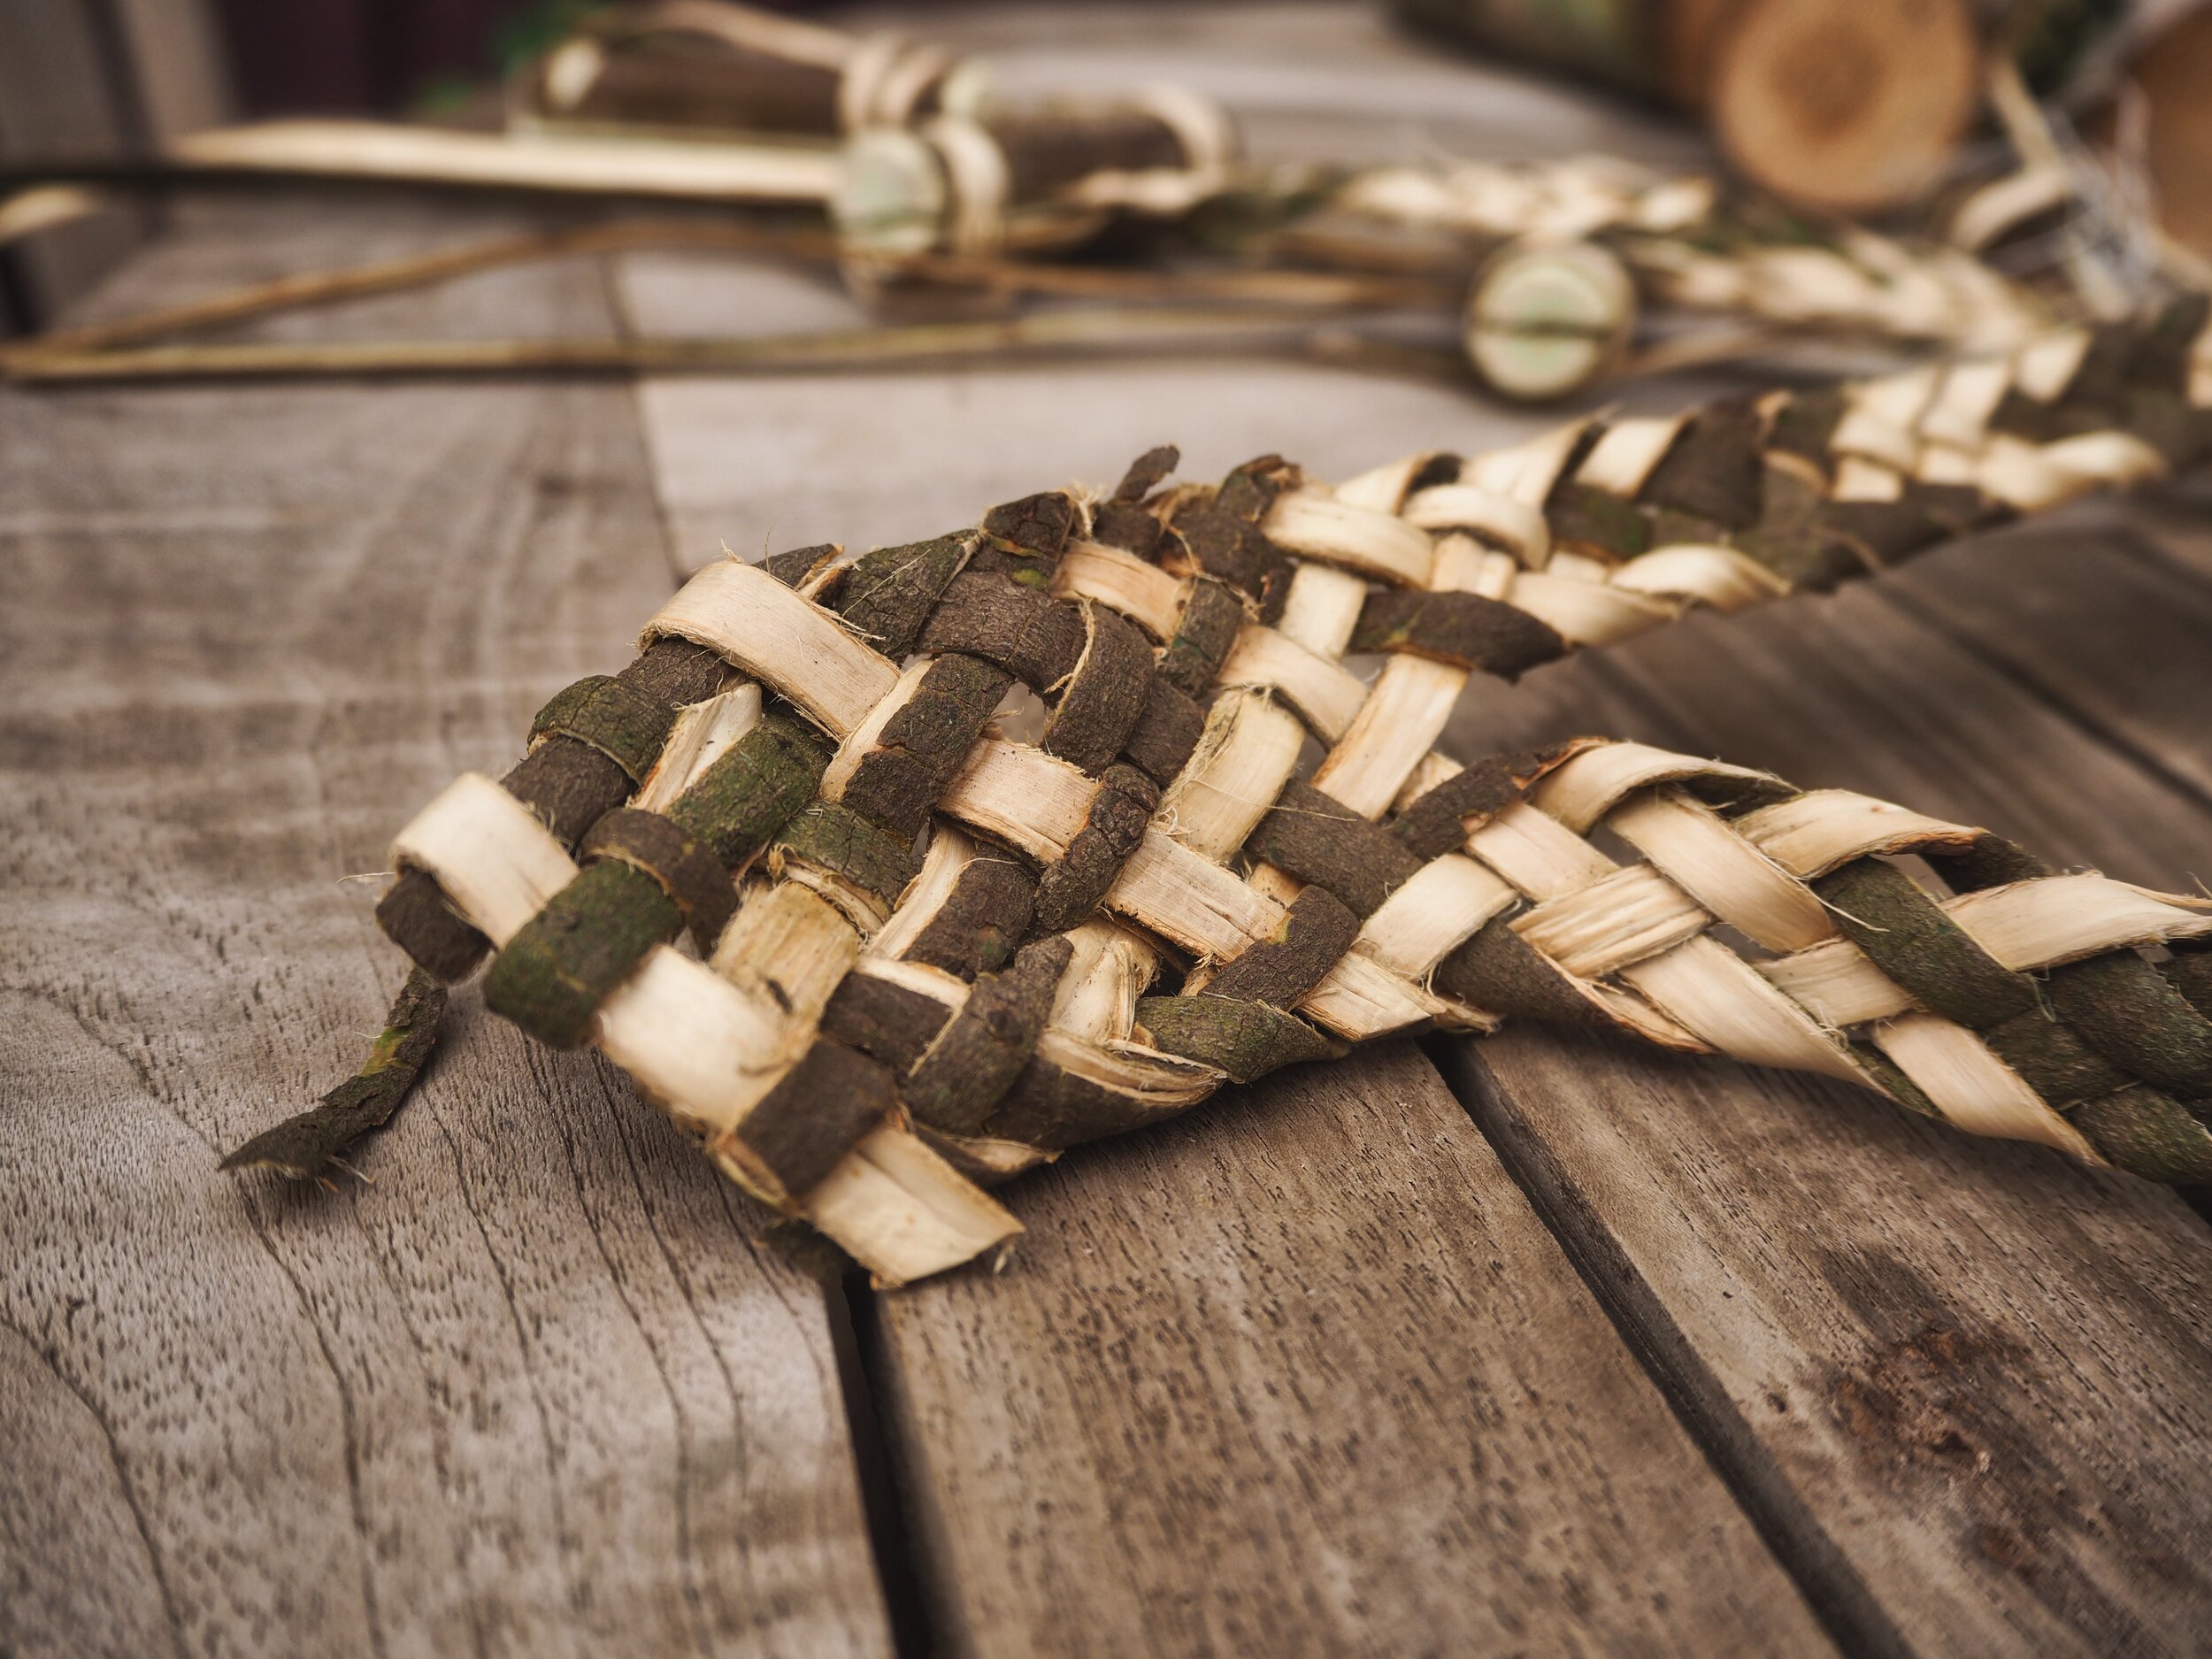
To make the straps then, we’re going to run a 5 strand braid. You can of course use any number of strands from 3 to…well, you tell me :) 5 is a good number to start with I find as it’s easy to work and gives a satisfying width of strap.
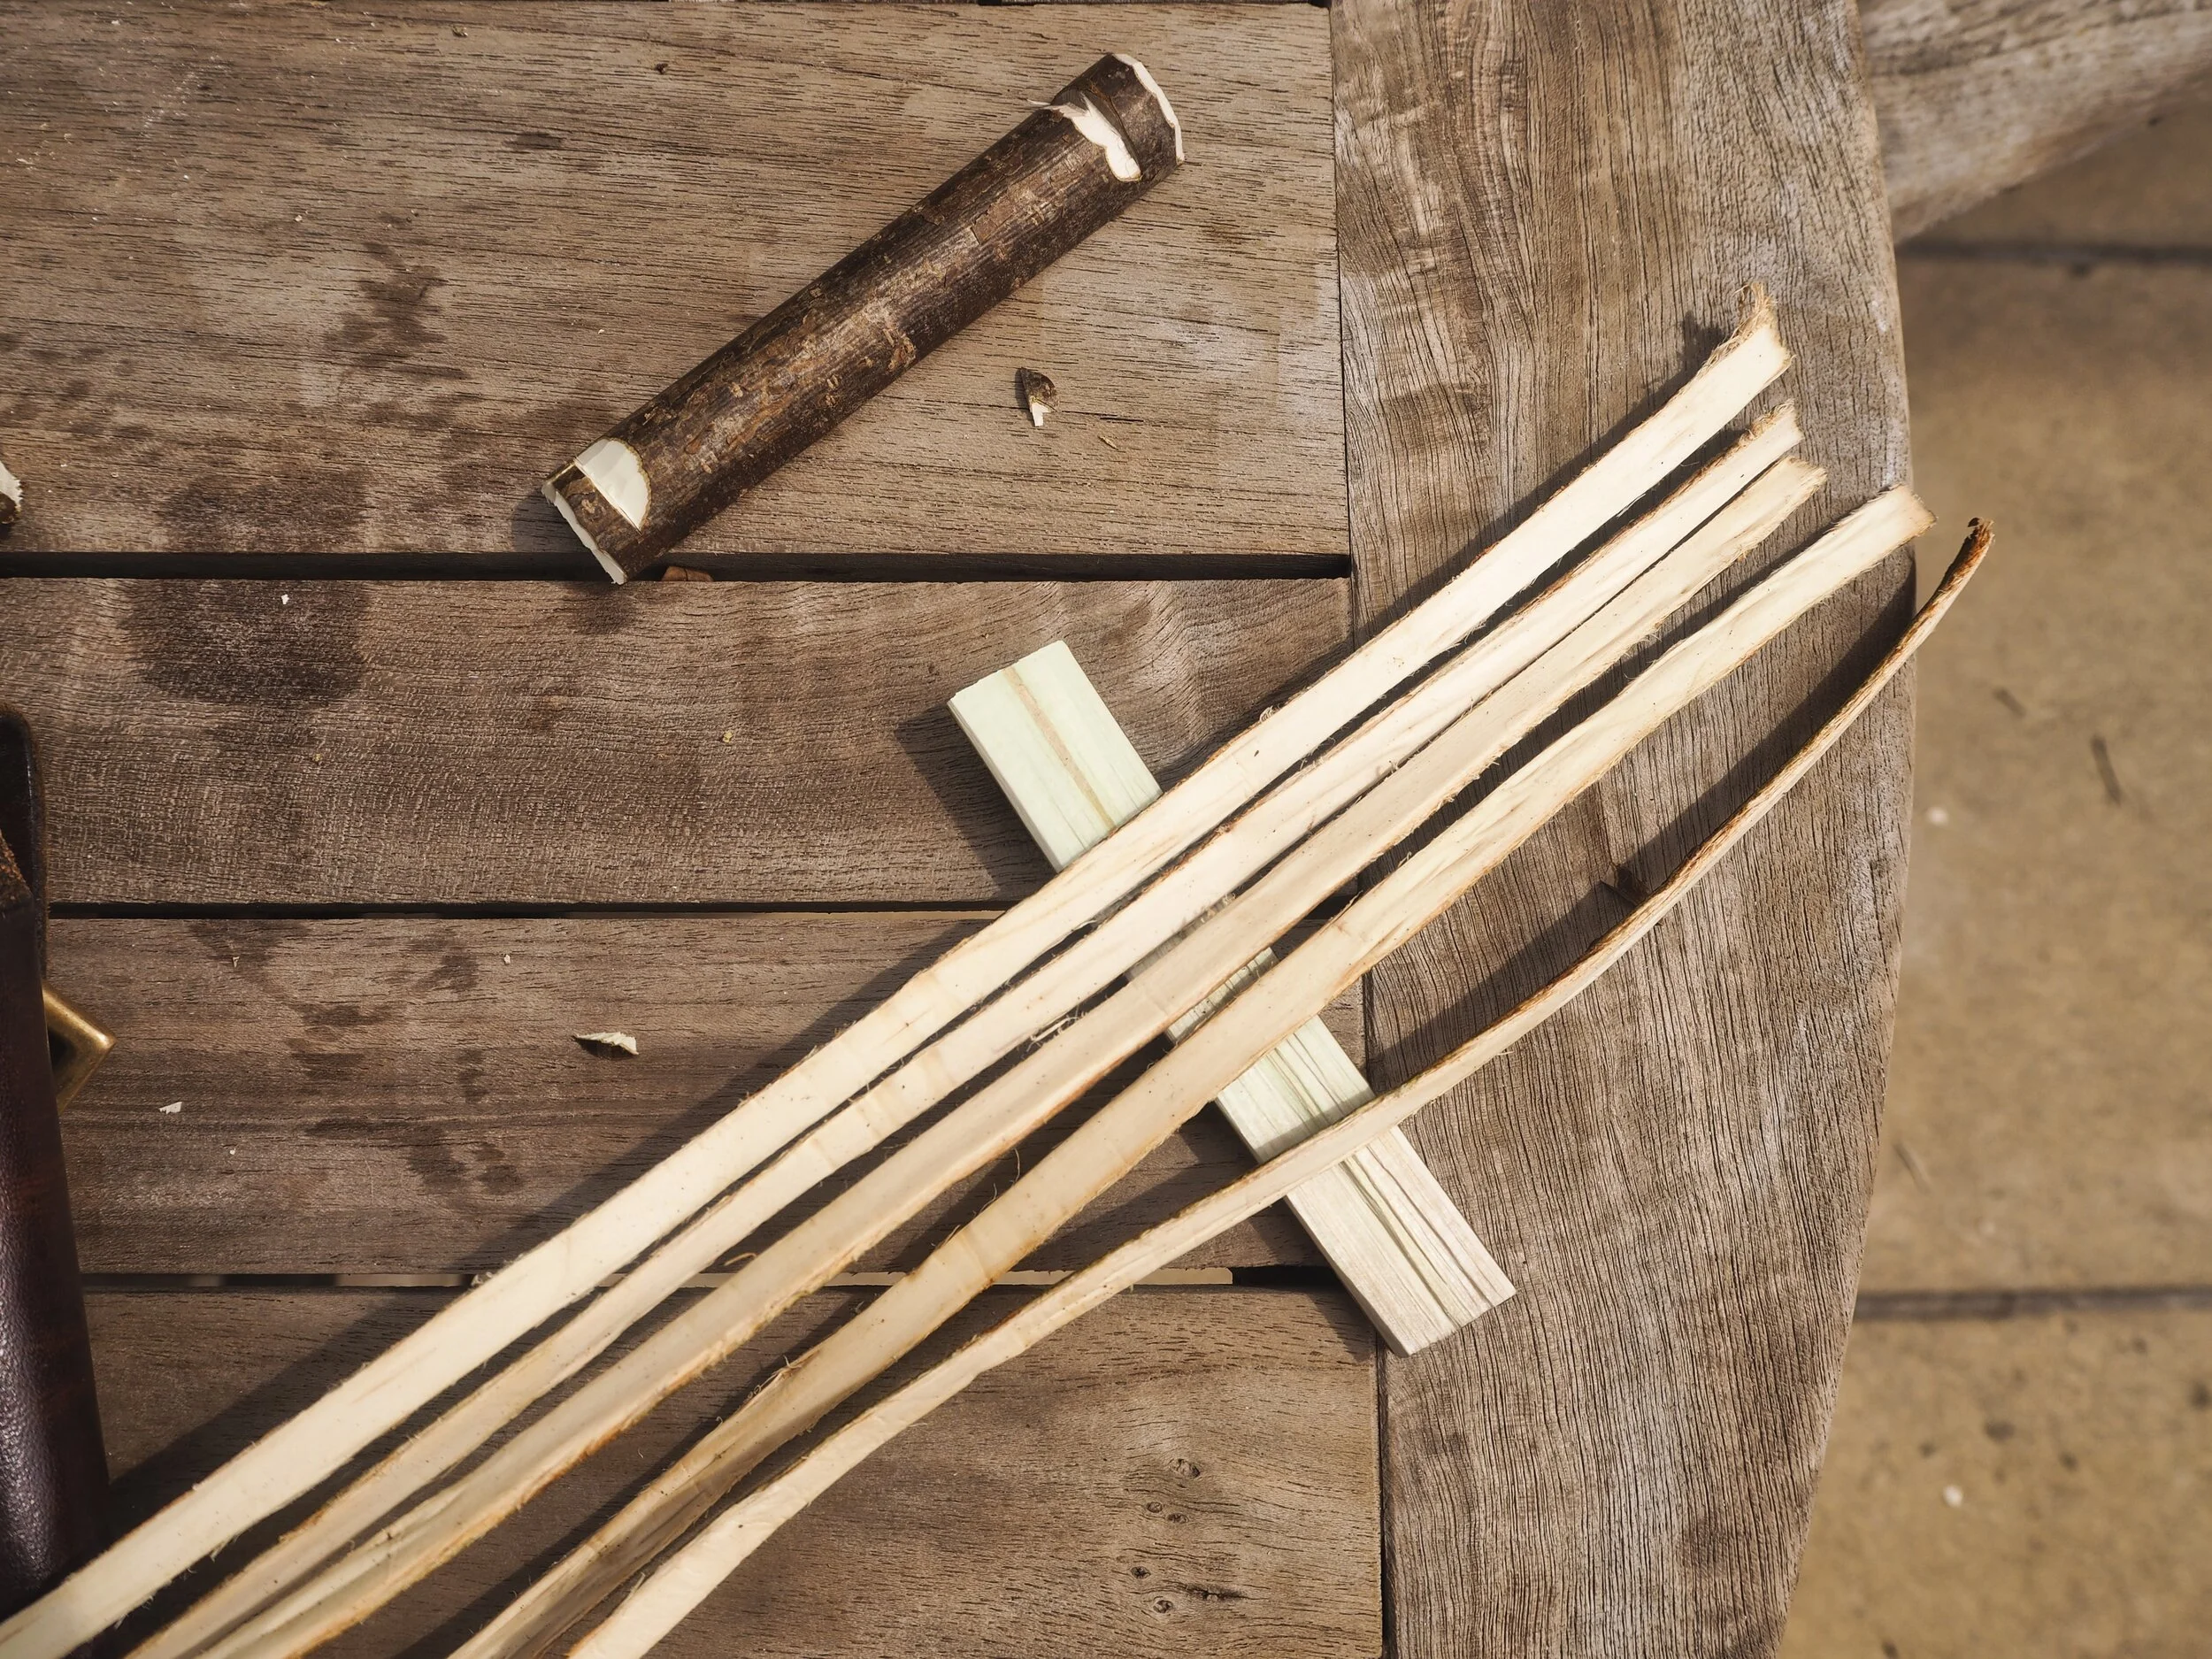
I managed to find a good branch of about 180cm in length, so that’s what length strips I was working with. This is by no means always the case, so you may need to add in additional shorter lengths until your strap is as long as you need. I’ll detail how to do this a little later. From this one branch I got 18 strips, so a fair return for one cutting from the tree. The wood I keep for other craft projects.
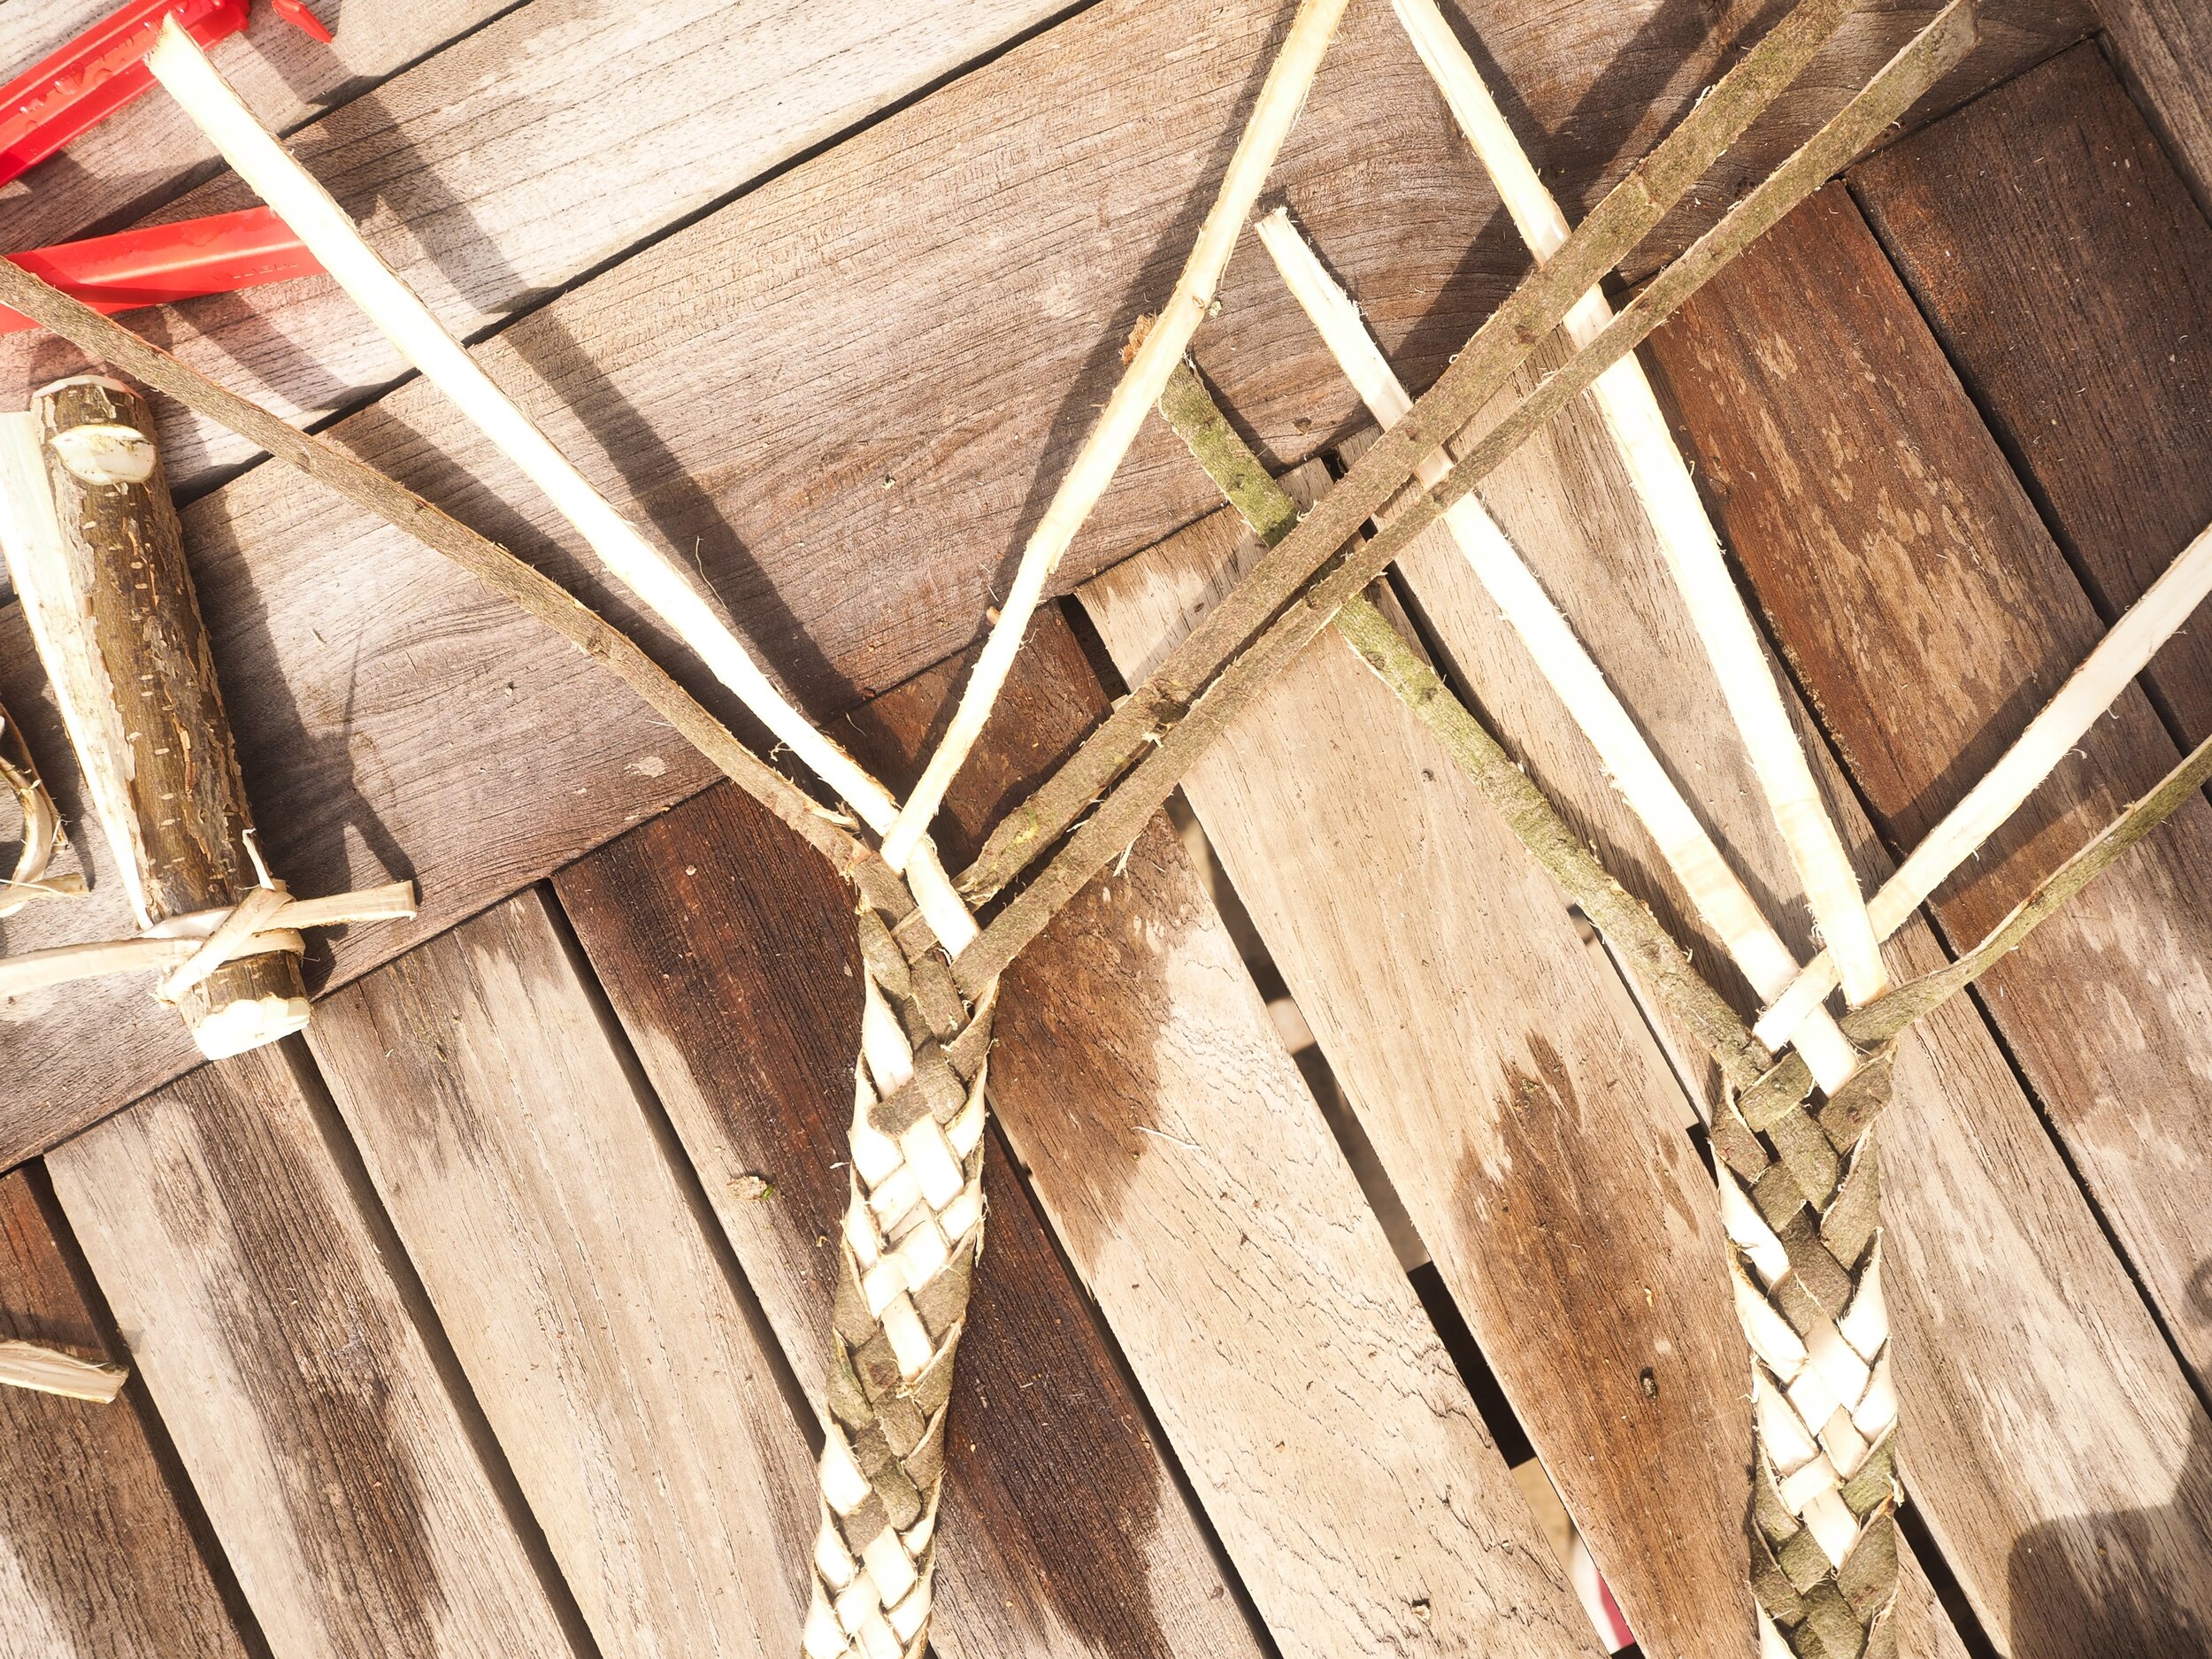
Clamps

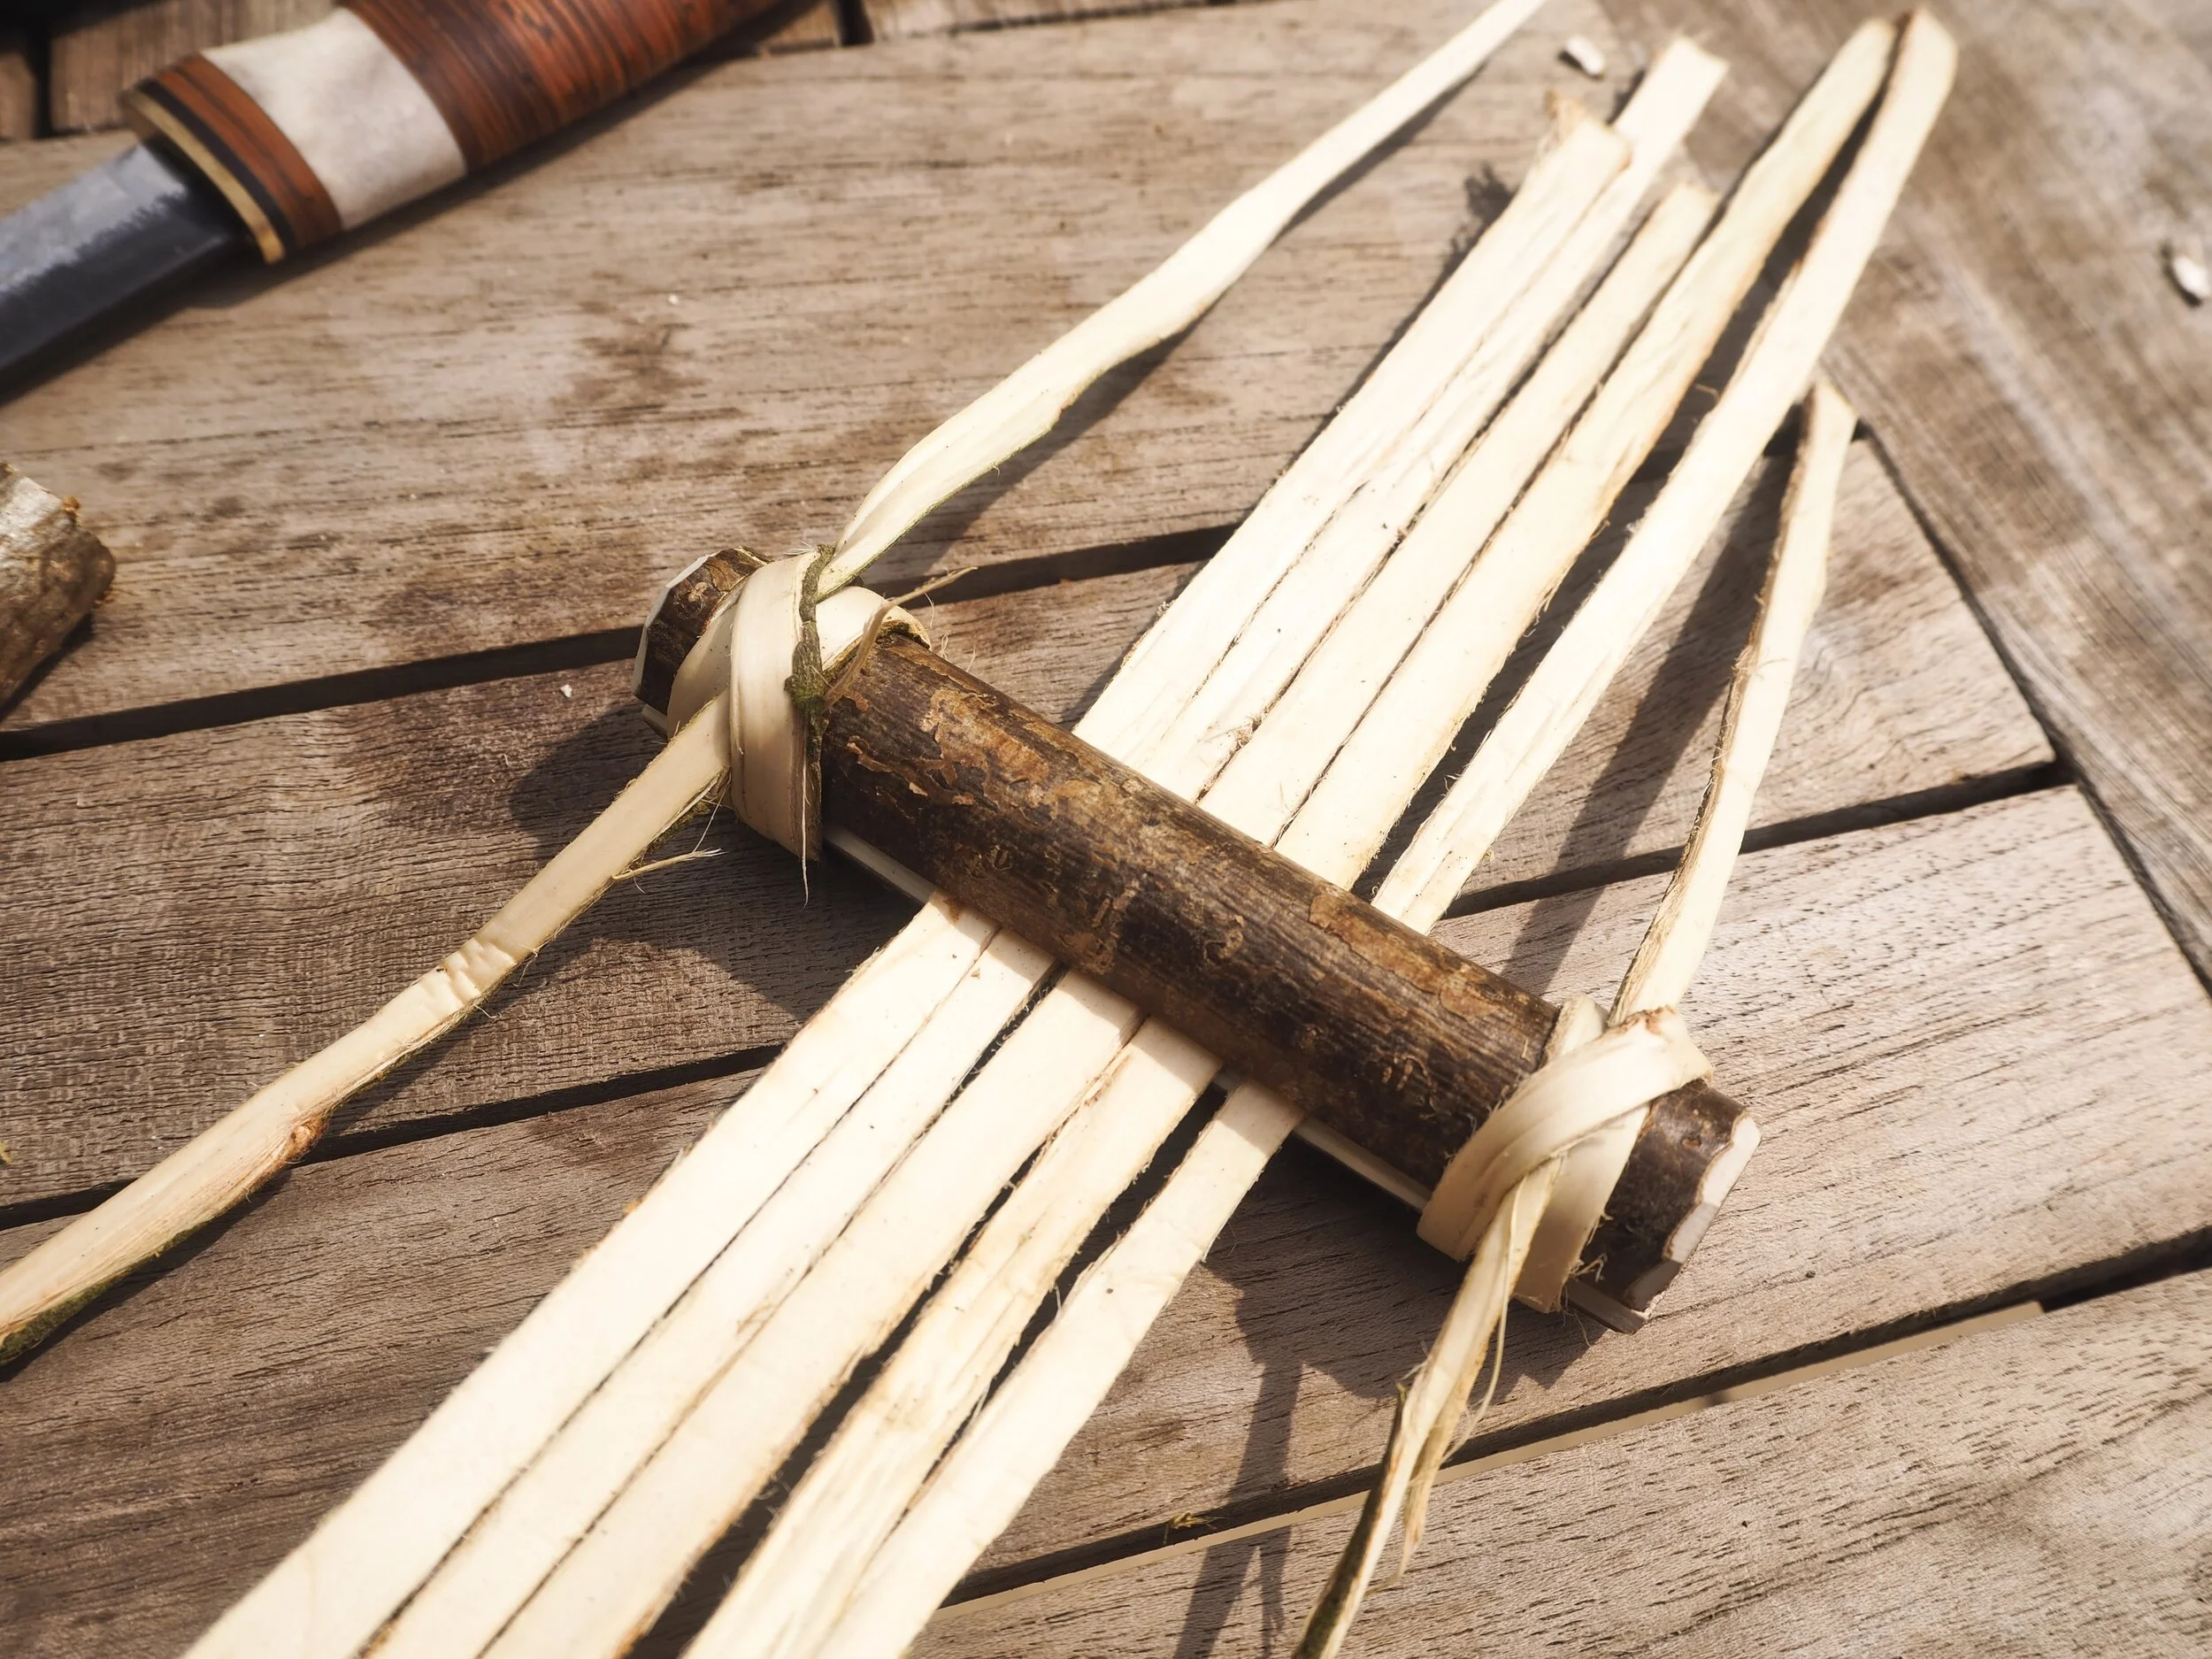
This clamps help keep everything neat and tidy, and can be reused time and again or simply returned to the forest to degrade. You can also use those plastic kitchen clips for a quick fix at home.
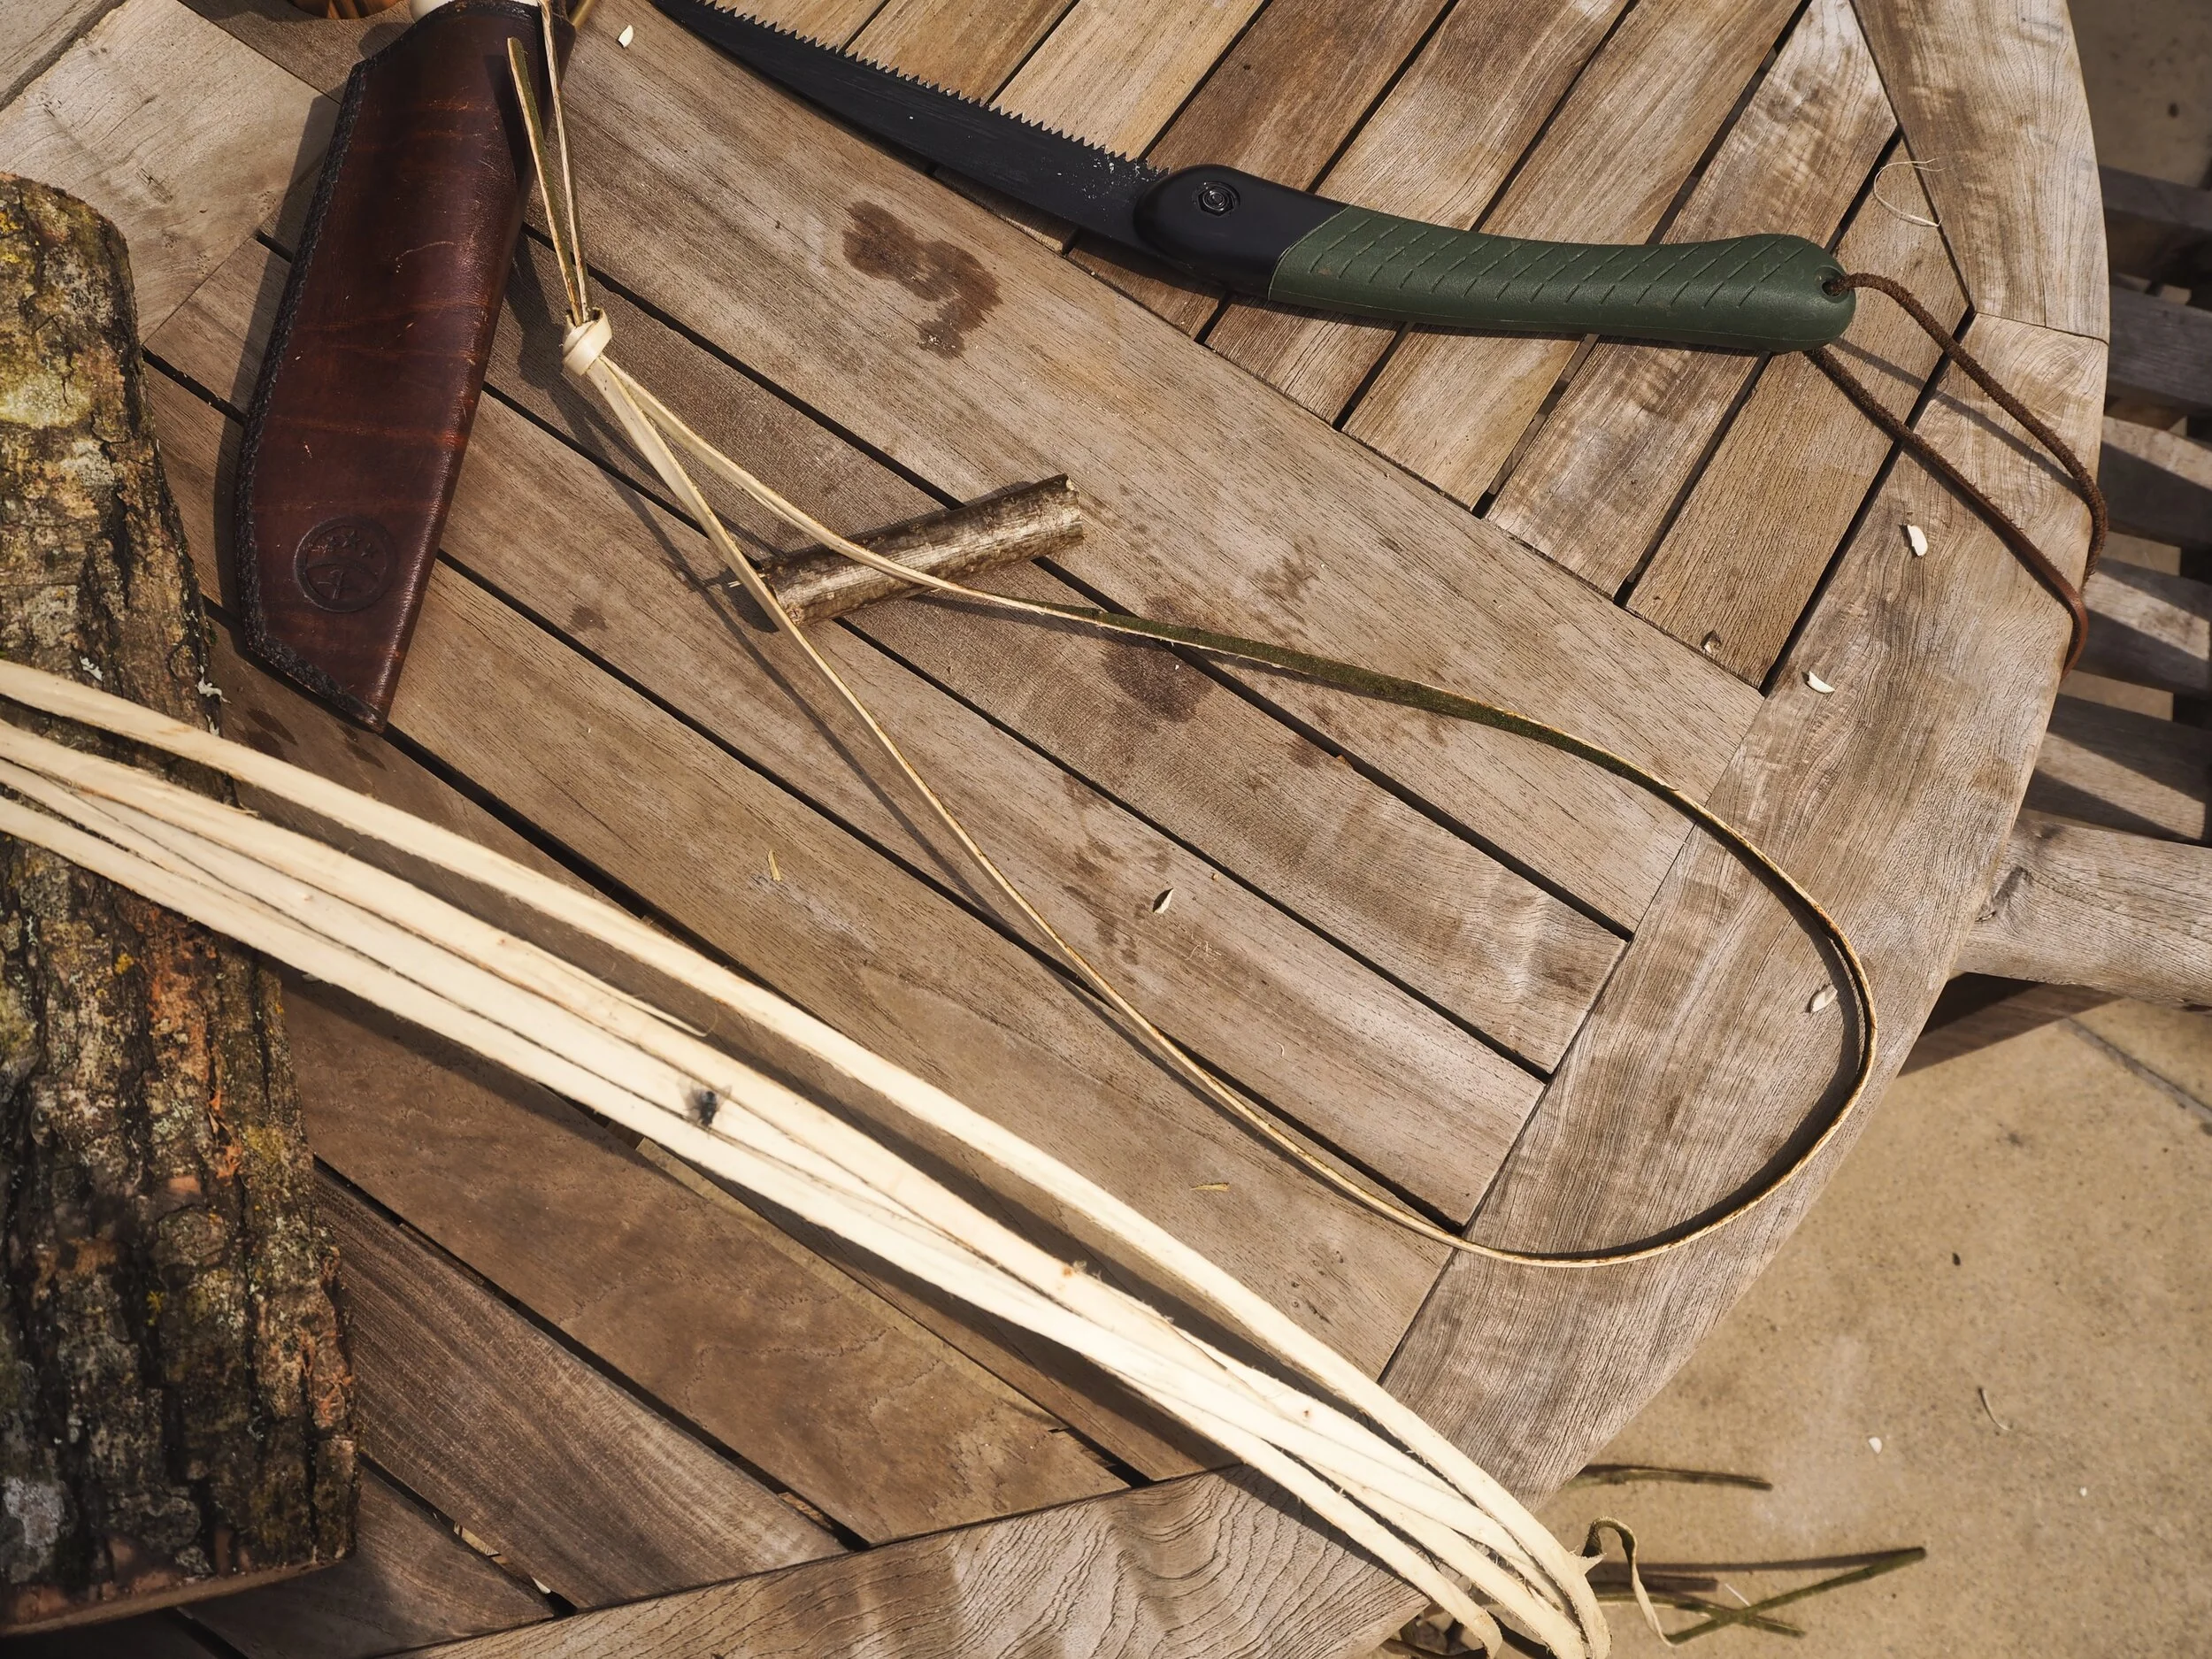
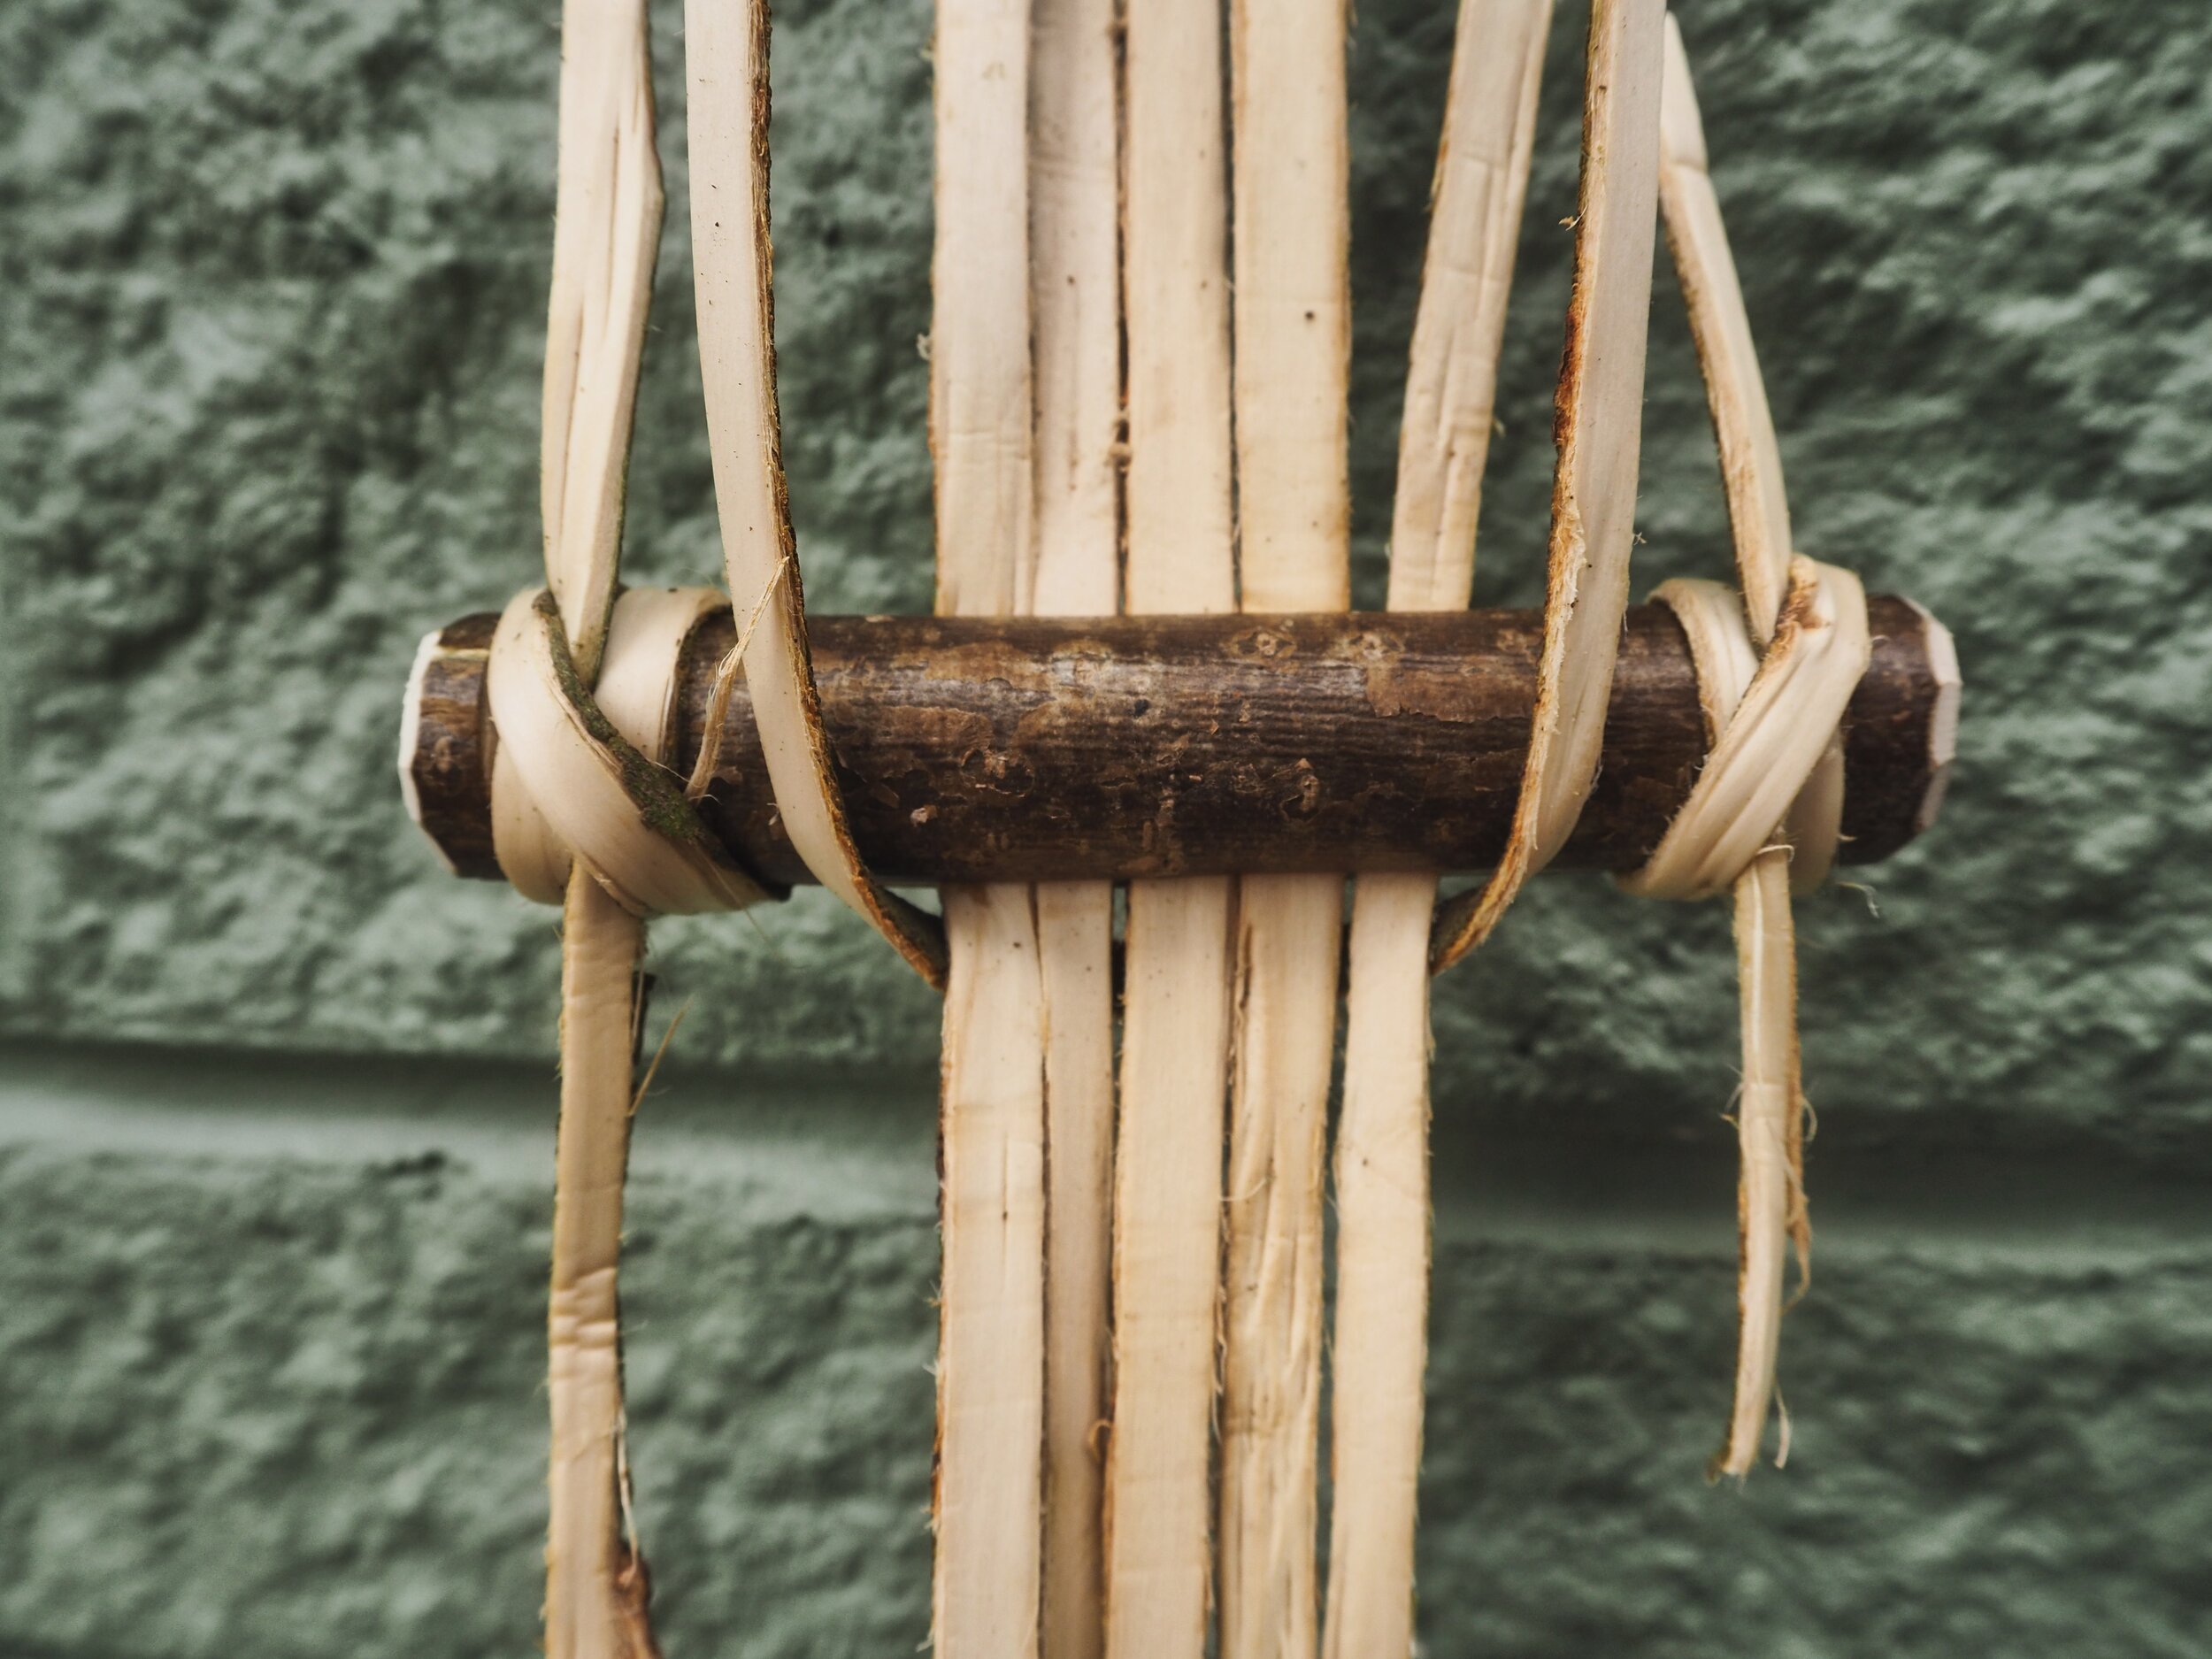
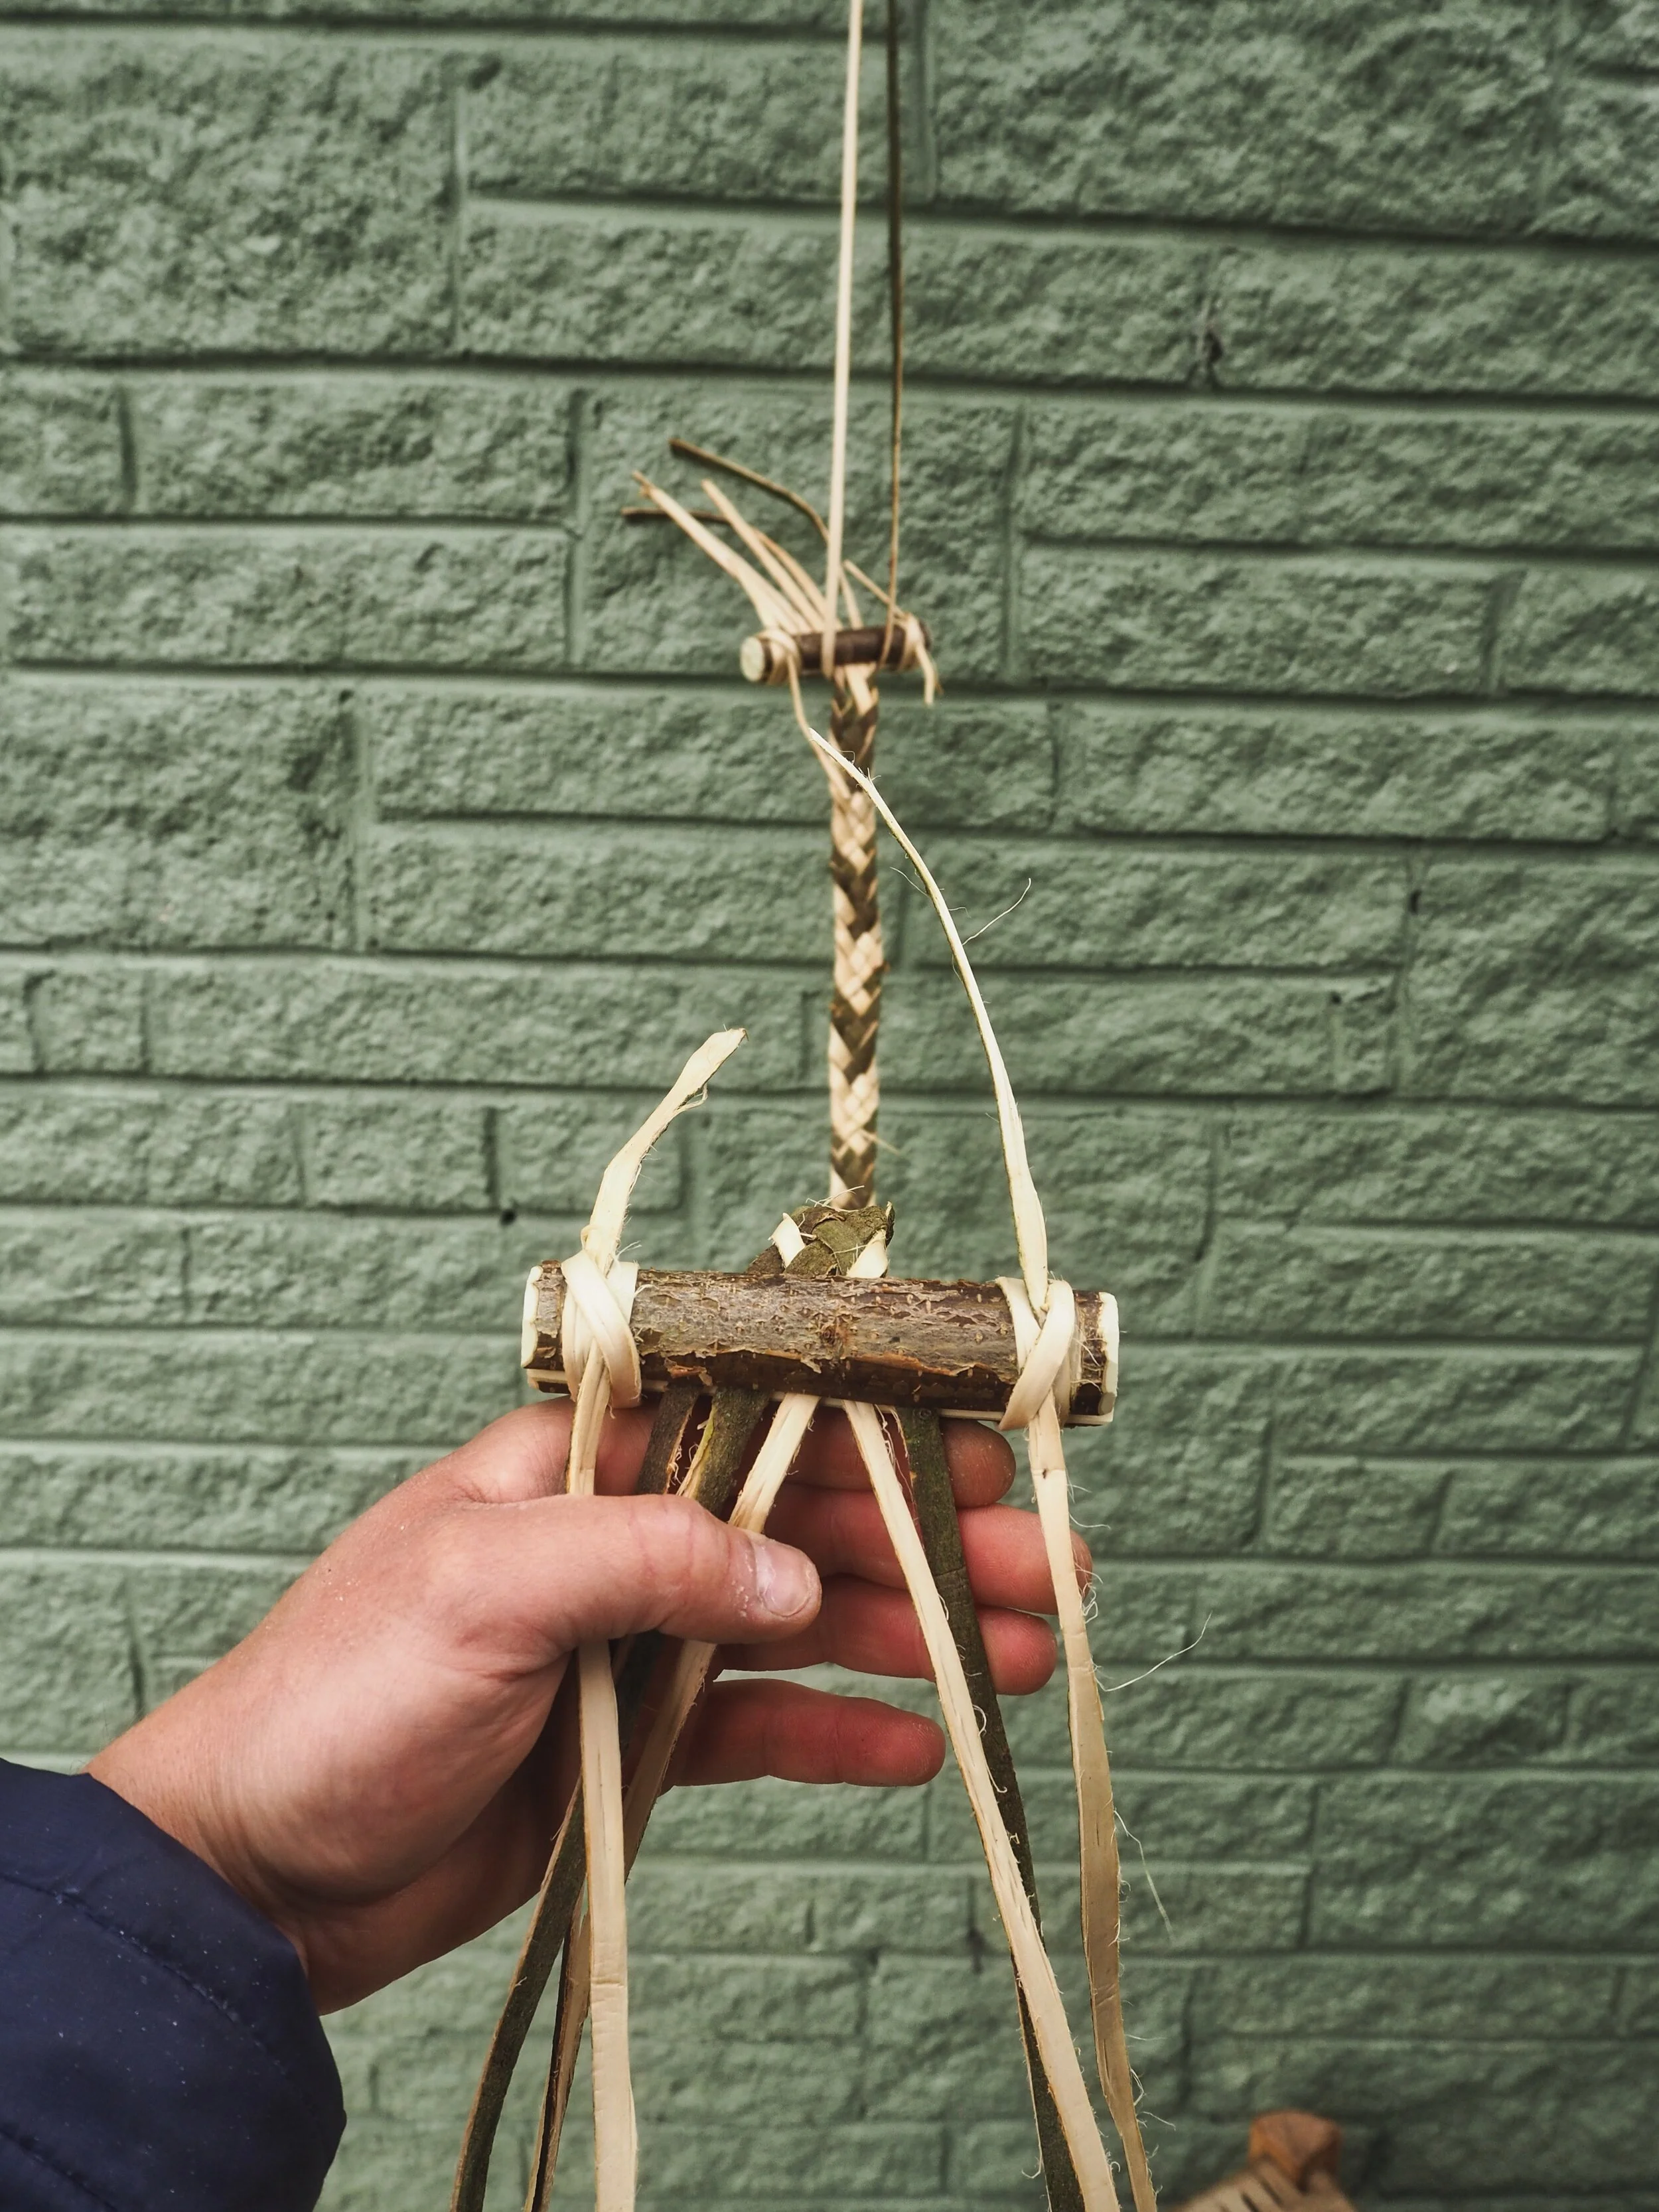
I then hang the strips from a hook using another strip of willow, as below. This gives to something to pull against when weaving.


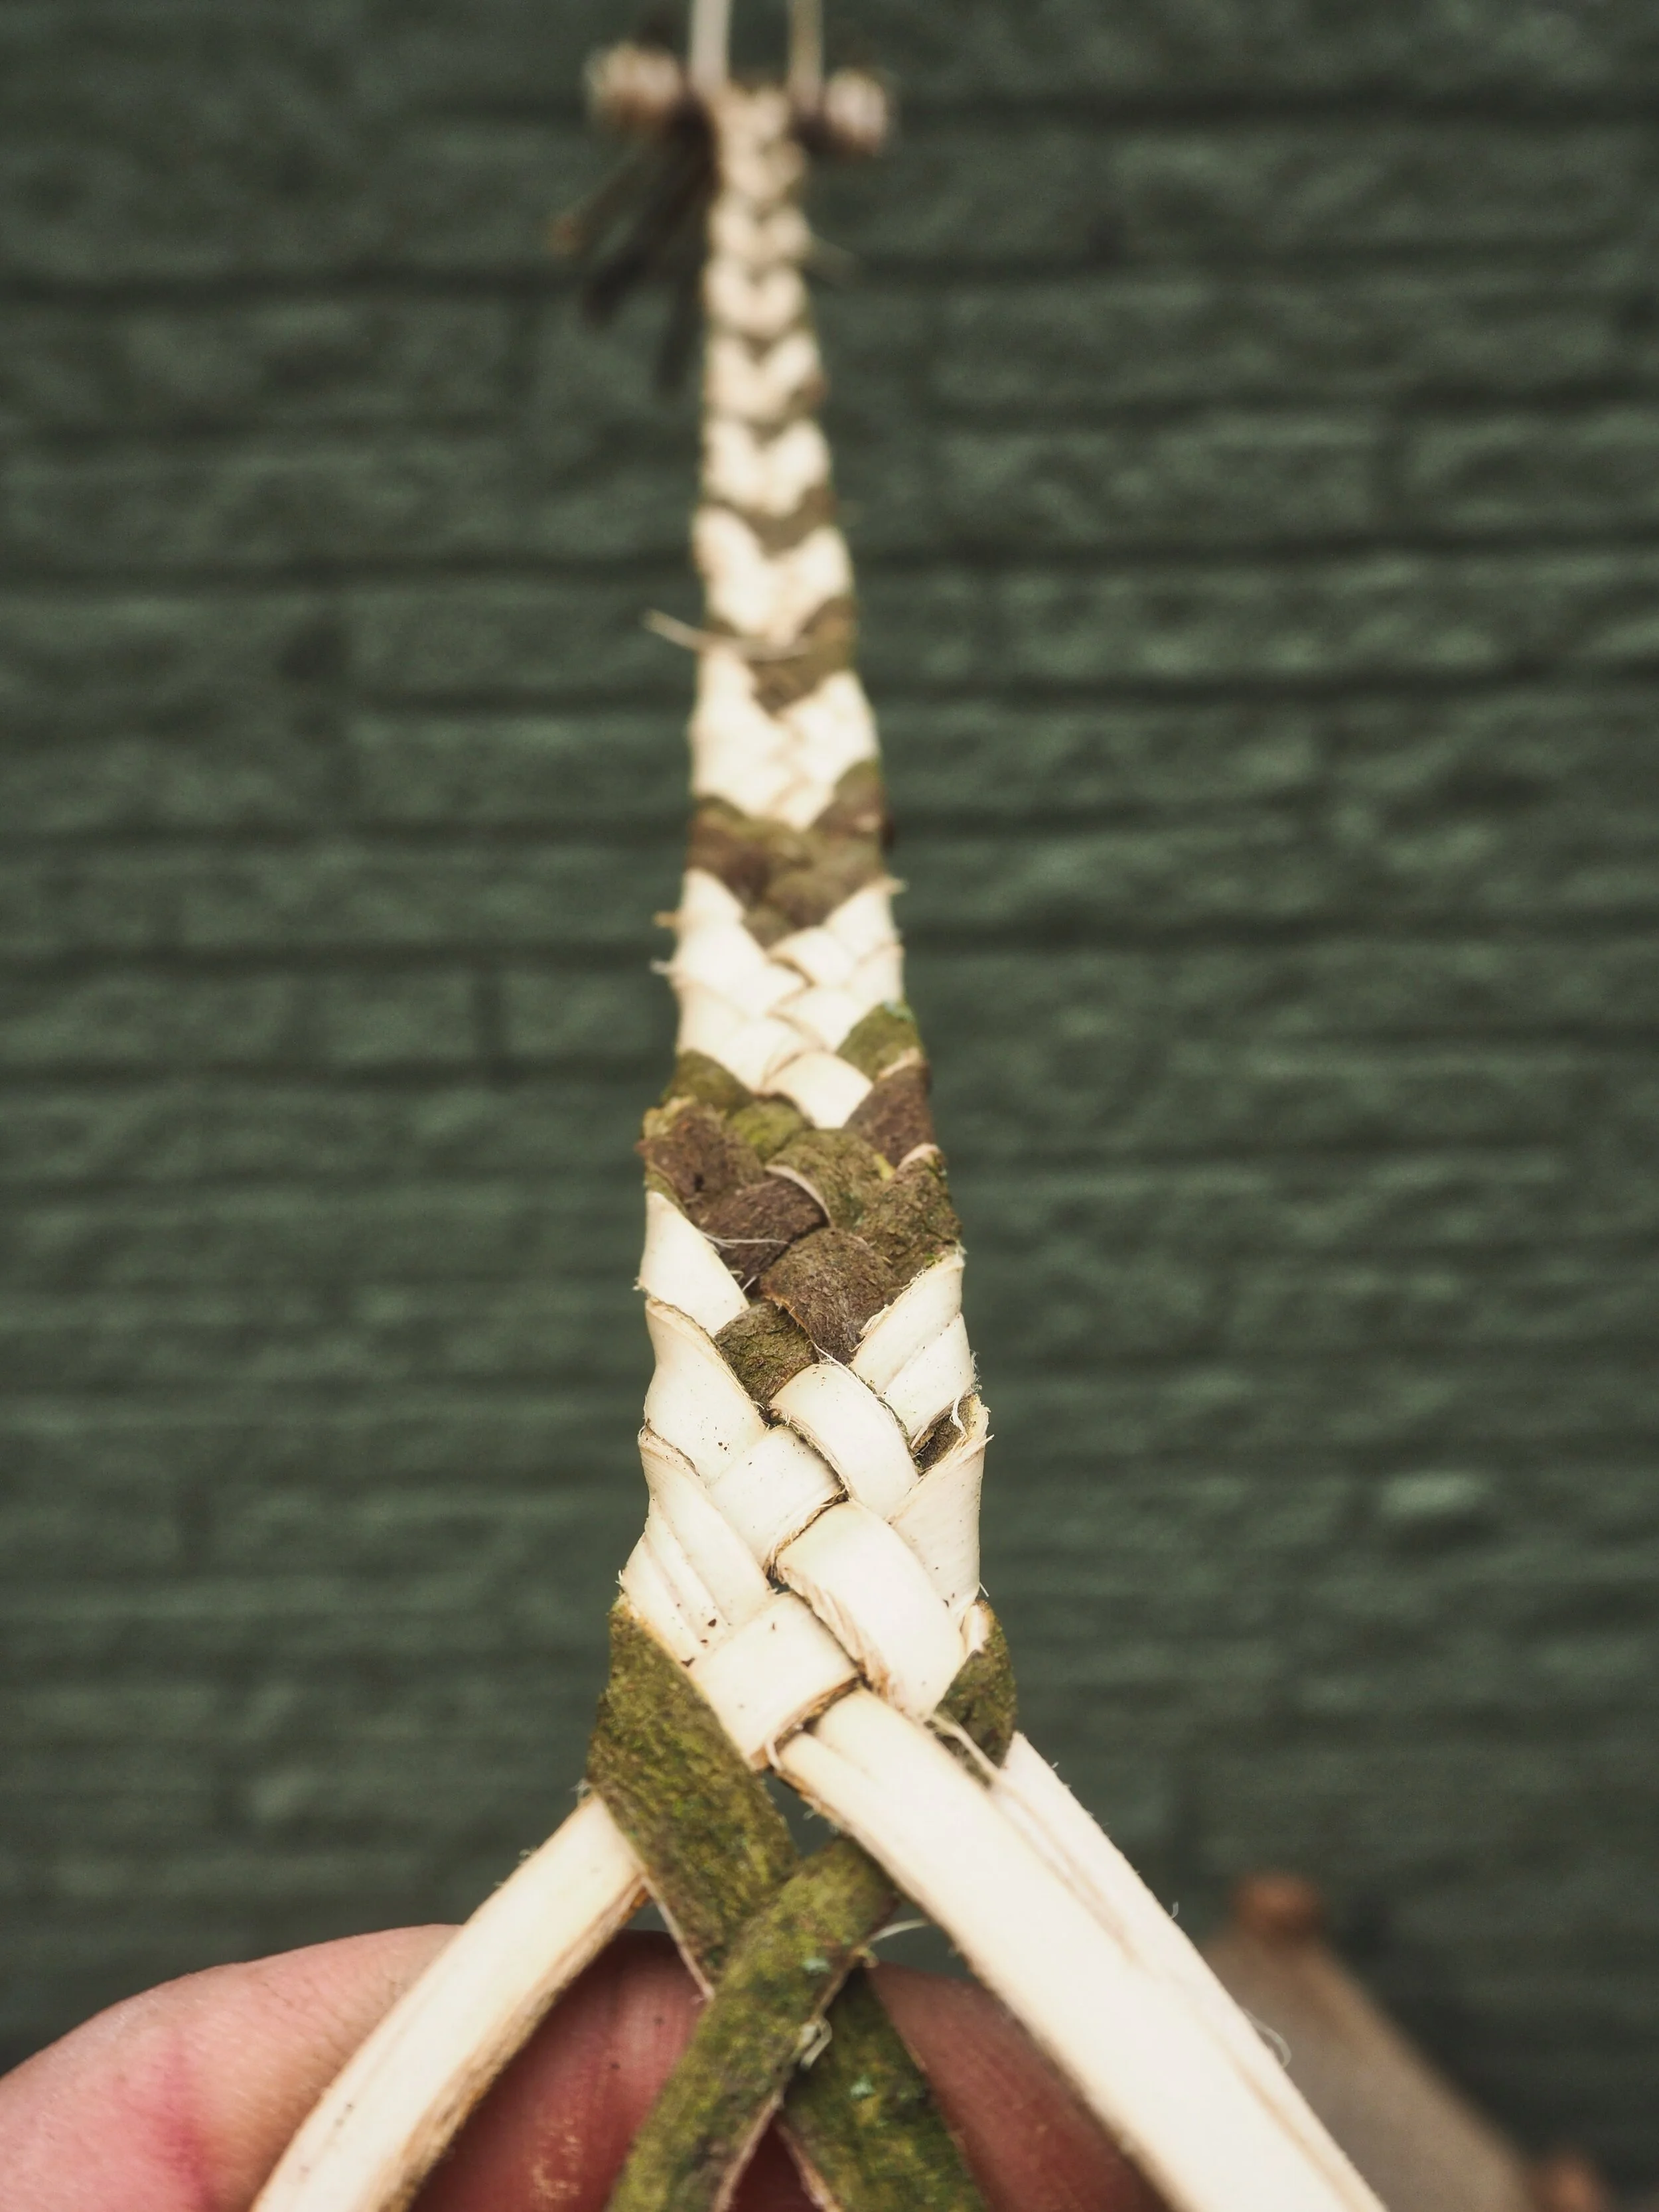
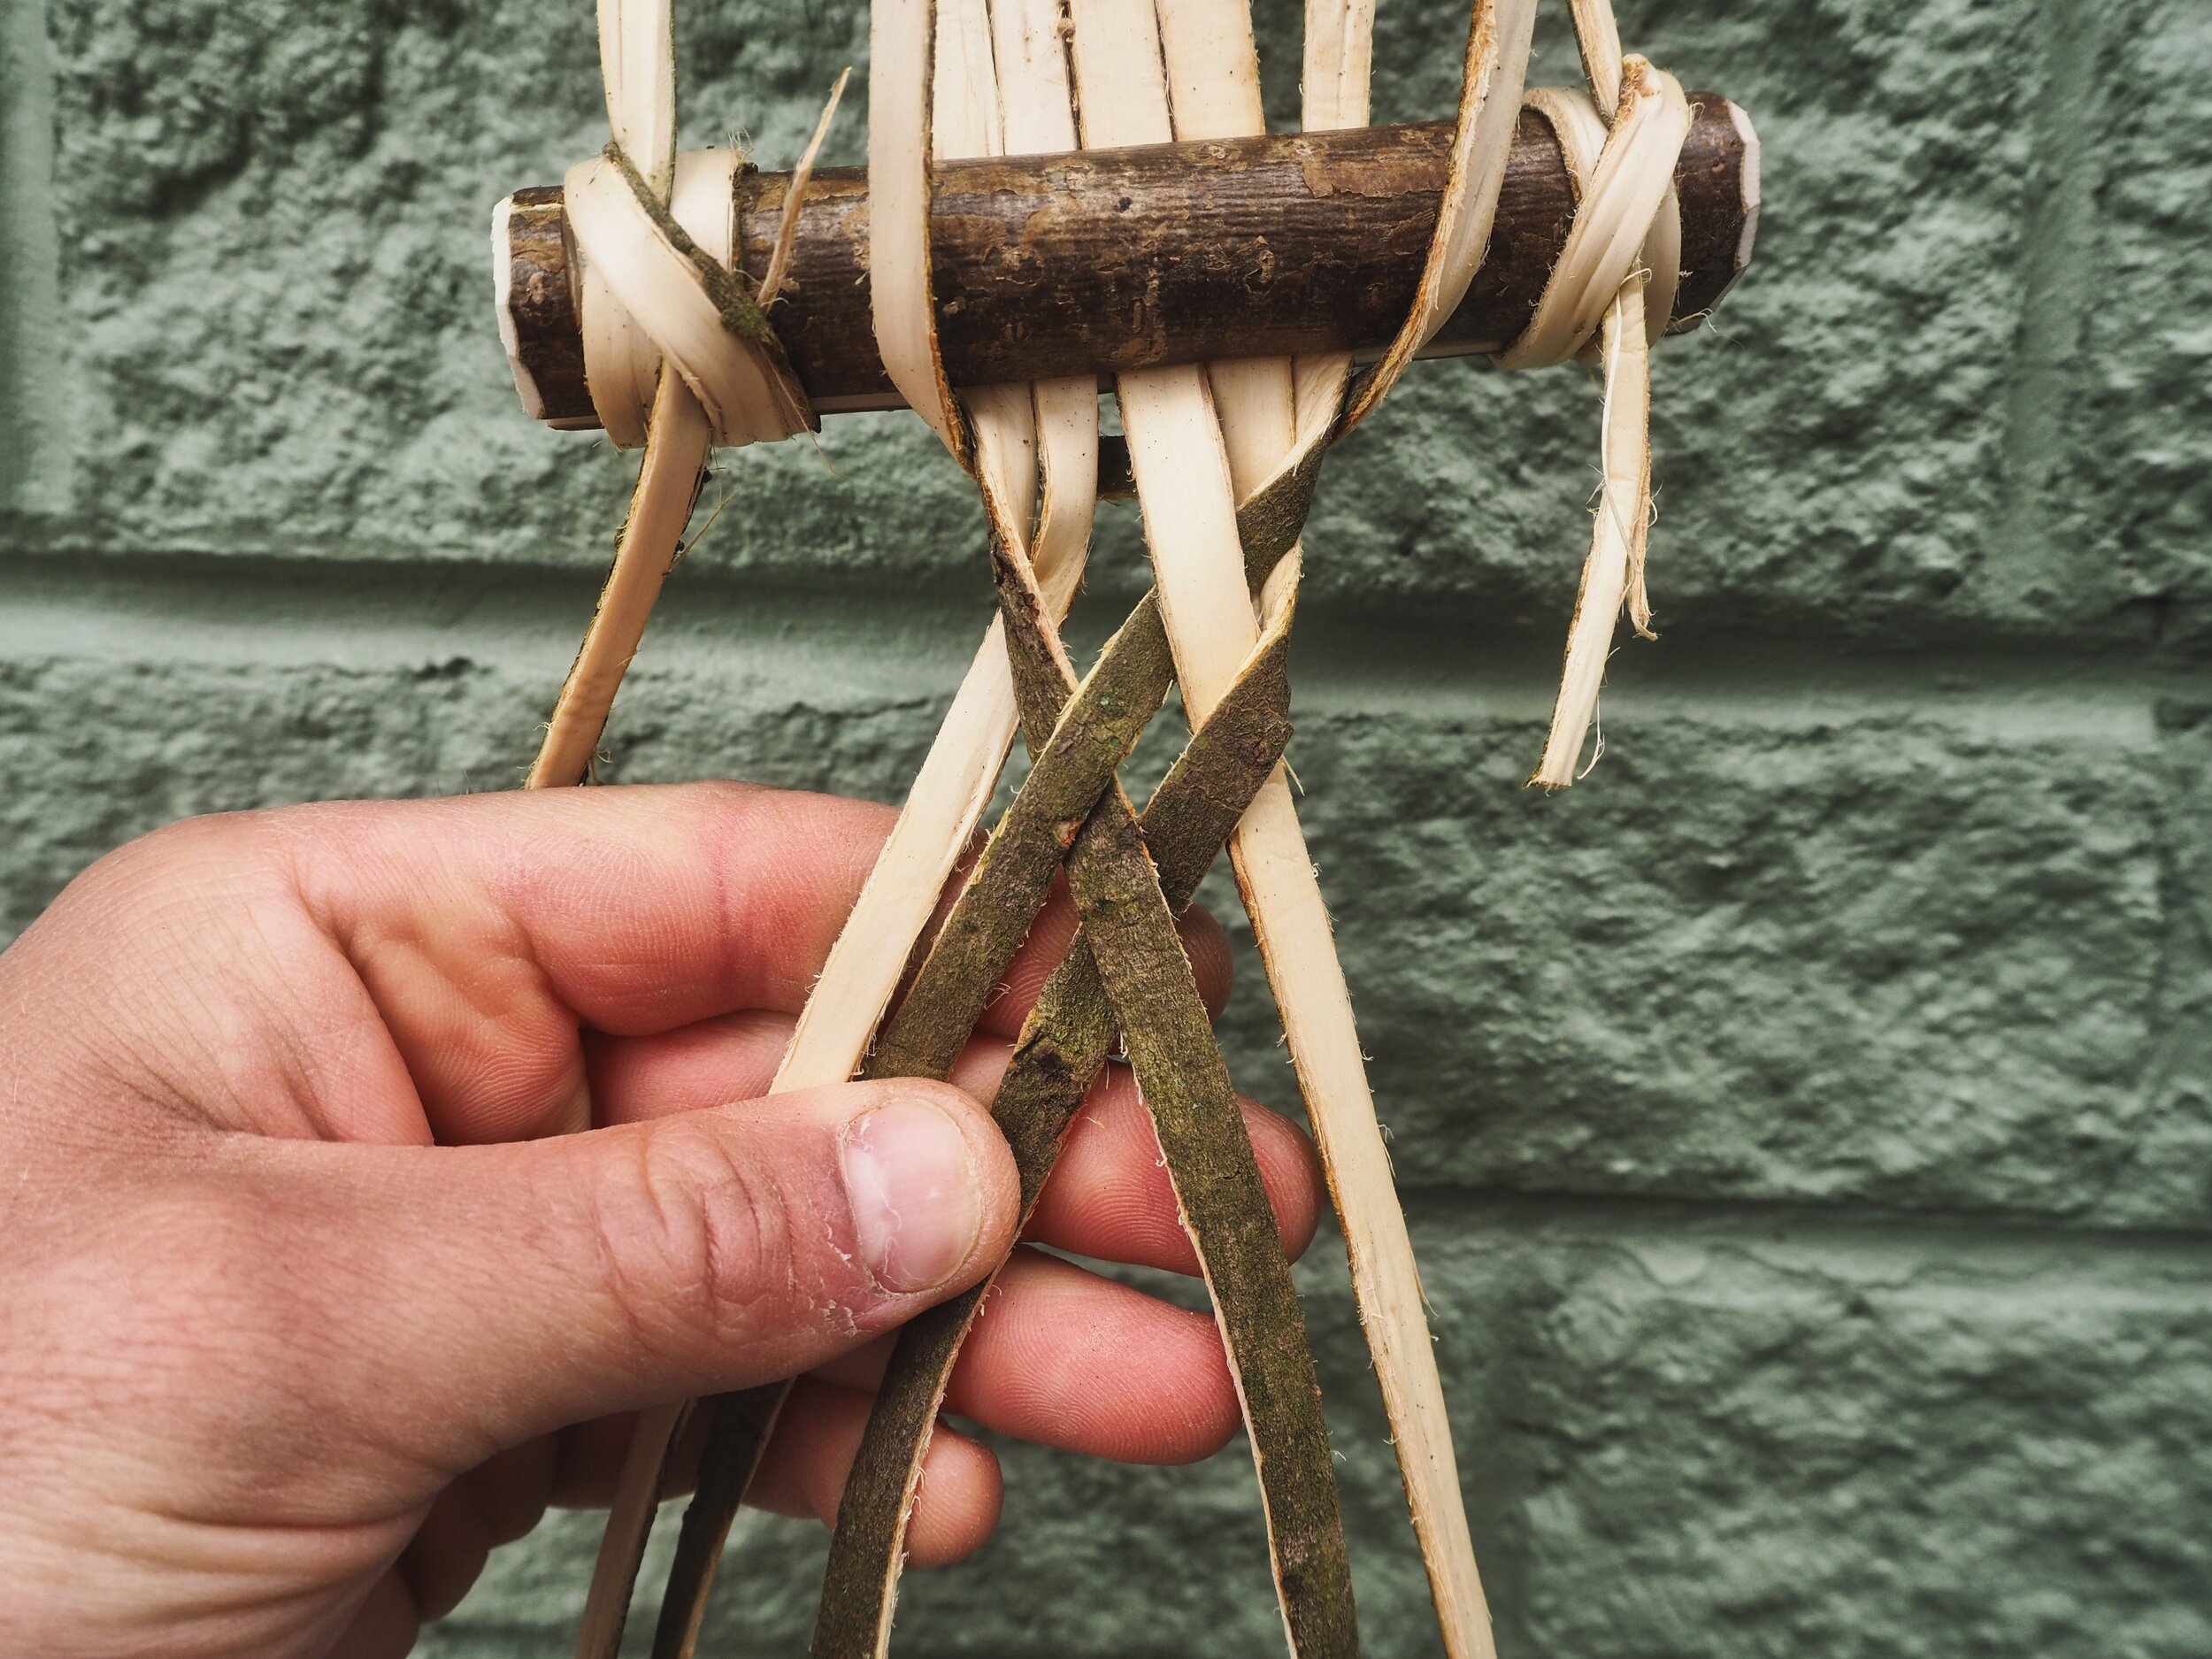
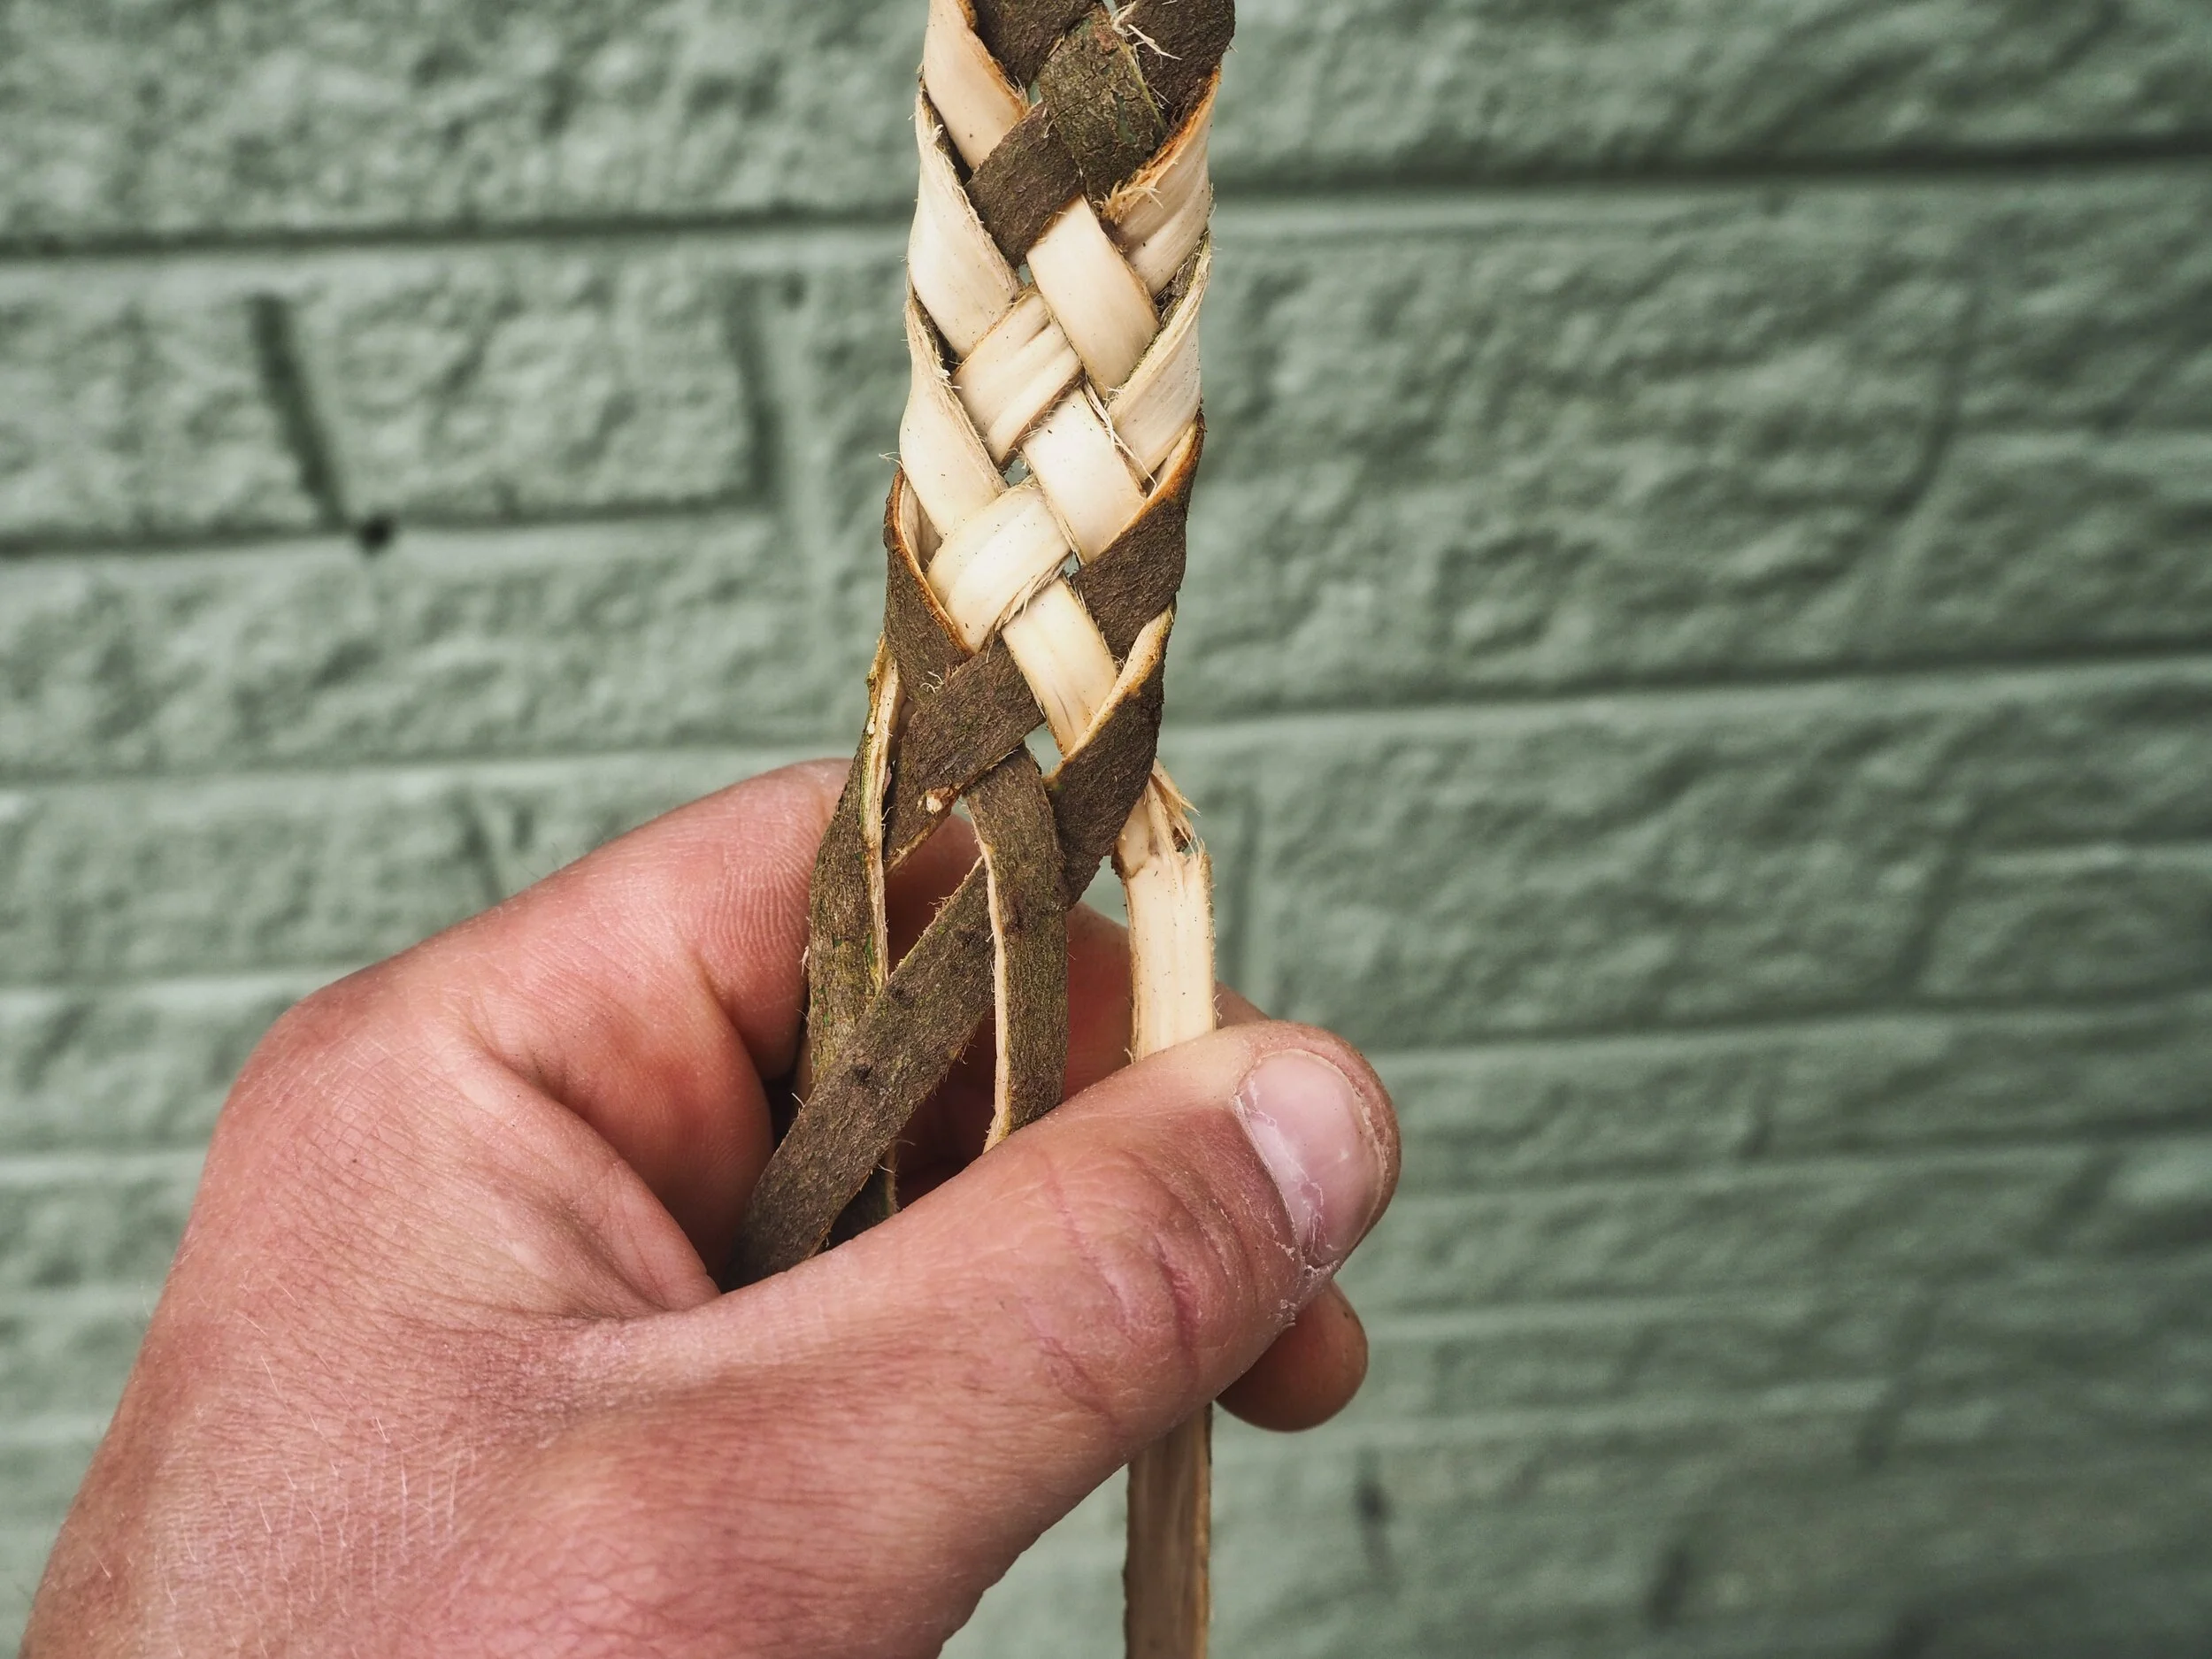
Braiding the strips
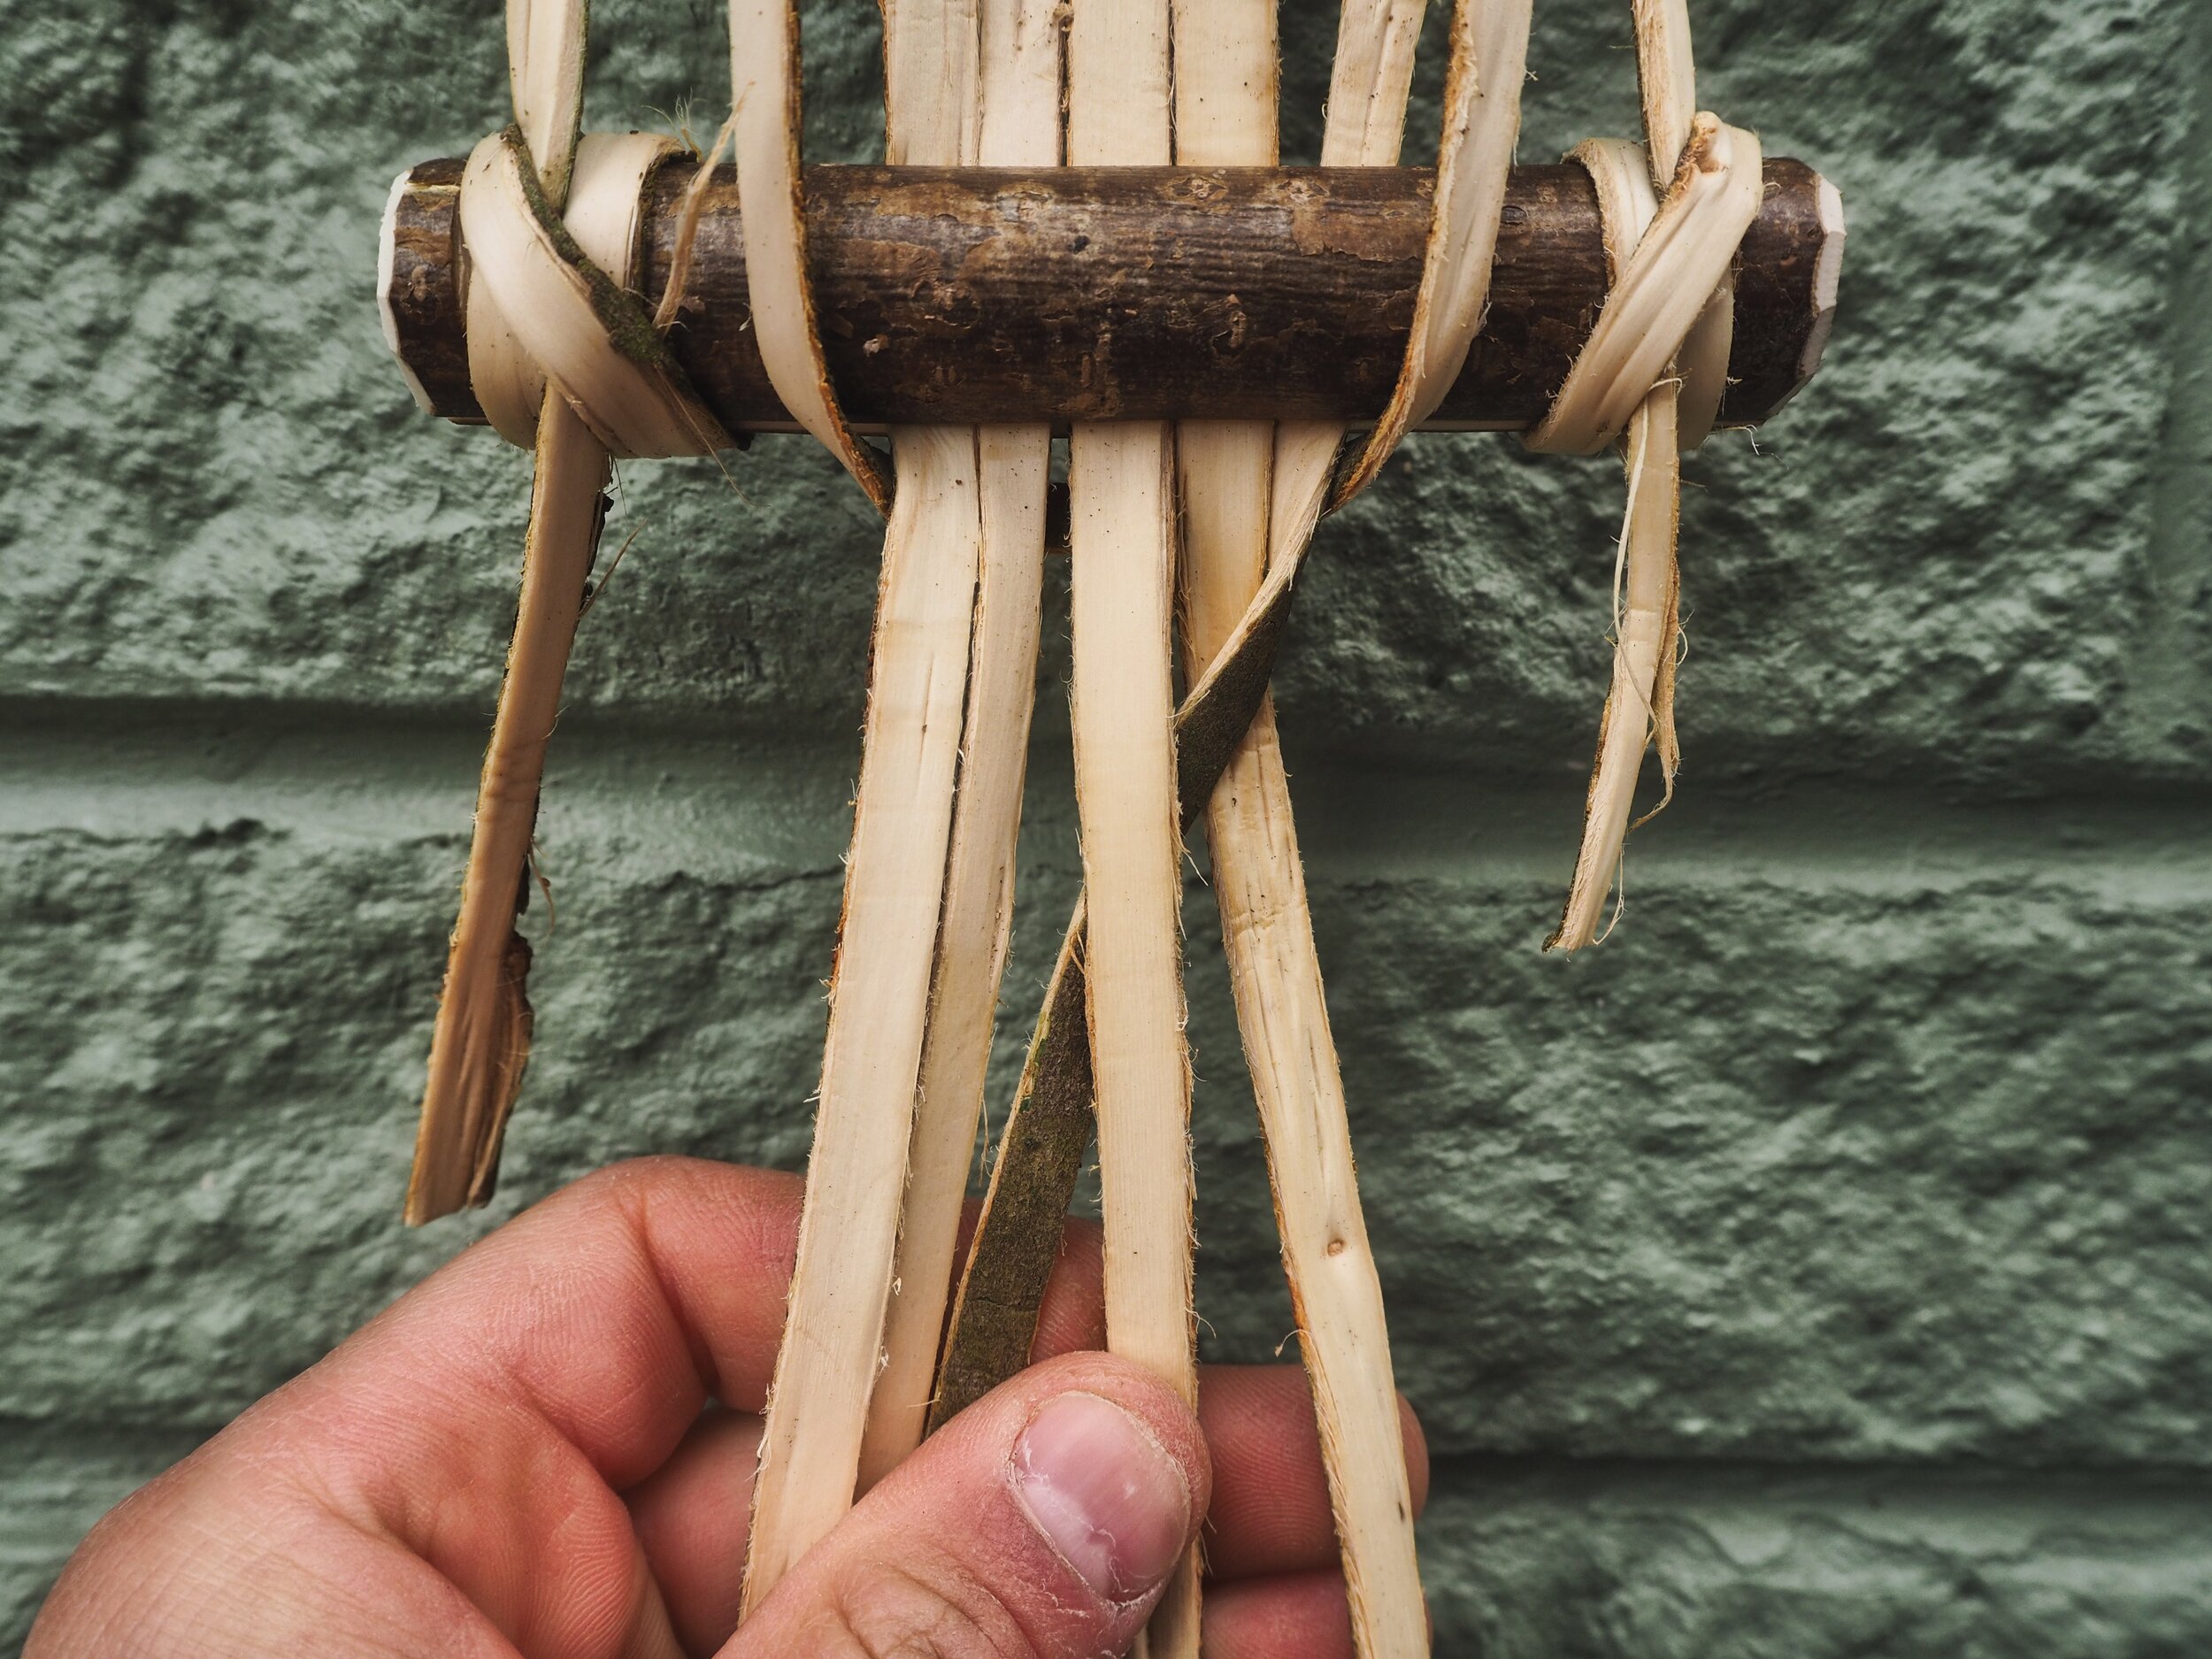
Something that comes easy to some, tricky for others. It’s also difficult to demonstrate this in photos but there are millions of videos of people braiding 5 strand plaits to there if you need further help.
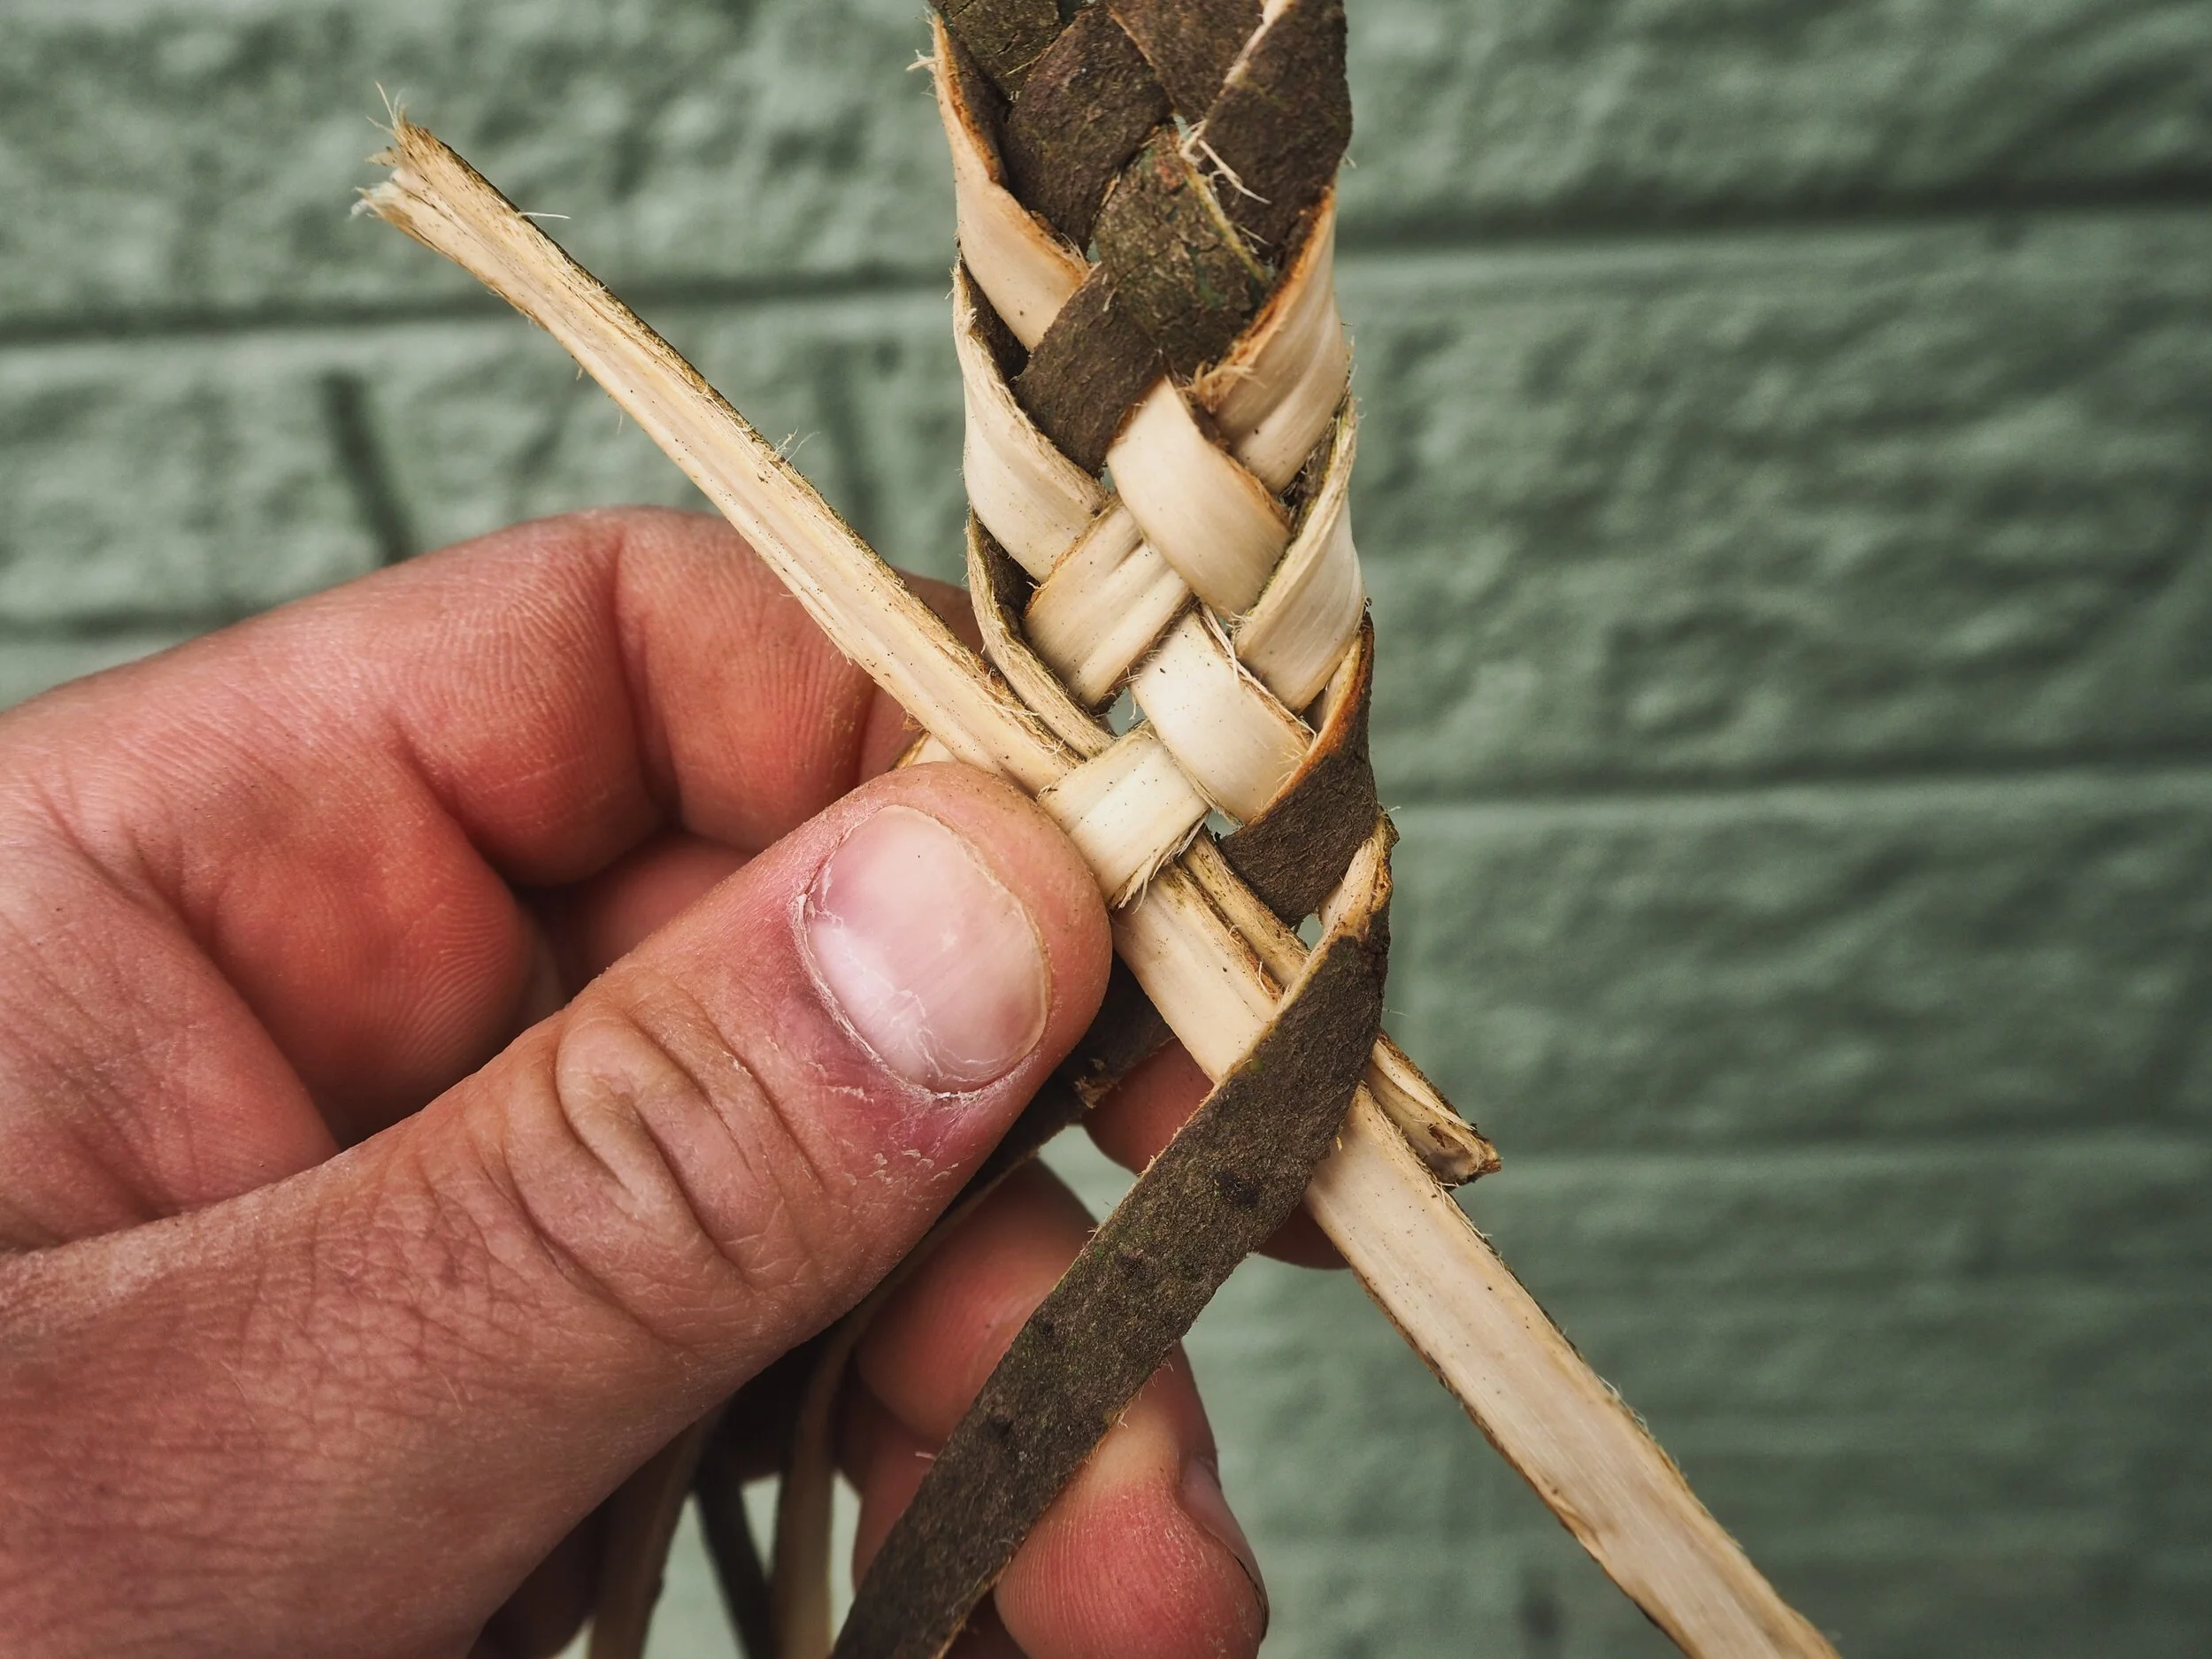
Below is my process, starting on the right the outer strips is folded towards you and over to the left. It passes OVER one then UNDER one to become the centre strip. Then from the left most strip, this does the same: folded towards to and over to the right, passing OVER one and then UNDER on to become the centre strip. Repeat this process…a lot.
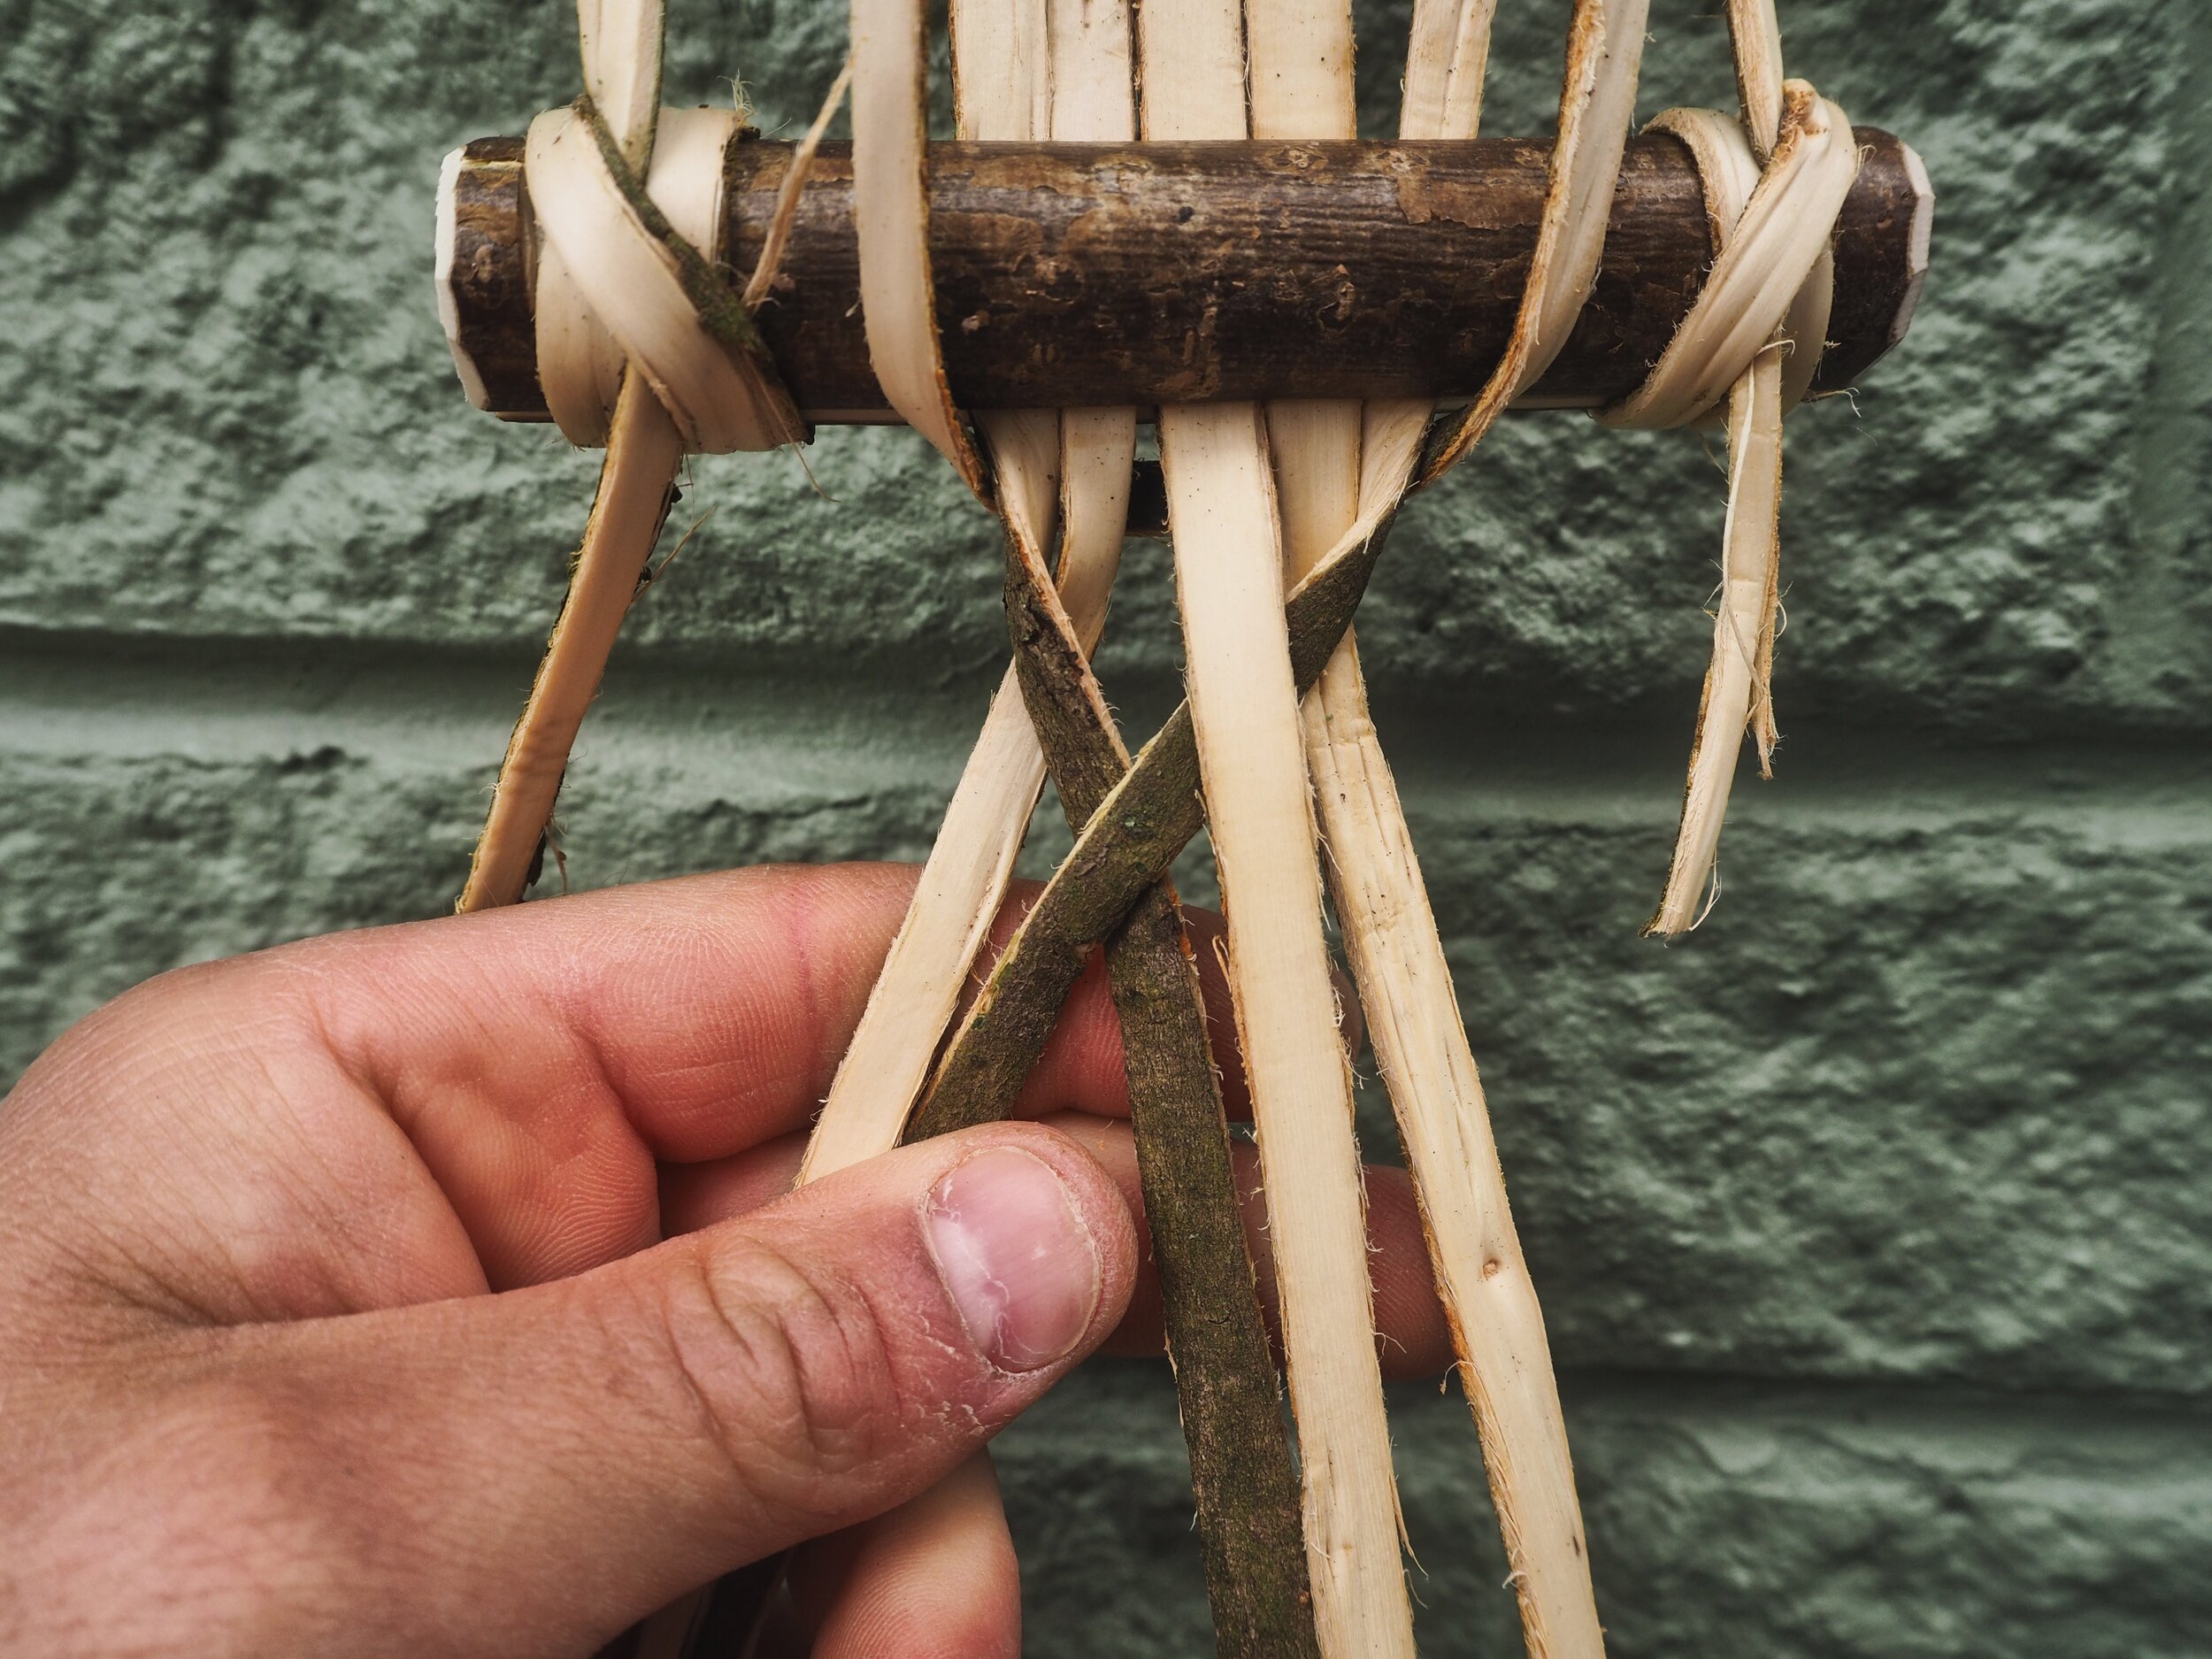
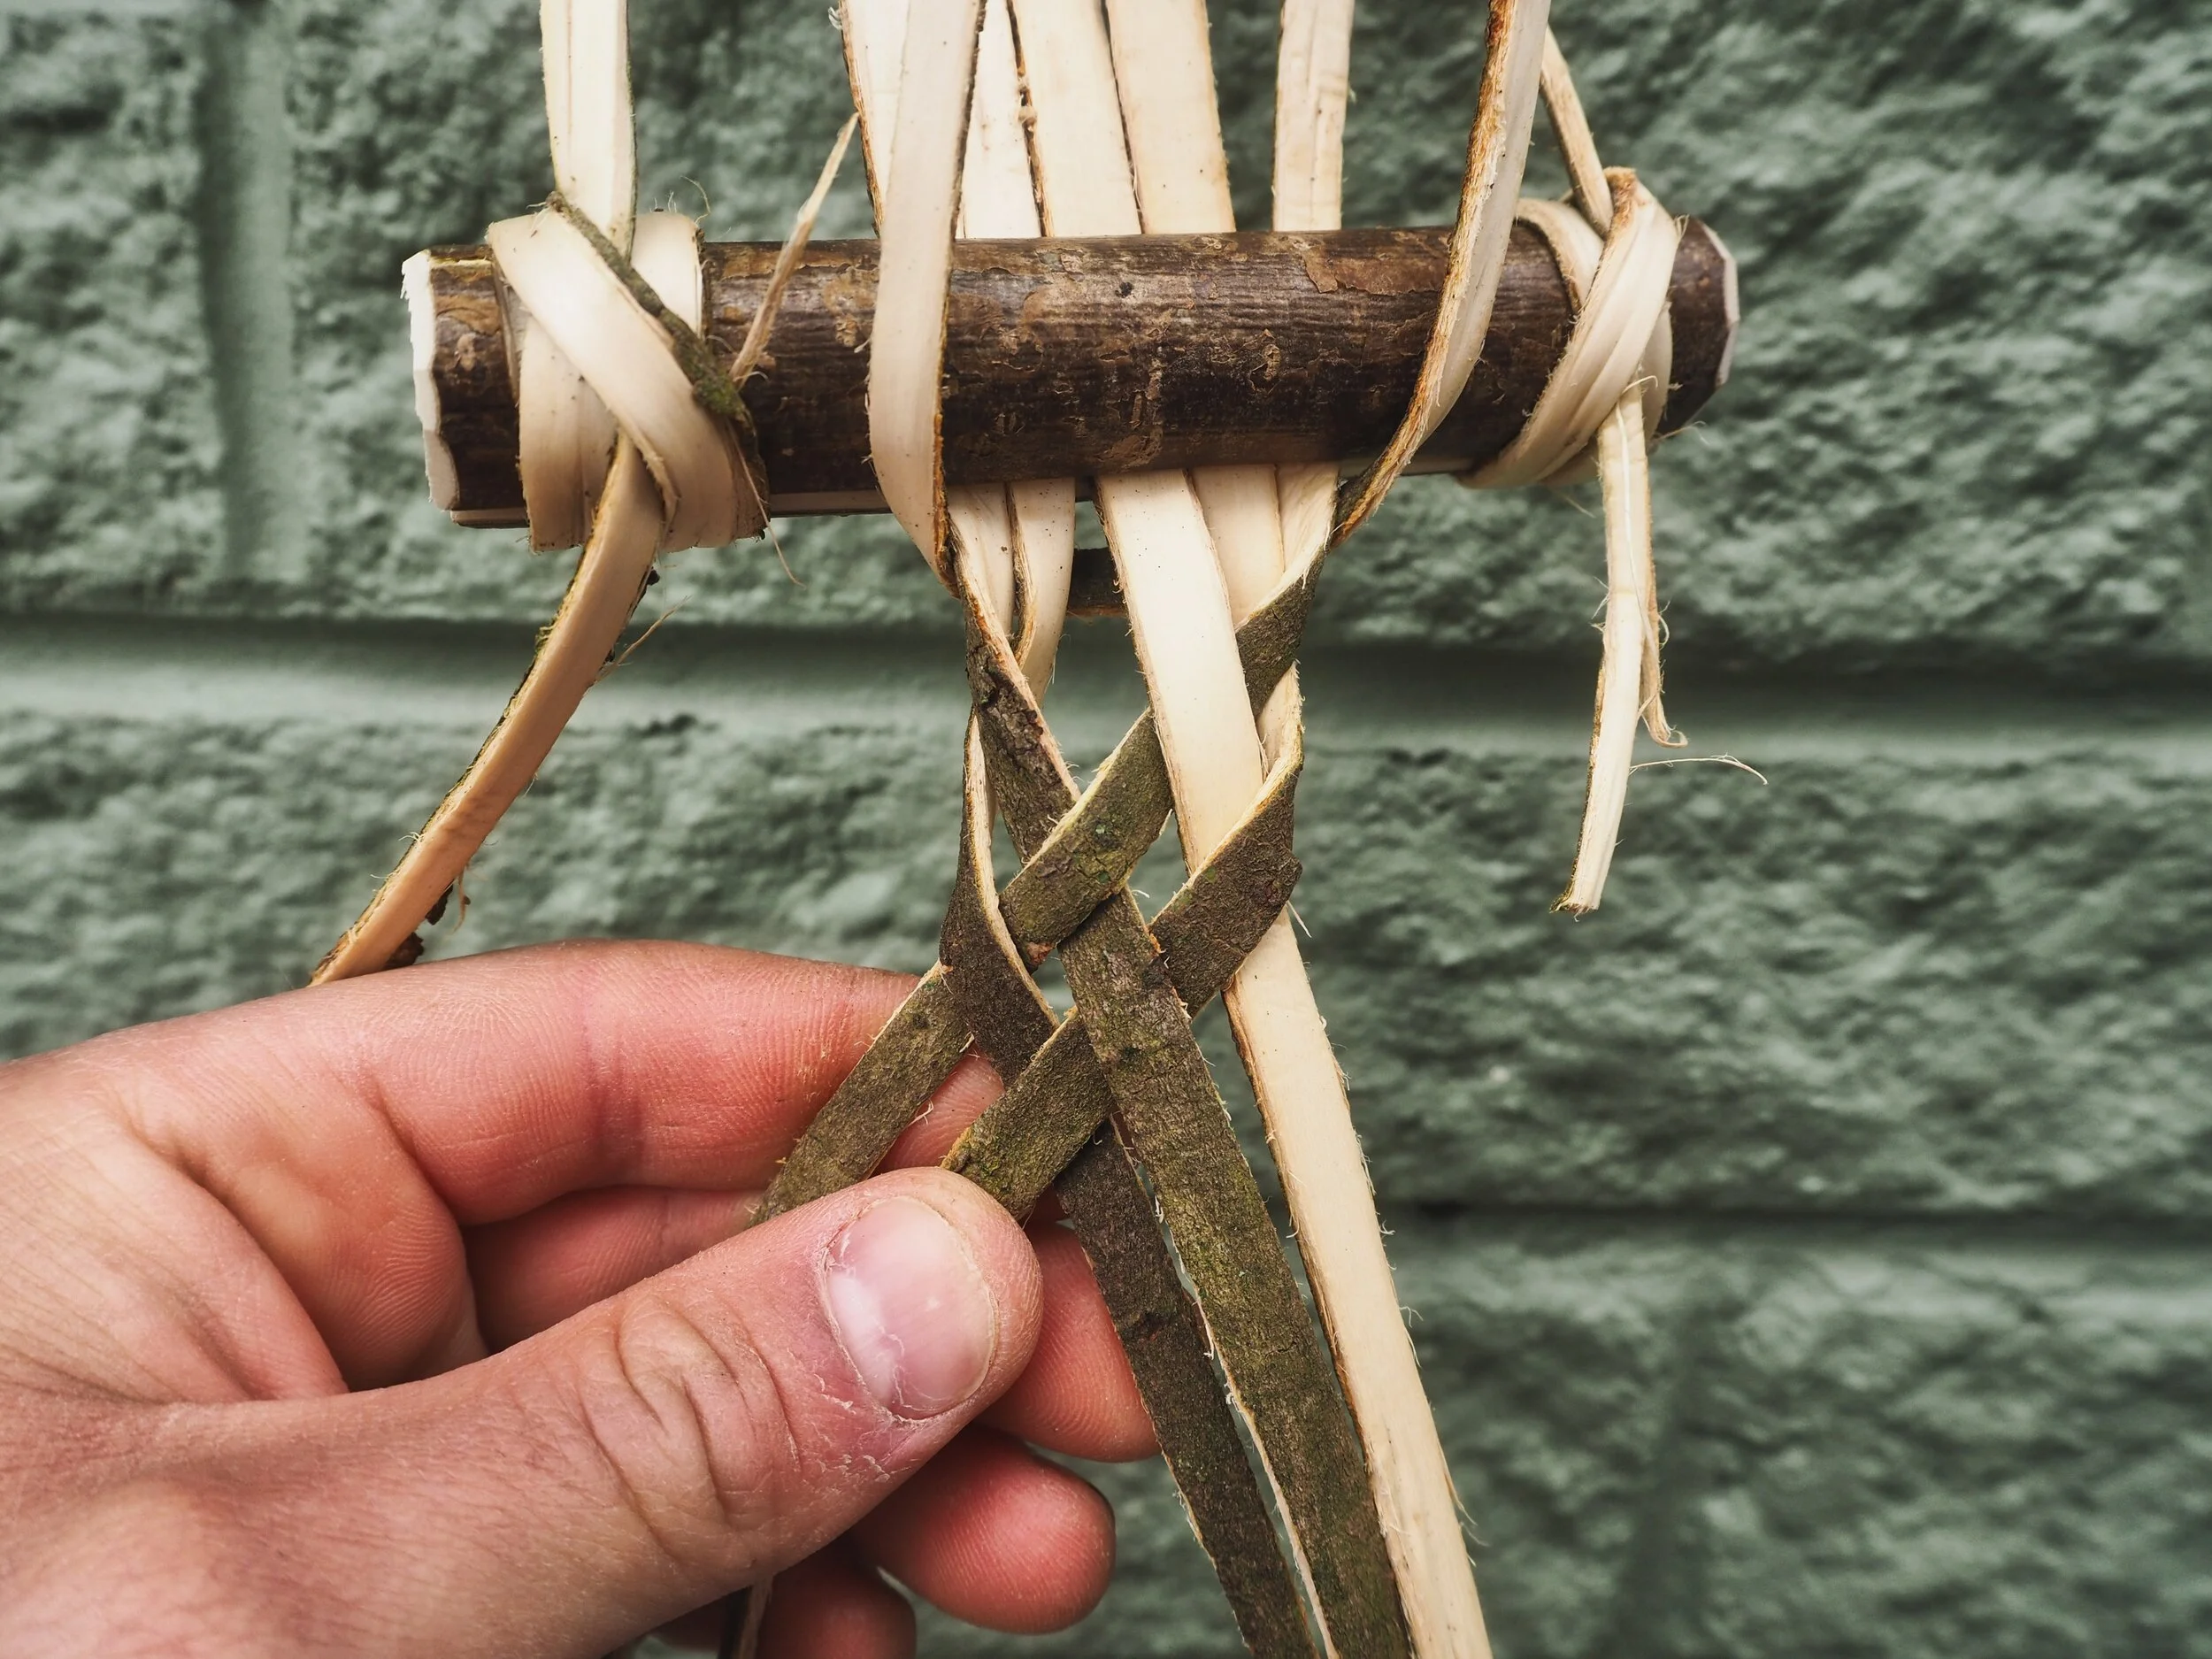

You can see those first few turns are a little out of the clamp but they soon get tighter. You can gentle pull down of all 5 strips at once every now and again to tighten up the strap and keep it trim.


Adding in a new strip
Sometimes you’ll snap a strip at a weak point, or if you’re making a strap longer that the length of your strips you’ll need to add in new one to keep the braid going. In this case make sure to stagger the new additions by starting with differing length of strips, this will ensure they don’t all run short at once and create a fault in the strap. Here’s how you add one in:


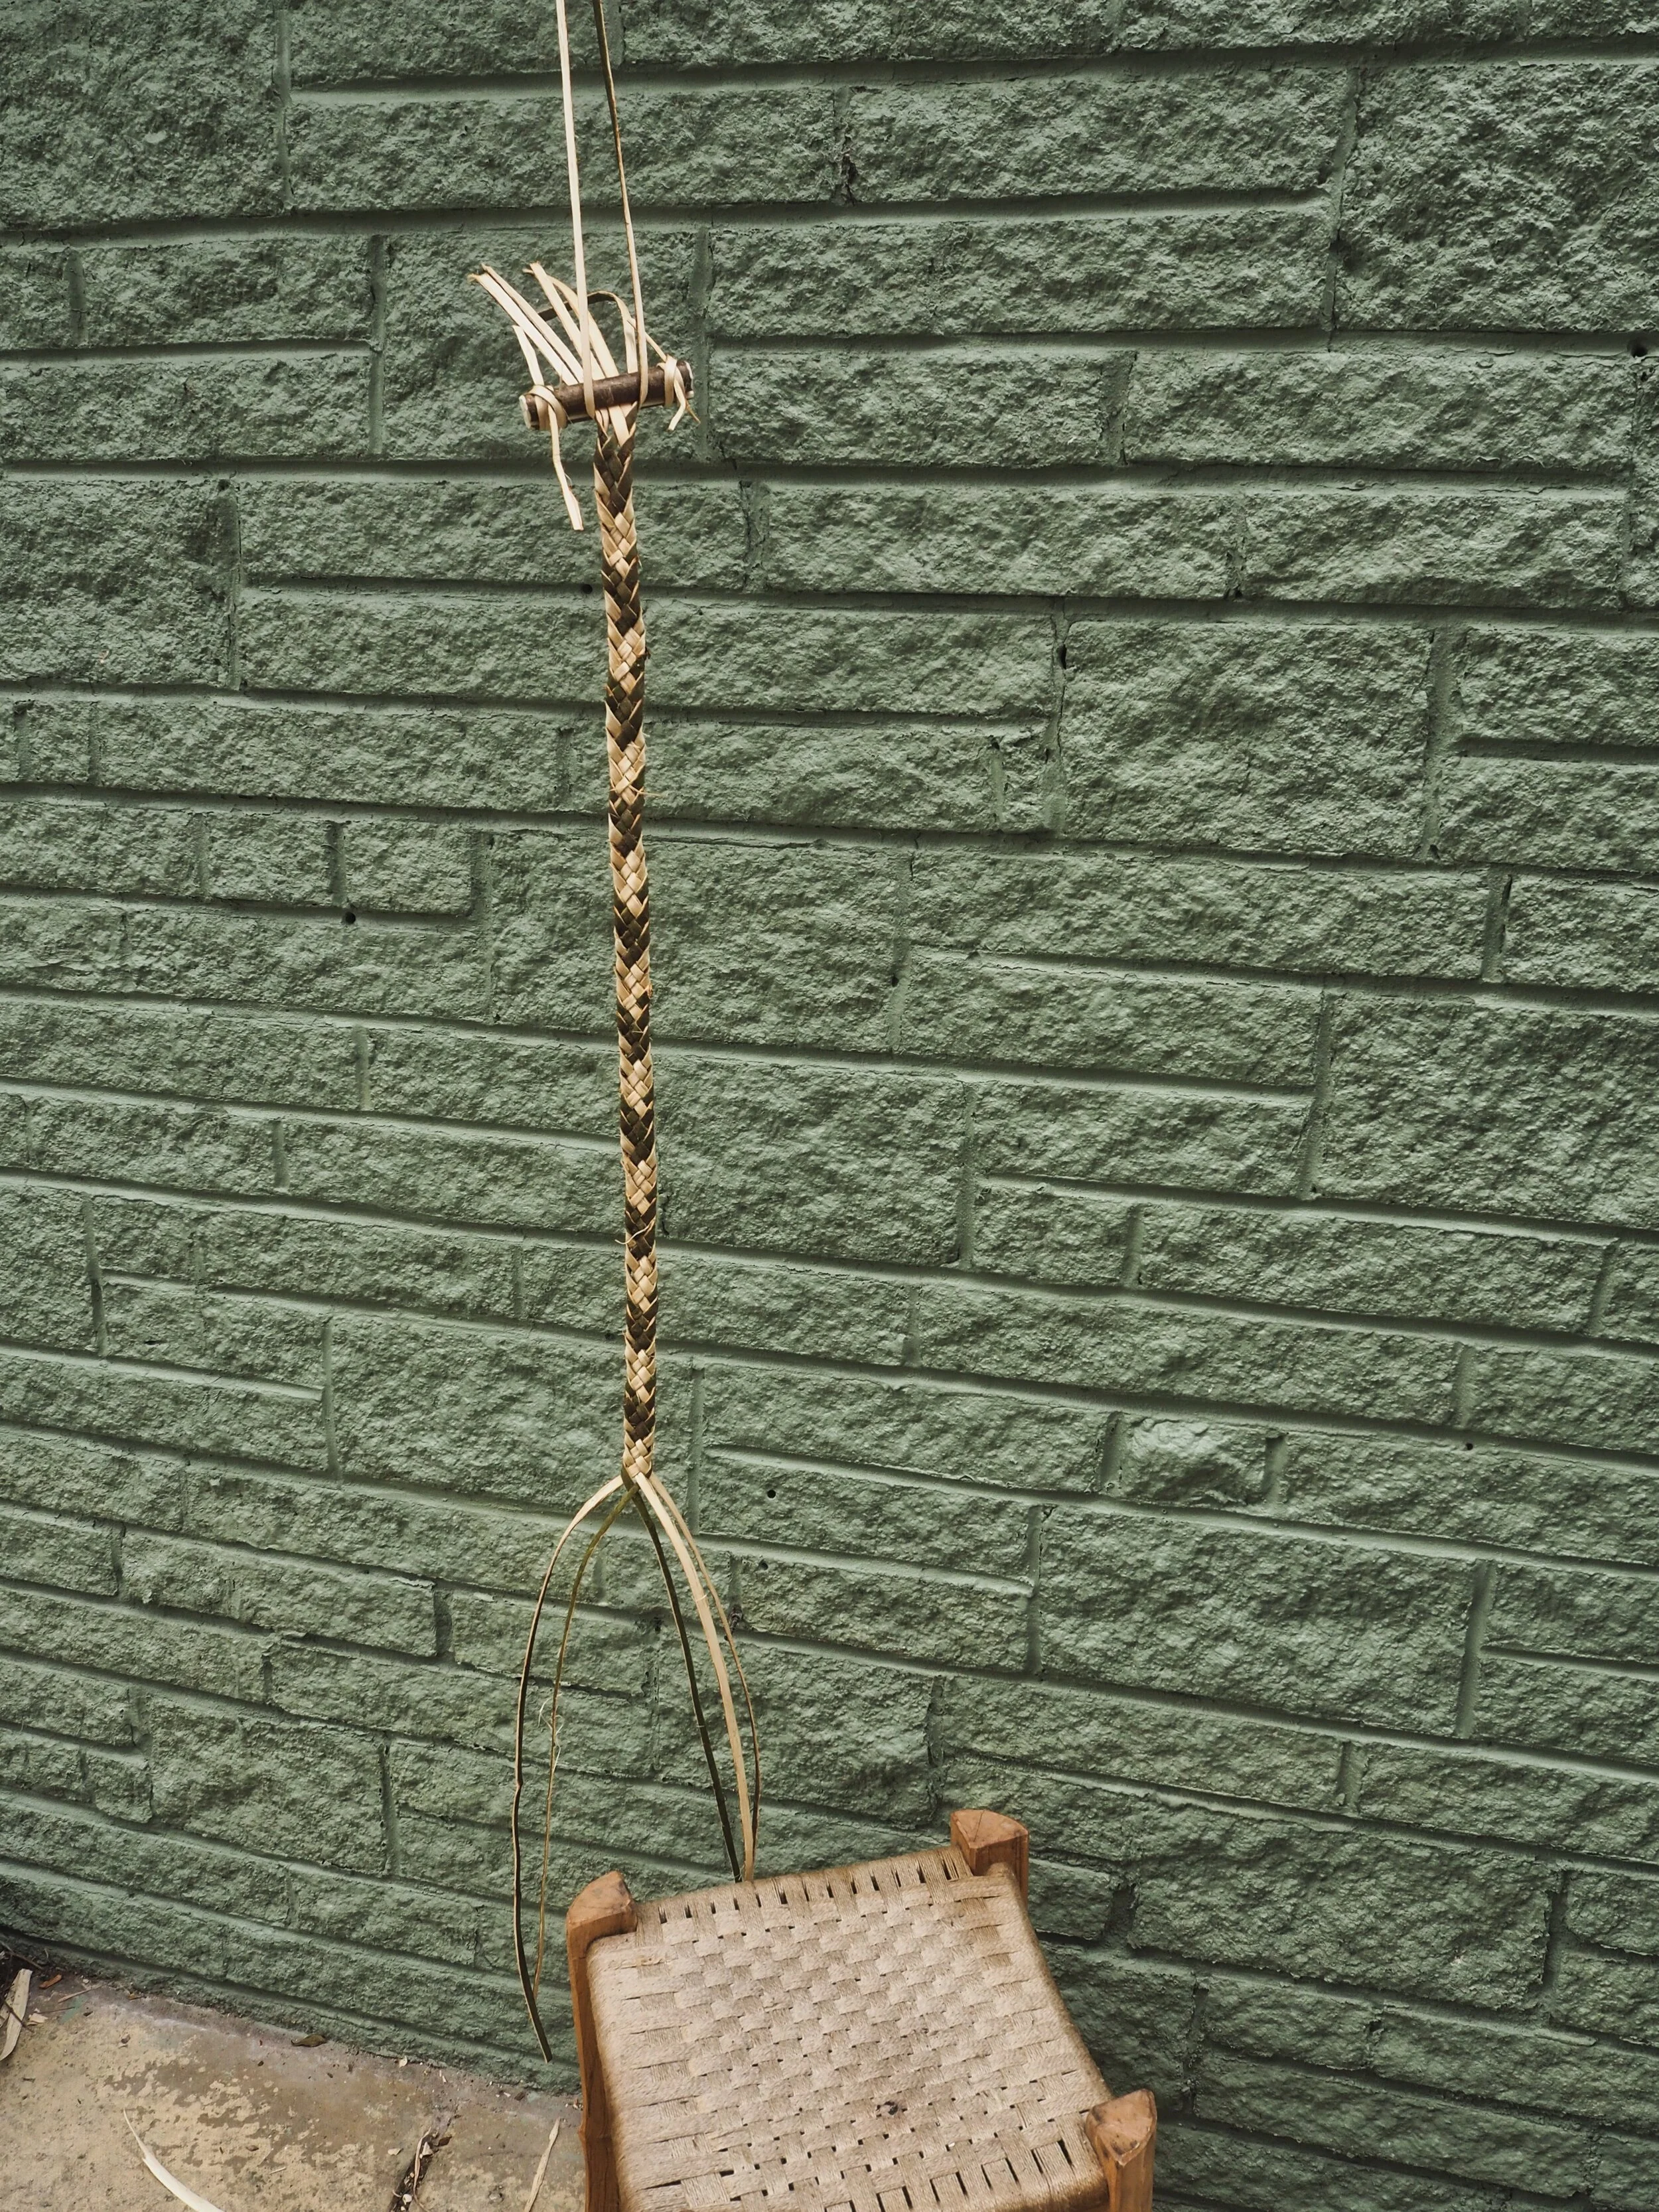
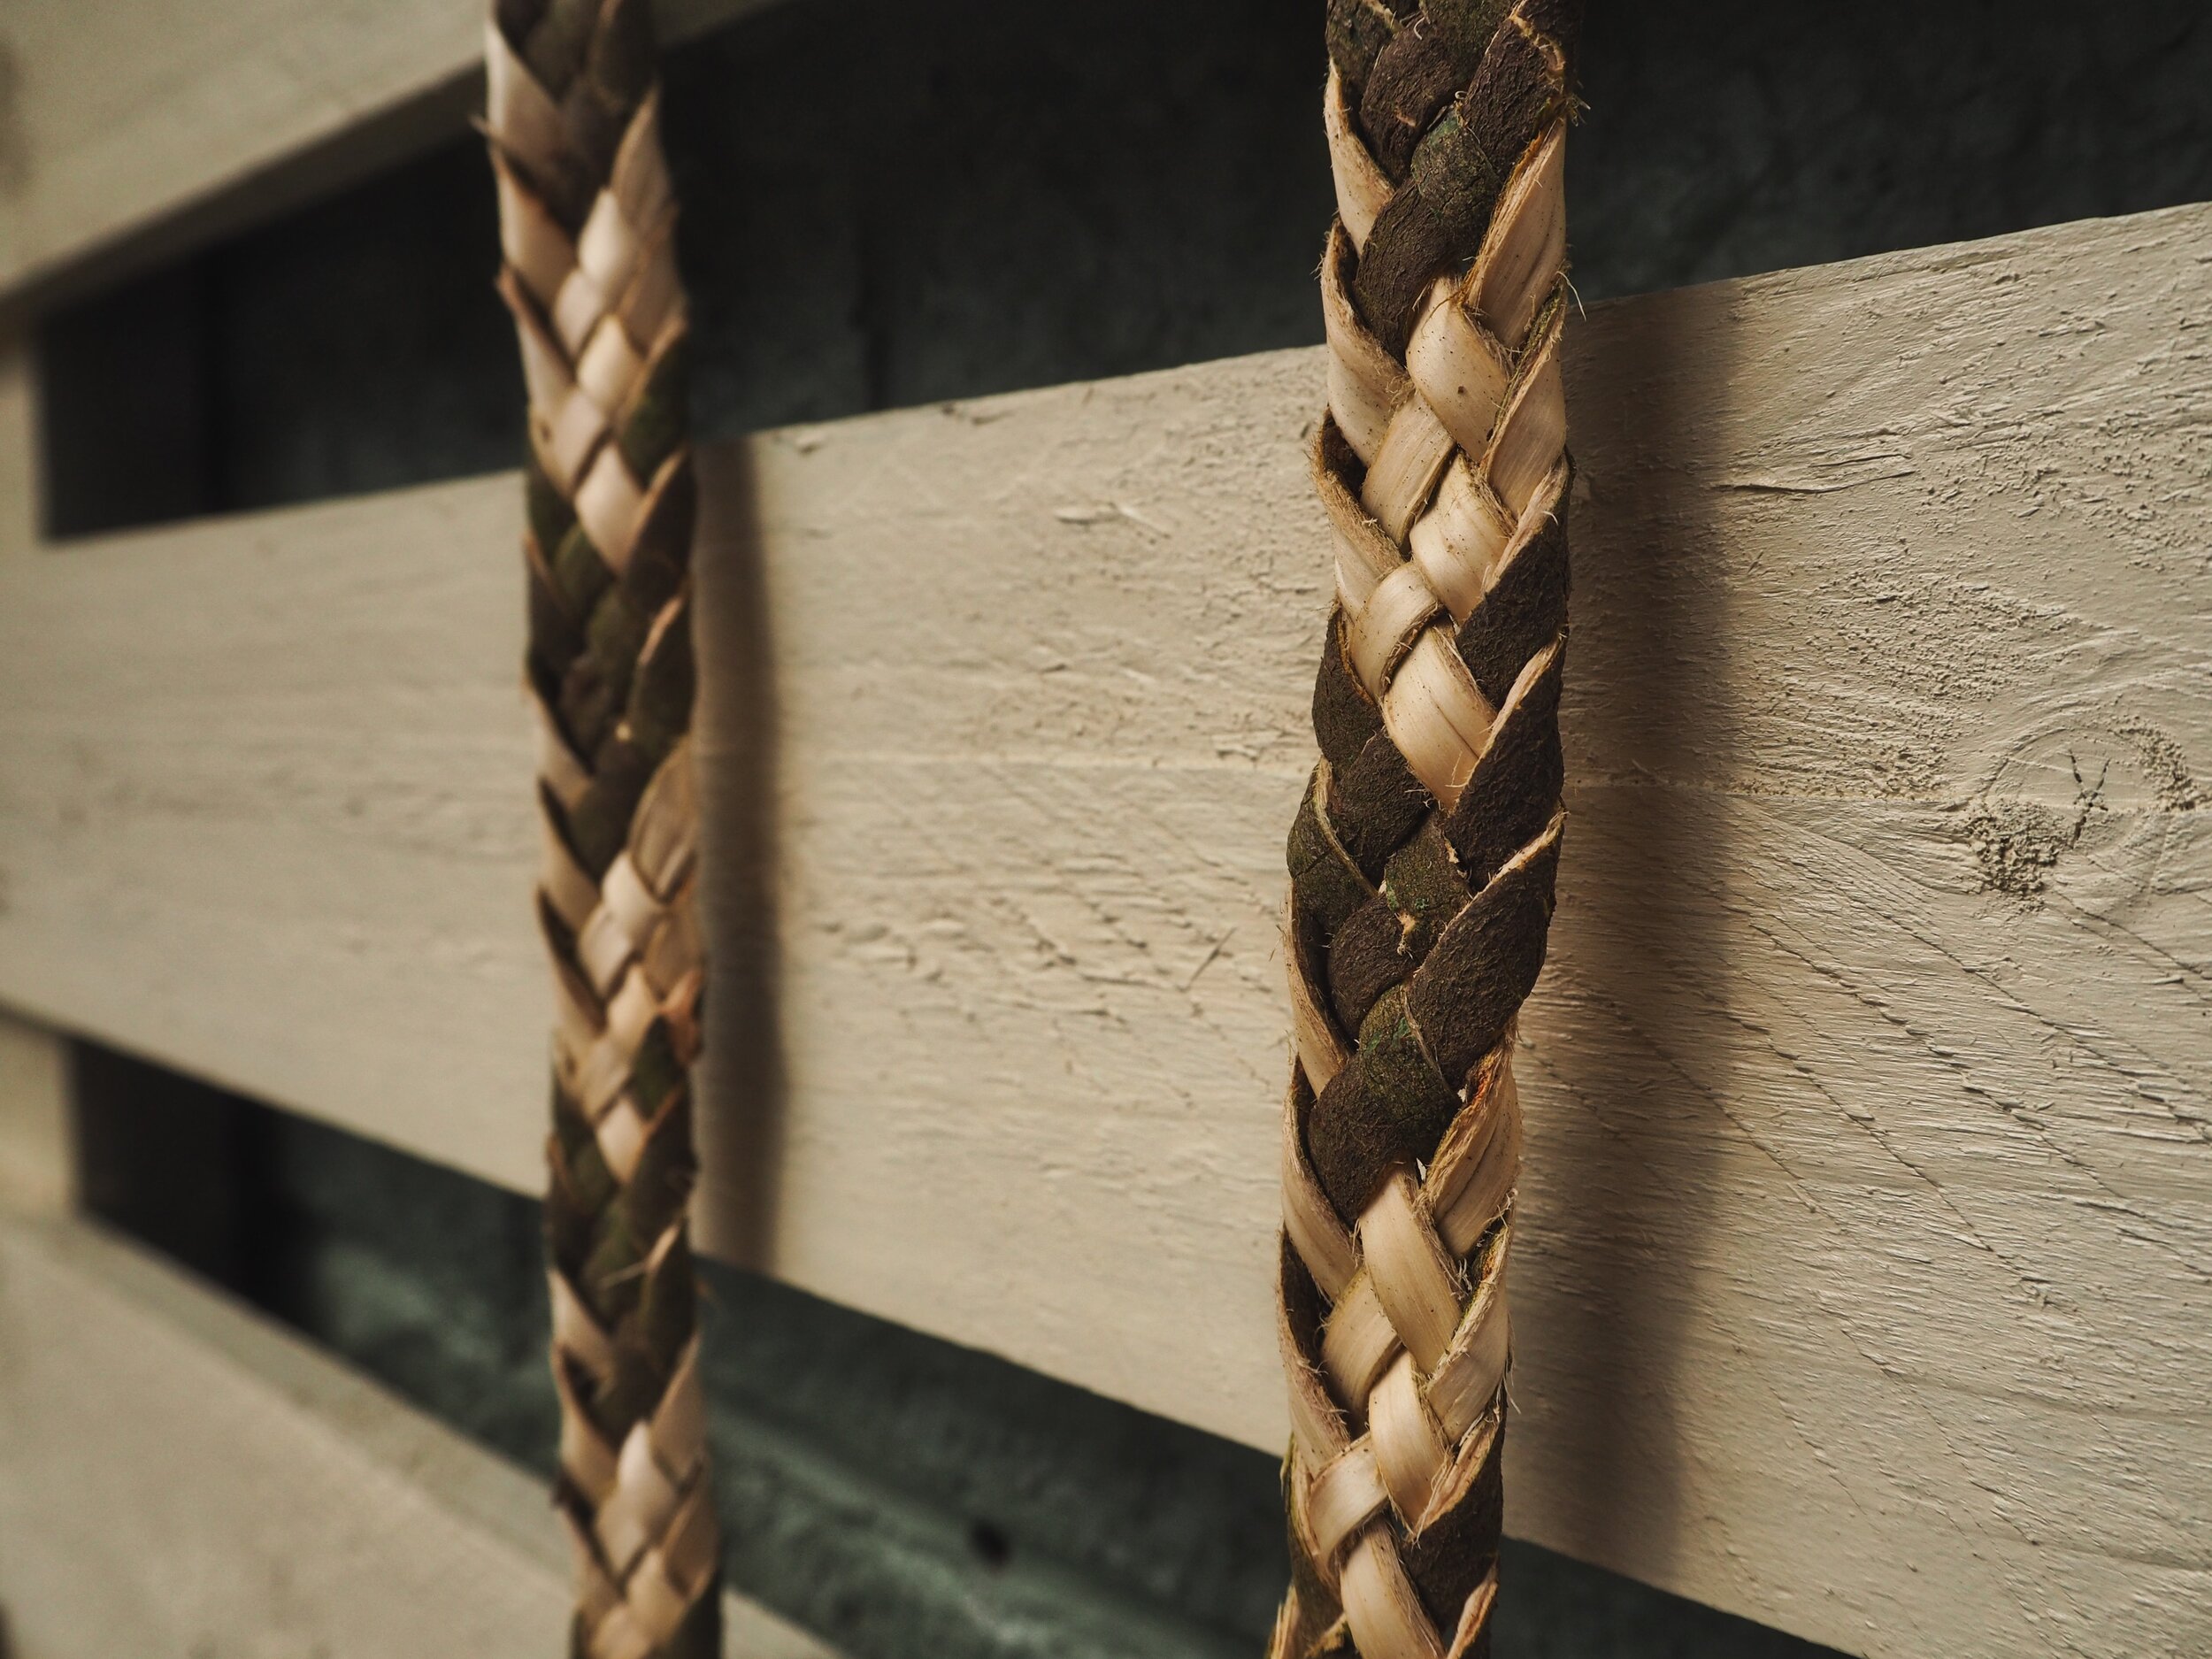
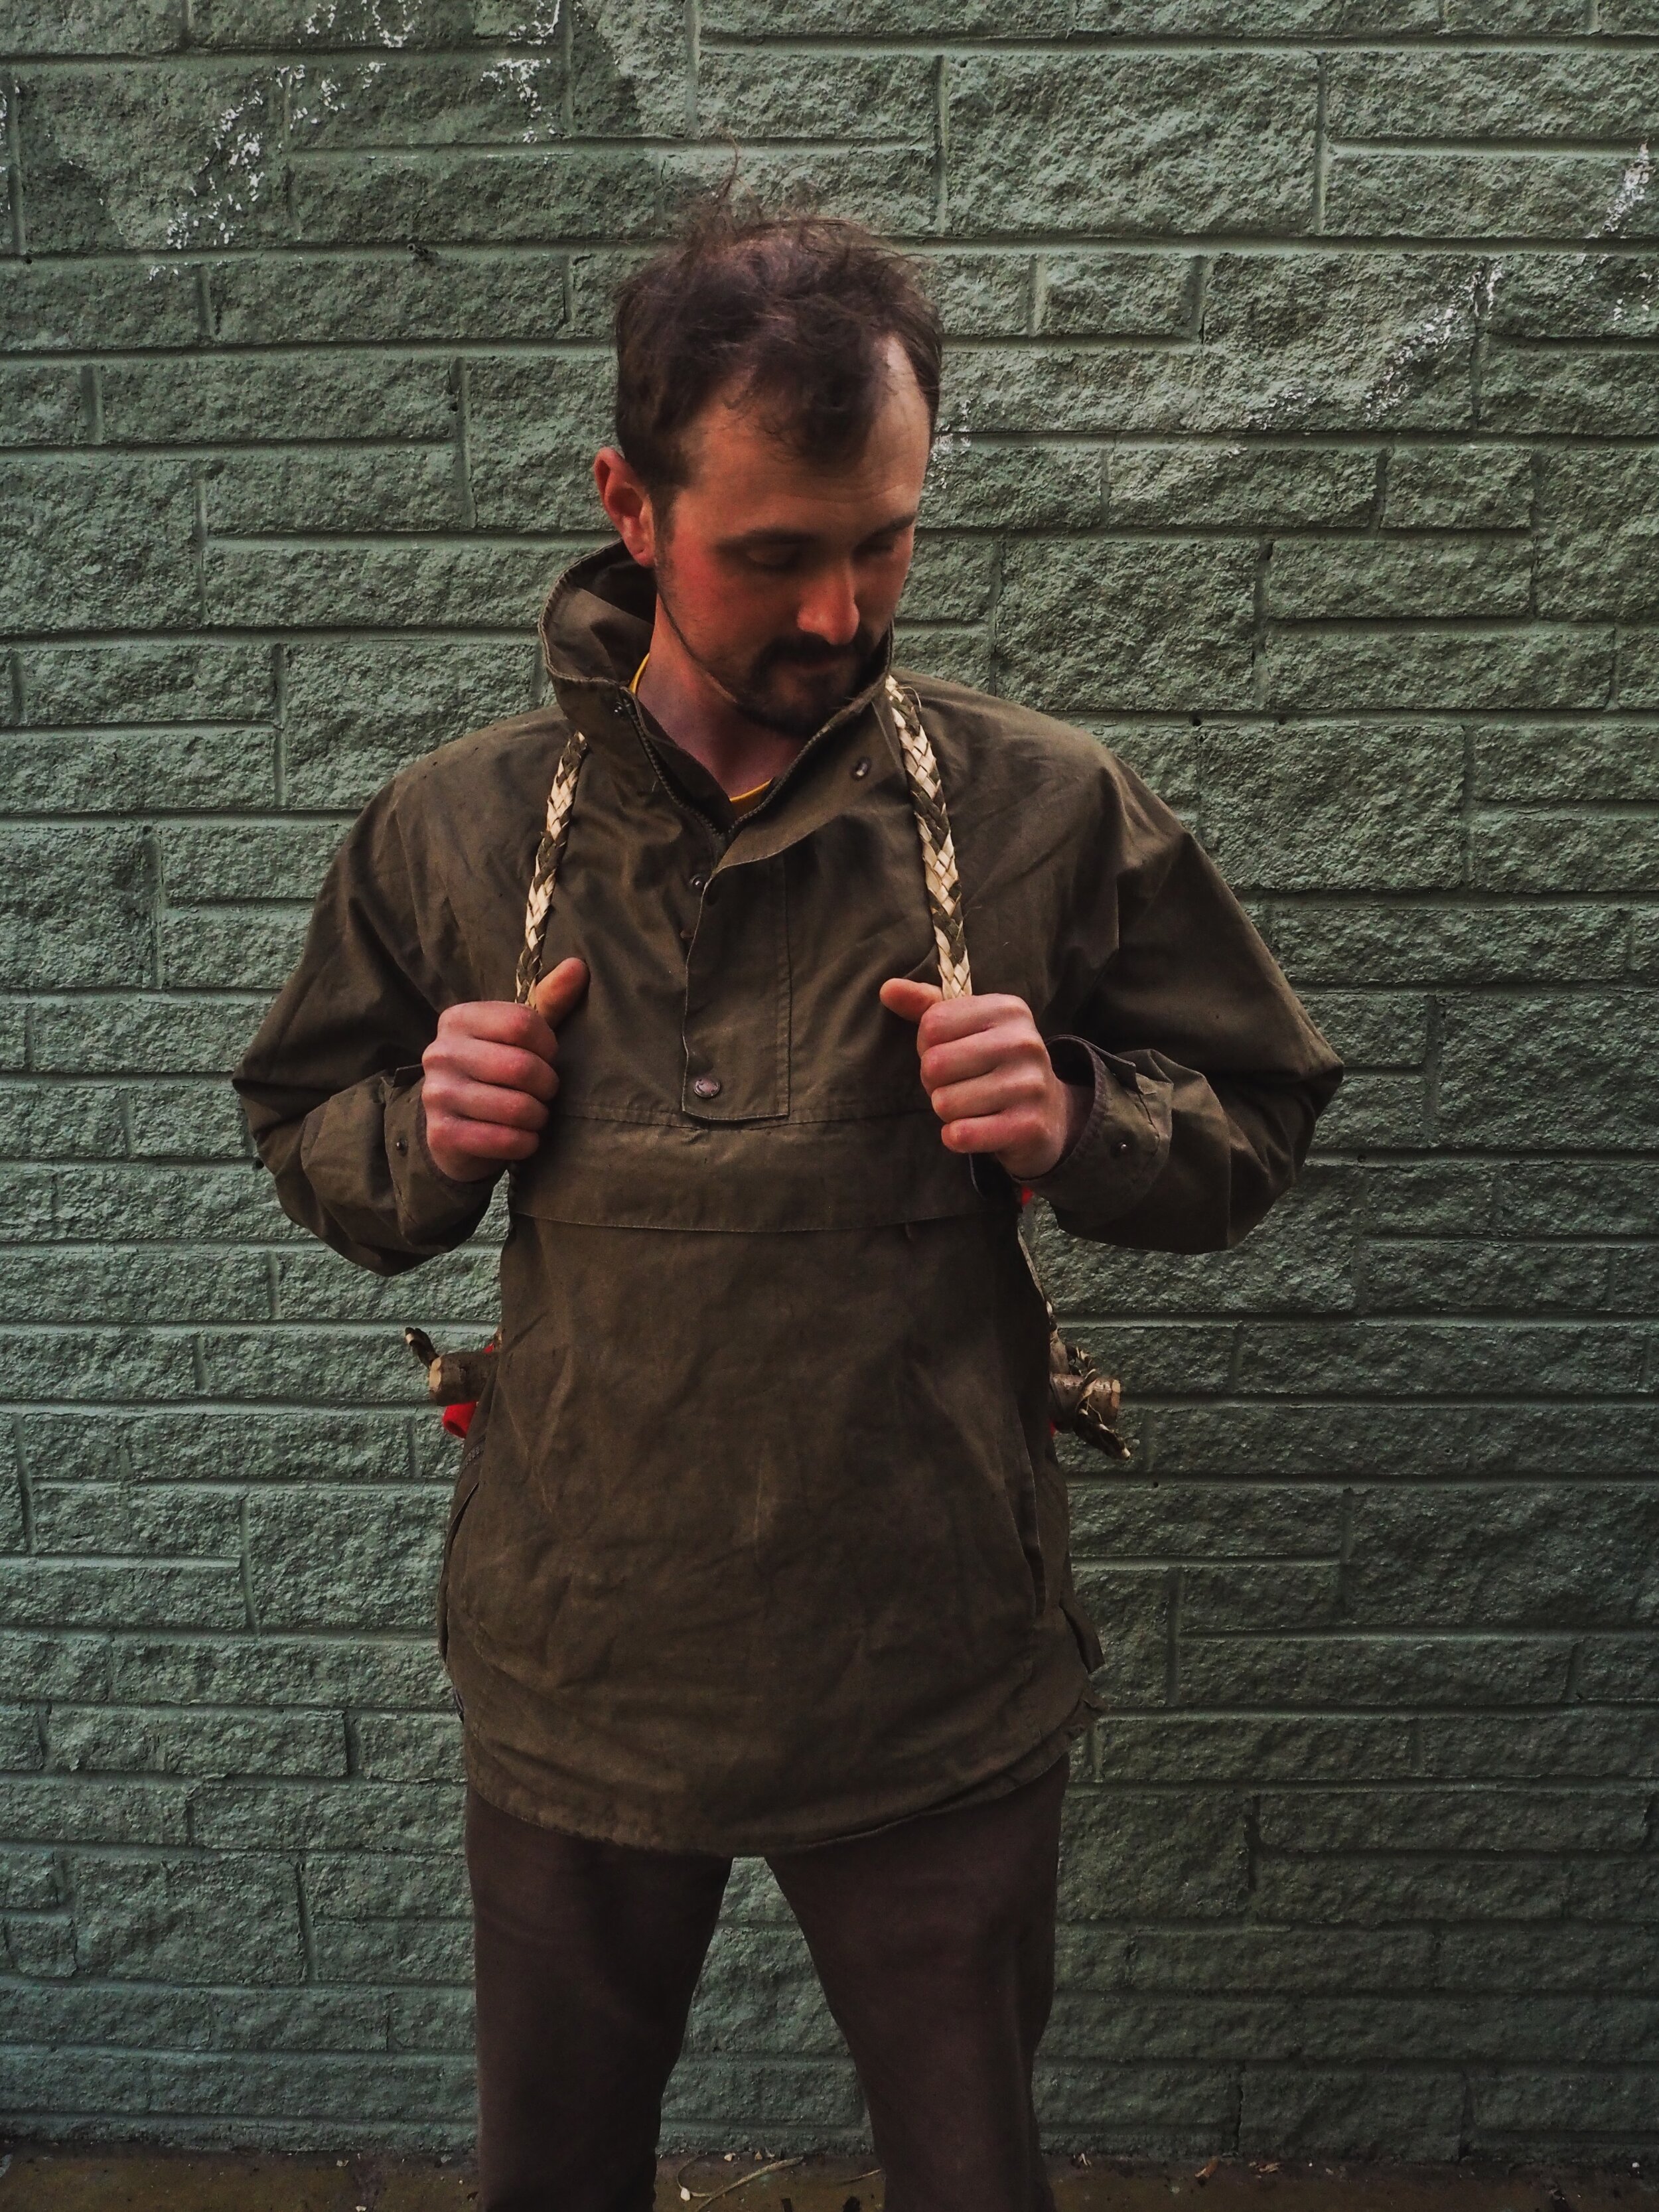
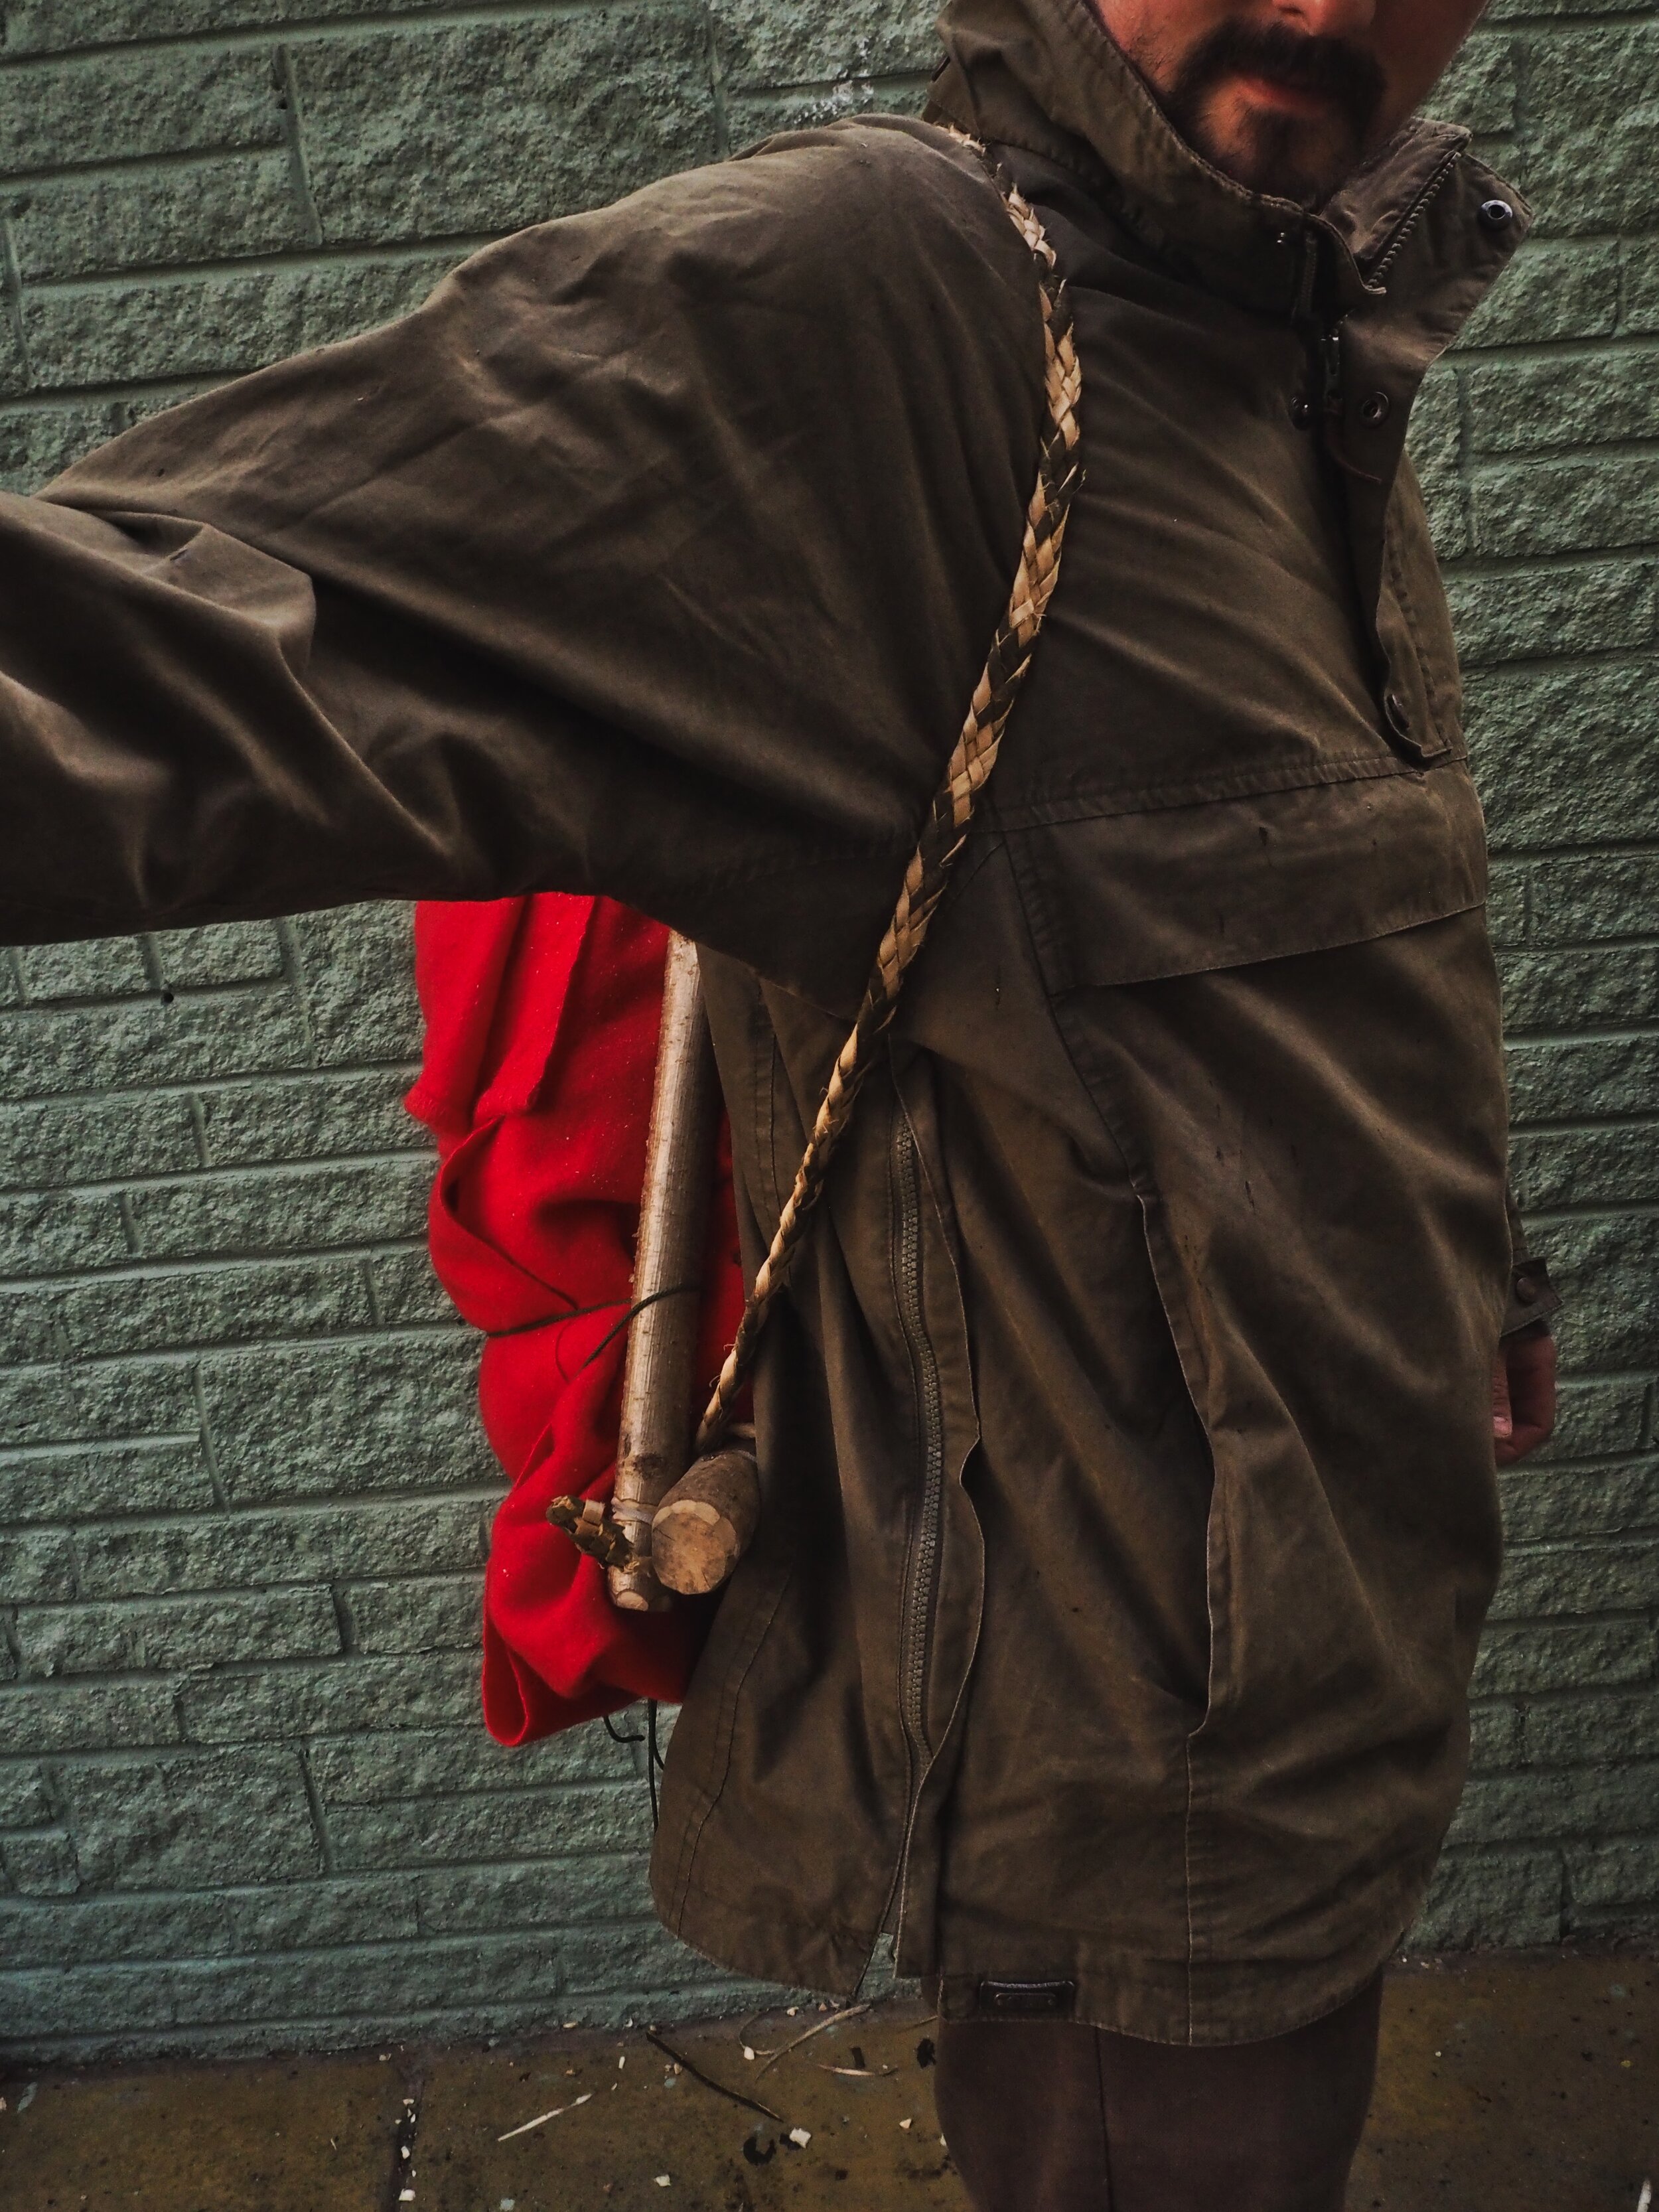
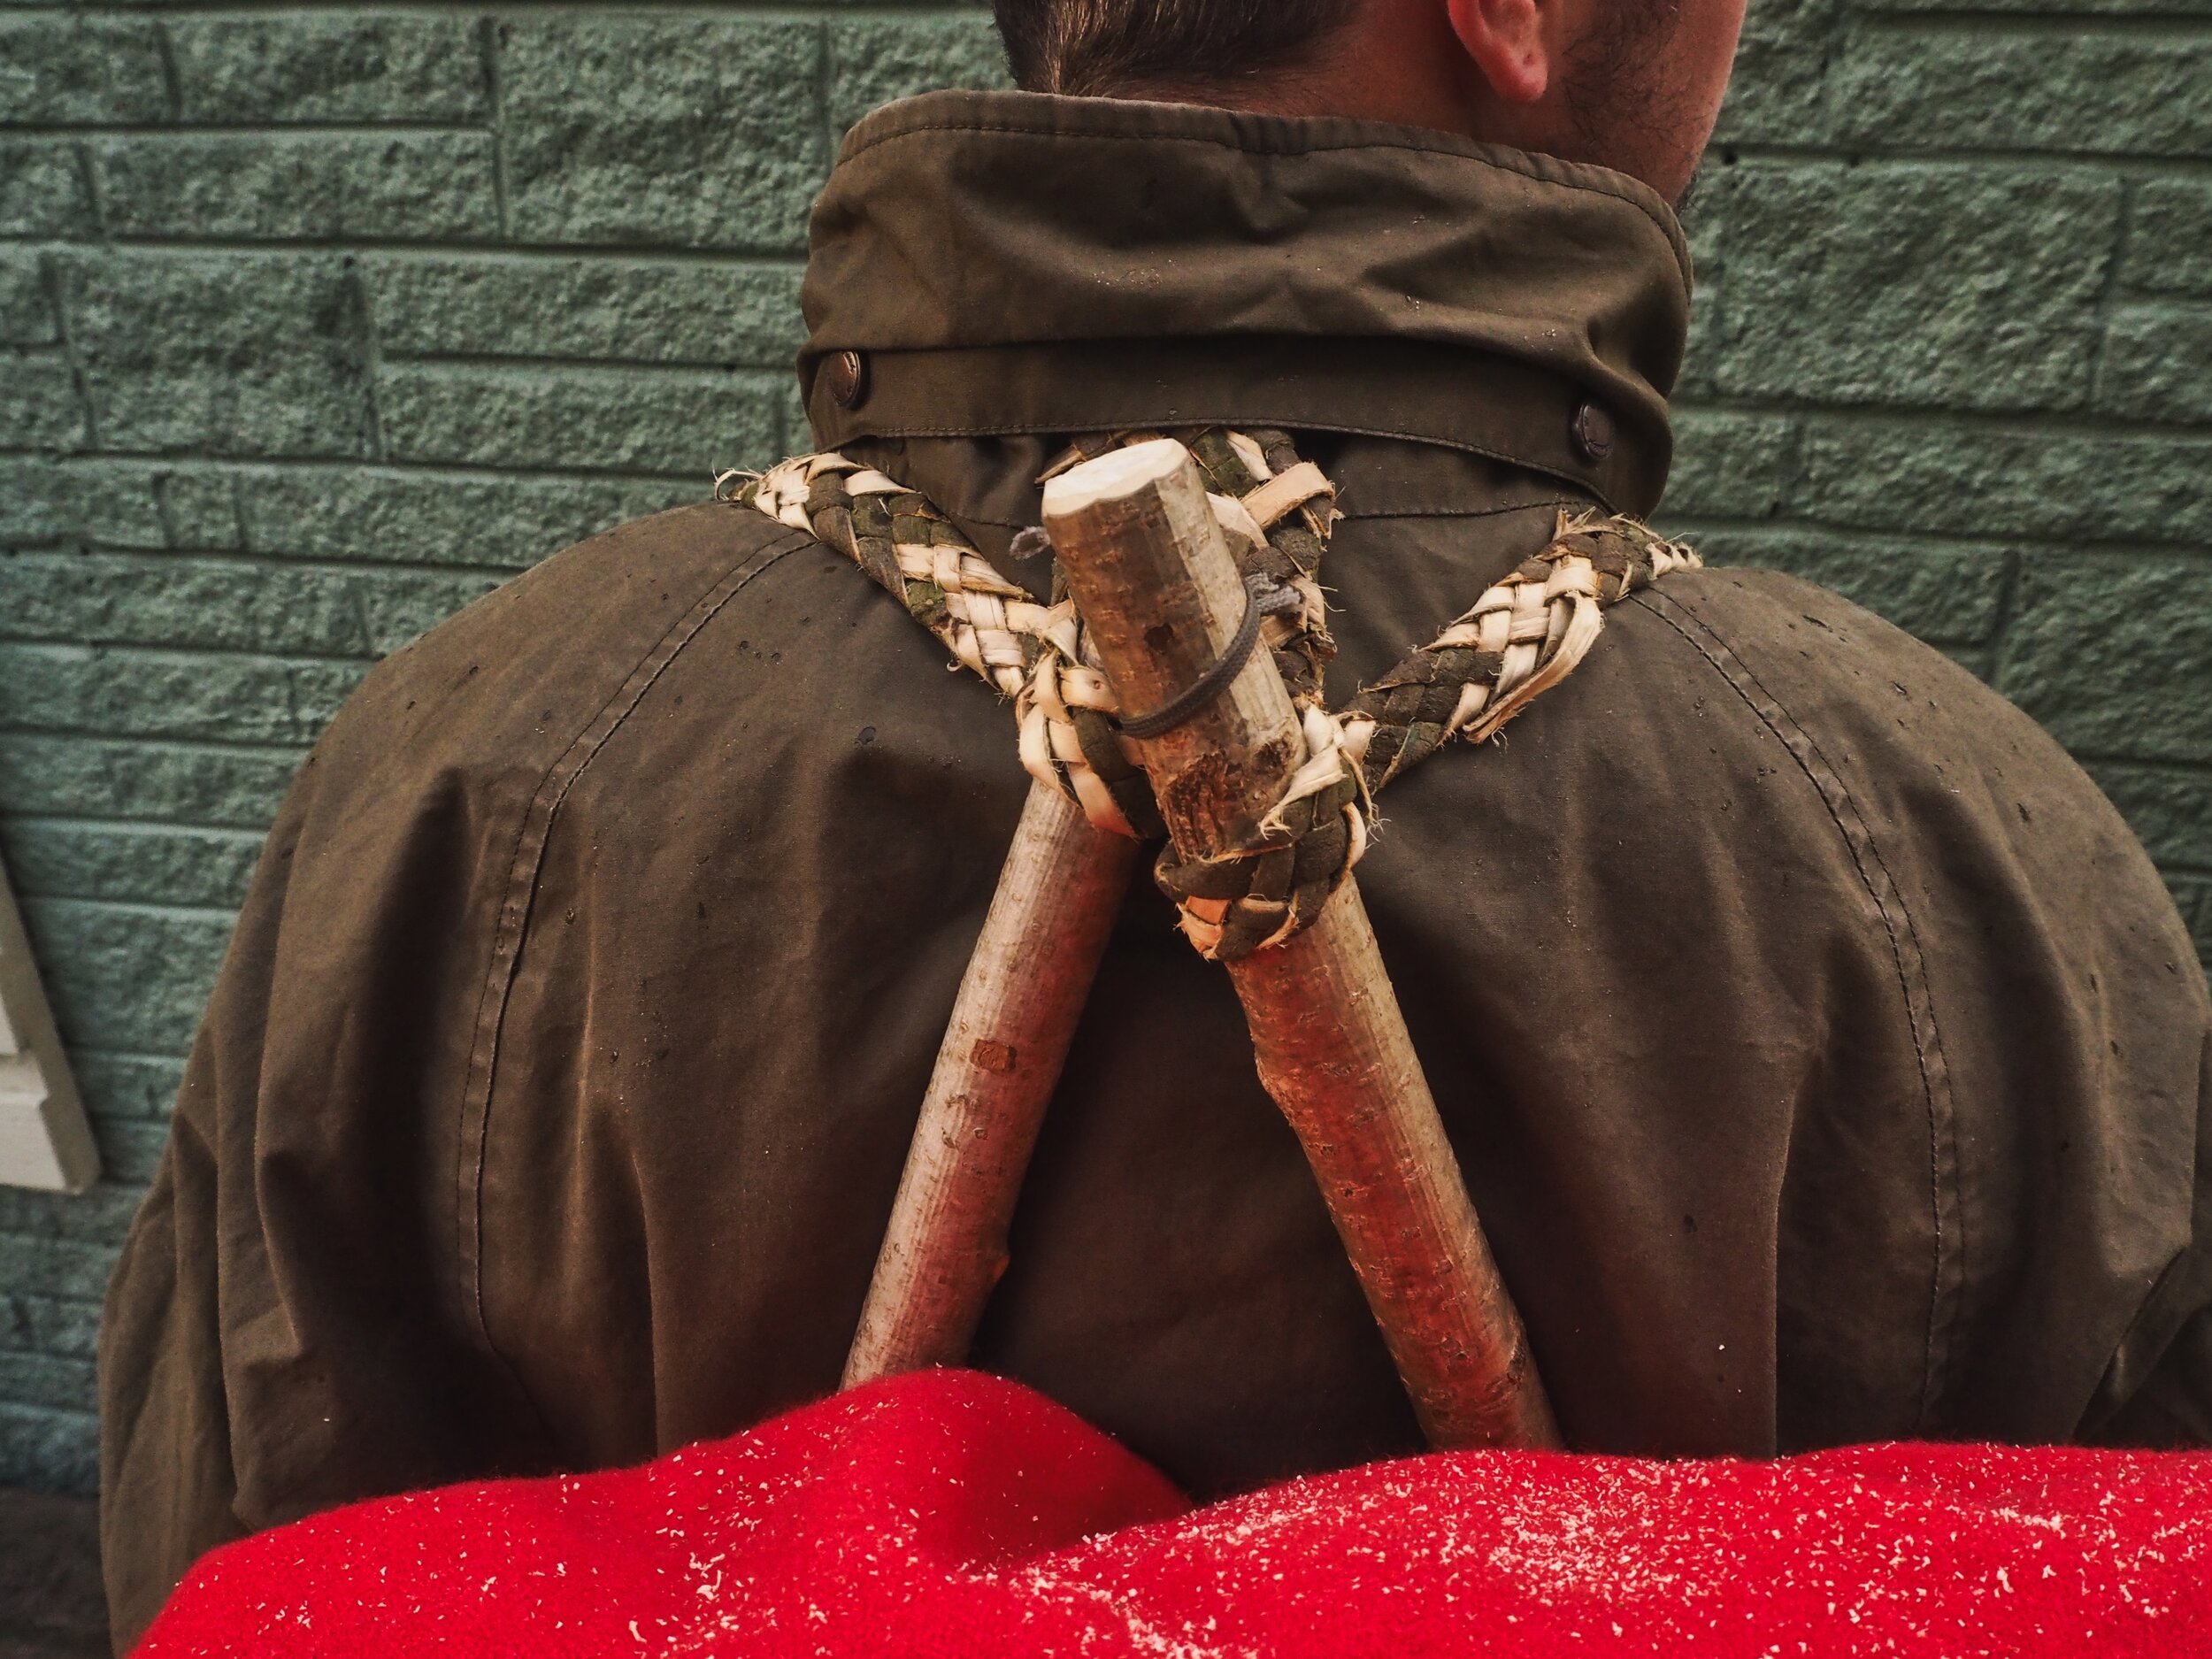
The completed straps slowly drying, I tend to flex and play with them as they dry to help maintain their flexibility. I’ve left this clamped as I want to experiment with the ends to make rucksack straps from them. Typically you could simple tie of all 5 strips into one neat overhand knot, or have a look into back-weaving to create a very neat finish.
These straps from clamp to clamp are around 120cm-130cm in length, so we lost about 50-60cm from strips to the straps in the weave.


I hope your found this useful and are inspired to give it a go, have fun with it!
Please do comment below with any feedback or questions.
And please do share this article with someone you think might enjoy it! Whether that’s someone you know, or in a Facebook group or forum, I’d love to hear back from people about their experiences.
All the best
JD